

So far in our sewalong, we’ve cut out our fabric, constructed the waistband, added the placket for version 2, and sewn the kick pleat for version 3.
Today, we’ll walk through the rest of the skirt construction, including sewing the remaing seams, attaching the waistband, hemming, and putting the finishing touches on.
Sew back seam (versions 1 & 2 only)
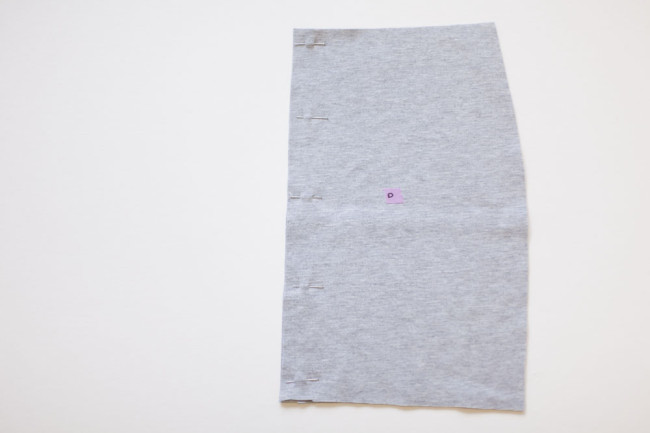
1) Pin the back seam. With right sides together, pin the skirt back pieces together at the center back.
2) Stitch side seams. Using a serger or the narrow zigzag or stretch stitch, stitch the back seams.
Sew side seams
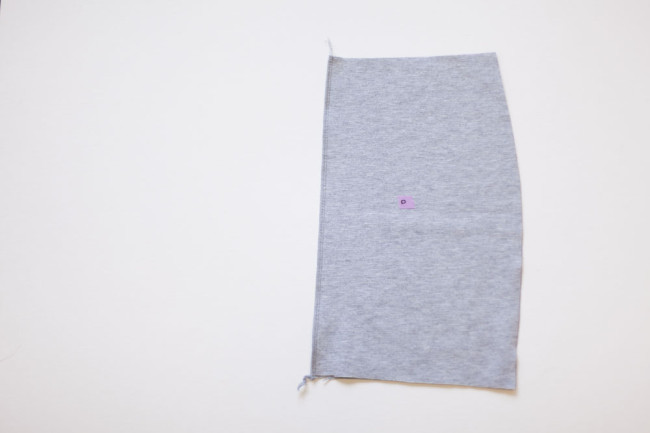
1) Pin the side seams. With right sides together, pin the skirt front to the skirt back at the side seams, aligning notches.
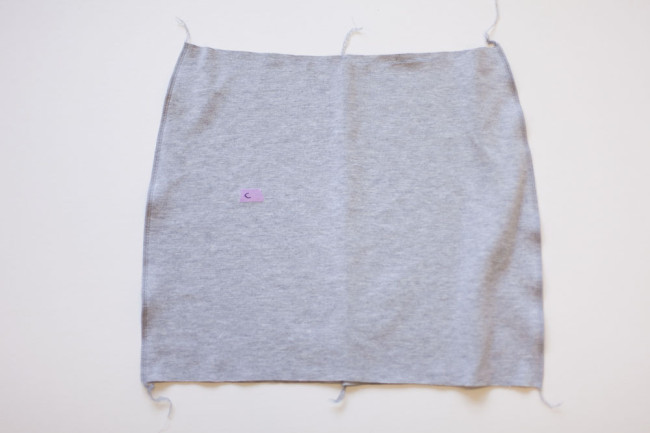
2) Stitch side seams. Using a serger or the narrow zigzag or stretch stitch, stitch the side seams.
Attach waistband to skirt
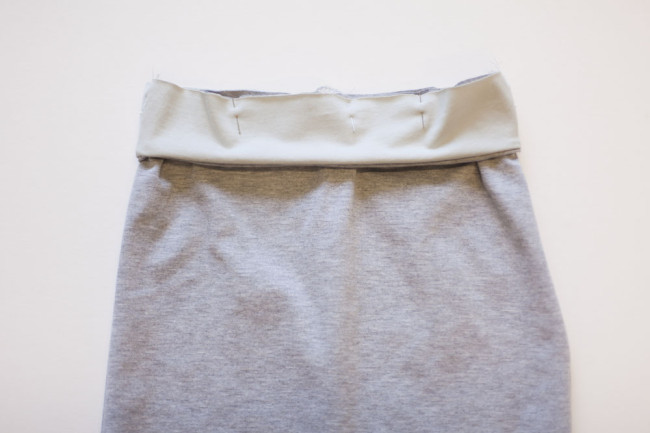
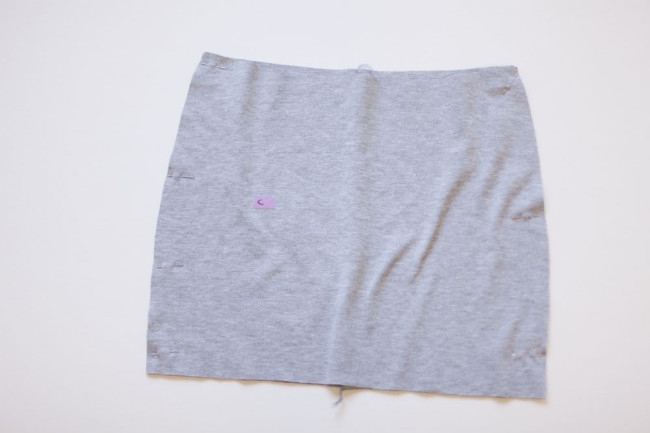
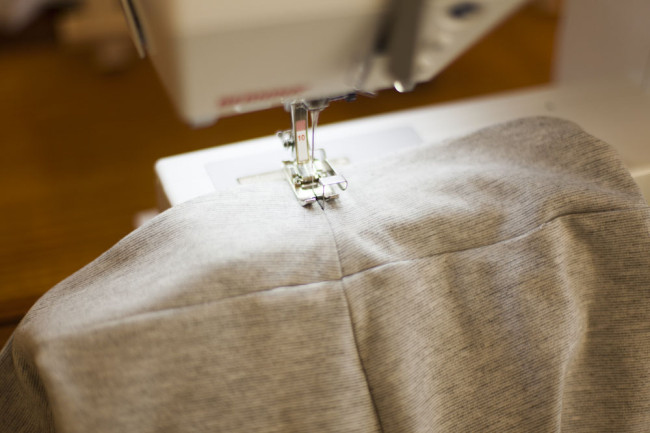
1) Pin waistband. Turn the skirt right side out. With right sides together, align the waistband and skirt, matching the side seams and notches. The waistband shell will be sandwiched between the skirt and the waistband lining. Pin.
2) Stitch waistband. Stitch the waistband to the skirt in a continuous circle. Overlap the stitching for an inch or two at the end of the circle to keep things secure.
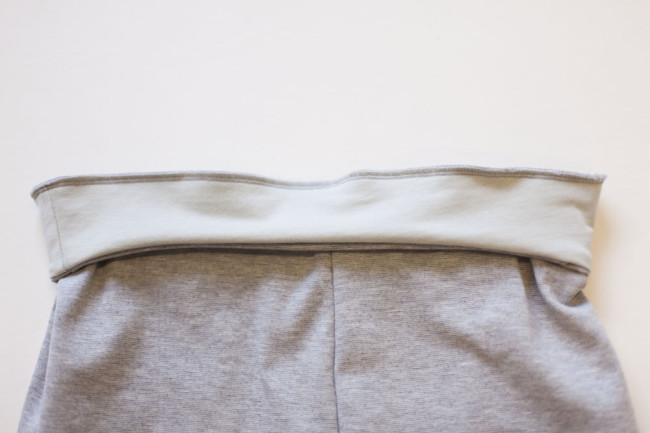
3) Turn and press. Press the waistband, making sure that the shell is rolling to the inside of the skirt. Press the waist seam to help the seam allowance lay flat and reduce bulk on the inside of the skirt.
4) Stitch in the ditch. Using a single needle, stitch in the ditch at each side seam of the waistband.
Stitching in the ditch is an easy way to secure the waistband in place without the stitch line showing. To do this, simply use a single needle to stitch directly into the seam line at each waistband side seam.
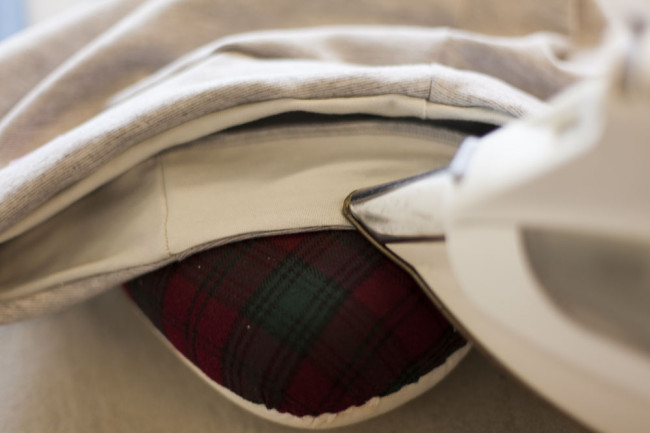
Hem
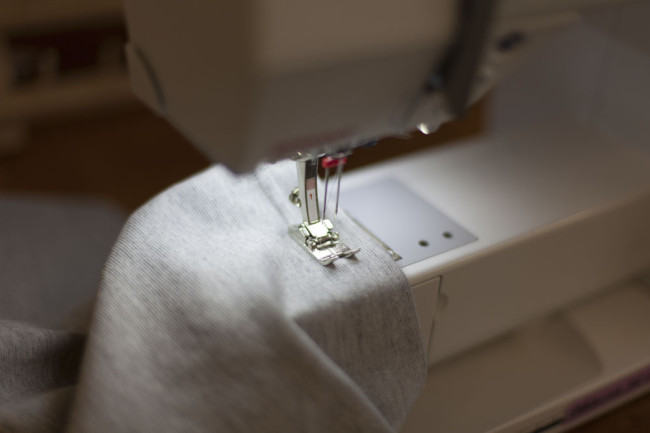
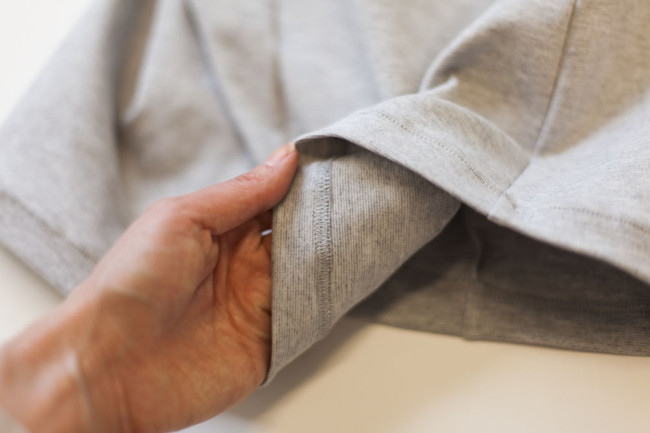
1) Hem. Use the twin needle technique to create a 1-inch hem. Or, if you have access to a coverstitch machine, you can use that instead.
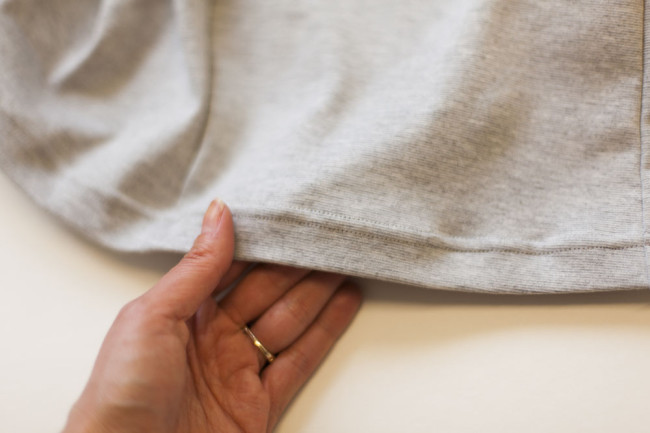
Here’s what the twin needle hem looks like on both the inside and the outside.
For a selection of other types of hem and edge finishes you can substitute, check out The Colette Guide to Sewing Knits! In the book, Alyson covers many alternatives, such as a band hem There are a lot of ways you can vary this!
Finish
1) Steam the finished skirt. If necessary, steam your finished skirt to smooth seam and remove wrinkles.
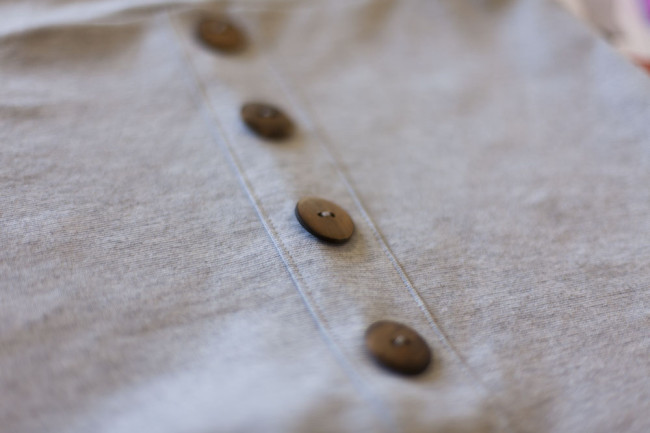
2) Sew buttons on version 2. If you’re making version 2, sew buttons at button placement marks along the front of the placket.
Your Mabel is now complete!
Be sure to add you finished creations to our Flickr pool with the tag “mabel.”
And don’t forget about the Knitcation contest! You can use the Mabel to create your own travel wardrobe and enter to win some fabulous prizes!
Comments
Do you have any suggestions for when the kickpleat won’t lay flat? After using my twin needle to hem, it sticks straight out… Thanks!!!
You might try basting it down again (just with a big X) and giving it a good steam press, just on the pleat.
What stitch length would be good for the twin needle stitch? Does it tunnel less or more with a shorter or longer stitch? Or is that solely a stabilizer issue? Thanks so much for your help, by the way. This has been fun and I’m learning a lot.
It depends a bit, but I do test sews with a stitch length between 2.5mm and 3mm. I think a slightly longer stitch length looks great for this type of hem and does seem to help a little with tunneling. Be sure to try loosening your bobbin tension if you get tunneling, if that’s an option for your machine.
Something I didn’t notice in any of the steps was checking the fit. My waistband is now sewn onto the skirt and is 2 inches more than the pattern says the finished amount should be. Should I have tried on the waistband or lining pieces as soon as I had sewn the first circumference so I could make adjustments when there were only short seams to pick out?
I’m intending to make another Mabel skirt this month. While I intend to make it in a smaller size, are there any “check your fit here” stops along the way.
A lot of this does depend on the fabric, so a fit-as-you-go approach works well. I like to check out both the waistband and main body before putting the two together.
You raise good points, and I’m going to add this advice in for future sewalongers!
Oh, and I want to mention, Sarai… even though the fit is loose, I absolutely LOVE the look of my version 3 Mabel. Can’t wait to wear it this weekend along with the Sorbetto I’m making to go with it. And looking forward to making my next Mabel.
Awesome! They are addictive.
I finished my Mabel, put it on and it is staying on! I’m so happy with it. Thank you to Sarai for organising this sew along, I’ve really enjoyed it!
Yay, so glad! High fives!
I used a zigzag stitch (2.5lx0.5w) as recommended to sew on a regular sewing machine– seems like the waistband does not stretch to the full stretch potential of the fabric. should i make the waistband with a three-step zigzag instead? or what other stitch would be ‘stretchier’? I can get it over my hips but it seems to be on the brink of popping!
You could use a wider zigzag for more stretch, or the 3-step. Try a few test seams before you sew and stretch them to check for popping. Every fabric is different!
Did you say addicting ? Resounding YES! Once prep is done, skirt goes together quickly, i have made two today. Finish last one tomorrow– what a perfect pattern, comfy, packable, flattering on all figure types, only ONE yard of some cool knit fabric- means you can splurge on an Italian fun wild thing, and fast–and i didn’t have any knit skirts before.. Kind of a woven girl, maybe not…
Thanks for the sew a long, made me try something new- yay
Yay, so happy for you! Two in one day!
Thank you for your great patterns! I have allready made 4 Mabels in the last 2 weeks and I´m working on my second Moneta at the moment, after sewing 2 Cropped Sweaters…
I´m sorry, but during so much sewing, I didn´t find the time to make fotos, but they will follow.
Best regards from Austria, Europe (please forgive my poor English)!
Karin
I finished my Mabel all in one day! So fun. I vote for more patterns with knits!
Great feedback, thank you!
I’ve made two Mabels so far. I love them both, but I know I can love future Mabels more.
On both versions, my side seams (serged) don’t consistently lay flat when I’m wearing it. I’ve tried pressing the seams and that helps a little, but doesn’t solve the issue. I’m curious if anyone else has experienced this or has suggestions. I’m considering topstitching the seams to make them lay flat.
On version 3, I think I’m doing something wrong on the kick pleat. I’ve followed the step-by-step in the previous sew-a-long when attaching the back panels and stitching the kick pleat seams. When I hem the skirt, and fold the pleat over, the pleat doesn’t lay flat. If I fold the pleat seam flat, the hem causes part of the fabric next to the seam to fold. If I fold the pleat flat, the pleat seam seems to twist. This is very hard to describe in words alone. I’ve posted pictures of both on Instagram (@rgrazzini). Suggestions are welcome.
Hmm, maybe try posting it to the sewalongs facebook group as well?
https://www.facebook.com/groups/sewalongs/
I think it is much easier to leave the bottom 2 inches of kick pleat seam open, use the twin needle to hem the skirt, then sew the final kick pleat seam. This seems to give better and flatter results.
Good tip, Nancy.
That sounds like a great idea. I’ll give that a try on my next one. Thanks!
I just want to say a resounding huge Thank You Sarai.This is THE most successful knit pattern I’ve made to date. The only issue I had was that I didn’t do a “fit”of the waistband prior to adding it to the skirt. Once I had it on, the waistband was 2” bigger than I needed (I sewed the small size), so after a day of wearing I unpicked the seams just enough to make a half inch adjustment to the sides and the waistband, then sewed it up again. Then I altered the pattern so I’m good to go for my next Mabel.
I can’t wait for the Moneta sewalong to begin.
Thanks again Sarai.
Yay, that’s fantastic to hear!
This was my first sew along and it was amazing that I finished my Mabel in one week
Awesome, congrats!
Hi all, finished my Mabel type 1 skirt on the weekend – took me a bit to get my head around the lining-to-main waistband step but once I figured it out it was fairly plain sailing to the end.
Of course, I somehow managed to completely not align the waistband seams to the skirt seams (probably as I had the waistband A pattern issue and corrected manually rather than print and cut the correct one – lesson learnt there!), and it’s a tad too short for me (am rather tall), but I don’t seem to really care because I love it anyway! Will be getting some more fabric and having a crack at take 2 soon :-)