

Once you are happy with the fit of your muslin, transfer any changes you made to your pattern pieces. To do that, make sure the muslin fabric is well marked, then carefully seam rip apart the pieces. Press them flat and lay the paper pieces over them. Trace any adjustments onto the paper pieces.
Cut your fabric
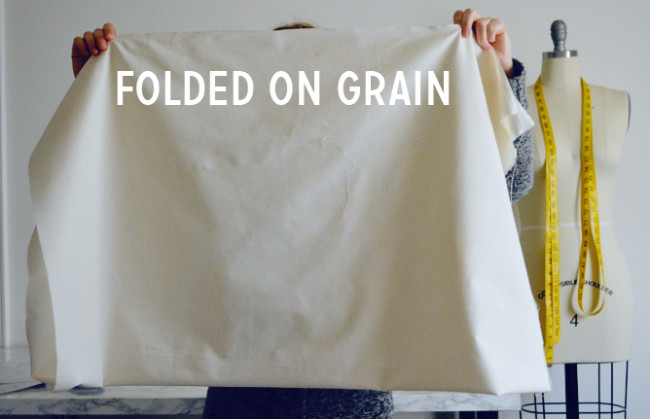
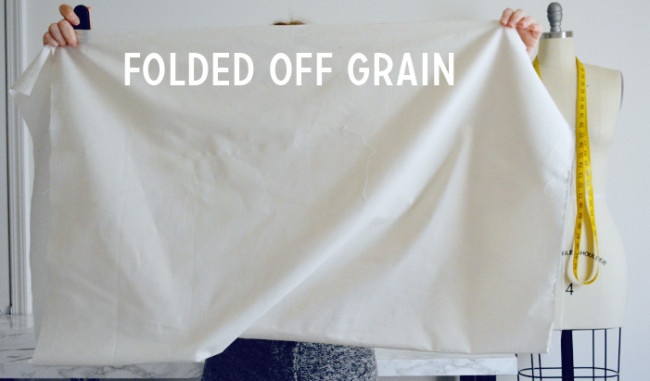
Fold your main fabric in half selvage to selvage, making sure that the selvages are parallel to each other and that you’re folding on grain. When fabric is folded on grain, the fold edge should lay smooth and flat. If it looks ripply or there are diagonal stress lines, move the selvages back and forth until the fold is flat.
In the instructions, find the cutting layout for your size and fabric width and lay out the pieces as shown. Keep in the mind that the cutting layouts are for non directional fabrics. If you are using a fabric that has nap or a directional print, make sure all the pieces are running the same way as you lay them out.
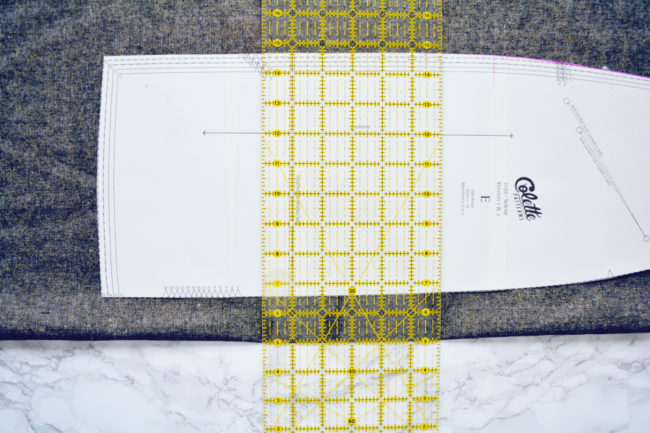
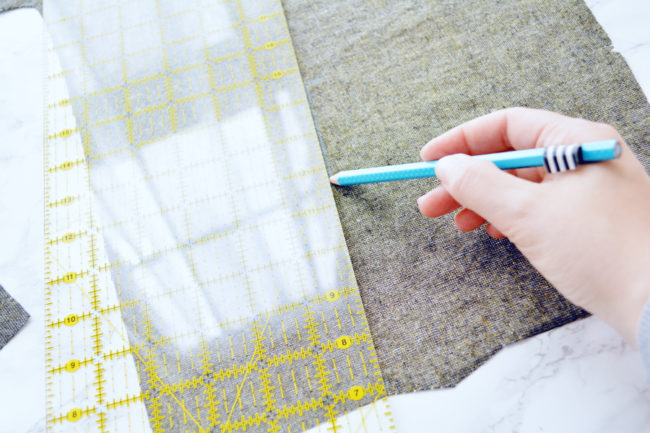
As you lay pattern pieces on your fabric, remember that the grainline should be running parallel to the fold and selvage. Use a ruler to make sure its as parallel as possible, and not at a slight angle.
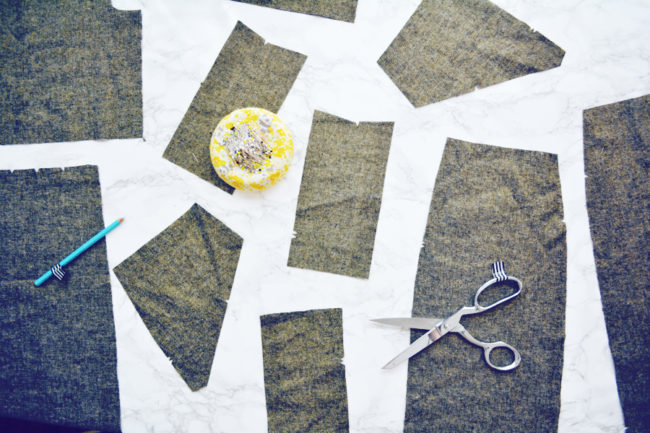
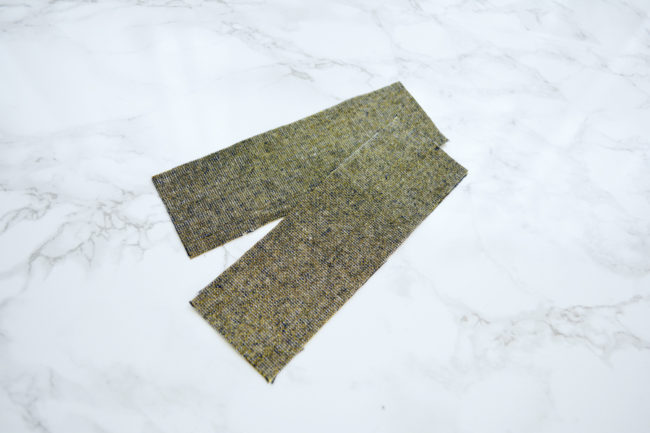
Pin and use fabric shears to cut out all the main fabric pieces. Alternatively, use pattern weights and a rotary cutter.
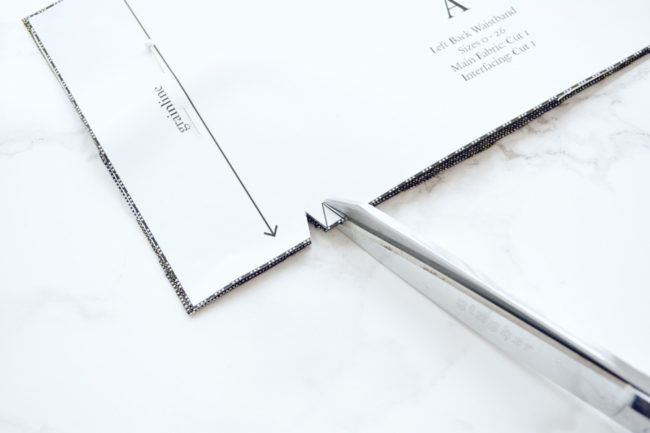
Once your pieces are cut, carefully snip out any notches along the pattern edges using only the tips of your scissors.
It will also be helpful to put a tiny snip on the center front fold edge of the center front skirt and front waistband.
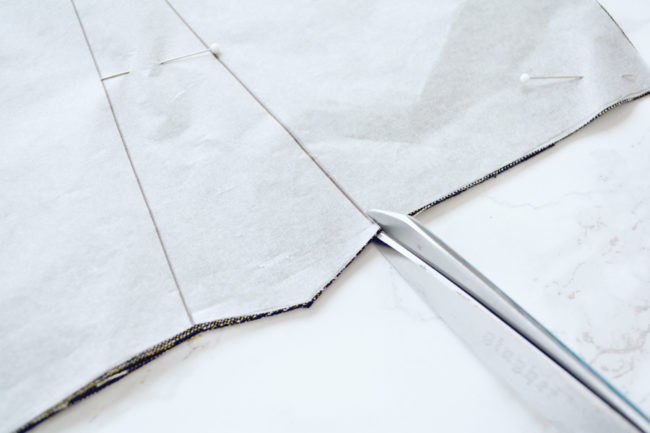
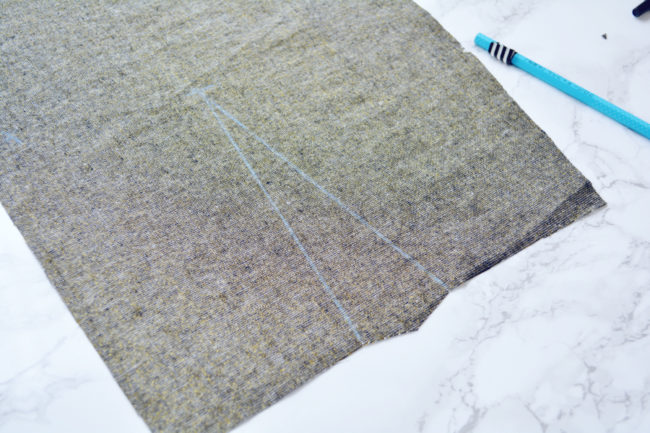
To transfer darts, first put a tiny snip on both ends of the dart legs through all layers of fabric.
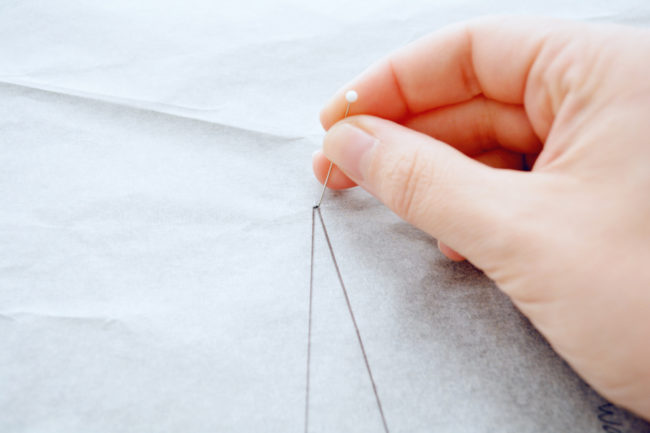
Stick a pin through the dart point, and mark its placement on the wrong side of the fabric.
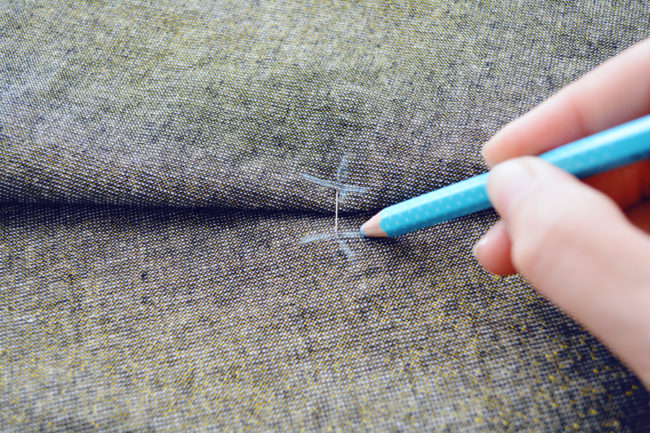
Use a ruler to draw the dart legs from the dart point out to both snips.
To transfer all other marks, stick a pin through the mark and all layers of the fabric. Then use a water soluble marking tool to mark where the pin is on the wrong sides of the fabric pieces.

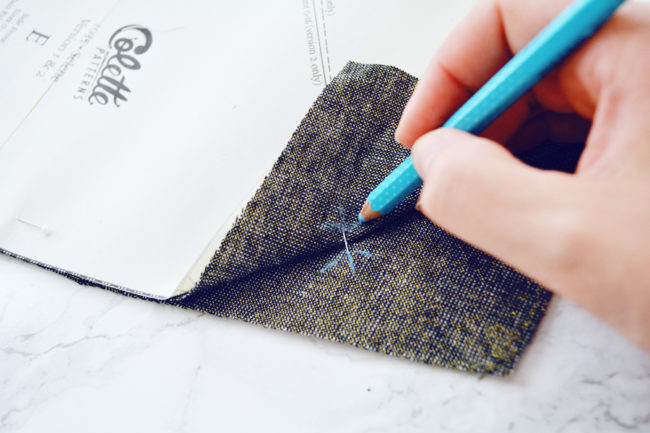
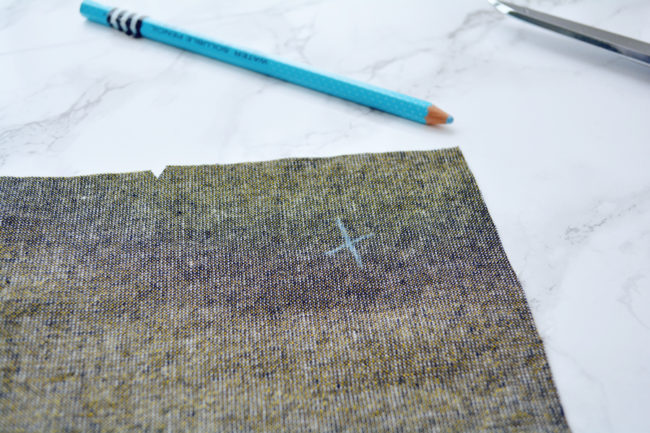
If your fabric is does not have a clear right and wrong side, at this point it’s very helpful to put a small ‘x’ or other mark on the wrong sides of all the pieces so you don’t get confused later and make two left skirt halves. If your fabric looks exactly the same from both sides, just pick one and designate that one the ‘wrong’ side.
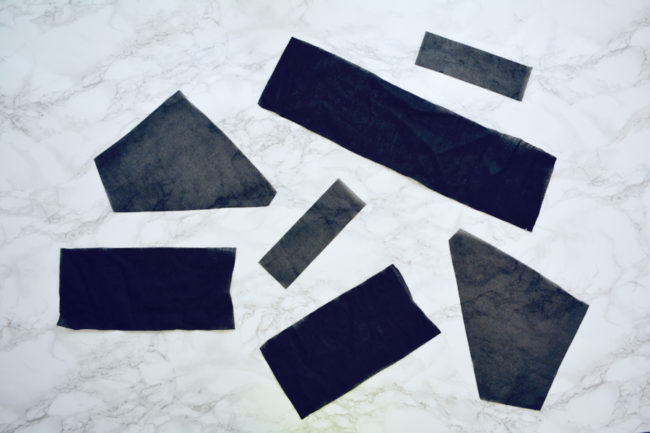
When you are done with the main fabric, repeat with the lining and the interfacing as indicated on pattern pieces.
If you are making Version 2, also cut two welt pieces from both the main fabric and the interfacing in the following dimensions:
Sizes 0-18: 2 pieces 2″x6″
Sizes 20-26: 2 pieces 2″x7″
Fuse interfacing
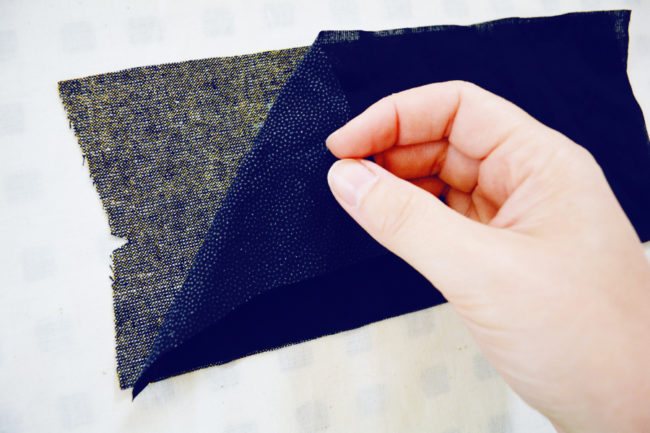
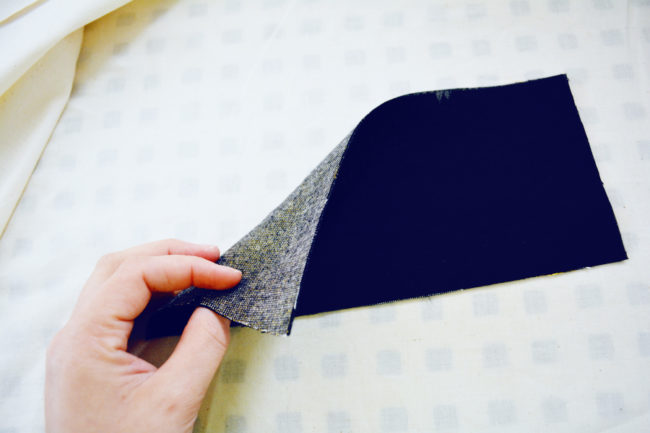
The interfacing will be fused to the wrong side of the corresponding main fabric pieces to add strength and stability. One side of your interfacing should feel bumpy and/or look a little shiny. This is the glue side.
Lay a press cloth on top of your ironing board to protect the surface. Lay down fabric piece with wrong side up. Place interfacing over fabric with glue side down, then lay another press cloth down on top. Following manufacturer’s instructions, press to fuse interfacing to fabric.
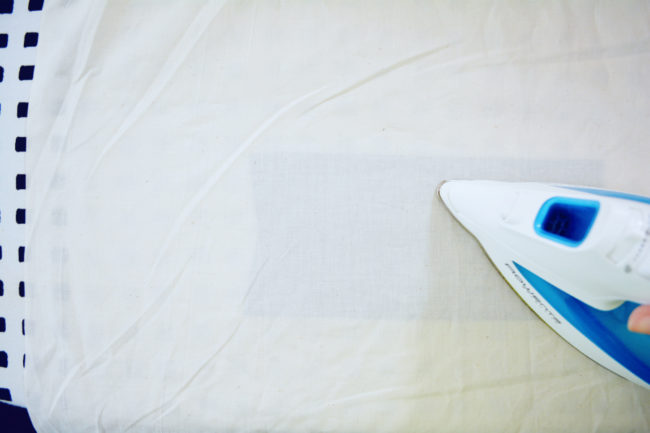
Repeat until all interfacing pieces are fused to their corresponding fabric pieces. All versions have interfaced waistbands; additionally, Version 2 has interfaced pocket facings and welts.
In the next post, we get to start sewing!