

Welcome back to the Cooper Sewalong, folks! Today, we’re going to be finishing up the body by attaching the bottom gusset and sewing up the sides. Then, we’ll finish up the flap.
Follow these steps for any of the three versions of Cooper and you’ll be almost ready to finish up. The only thing that will be done differently if you are making the satchel (version 3) is that you will omit the last step of installing rivets.
We also have a whole separate post today on squaring the bottom of your bag, which we’ll be referring to in this post and when we do the lining later.
All set?
Attach Bottom Gusset
1. With right sides together, pin bottom gusset (F) to the front of body (A) along the bottom edge, matching notches. The edges of bottom gusset (F) will extend beyond body (A). Stitch bottom gusset (F) to body (A) along the front bottom edge.
2. Press the seam allowance open.

3. Understitch one side of the seam allowance to the bottom gusset (F) and the other side of the seam allowance to the body (A). Stitch the back of the body (A) piece to the other side of the bottom gusset (F) in the same way.
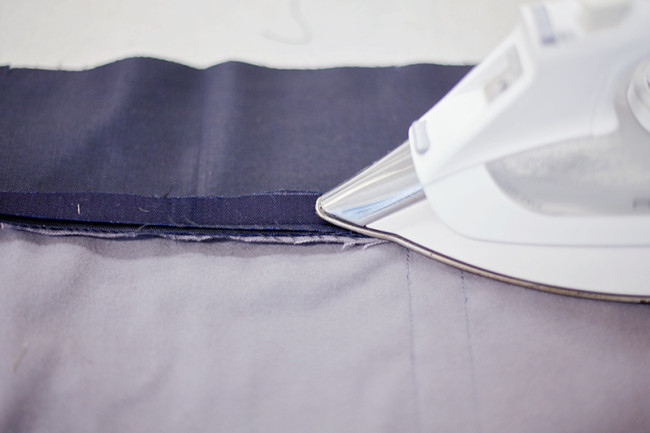
Sew Sides Of Bag
1. With right sides together, pin the front of body (A) to the back of body (A), folding the bottom gusset (F) in half lengthwise and matching all seams.
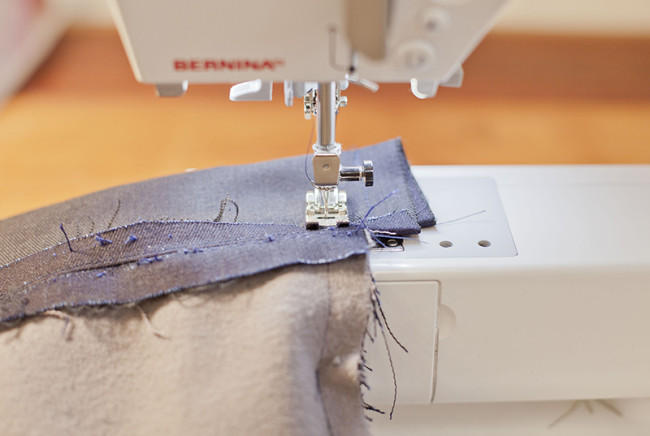
2. Stitch along each open side of the bottom gusset (F), pivoting at the corner where the bottom gusset (F) meets body (A), and backstitching there to reinforce. Continue to stitch up the sides of body (A), as shown. Press the seam allowance open as much as possible.
Square Bottom Edges
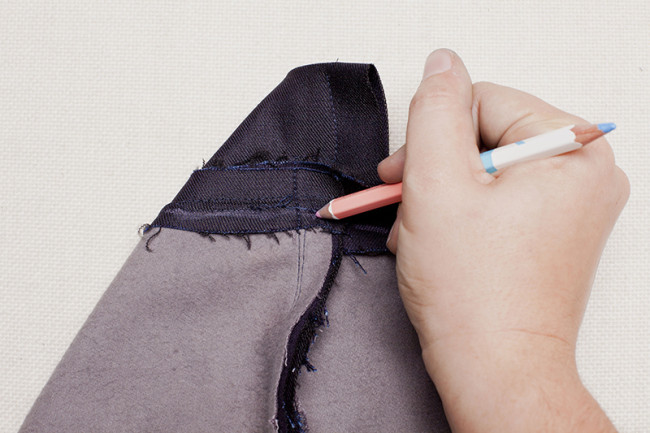
Follow the instructions in our separate post on squaring bottom edges (with video!).
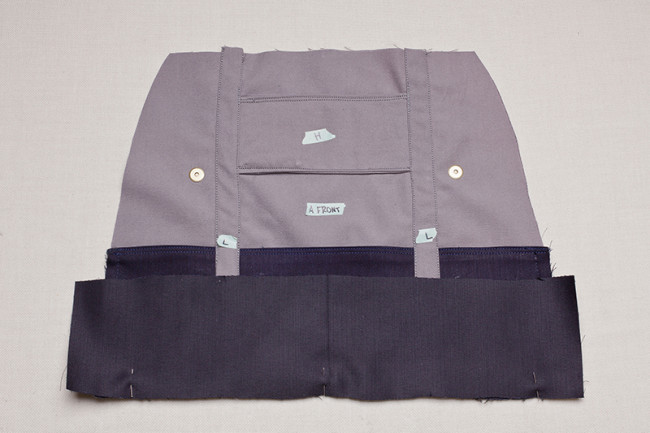
Sew Flap Straps
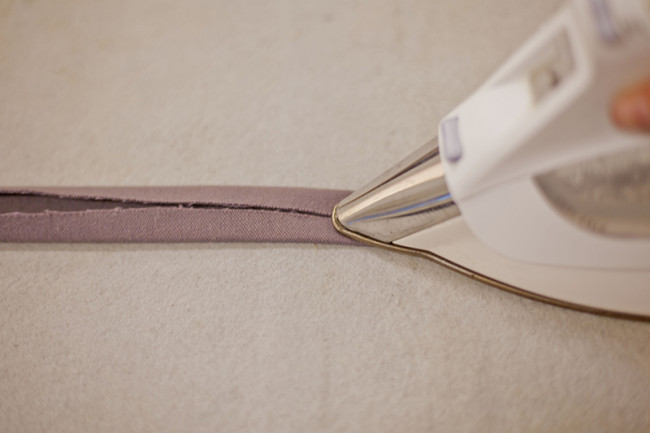
1. With wrong sides together, fold the seam allowance of each flap strap (K) lengthwise, so they meet in the center. Each strap should measure 1” wide. Press.
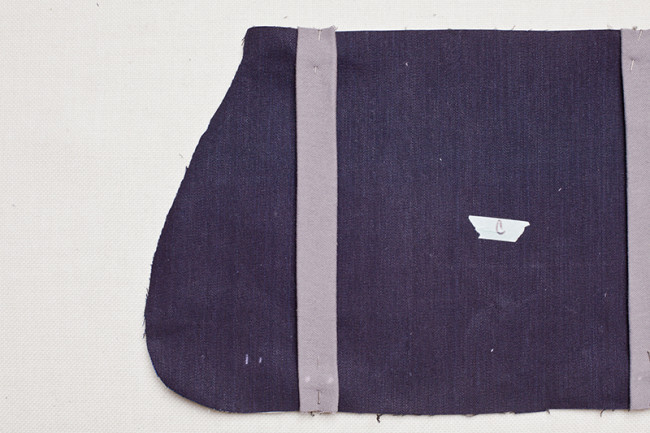
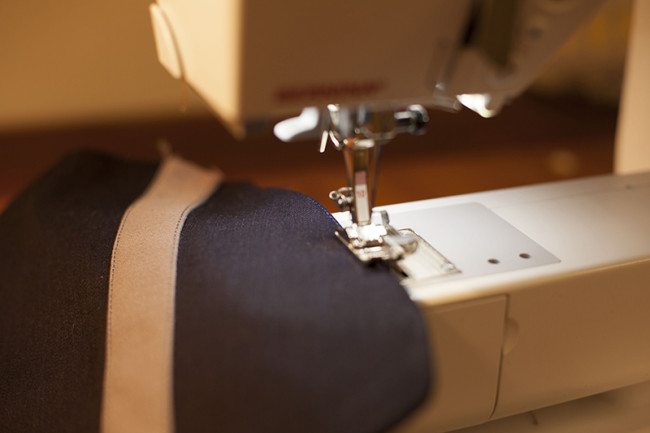
2. Place both flap straps (K) on the right side of one flap (C), aligning notches. Pin.
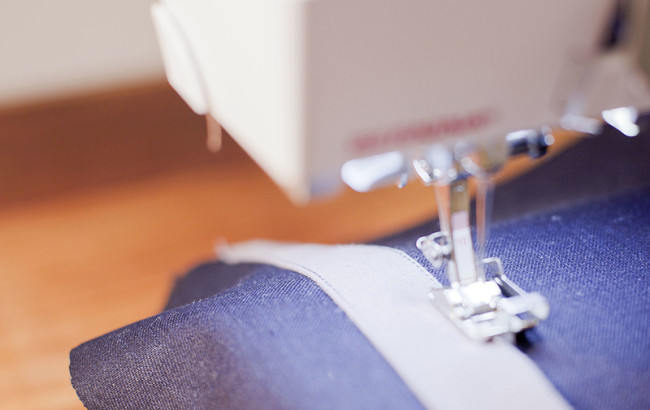
3. Edgestitch flap straps (K) to flap (C) along each long edge.
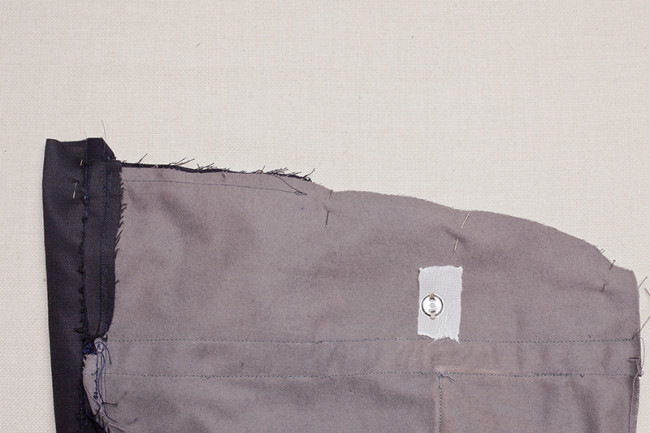
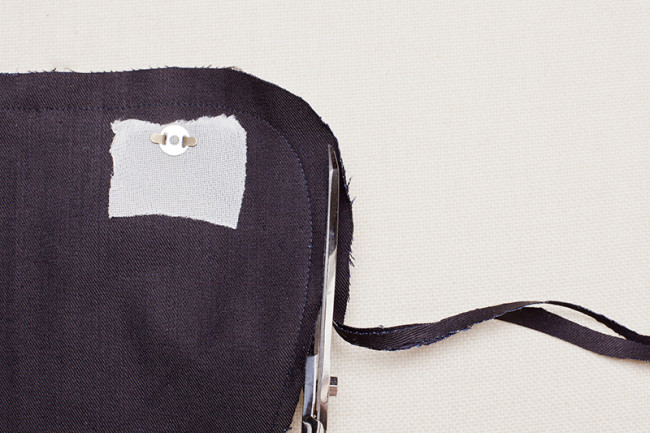
Install Magnetic Snaps on Flap
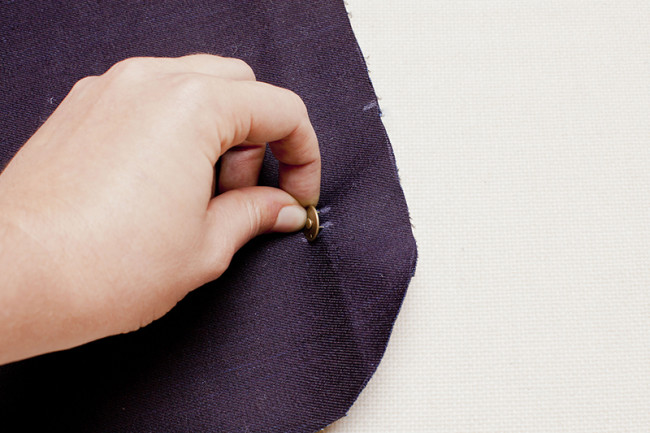
Follow the instructions in our tutorial on installing magnetic snaps to install snaps at the placement marks on one flap (C) piece.
Sew Flap
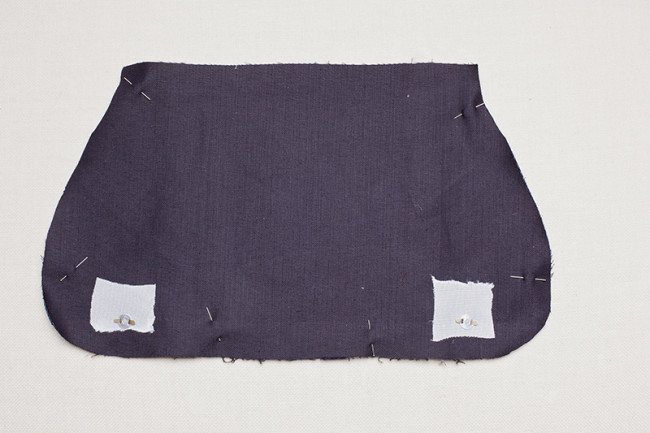
1. With right sides together and notches aligned, stitch two flap (C) pieces together along the curved edge. Leave the straight edge open.
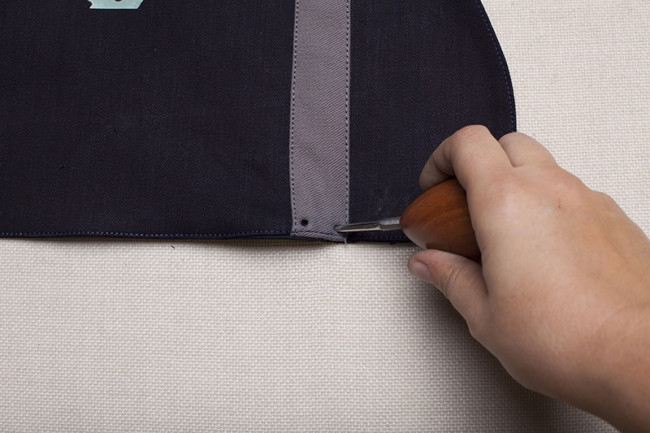
2. Trim the seam allowance to ¼”. Clip and notch the curves.
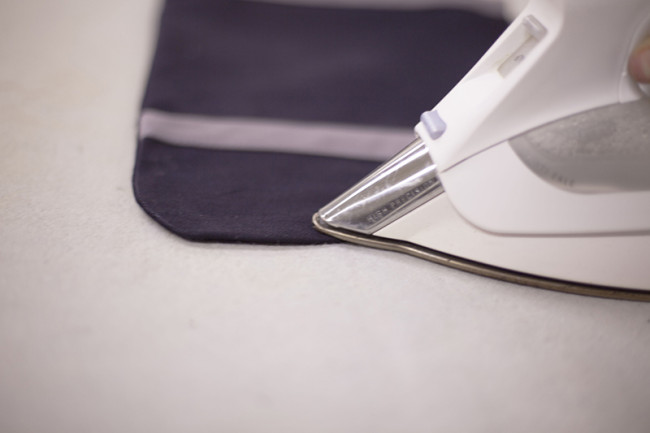
3. Turn flap (C) right side out. Press.
4. Edgestitch along the curved edge of the flap.
Version 1 & 2: Install Rivets
Follow our tutorial on installing rivets, placing rivets at the placement marks on your straps.
That’s it for today!
On Wednesday, we’ll be working on the messenger strap for those of you making version 1. For everyone else, come back Friday for the final step: lining!