

We’re in the home stretch of our Sew-Along! Soon, we will all be waltzing around town in our swooshy skirted, sleekly buttoned dresses and blouses. But not until we finish these two final tasks:
Day 11 Checklist
- Create Buttonholes
- Attach Buttons
- Attach Hook and Eye
- Handsew Hem
Create Buttonholes
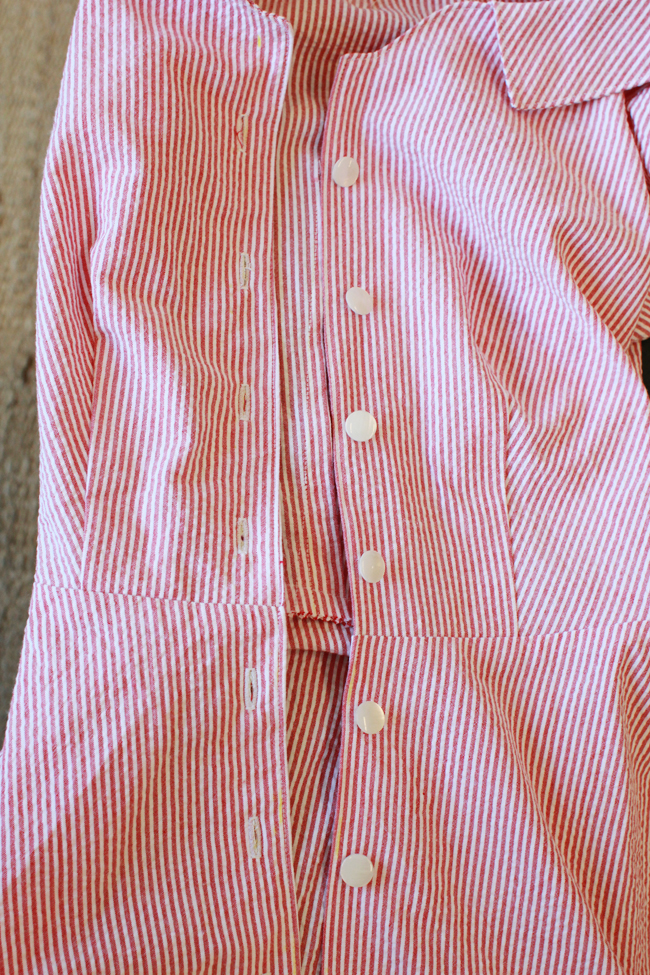
1. Stitch buttonholes at placement marks on the right side of the dress.
Note: Be sure to sew a test buttonhole so you know how your machine foot will act. My Brother sinks the needle on the upper right corner, jumps over to the left and sews down that side, then sews back up the right side. I know this, so I place my buttonhole line marking to the left of the needle.
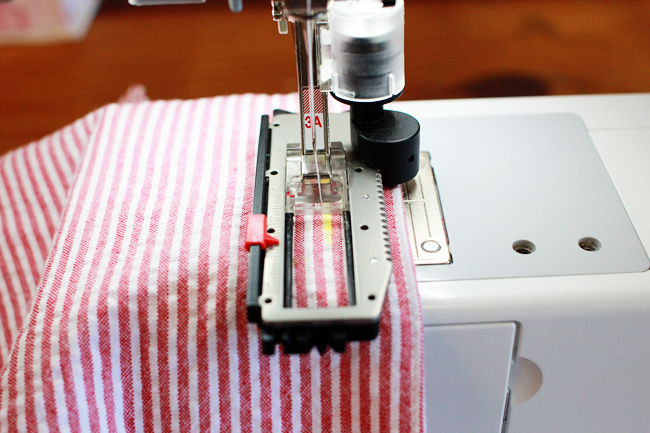
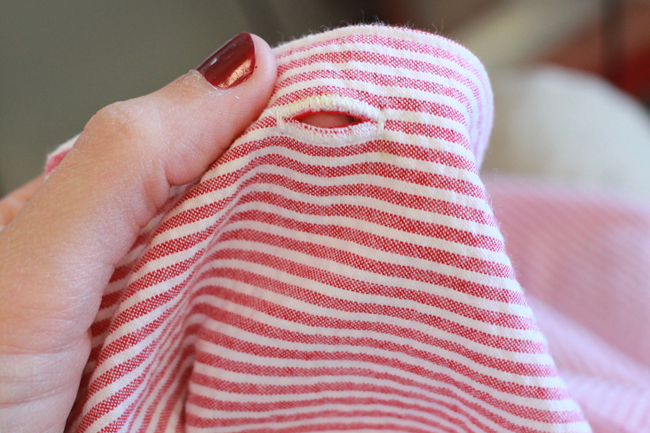
2. Use a seam ripper to open up the hole.

Attach Buttons
I think the biggest fear in sewing buttons is having the buttons and the holes fail to align. If you’re nervous about this, follow these steps:
1. Try on the dress and lap right side over left. This is a last chance fit moment! Place a pin through the waistline button hole to mark where you’d like your button to go.

2. Add the distance from the fabric edge to button, and fabric edge to buttonhole. This is the amount you will lap the right side over the left.
3. On the left side, measure out the amount you calculated above, then match the right side over top.
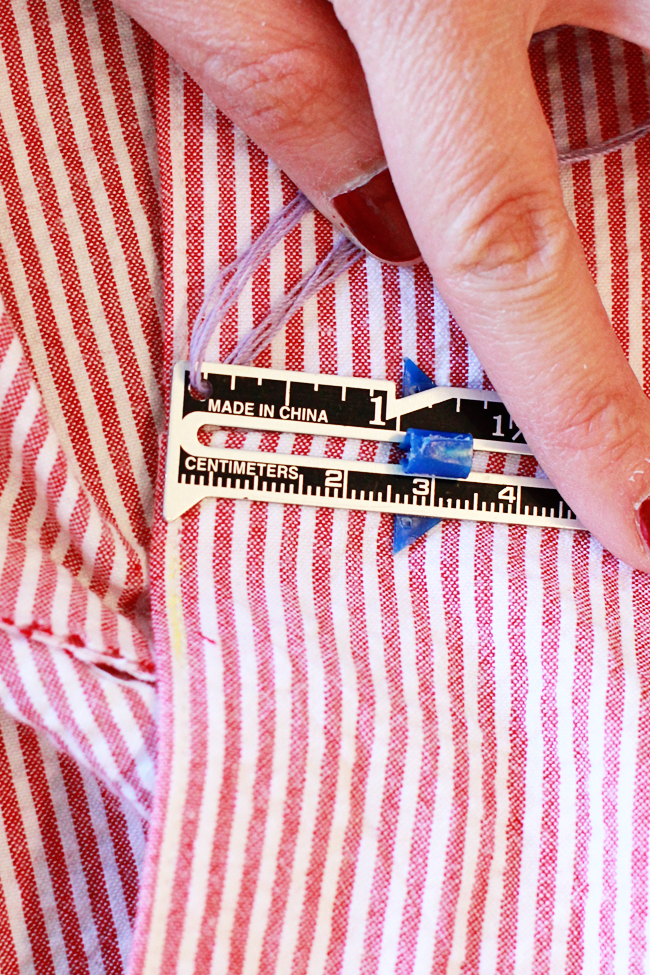
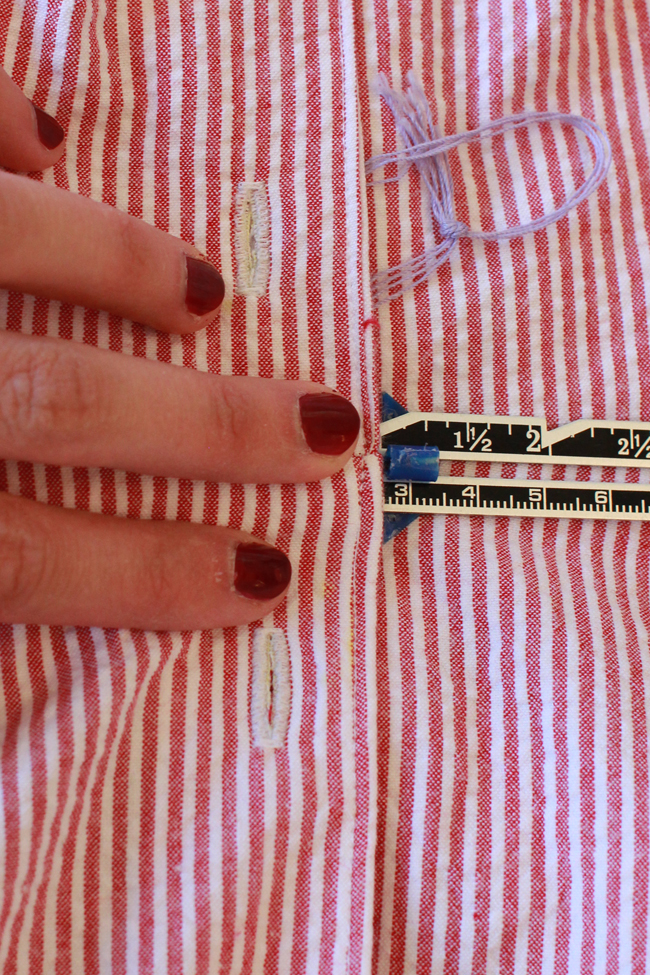
4. Mark through the center of each buttonhole.
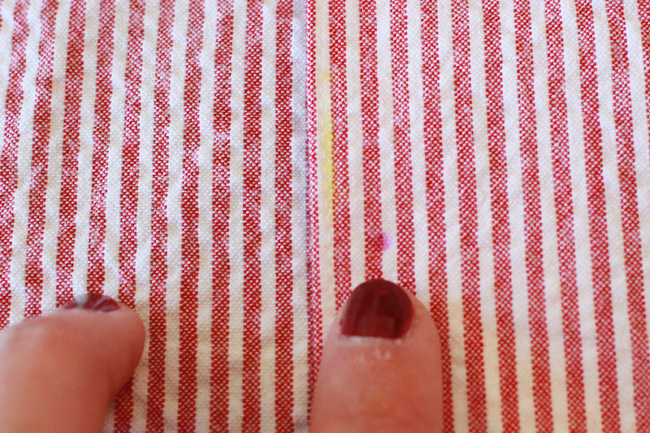
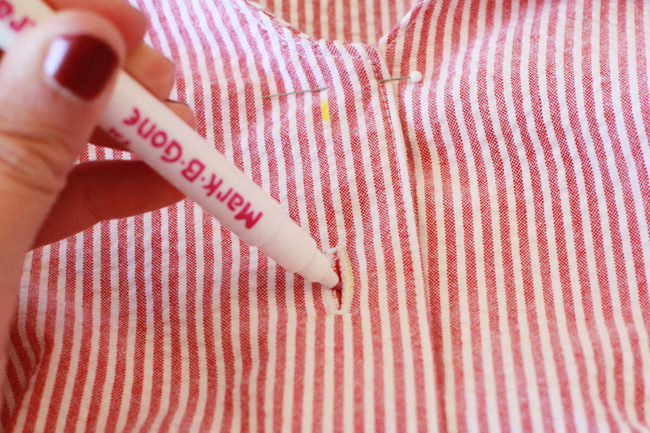 See how far off my pink dot is from the original yellow line I drew for my button? Well, now I don’t have to worry about everything lining up!
5. Anchor thread on wrong side of fabric and secure your buttons.
And now you see, they may look a little bit wonky when unbuttoned, but when you’ve got the dress on your fabric will line up perfectly.
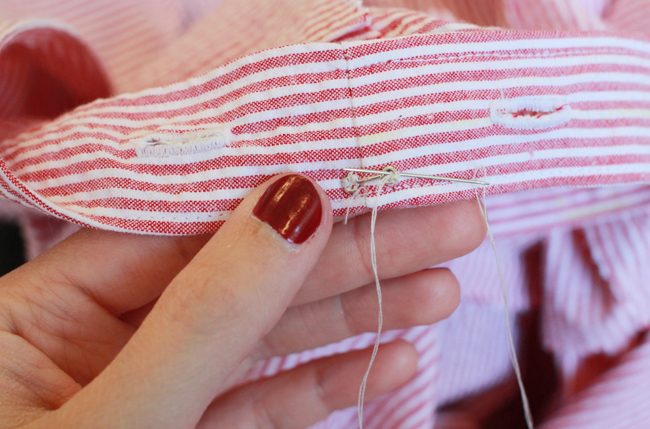
Attach Hook and Eye
1. Stitch the eye to the left side of the waistline and the hook to the right side.
Note: If you have the option of using a loop, that will work better than an eye. The eye has a tendency to flip around.
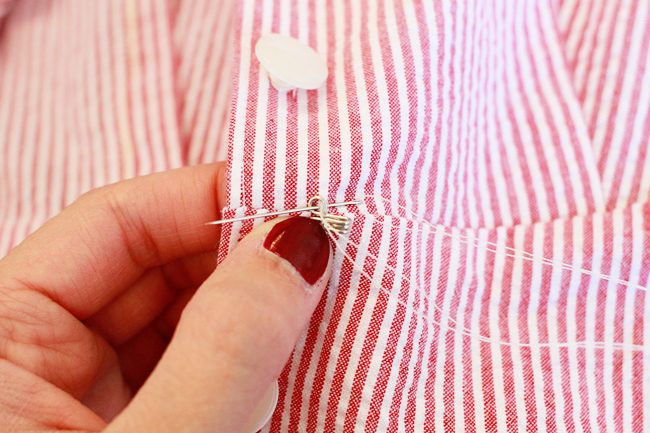
Note: On the right side be sure you’re only sewing through the facing. You don’t want your handstitches to show through to the right side!
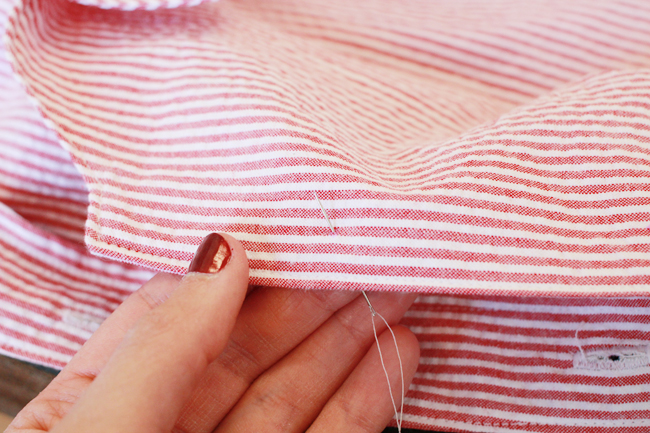
Handsew Hem
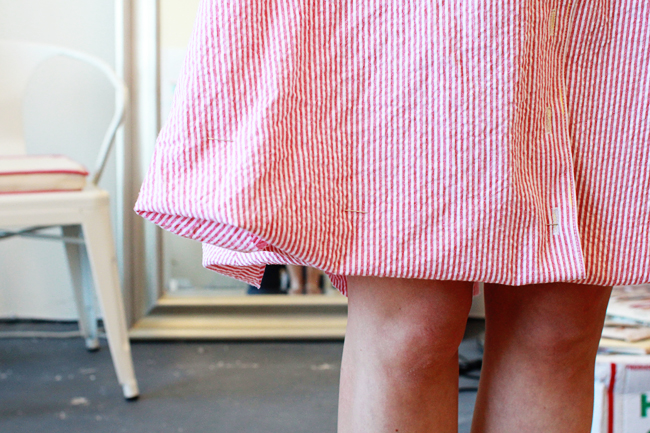
1. Try on the dress and adjust the hem to your preference.
2. Turn the lower edge under 1/2” and press.
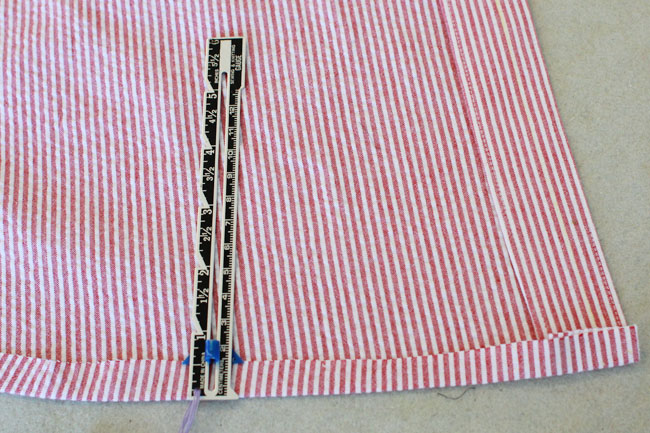
3. Turn again 1 1/2” and press to hold in place.
Note: Some folds will happen naturally, which is why it is easier to handsew rather than topstitch with your machine. Just focus on keeping the curve at the fold even. 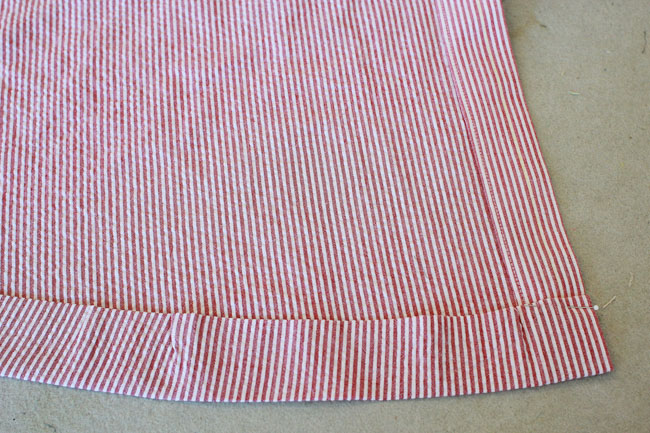
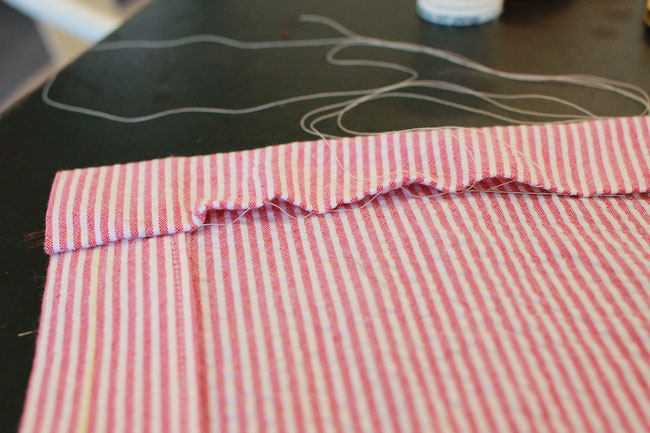
4. Stitch the fold of the hem to the dress by hand using a slipstitch.
Note: If you’re unfamiliar with the slipstitch, check out our tutorial on sewing basic hand stitches.
And now pat yourself on the back, you are done!! Stay tuned for our Hawthorn Parade next Monday the 29th. I can’t wait to see what you’ve all created!
Comments
What’s the deadline for uploading pictures of our finished dresses to make it into the parade?
If you can get them up by noon Sunday, I’ll see it when I wrote the parade post.
If you want a solution for gaping buttonfronts, Sunni explains correct button placement: http://www.afashionablestitch.com/2012/sewalongs/2-in-1-sewalong-the-shirt-dress-buttonhole-placement/ If you have any kind of bust, this is particularly important.
Also, don’t forget to let your skirt hang for a day or two before you hem it, especially if your fabric has any kind of give. My linen dress grew a full 1 1/2″ at the side hems!
Such great info, thanks for sharing!
I’m very much wanting a Simflex after my amateur buttonhole placements on my Hawthorns! I knew about Sunni’s tutorial but forgot in a rush to get finished.
I have been toying with the idea of making a sash/belt to tie with a bow. Do you recommend I cut it on the bias? I think it would look darling!
Thank you!
Ledys
Is that how the hook is positioned for final placement? Would you mind posting a pic of it done, I tried it as shown and with the open part of hook facing front edge, and I don’t get it…Thanks so much
Thank you for pointing this out. The instructions are actually off, I apologize. You should reverse the placement of the hook and eye, so the hook is on the right side and the eye is on the left.
Is that noon Eastern or Western? I’m having a hem debate and need to get buttons. The buttons that I wanted to use seem to have vanished.
My guess is some socks grabbed ’em and jumped in to the dryer to take them through the portal to the other dimension where socks rule all.
I didn’t know it had to be up by noon today. I’m heartbroken.
Just a thought…While I’m sure the yellow chalk was used to help your readers see the marking, they should test their chalk on a scrap and steam it, as the wax in the yellow usually does not disappear when ironed. I only use the white chalk to make a mark, as it will disappear. I learned this the hard way when I ruined some beautiful fabric and my sewing efforts.