

This is going to be a long post, but I promise that making a cuff and placket like this is not NEARLY as hard as it looks.
Take a deep breath, get that iron warmed up, and just relax into it. After you’ve been through this process once, you will be stunned at how easy it is. You’ll be well prepared to sew up a Negroni, too.
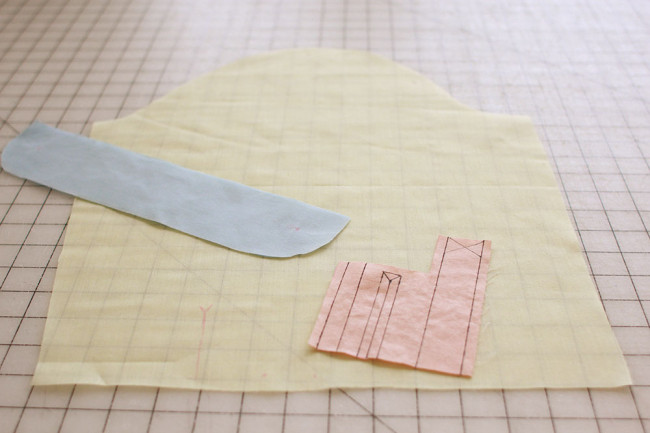
First, you’ll need to get your pieces ready. I’m going to demonstrate this process with each of the pieces (sleeve, placket, and cuffs) in different colors just to help make things clear.
Attaching the placket
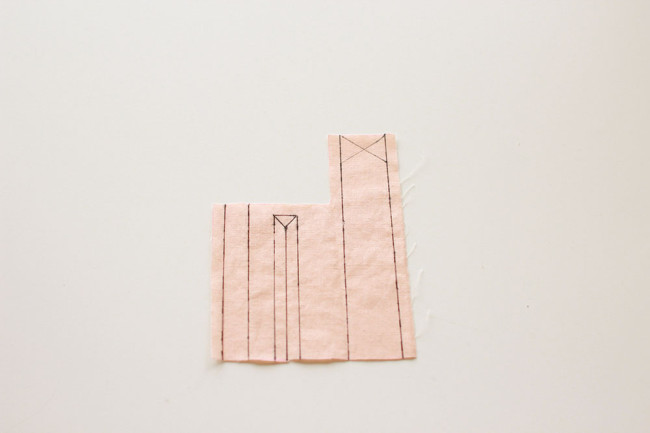
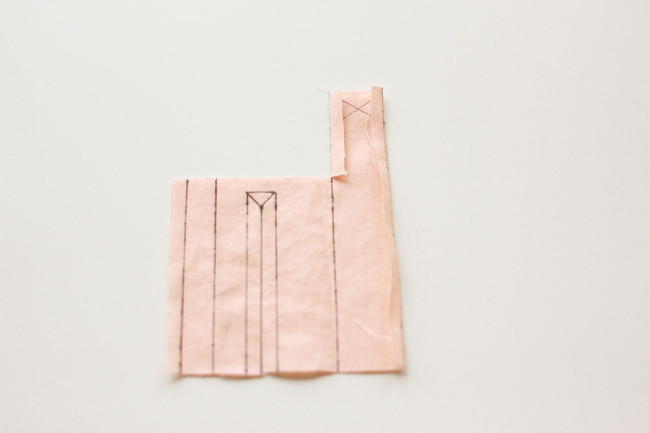
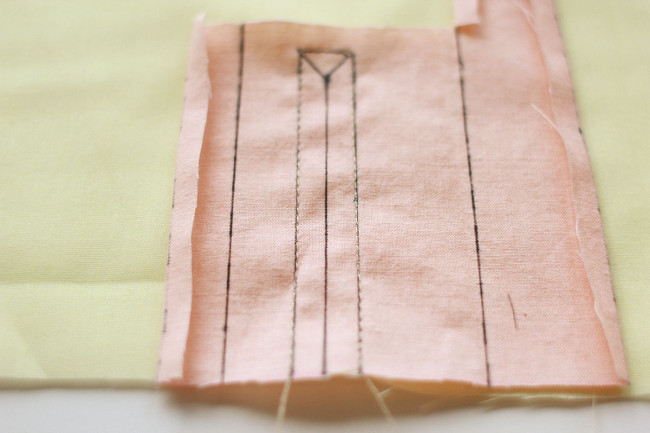
Your placket pieces will look like this. You can transfer all the markings onto the wrong side (like I did). Normally I am sneaky and just make tiny snips at the end of each fold line, and the only part I need to draw in is the Y shape with the box around it. But for the sake of this tutorial, I marked everything clearly here.
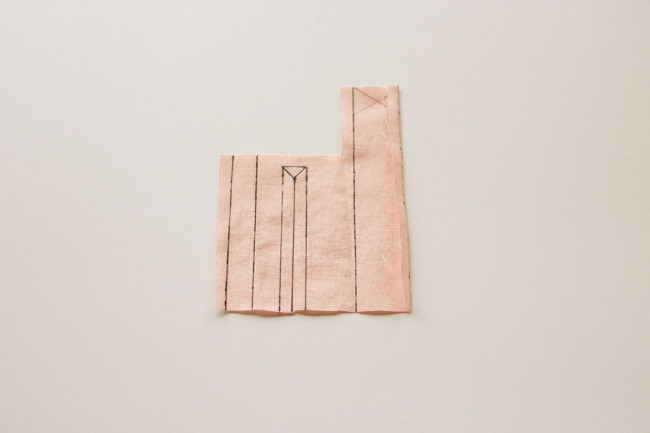
1. With the wrong side up, fold along the first fold line and press.
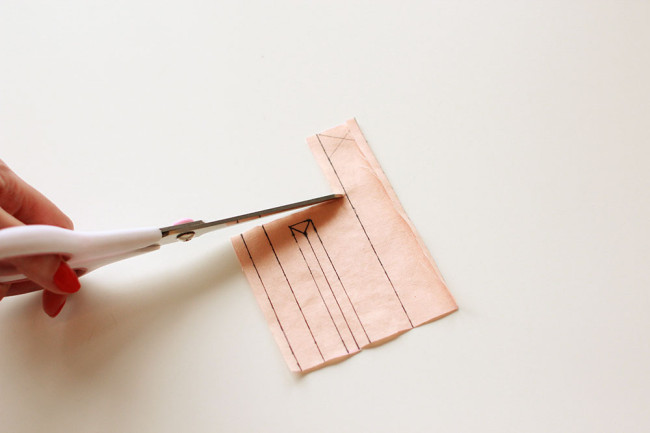
2. Make a small snip (where the dotted line appears on the pattern piece) to meet the second fold line.
3. Fold along the second fold line and press.
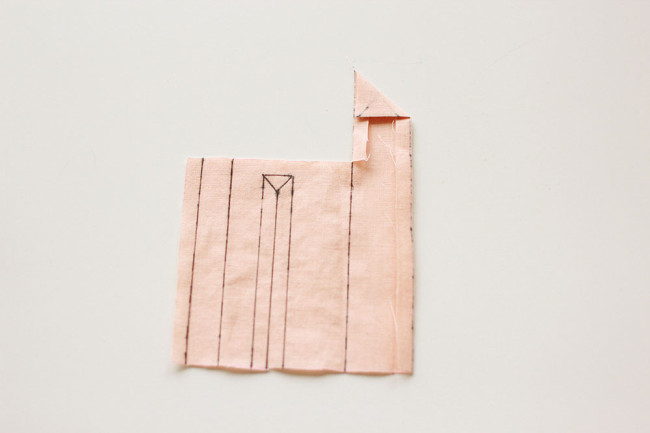
4. Fold diagonally along the third fold line and press.
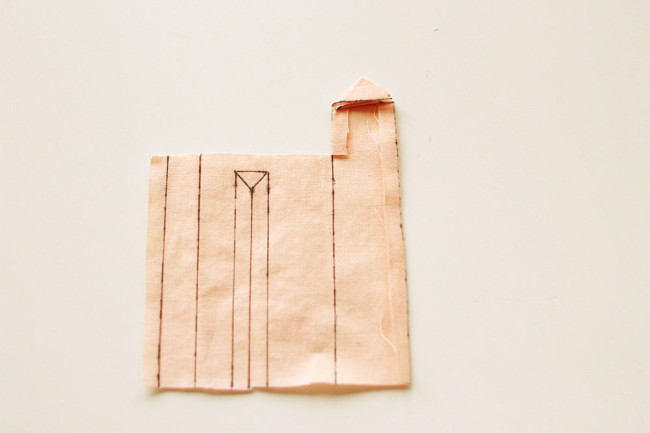
5. Fold along the fourth fold line and press. Now you have a neat little point at the top of your placket and you are ready to start attaching!
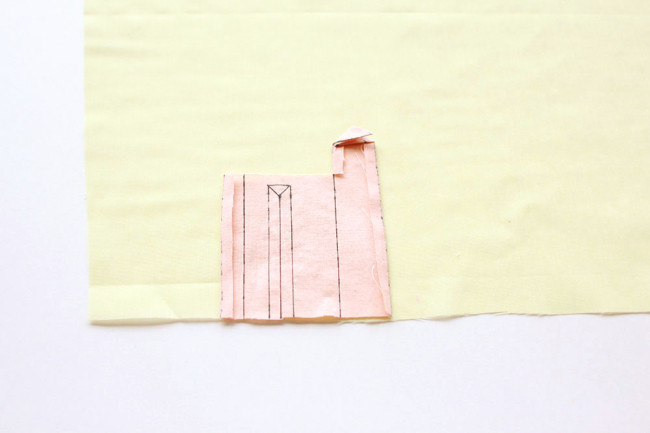
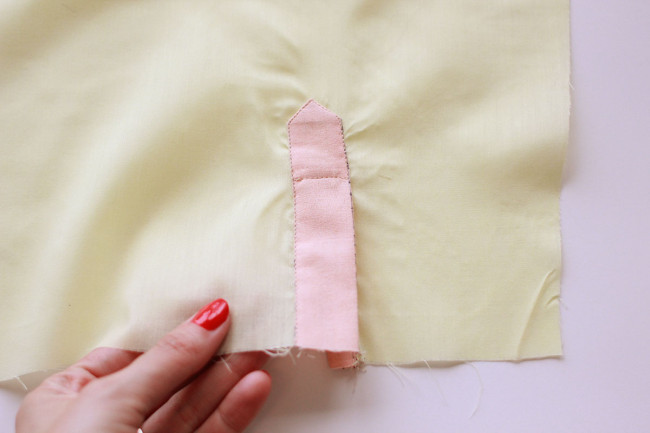
6. Place the placket onto the wrong side of the sleeve. The right side of the placket should now face the wrong side of the sleeve. Align the bottom of the Y mark with the bottom of the Y mark on the sleeve.
7. Stitch around the box that surrounds the Y shape, pivoting at the corners.
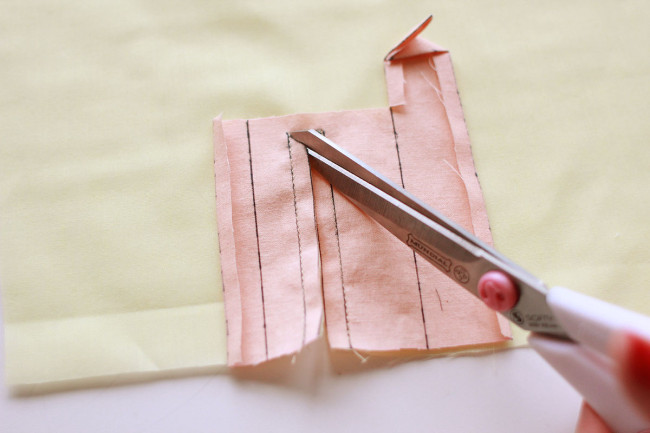
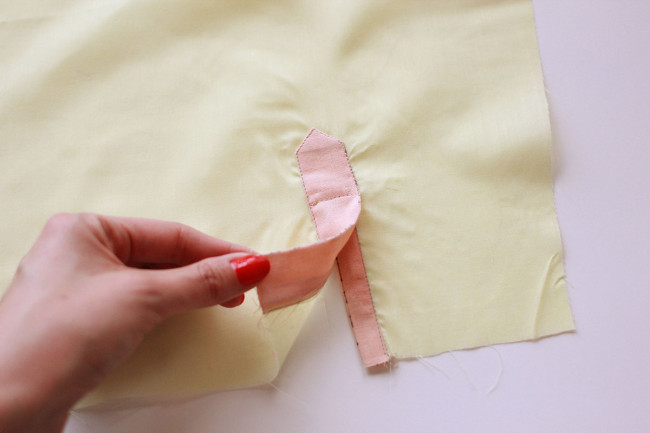
8. Carefully slash along the Y mark, snipping carefully into each of the corners. Try to get as close to the stitching as possible without snipping through it. You should be cutting through both layers (the sleeve and the placket).
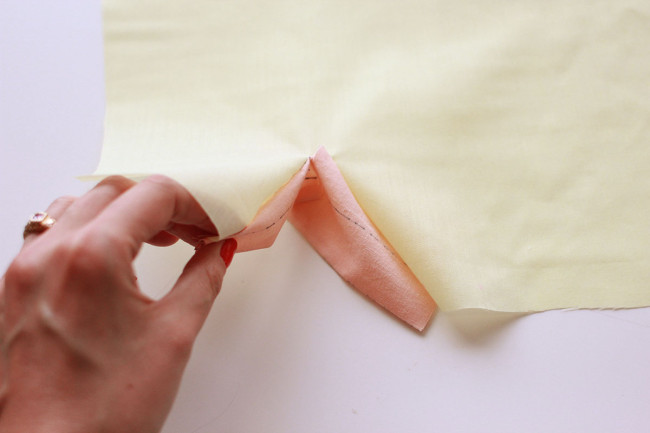
9. Turn the placket to the right side of the sleeve, through the cut you just made.
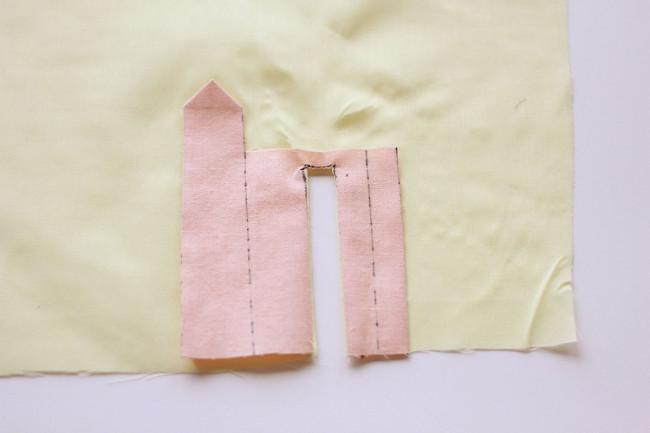
10. Press the placket as flat as you can, trying to eliminate the wrinkles as best you can. I find it helpful to gently tug the edges straight as I press.
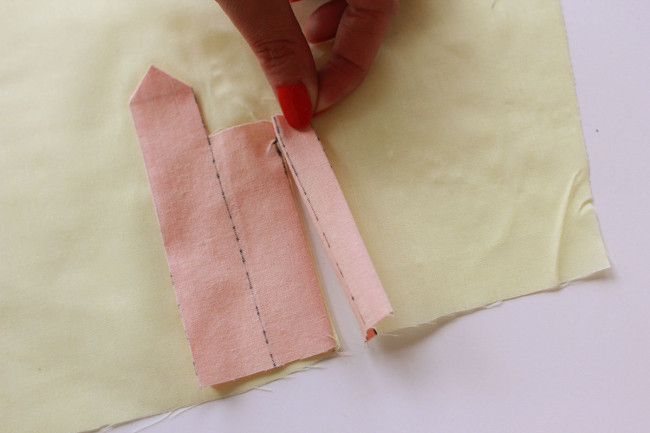
11. Fold the narrow edge over to cover the gap. The seam allowance should be tucked under when you fold. Press to hold it in place.
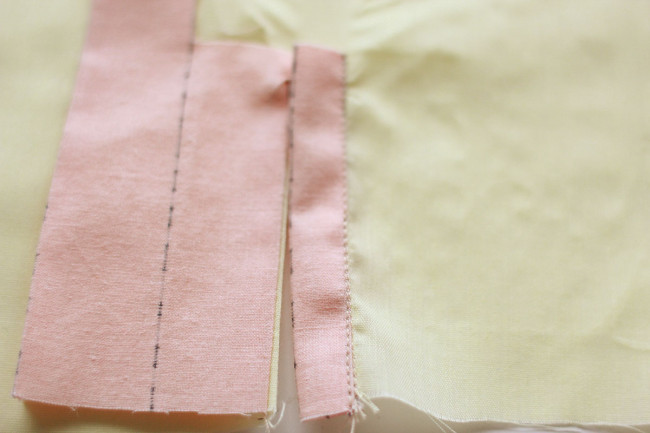
12. Edgestitch the narrow edge of the placket down. If you have an edgestitch foot, that will help you get that neat line of stitching very close to the edge.
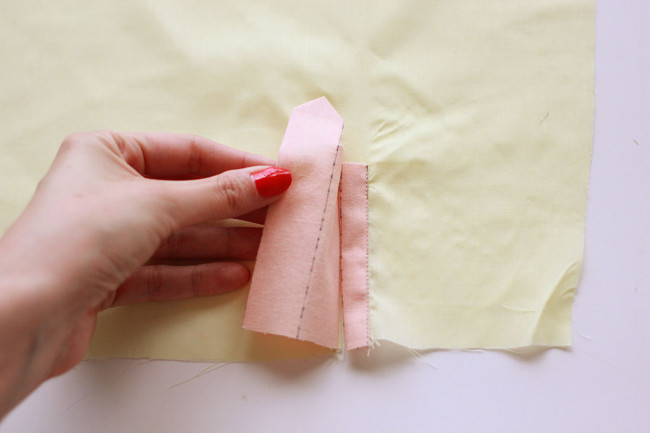
13. Now fold the wider edge of the placket over, covering both the gap and the narrow edge.
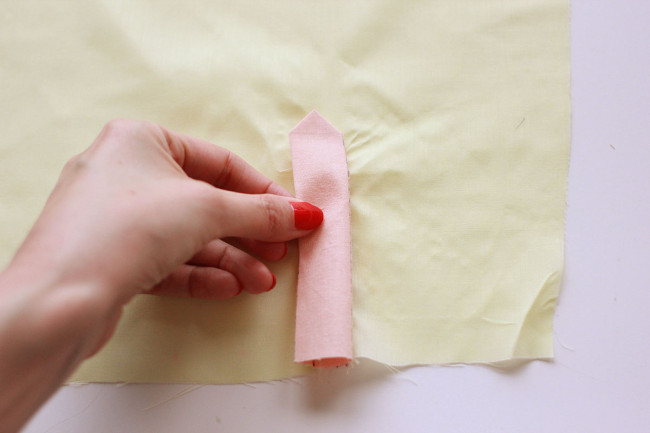
14. Press in place.
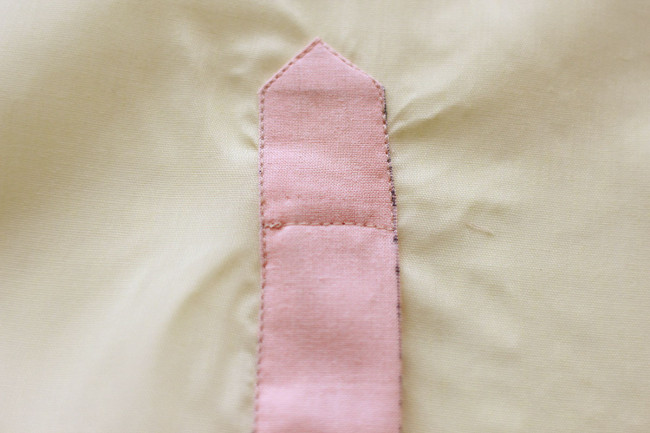
15. Edgestitch up one edge of the placket and around the tip, pivoting at each corner. Stitch very slowly, so that you stay close to the edge and keep the stitching very neat and tidy.
16. Once you reach the top of the opening, stitch across to secure the placket in place. I like to mark the bottom of that stitched box with a pin before I stitch, so that I know exactly where to pivot.
There you go, the placket is done! Next, we’ll install the cuff.
Install the Cuff
1. Bring the circles that mark the pleat together on the sleeve and press the pleat in place.
2. Baste the pleat down. Or, you could also just pin the pleat for now. I sometimes prefer this because it allows me to easily adjust the size of the pleat when I’m fitting the cuff to the sleeve.
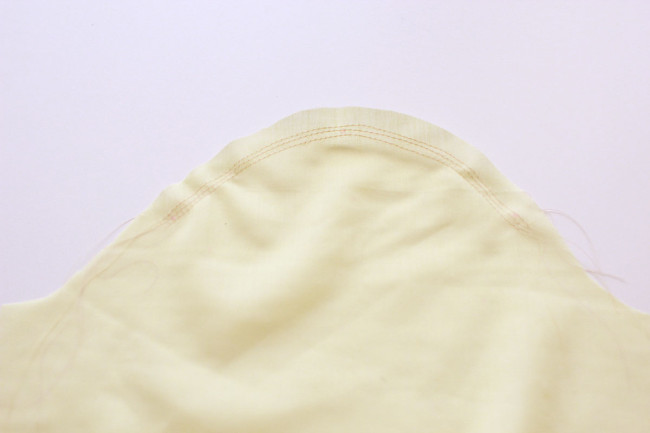
3. Sew your three rows of ease stitches between the circles on the sleeve cap.
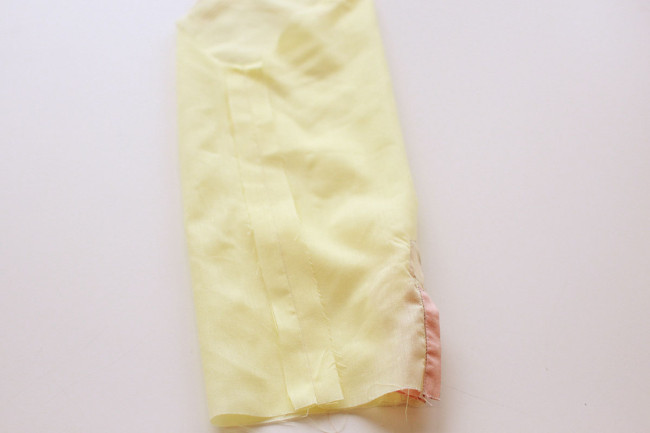
4. With right sides together, stitch the underarm seam of the sleeve. Finish seams (I didn’t do that here) and press open.
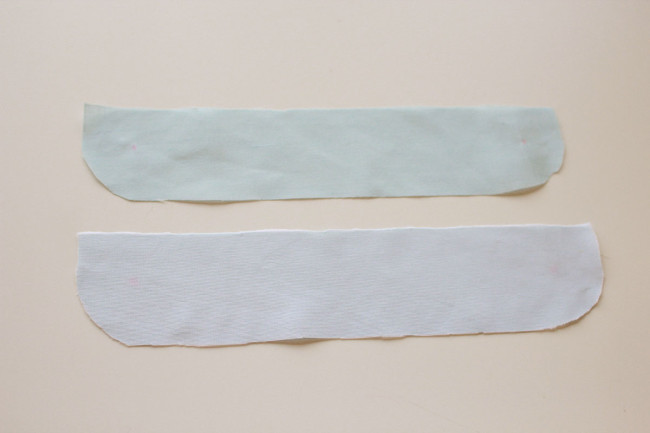
Now get your cuff pieces. I’ll be showing just one cuff, but of course you will probably want to do both at the same time.
5. Apply interfacing to the outer cuff pieces. Half of your cuff pieces should now be interfaced.
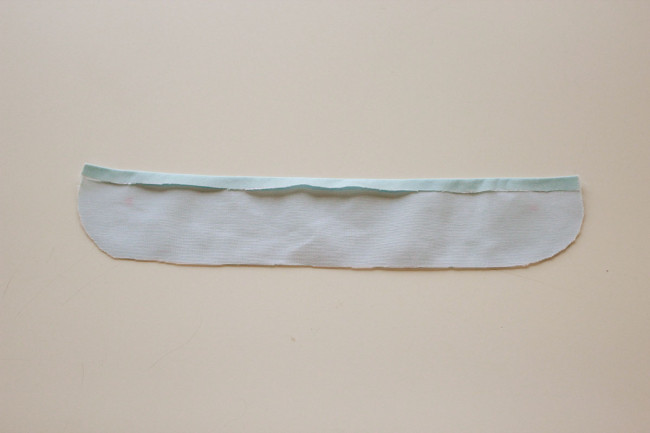
6. On the outer cuff (interfaced), press the top edge under 3/8″.
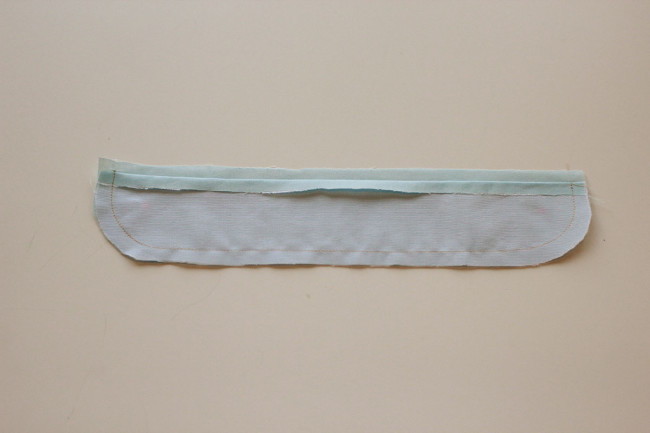
With right sides together and the curved edges lined up, stitch the outer cuff to the inner cuff all along the outer curved edge, using a 3/8 inch seam allowance.
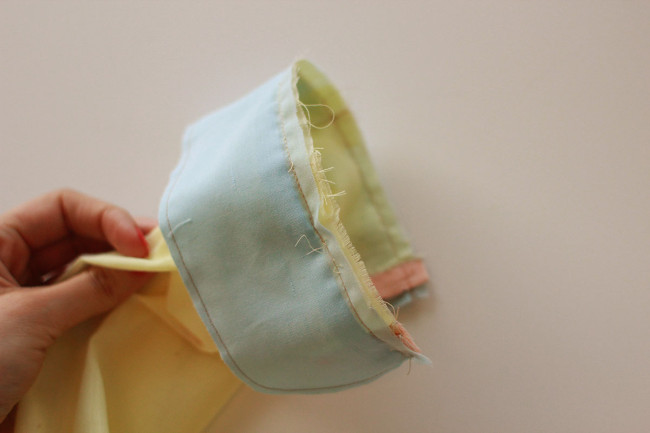
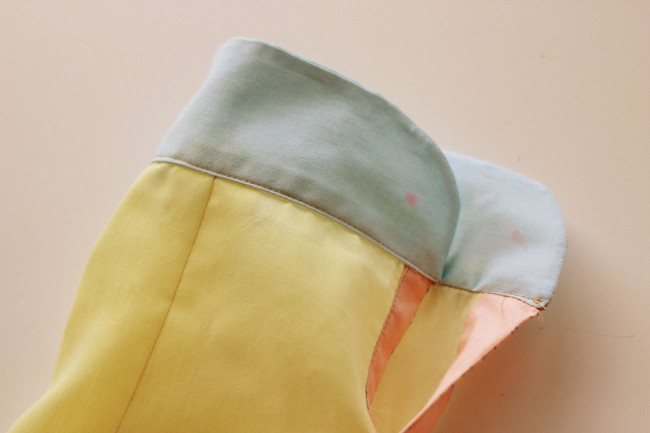
7. On the wrong side of the sleeve, pin the cuff to the sleeve. The sleeve should be pinned between the stitching lines on the cuff, and the longer, non-interfaced side of the cuff should be facing up.
This is where you can adjust the pleat if you need to, to get the sleeve and cuff to match up.
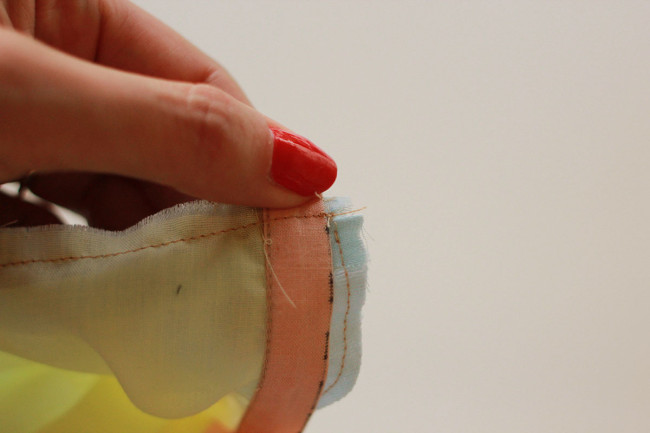
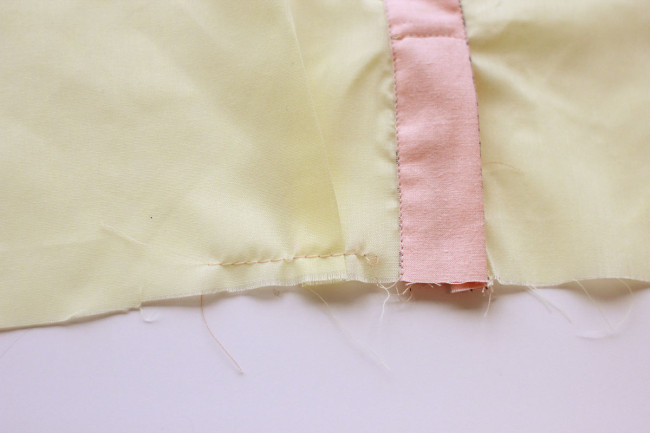
This photo shows that the edge of the placket on the sleeve should be aligned with the outer stitching on the cuff. The seam allowance of the cuff will stick out a bit past the placket.
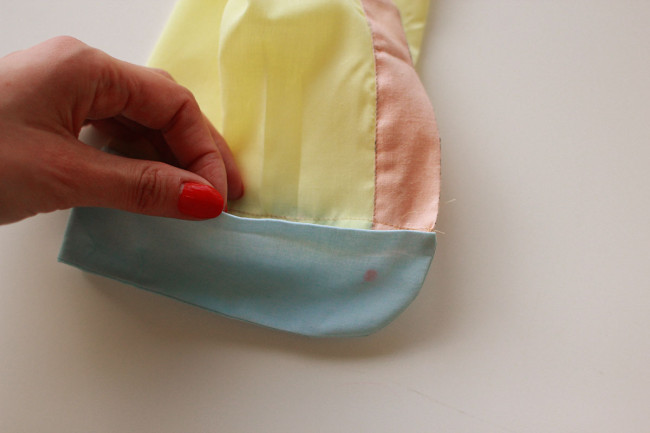
8. Turn the cuff right side out around the sleeve, enclosing all the seams inside. Press, using a bamboo point turner or a knitting needle to help push out all the seams.
9. Edgestitch the remaining edge of the outer cuff to the sleeve through all layers.
10. Topstitch around the outter edge of the cuff, 1/4″ from the curved edge.
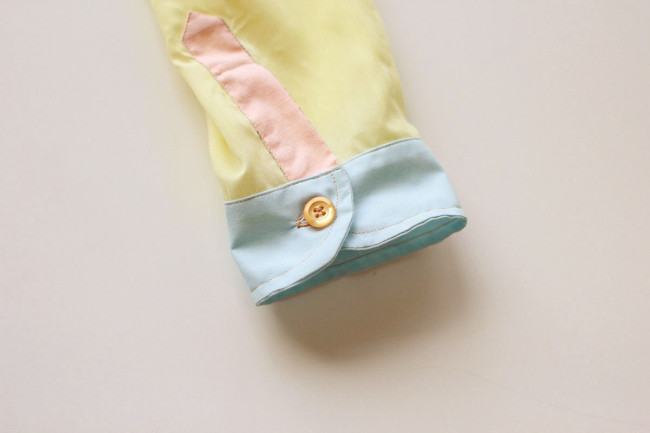
11. Sew a buttonhole at the mark on the overlap of the cuff, and sew a button in place on the underlap.
And there’s your cuff! Repeat for other sleeve.
Comments
I’ve made a lot of plackets and one part I still get confused about is how to initially place the placket on the sleeve. I think it goes right side of placket to wrong side of sleeve, with the “tower” bit towards the center of the sleeve. You might want to clarify that, though, since I have made plackets backwards and inside out, even when I think I’ve got it right for sure.
Start out right sides together, matching up the sewn opening that has the ‘y’ cut at the top. All else will fall in place.
Excellent point! I edited the post to clarify that.
Mary, I think you meant to place the right side of the placket against the wrong side of the sleeve. Then, after you shove it through the y-shaped slit, the right side of the placket will lay face up on the right side of the sleeve.
Thanks for helping me clarify that.
Yes, you are absolutely right, and I double checked before I hit send!
this is so stunning!!! i do not think I have enough patience for hand sewing but this is inspiring!
Excellent tutorial. I have done tons of these a alterations and the only thing I can add is that if you press all these fold lines in at the beginning (as they already are when disassembling a made sleeve to alter the length) it becomes very clear where each fold goes as you move through the process.
Also, making paper templates and folding and taping your way through the process is extremely helpful with the side benefit of leaving you with a visual, manipulable sample to study whenever you need a refresher; a perfect compliment to the sewn sample- above- that you should absolutely make and keep with the paper sample.
Excellent tips!
What a fantastic tutorial! I’m going to hold onto this for years
THANK YOU!!
I am relatively new to sewing and have made a button down blouse with a continuous lap on the sleeve. I hated that continuous lap but had no clue how to do a placket. I will be holding on to this tutorial for dear life! :)
This is amazing! Thank you so much for these sew alongs and tutorials. Since finding your website a few months ago, my sewing skills have gone from good to great, and I really power a lot of it to your patterns and teachings. They’ve given me so much confidence and made a marked difference in my skill level.
What a fantastic compliment, thank you!
Fabulous!! I’ve been procrastinating putting the placket on a jacket for my son for an embarrassing number of years!!!! Now I can do it easily. This has to be one of your best. Thanks so much.
Thank you so much for this tutorial, I did my partner a shirt some months ago with the cuffs like this and the instructions had me stumped, I kept going and eventually got it, so wish this had been up some months back and oh so easy to follow…..
Thank you for this tutorial. Looks so intemadating at first. I am happy that I took it step by step just like you advised.
Hi Sarai and Rachel, I’m following along at a snail’s pace here, mostly because it’s winter in Australia so there’s no hurry to finish! I have a query about attaching the cuffs. I ran into the same problem when I made the Negroni so I’m wondering whether there’s something I’m not really understanding properly about the Colette-style instructions! When the interfaced side of the cuff is folded and pressed at 3/8 inch, and the other side is sewn to the sleeve at 1/4 inch as per instructions, that means that my cuffs are ending up roughly 1/8 inch shorter on the outside, which is supposed to just (barely) cover the stitching of the inside piece. If I pin my pressed edge to cover that seam, I’m pulling it down further than it wants to and there’s too much fabric in the inside cuff piece. It would make more sense to me to fold & press under 1/4 inch and then sew at 3/8 inch so there is a spare 1/8 inch to cover on top? Am I explaining that properly? Is there something I’m misinterpreting? Thanks! – Jane
Hi Jane. It’s sewn with those seam allowance widths so that you do not catch the inside piece when you are sewing the outer cuff to the sleeve.
This does make the inner cuff slightly shorter. However, you should still be able to edgestitch through all layers, because most of that extra 1/8″ should be taken up by the turn of cloth.
If you’re having trouble getting it to line up, you CAN use a 3/8″ seam allowance for both. But this makes it a little trickier to sew the outer cuff on initially, without catching the inner cuff.
Hi Sarai, thanks for your reply :) I’ve been working with very fine cotton lawn or voile each time I’ve made one of these patterns so I guess that would account for barely anything being taken up in ‘turn of cloth’. Glad to know I wasn’t misinterpreting anything because I find your pattern instructions generally very clear. I don’t mind having to keep the outer cuff clear as I sew the inner edge on, so I think I will give the same seam allowance/fold measurement a try.
Cheers
– Jane