

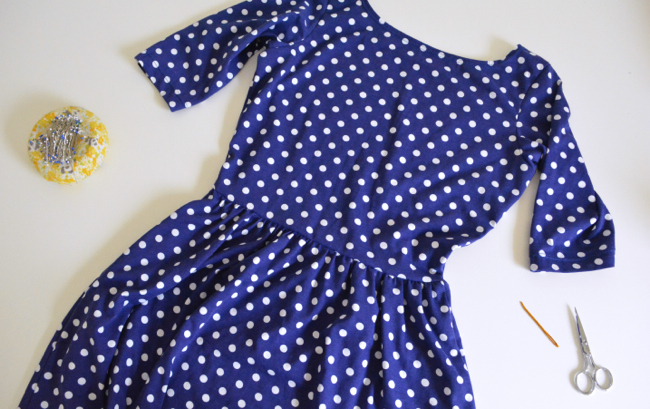
Today is our final sewing post! At the end you’ll have a finished Moneta dress. Hooray!
Just like the last post, these skirt instructions go for all versions.
ATTACH THE SKIRT
1) Pin skirt to bodice. Turn skirt wrong side out. Stuff bodice down into skirt upside down so that the right side of the bodice and the right side of the skirt are touching.
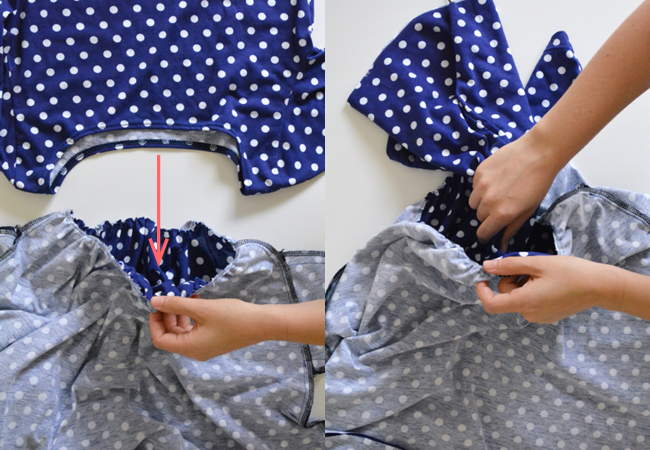
Align side seams and notches and pin together around waist seam.
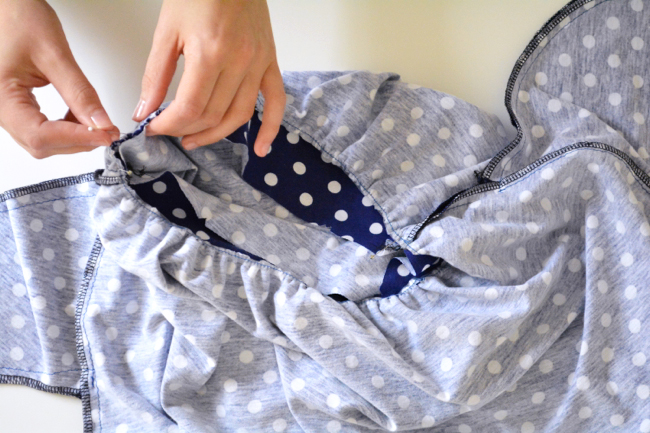
If you’re making Version 1, you’ll want to make sure the three edges of the bodice shell, lining and skirt are all matched up. The shell will be between the lining and the skirt.
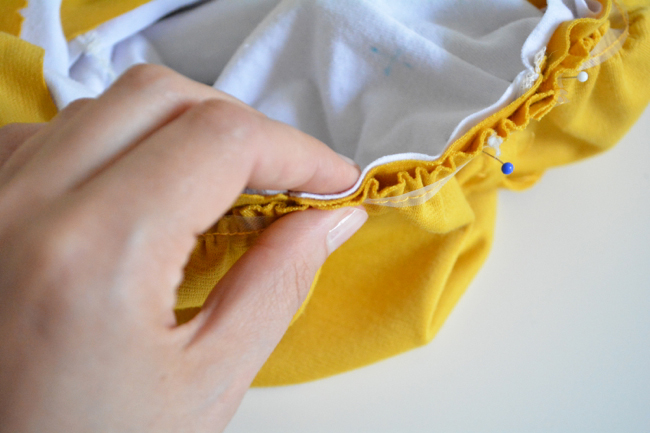
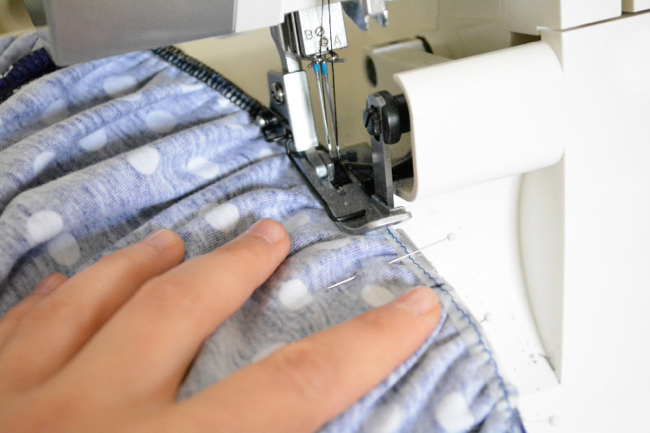
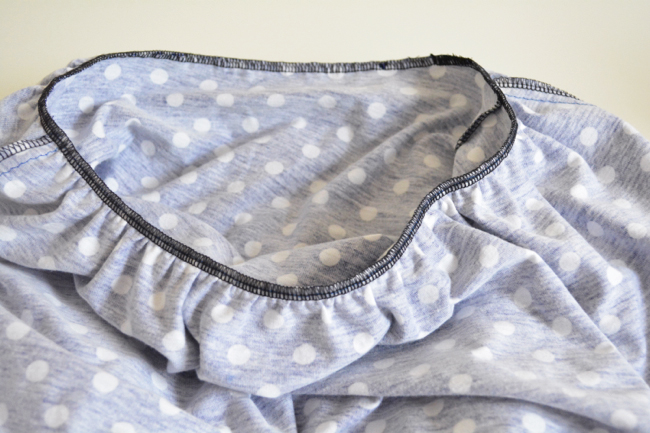
2) Sew skirt to bodice. Stitch all the way around waist seam. If you are serging, make sure your serger isn’t cutting off the clear elastic. Try to guide the edge of the elastic right along the serger blade.
HEM THE SKIRT
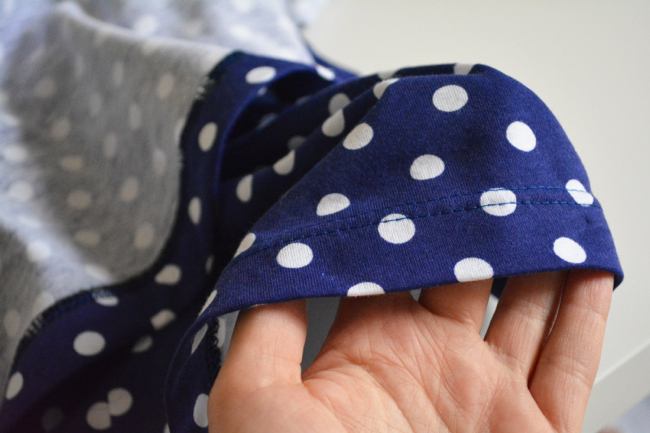
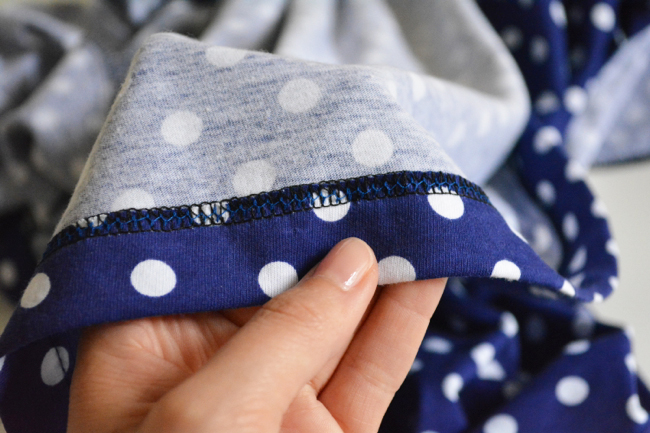
3) Hem the skirt. Finish the bottom edge of the skirt. Turn 1” to wrong side, pin, and press gently from inside. From the right side, use your twin needle and regular machine to stitch the hem (or use the hemming method of your choice).
For extra tips and twin needle troubleshooting, check out the Moneta sleeve/neckline post for Versions 2/3, and the twin needle hemming tutorial on The Coletterie.
FINISH
4) Steam your dress. If necessary, use the steam fuction on your iron to smooth out any wrinkles and give your dress a nice finished look. Press with caution, as many knits contain synthetic fibers. Pressing from the inside is always a good idea.
Congratulations! You’ve made a Moneta!
Thanks for joining in! Be sure to add pictures of your finished Monetas to the Colette Flickr Pool with the tag “moneta.” Next week I’ll be doing a post featuring some of your awesome work.
And don’t forget about the Knitcation contest! There are some pretty great prizes to be had.
Comments
I have a question – can one iron seams containing clear elastic? I don’t know if I melted some of mine or if I just sewed it on really badly:( !
Yes you’ll want to watch out for it if you’re pressing, since it is meltable!
Thanks Devon! I will be more careful in future… what a mess…. still works though!
Oh – and I wanted to thank you for a lovely clear sewalong!
Oh thank you! I’m glad you enjoyed it!!
I have sewed the skirt on. It all fits and looks ace! However I can feel the elastic around my waistline. I there anything I can do about that? The only clear elastic I could find was 1/2 inch.
You might be able to get some knit elastic that’s nice and soft and attach it to the waist seam allowance to cover the clear elastic. Stuff the bodice down into the skirt like you’re sewing the waist seam, put the knit elastic over the clear elastic and zig zag to attach it to the waist seam allowance. Make sure your stitching stays in the seam allowance or else it will be visible from the right side.
Otherwise maybe wearing it with a very thin camisole underneath?
Thank you, that sounds good. Would it be crazy to trim the elastic that is on the skirt side of the stitching?
I think you could, but my only worry would be that the cut edge of the elastic would be even more irritating.
But if you try a little and it feels ok then it should be fine! Just be super duper careful that you don’t cut through your dress by accident. :]
Great sewalong- thanks so much! The shirring with elastic technique was pretty revolutionary for me- I love it!!!
Here’s my finished Moneta: http://cookinandcraftin.blogspot.com/2014/06/rainbow-dots-moneta.html
Glad you enjoyed it! Your dress is adorable, and the fit is perfect!
I’m using a regular sewing machine here (which seems to have worked great so far). However, it’s not clear to me where I should place the seam attaching bodice to skirt….the serger stitching looks like it’s over the clear elastic. I assume my seam should be below the elastic so that it’s not visible from the right side of the garment?
And should I be stretching out the gathers as I sew the bodice on?
Yes, your seam should land just under the clear elastic. If you basted it at the edge and are sewing the waist seam with the 3/8″ seam allowance, that will happen naturally. Also, since we basted the elastic to the wrong side of the skirt, even if a little dips below the seam it won’t be visible on the outside of the dress.
You shouldn’t be stretching the gathers as you sew, since the top edge of the skirt should now be the same size as the lower edge of the bodice.
Thanks for the help and wonderful tutorial!
Hi Devon,
I have a question about lining the skirt. I’ve made up a second skirt to attach on the inside in the lining fabric. What do you think is the best way to gather up the waist so it fits inside the dress skirt? Would you do the lining and main skirt together with the elastic (so that they are both shirred)?
I was thinking it might be better to do the traditional gather-with-basting stitches method and then attach the lining to the shirred skirt.
I hope I have explained the question clearly enough :)
Thanks for the Sewalong, the photos and instructions have been so clear.
If you are making Version 1, you could attach the lining to the bottom edge of the lining bodice. That would also be nice because then you could have a totally clean finish on the inside of the dress.
If you’re making Version 2/3, I’d just baste the pieces together at the top and shirr them together as one piece.
Glad you enjoyed the sewalong!
Thanks Devon!
That’s a great idea for v1. I’m making v2. I should be finished by the end of the weekend. :)
Arrgh! Just tried on the v. 1 dress and find I have the armhole gape! (my previous Moneta was sleeved). Don’t think I will have time to correct for the gallery :(
I checked out your blog and will try out the amendments. Thanks!
I did it — despite some major struggles with the elastic. The sewalong was a HUGE help since I’ve never sewn with knits before. It’s lovely, I’m wearing it now, and most certainly going to make more. Thank you!
This was my first sewalong and your instructions made making this dress very easy. I had a few problems with the elastic on the skirt, but you can’t tell with the finished dress. Thanks!
Hooray! Glad it was helpful!
Thank you so much for this sewalong. The instructions were clear and I really enjoyed sewing my Moneta.
Here’s my finished Moneta. http://needleforthoughts.blogspot.com/2014/06/sweet-moneta.html
Your dress is adorable! I love the seam lines, I might have to copy you. :]
I made my moneta and I’m having a fit issue. I did a L, graded down to XL (starting where side seam meets the armhole), and then L again at the skirt. I’m having a lot of creasing from right below the bust up through the armhole. (I included a link to my flickr where the last five pictures are pics of the problem areas). The neckline is a little wide (falling off the shoulders), but I can live with that. And my sleeve is twisty…is that because my sleeve wasn’t on grain enough or is that something to do with the sewing?
Oops, here is the link: https://www.flickr.com/photos/103611908@N06/sets/72157637569635456/
It sounds like you might need to choose a smaller size in the shoulder/bust area but then do a full bust adjustment. Here is a tutorial for how to do one on a knit:
http://vickikatemakes.wordpress.com/2012/03/30/sewaholic-renfrew-top-how-i-did-my-fba/
If you are making the sleeveless version, here is a tutorial for getting rid of armhole gape:
http://www.missmake.com/2014/06/tutorial-how-to-fix-armhole-gape-in.html
It’s a little hard to see in your pictures, but if your sleeve is twisting then yes it’s probably cut off grain!
Thanks, I’m going to give it another go with these alterations. But I have a follow up question. Do I do the FBA to my XL grading, or do I make it all L, and then do the FBA? I’d like to say other than those creases I do have the right amount of ease over the rest of the torso, so would a FBA on a XL make it too big? Or would a FBA on a L make it too small?
Do it to whatever size fits you best in the shoulders. You can always put your altered FBA pattern piece over the graded pattern piece to see if you need to add ease back into the waist [which you can do after the FBA].
Thanks so much, Devon, for all your help with this sew along!! I just finished my first Moneta, and it was so much easier than I thought it’d be (it didn’t hurt that your instructions were super clear). :) Yay for knits!!! I’m off to make a second … and am already planning a few others in my head. I may not get my pictures up until next weekend, but I can’t wait to see what everyone else created. :) Thanks again for your excellent guidance! I couldn’t have done it without you. <3
Woohoo! This makes me so happy to hear. I’m glad you enjoyed it! <3
Coming to this rather late in the game (typical)… and, Ive been using a regular sewing machine. All is great so far thanks to your tutorials, but my question is, for the waistband seam, when attaching the skirt to the bodice, which stitch (and length) should I use to ensure adequate movement and stretch? Thanks so much!