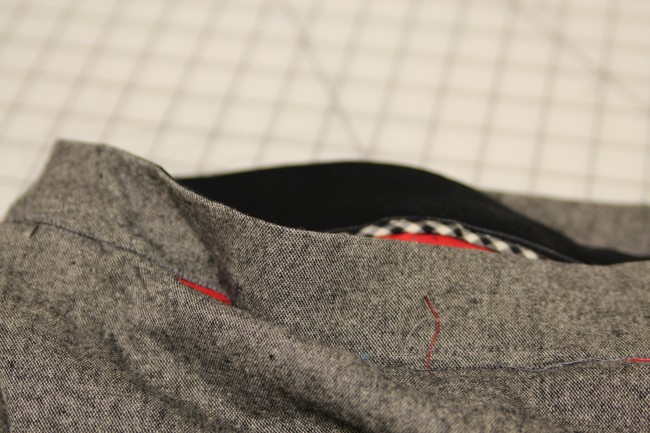
We’re onto the final installment in our Clover sewalong.
I suppose that, aside from the fitting, this would be the trickiest part of construction. Follow along and you should have no problems at all. Plus, I’ll show you the alternate way of finishing the waistband on the inside with bias binding, which is what I usually do on pants.
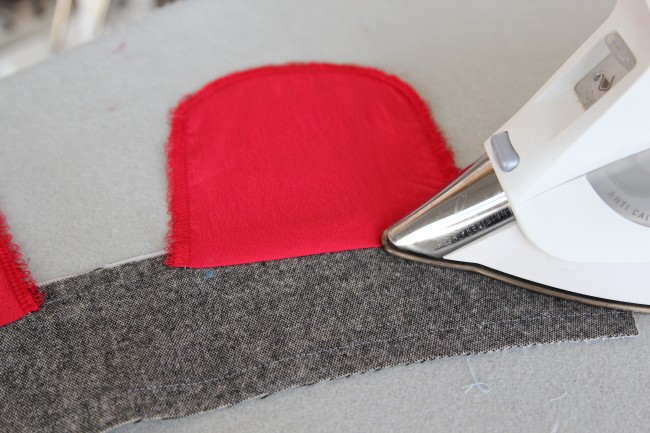
Start by pressing the pockets away from the pants. Press the seam allowance toward the pocket, as shown.
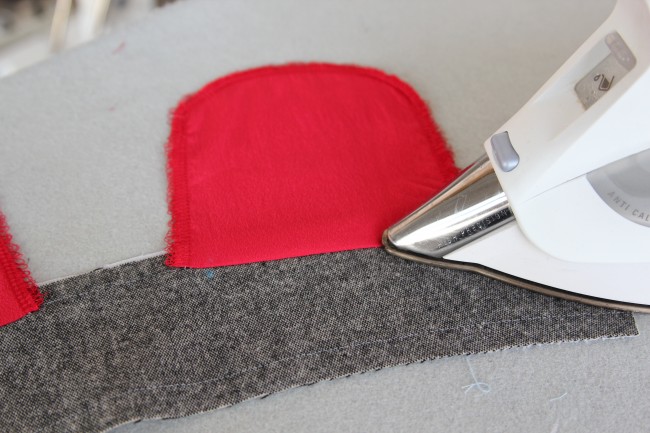
Press the pockets away from the waistband as well. Again, press the seam allowance toward the pocket.
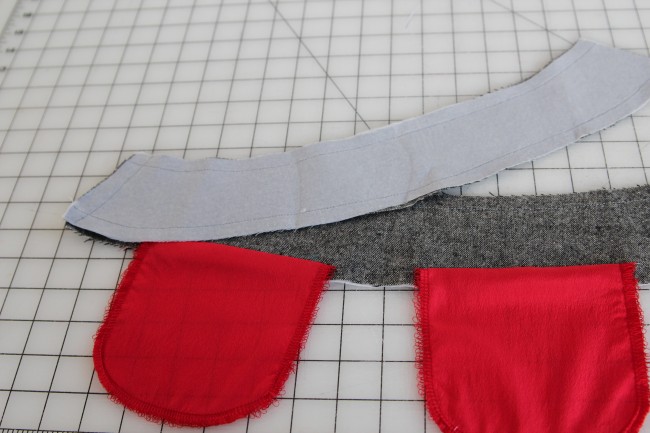
Stitch the front waistband to the back waistband at the right side seam. These are the pieces that you interfaced previously.
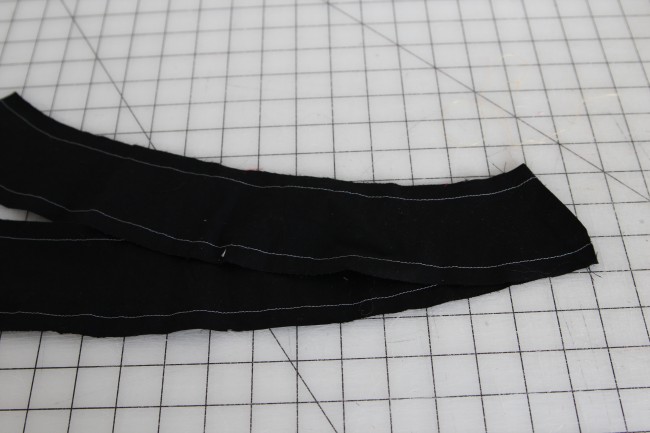
Stitch the front inner waistband to the back inner waistband at the right side seam. You’ll notice a couple things here:
First, as I mentioned before, I’m using a different fabric for my inner waistband. That’s because my shell fabric is quite itchy, so I didn’t want it touching the sensitive skin on my belly. You can do the same if your fabric is either itchy or bulky.
Second, notice that the right side seam appears to be on the opposit side as in the previous step. That’s because the inner waistband faces towards you, while the outer waistband faces away from you. So when stitching, the right side seam appears to be opposite. Just follow the photos or illustrations and you’re fine!
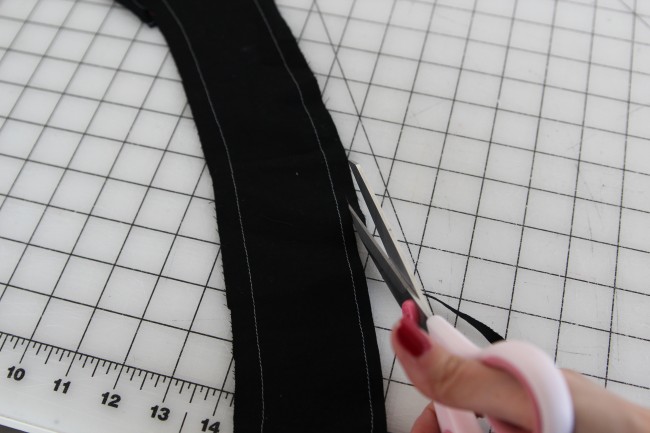
Now, as I said, I’m going to finish the inner waistband in a different way than the instructions. I like binding the inner waistband with bias tape because it’s neat, not too bulky, adds a fun detail, and is easier to sew. You can choose which method you like!
Start by trimming the lower edge of the inner waistband. I left about a 3/8″ seam allowance. The bias tape I’m using has a finished width of 1/4″, and I want the inner waistband to be just a bit wider than the outer waistband.
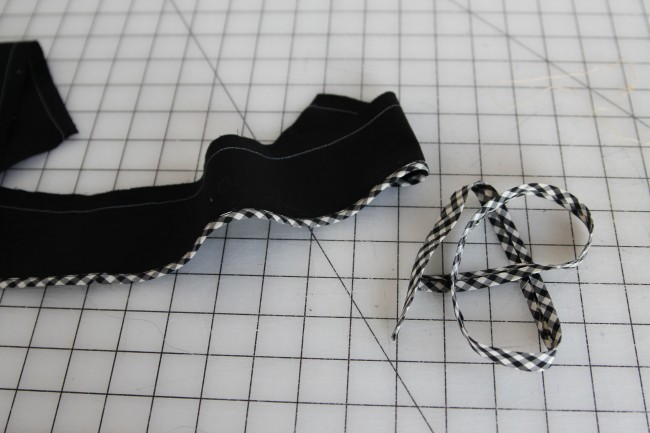
Bind the lower edge of the inner waistband with double fold bias tape. I decided to use the leftover bias tape from my gingham Peony dress.
You can use purchased bias tape, or just make your own. Consult our bias tape tutorial if you’ve forgotten how to make it!
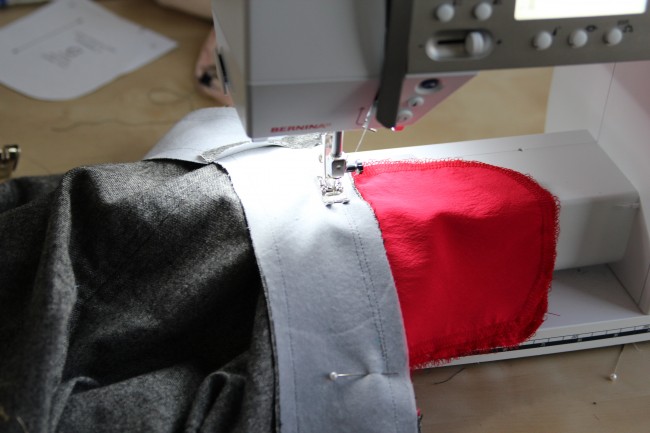
With the right sides together, pin the waistband to the pants, matching up the pockets.
Stitch the waistband to the pants, stopping between the circles. In other words, don’t sew between the circles over the pockets.
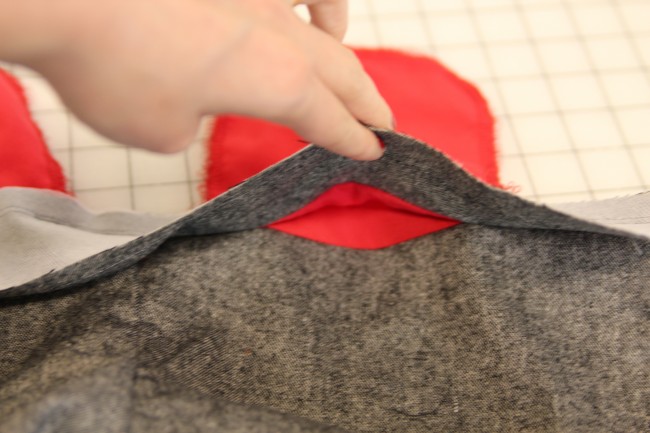
Check out the pockets. This is how they should look now. Take a look at the pocket openings and make sure the seams line up nice and neat.
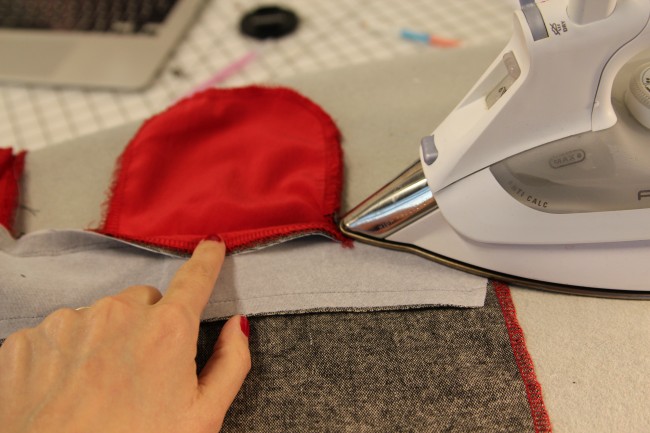
Press the waist seam allowance toward the waistband.
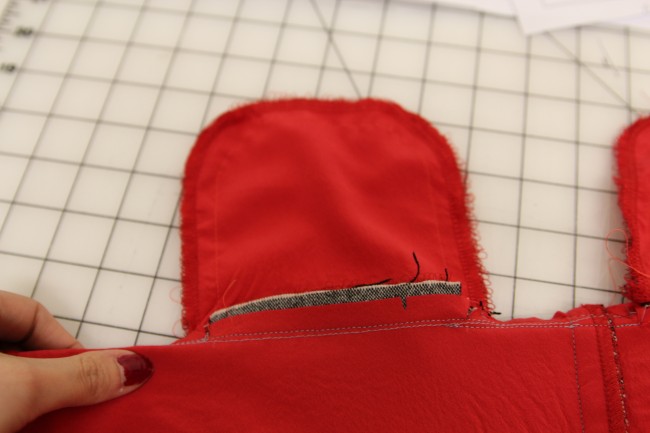
Here’s how it will look on the inside. Remember, the inside of my pants are red because I underlined them.
Because you clipped the seam allowance earlier, you should be able to press it all towards the waistband except for that little bit under the pocket. That will be hidden by the pocket piece, but you can finish it at this point for the sake of neatness and durability.
I also find it helpful to machine baste the waist seam allowance at this point after pressing, just to hold it in place.
Now, stitch the pocket pieces together all along the outer curve, starting at one circle and stopping at the second circle.
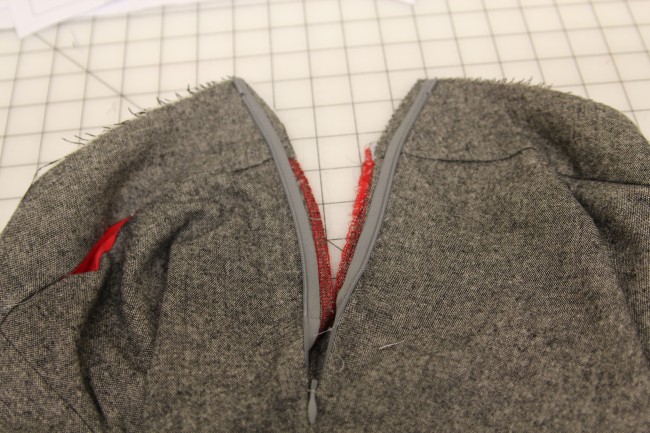
Install the invisible zipper as usual.
On the right side of the pants, flip the zipper out as shown above, so the seam allowances of the opening face toward each other.
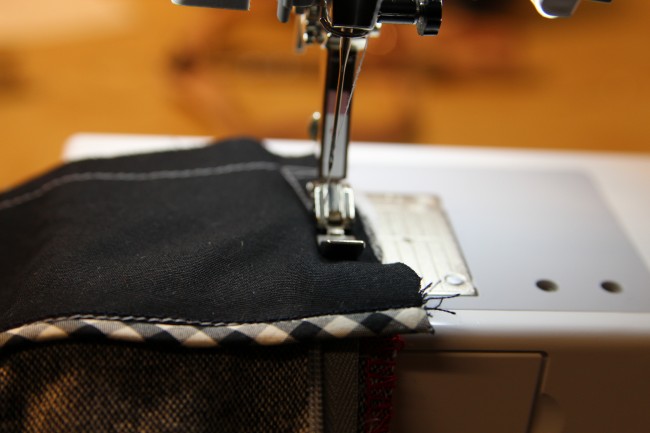
With right sides together, pin the inner waistband to the outer waistband.
Stitch the inner waistband to the zipper opening seam allowance on each side. Use a regular zipper foot for this.
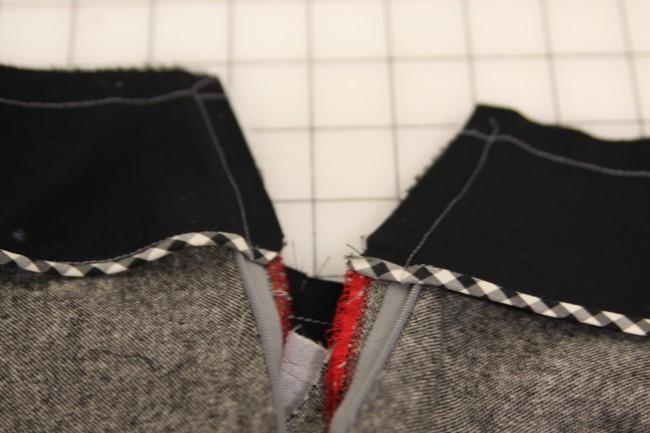
Here’s how it should look now.
Important note: The inner waistband is not yet stitched along the top of the waistband yet. The stitching you see in the photo there is just the staystitching from earlier.
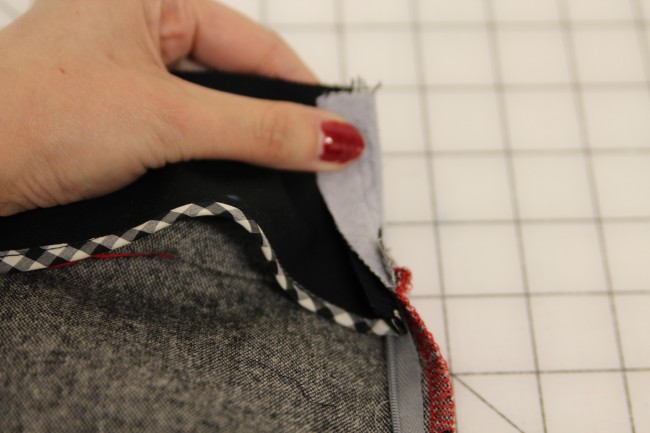
Here’s the slightly weird part.
Fold the zipper opening seam allowance towards the inner waistband. Do this on each side of the zipper and pin in place.
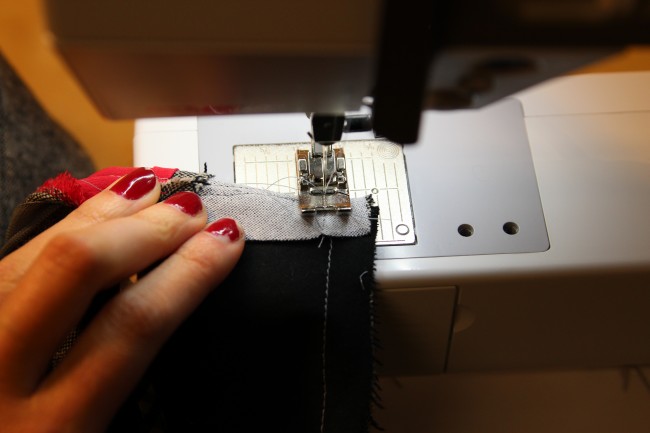
With the seam allowance still folded back, stitch the inner waistband to the outer waistband all along the upper edge.
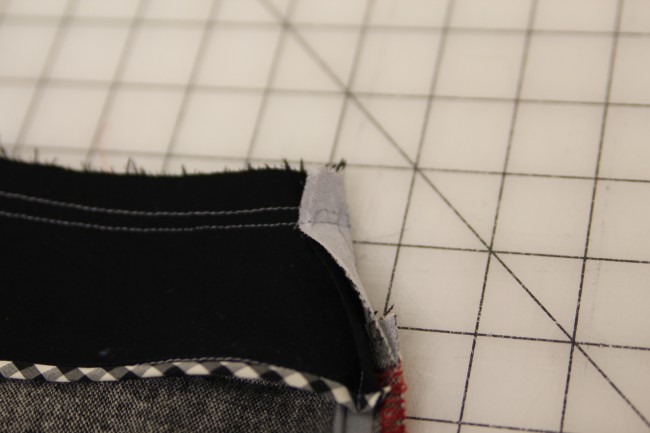
Here’s how it looks now. Clip the corners to reduce bulk there.
Understitch the seam allowance to the inner waistband. You won’t be able to stitch all the way to the edge, but just understitch as close to the zipper as you can get.
Turn the waistband right side out and press. A bamboo point turner can help you to push the little corners out all the way.
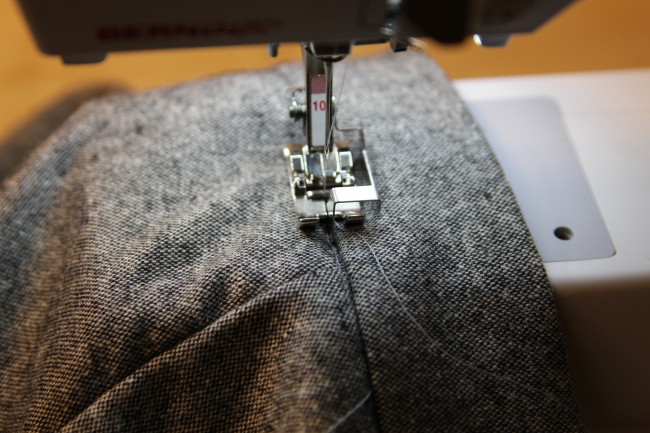
Edgestitch (or stitch in the ditch) on the outer waistband, where it meets the pants. You should catch the inner waistband as you sew, stitching it just above the binding. Don’t worry if it’s not perfectly parallel to the binding on the inside, it will still look good.
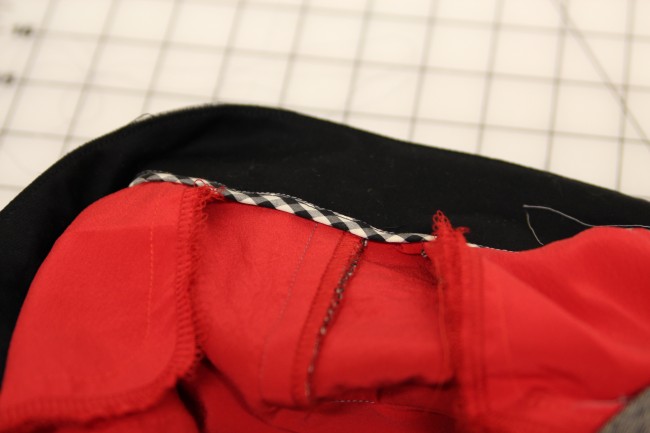
Here’s how it looks on the inside of the waistband. Pretty, right?
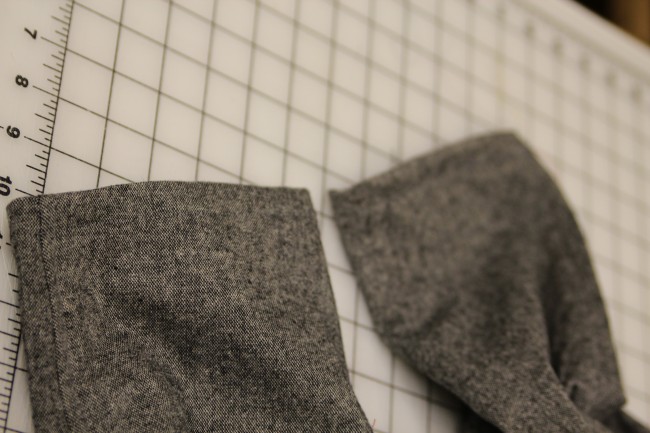
Finally, hem the pants! Simply turn the hem under 1/4″ and press. Turn again 3/8″ and press again. Stitch the hem in place and you are DONE!
Congratulations if you’ve made it this far! I’ll be sharing my finished pants with you guys very soon and I LOVE them. They are seriously cute.


Comments
I don’t participate in the clover sewalong, but I leave you a comment.
I really love how the red lining from the pocket are slity visible from the outside of the pant on the close up view: a real touch of luxury, no doubt.
I just have to say: “bravo” well done!
Pascale
I cannot wait to sew my clovers. I have had to put them on the backburner because I am making two homecoming dresses right now that are taking up all of my sewing time. These pants are next on my list!
I’ve just had my Colette pattern book cancelled by Book Depository; had to reorder!
How do you recommend finishing the pockets if you don’t have a serger? Bias tape, maybe? I’d love to get a clean finish on the pockets if possible… Thanks! Such a cute pattern, and the sewalong is so helpful!
Yes, binding it would be an option, though it might be a little bulky depending on your fabric. You could also just use the zigzag or overlock stitch on your sewing machine to finish the edge.
Ah, lovely! Thanks!
Thanks so much for this! The waistband’s been the trickiest part on these easy-peasy pants, ended up having to take mine apart due to some unforeseen fit issues (fixed!). But I am glad for the delay so I can do it right and with bias binding, great idea!
I did have one question I should’ve asked in a previous post — how do I do a mock flat fell seam on the side seams (since the inseams are already sewn)? It seems tricky to maneuver on my machine.
It is a little awkward because of the narrowness of the “tube” you’re trying to sew, but you just have to go slowly. Sew a little bit, move the pants around your machine, sew a little more.
It’s the same way when doing a felled seam on a shirt sleeve, like on the Negroni pattern. Just take it slow.
Ohhhh . . . I just receved my clover in the mail today and can’t wait to get started. These sew-alongs are EXTREMELY helpful and fun.
I found some great Italian wool/cotton tweed at my local fabric shop…it was some sort of fashion remenant w/o any care instructions. I selected some cotton shirting for the facings and pockets. Now, how do I prepare my fabrics? Usually, I wash everything before I start sewing. I’ve never sewn with dry clean only fabrics. I’m guessing the wool is dry clean only. Do I need to take my fabric to the dry cleaners to ensure that it won’t shrink with cleaning after the pants are assembled with the cotton shirting facings? Or, would washing the wool in the bathtub with Eucalan followed by a short spin cycle in the washing machine and line drying suffice? In fact, can I follow that same method for washing the finished garment? Thanks for your help. These tutorials have been amazing.
Beautiful pants Sarai! I’m a big fan of your style and patterns. I’ve made the beignet and just finished the licorice dress! Just got my clover pattern last week and am about to start a muslin on stretch twill. This is a novice question but do I need a stretch needle and use stretch stitches like on knits or since the Lycra is so small 2% do I just sew like with a woven? Thanks Natalie
Hi Natalie. You can just sew it as a woven. If you use polyester thread, it has enough elasticity (in my experience) that you don’t need special stitches. I know some people do sew stretch wovens with a very narrow zigzag, but I’ve never found it necessary myself. As for the needle, just choose one that matches your fabric weight, no need for a special stretch needle.
There is no mention of trimming the seam allowance at the waist after the waistband has been sewn on. Do you clip the curves at all? Do you grade the seam allowance at the waist seam to reduce the bulk there? If anyone can share what they have done, that would be great. I am used to conventional patterns saying to do so. Thanks