

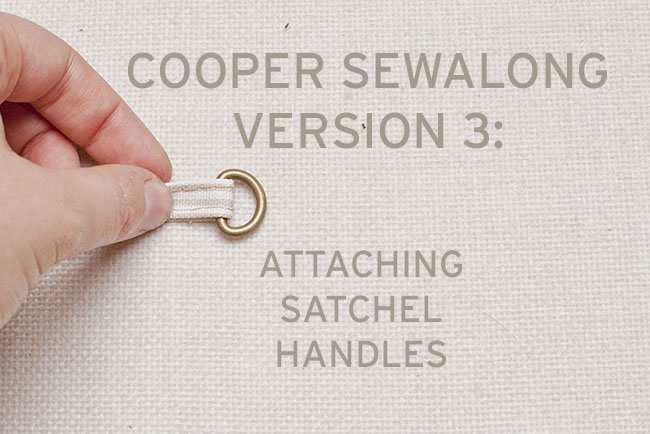
Today, we’re back to working on the satchel (v.3) of the Cooper bag.
If you’re working on the messenger or backpack, we’ll return to those versions on Monday, as we put the flap and body together.
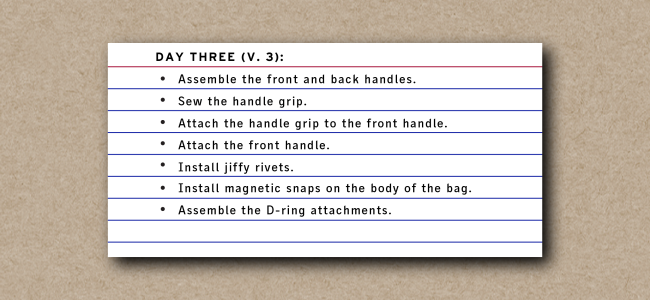
Assemble Front & Back Handles

1. Fold the seam allowances of front handle (O) in toward the wrong side of the fabric. Press.
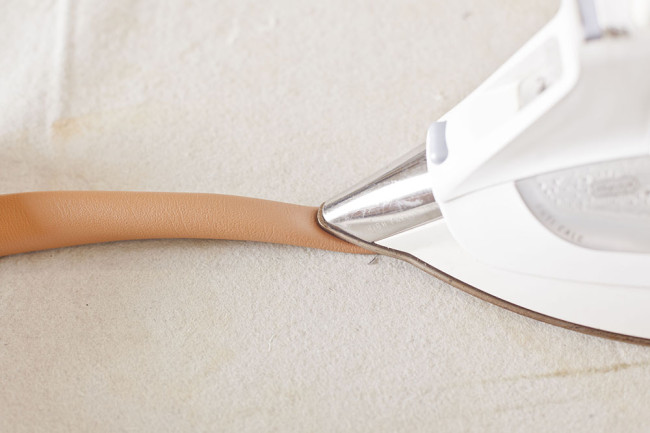
2. Fold front handle (O) in half lengthwise, enclosing the raw edges. Press.

3. Edgestitch along each long edge.
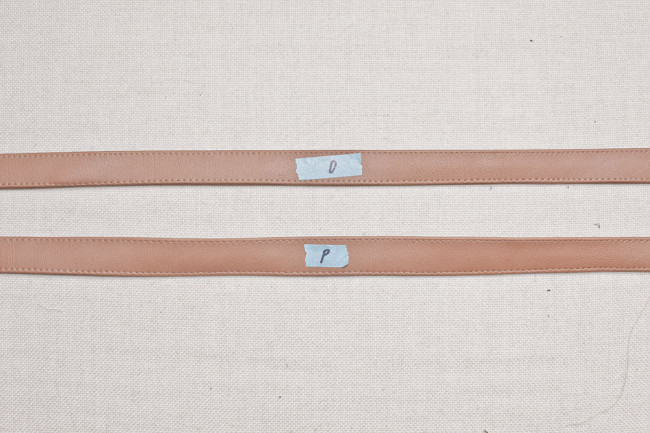
4. Repeat for the back handle (P).
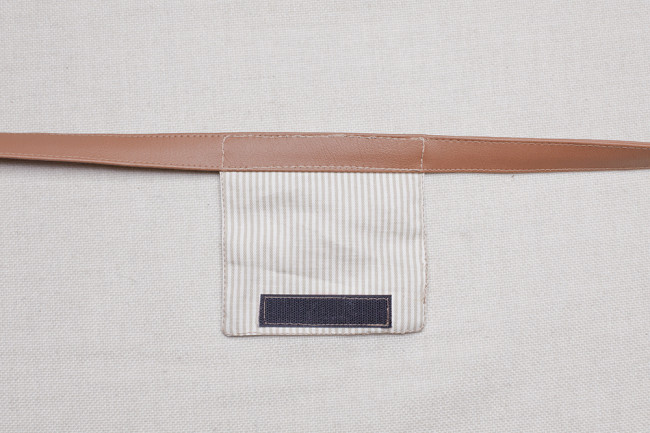
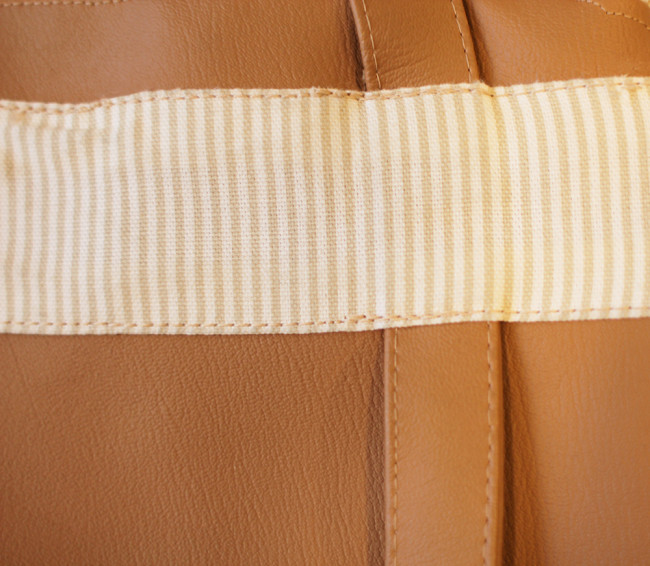
Sew Handle Grip
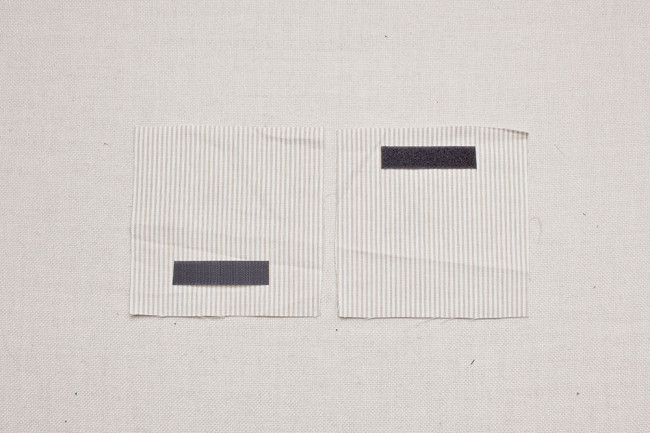
1. Place the two handle grip (M) pieces in front of you with right sides facing up. Separate the hook and loop tape pieces and center them inside the dotted placement lines, staggering them as shown above.

2. Stitch around the edges of each piece of hook and loop tape.
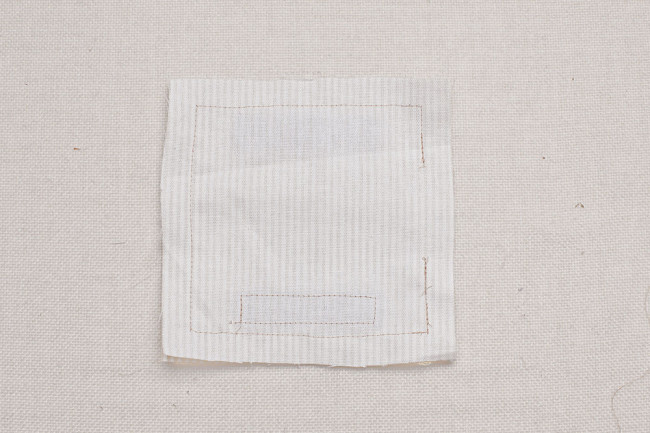
3. Place the handle grip (M) pieces with right sides together, making sure the hook and loop tape pieces remain in opposite positions, so they do not stick together. Stitch around the edges, leaving an opening of 3” on one edge, as shown.
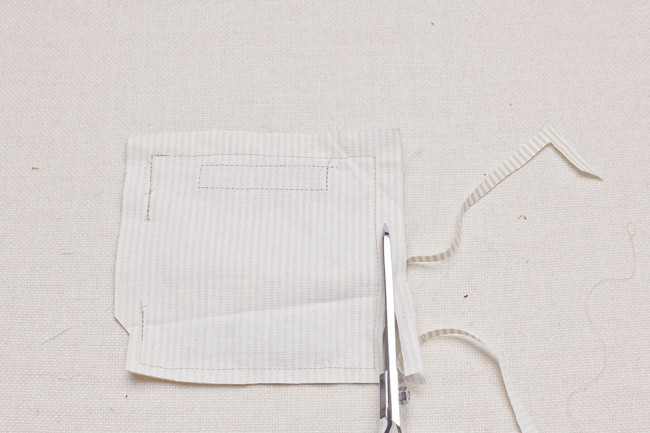
4. Trim the seam allowances and clip the corners.
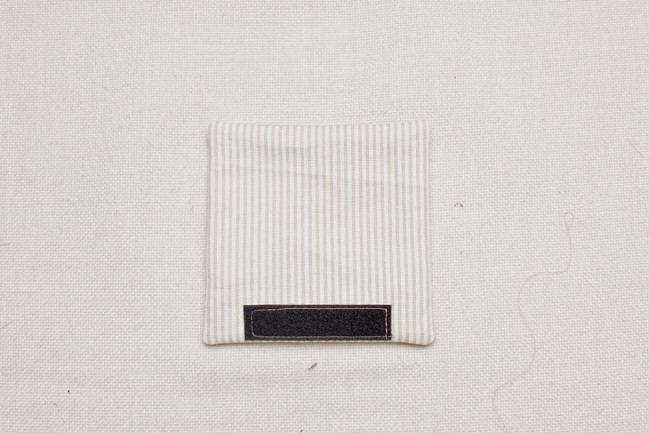
5. Turn handle grip (M) so that the right sides are facing out, tucking in the seam allowance at the gap. Press.
6. Edgestitch around all edges of handle grip (M), closing the gap.
Attach Handle Grip To Front Handle
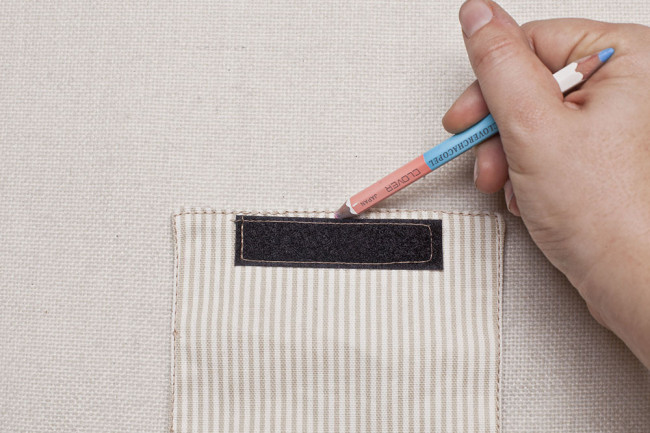
1. Find the side of handle grip (M) with the soft piece of hook and loop tape. Find the center point of the tape and make a small mark with chalk or a pencil.
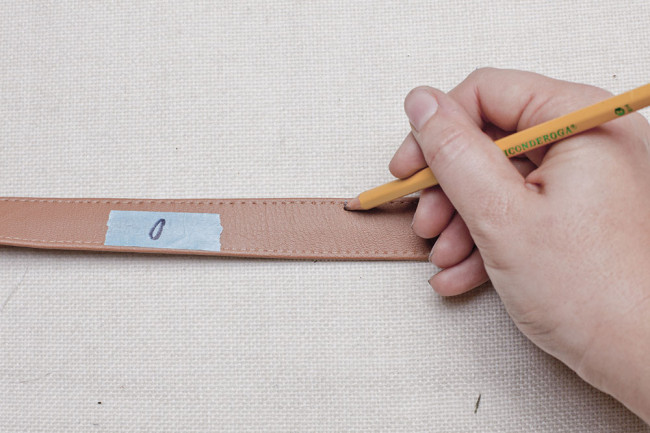
2. Find the center of front handle (O) and make a small mark with chalk or pencil.
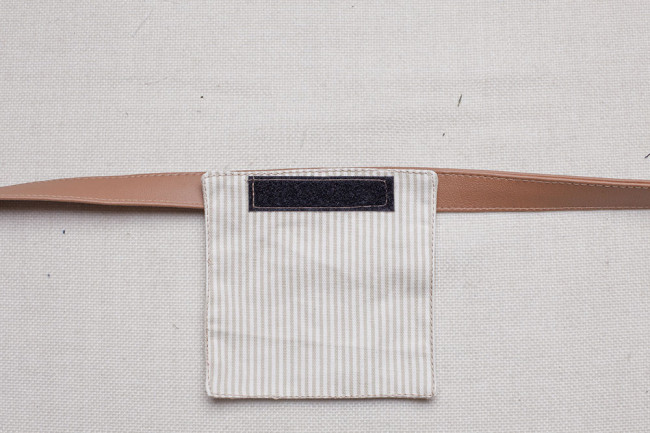
3. Align the centers of the two pieces. The soft piece of hook and loop should be directly on top of front handle (O).
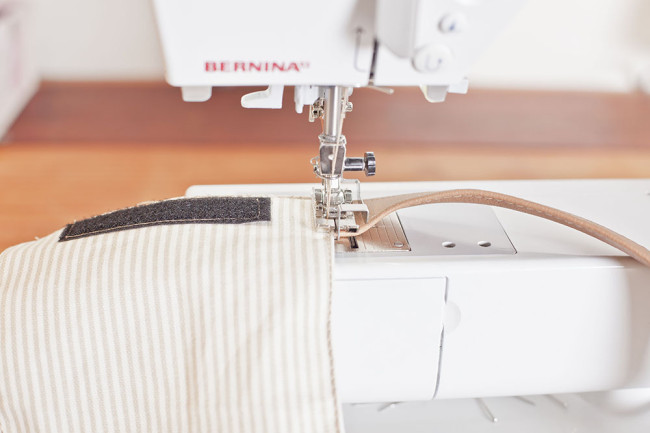
4. To attach, stitch around all edges of handle grip (M) and front handle (O). Be sure to catch the edges of front handle (O) on all sides.
Attach Front Handle
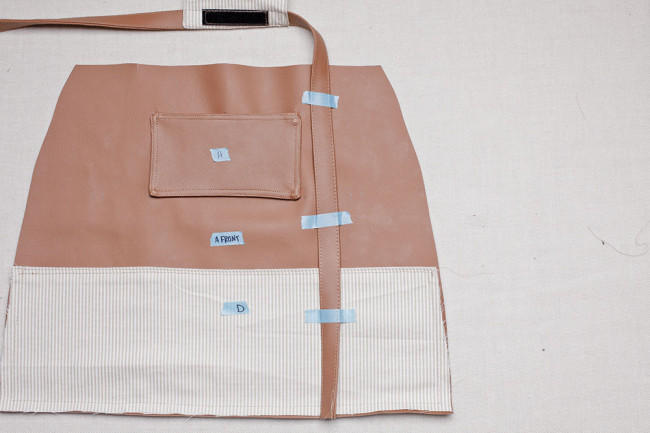
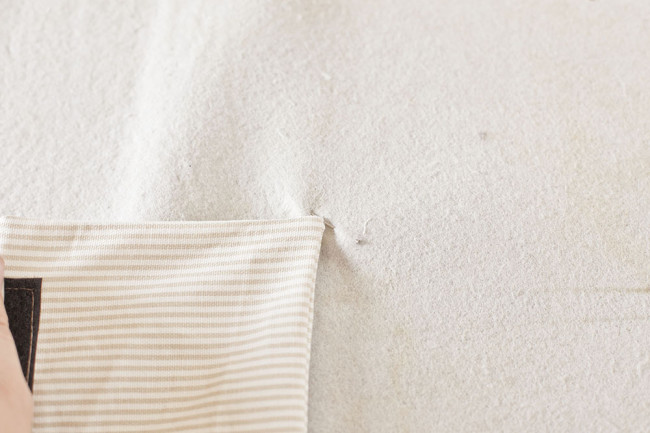
1. Pin the front handle (O) to the bag, centering each raw end over the notches on the front bottom pocket (D).
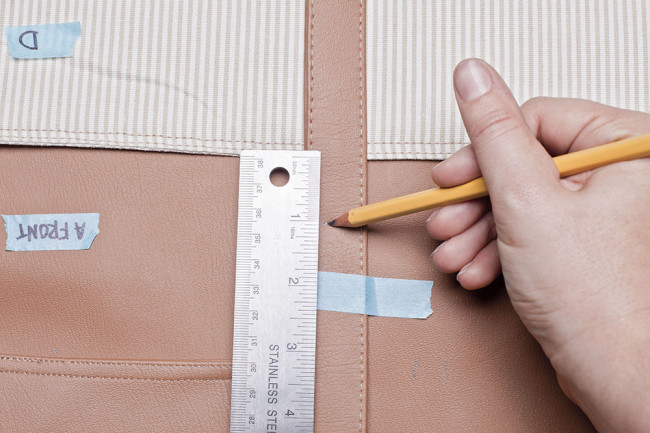
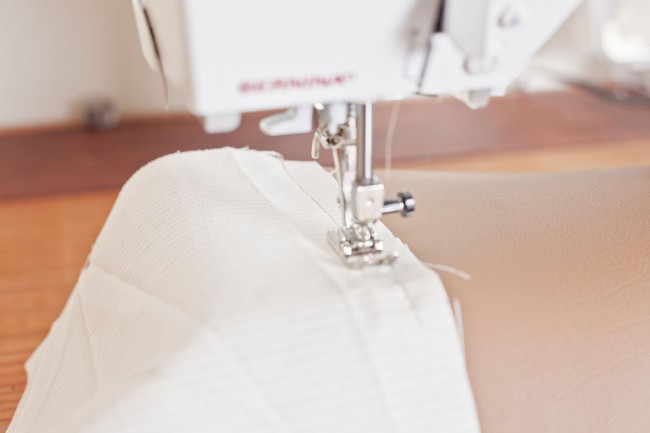
2. On each side of front handle (O), make a mark 1” above the top of front bottom pocket (D). Pin.
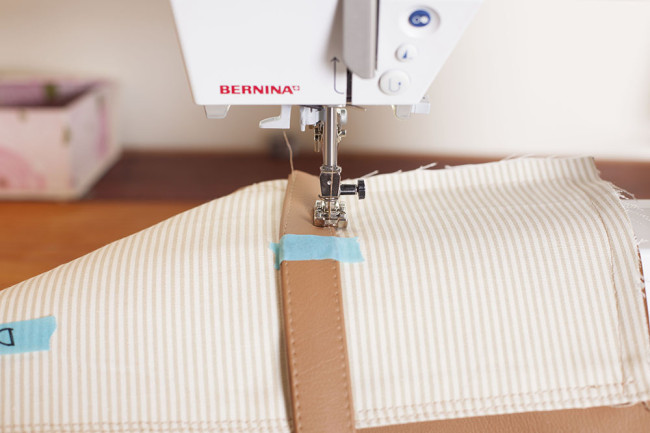
3. Beginning at the bottom of front handle (O), stitch to the line you marked above the pocket. Pivot and stitch across front strap (O), then stitch down the other edge. Backstitch over front bottom pocket (D) to reinforce the seam.
4. Repeat for the other end of front handle (O), being careful not to twist it.
Install Jiffy Rivets
Follow our separate tutorial to install jiffy rivets on the bag straps.
Install Magnetic Snaps on Body
Install the magnetic snaps on the body of the bag at the placement marks, following our separate tutorial.
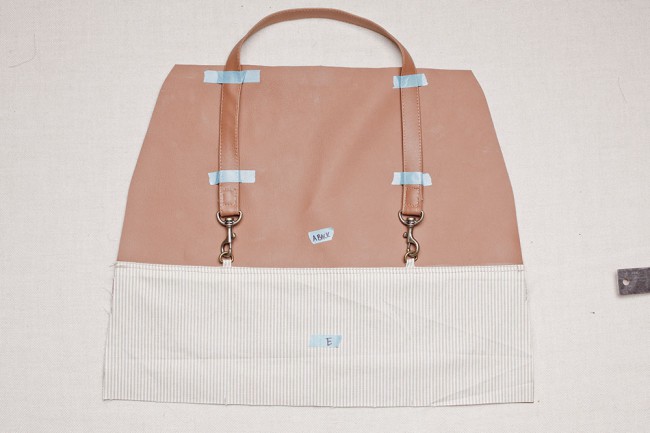
Assemble D-Ring Attachments

1. With wrong sides together, fold the seam allowances of D-ring attachment (N) lengthwise, so they meet in the center. Press.
2. Stitch down the center of each folded side.

3. Cut D-ring attachment (N) in half across the width.
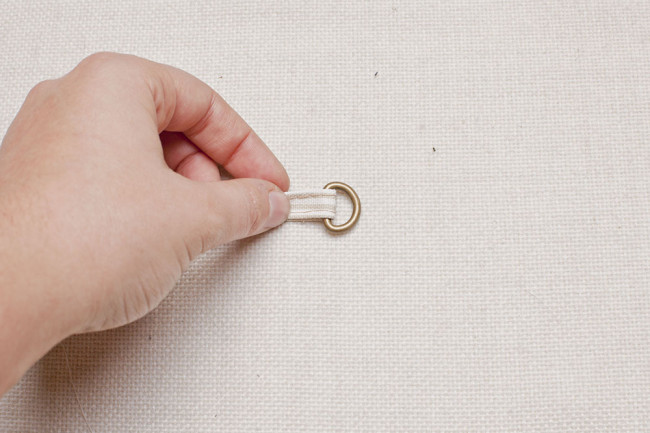
4. Run each D-ring attachment (N) through a D-ring. Stitch ½” away from the raw edges to hold it in place.
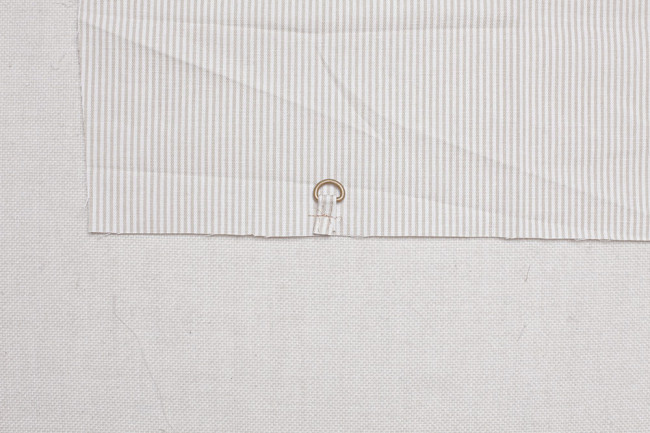
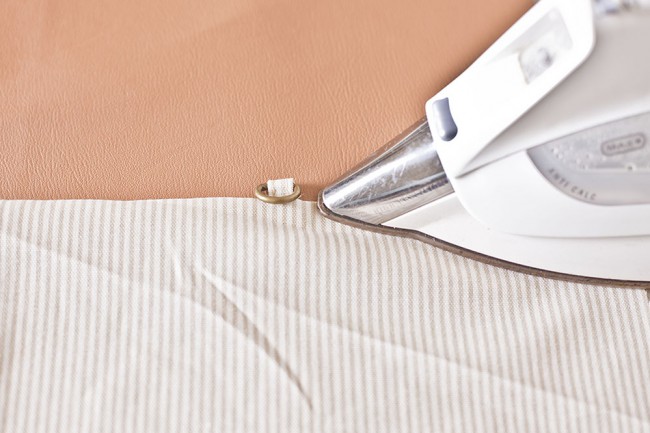
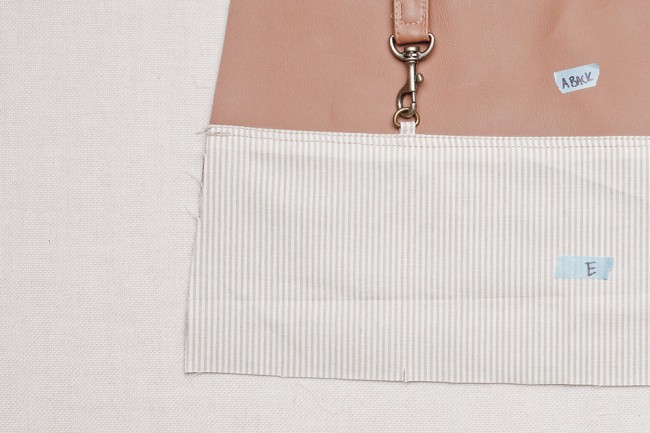
5. Align the raw edge of D-ring attachment (N) with the notch along the short edge on the right side of back bottom panel (E), as shown above. Stitch in place. Repeat for the second D-ring attachment (N) piece.
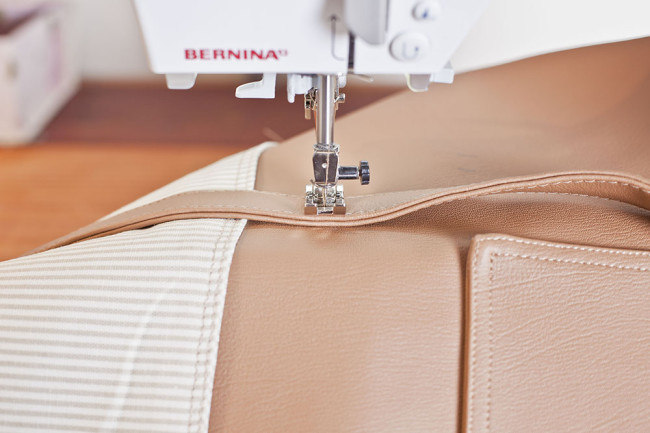
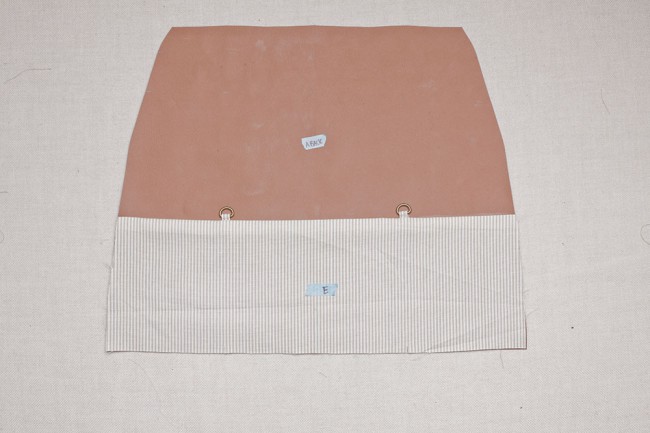
Attach Back Bottom Panel
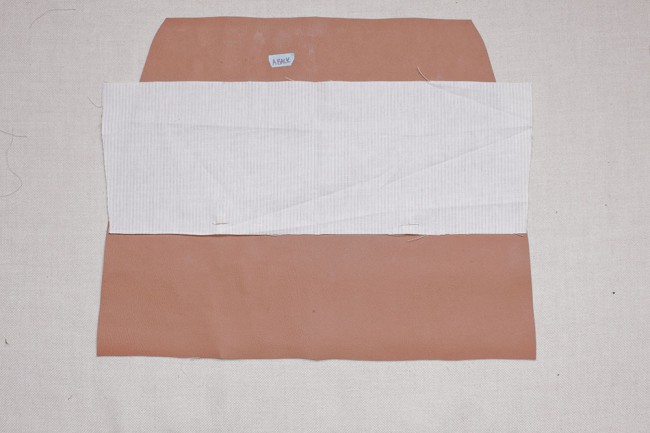
1. Lay the second body (A) piece right side up. This will form the back of the bag. With right sides together, align the top edge of back bottom panel (E) along the dotted placement line on body (A).
2. Stitch in place.
3. Flip back bottom panel (E) down so that the right side is facing up. Press.
4. Baste the back bottom panel (E) to body (A) along the side and bottom edges.
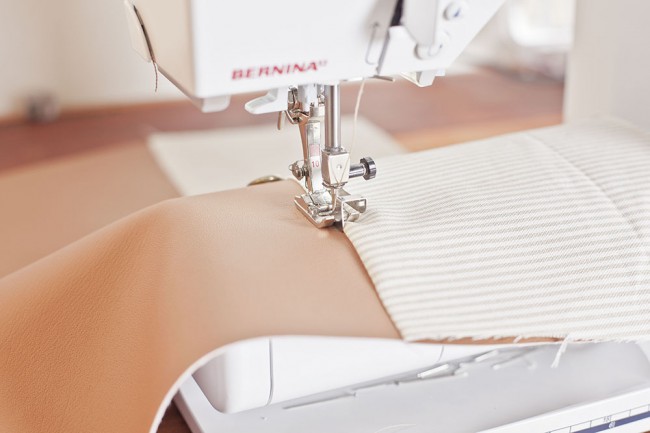
5. Edgestitch close to the fold along the top edge of back bottom panel (E).
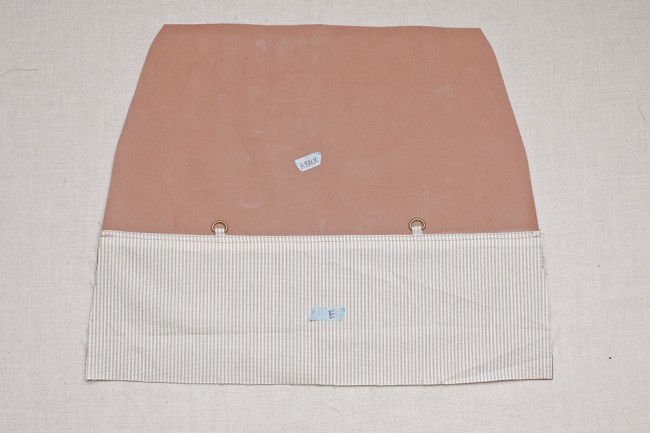
6. Topstitch ¼” from the fold along the top edge of back bottom panel (E).
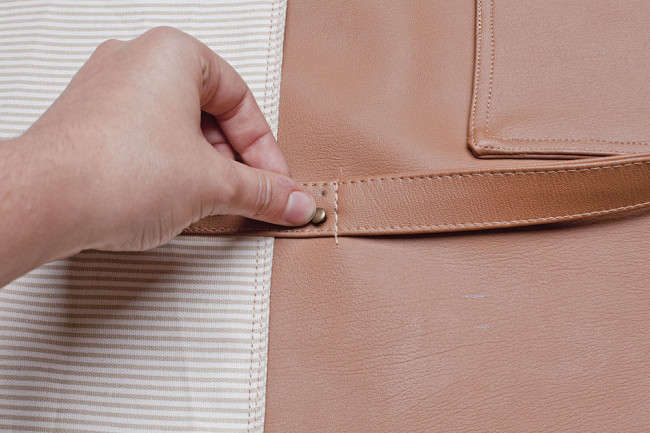
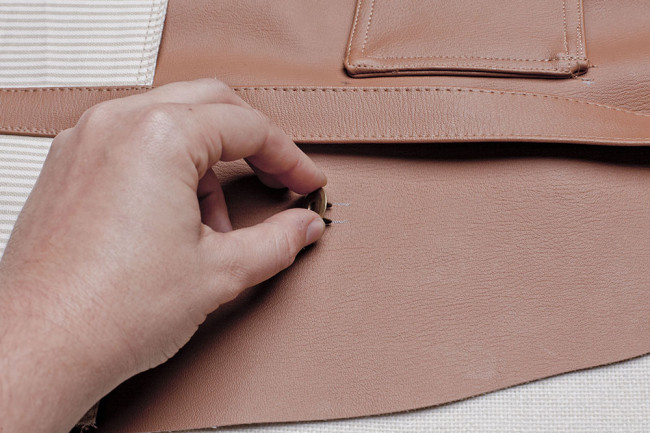
Attach Lobster Claws
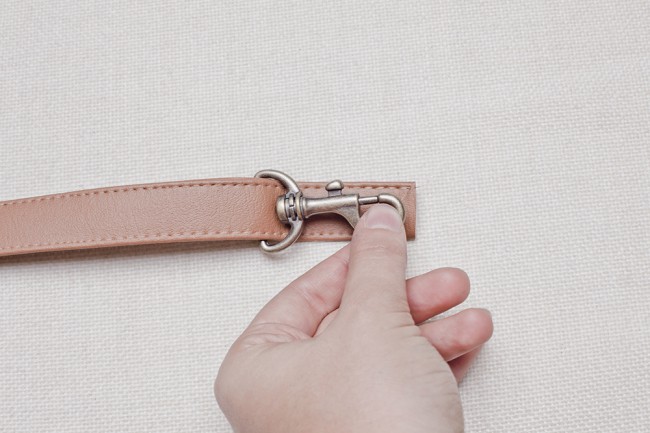
1. Thread 2” of one end of back handle (P) through the attachment ring of one lobster clip.
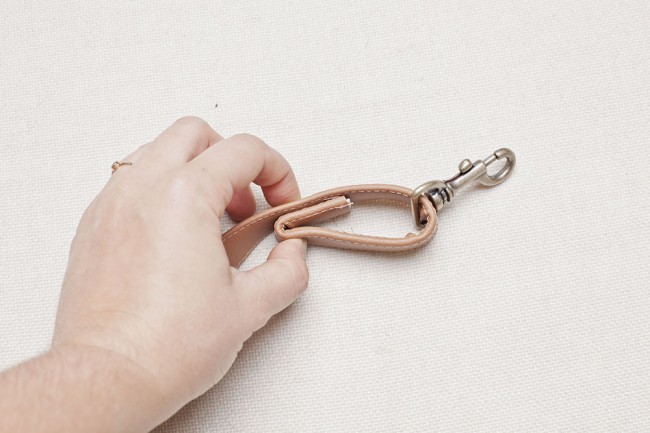
2. Fold ¾” of the raw edge under and sandwich it between the two sections of back handle (P).
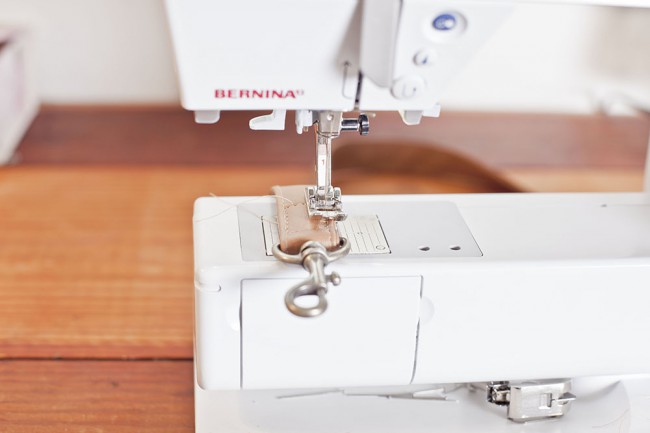
3. Stitch a small square around the folded end of back handle (P) to secure lobster clip. Sew slowly, as you are stitching through multiple layers of fabric. Repeat for the other end of back handle (P), being careful not to twist it.
Attach Back Handle
1. Clip lobster clips to D-rings with the folded edge of back handle (P) facing the bag. Be careful not to twist the strap.
2. Smooth the back handle (P) directly upwards and over the notches along the top edge of body (A). Pull the straps taut, but make sure they do not pull or pucker the fabric. Pin in place.
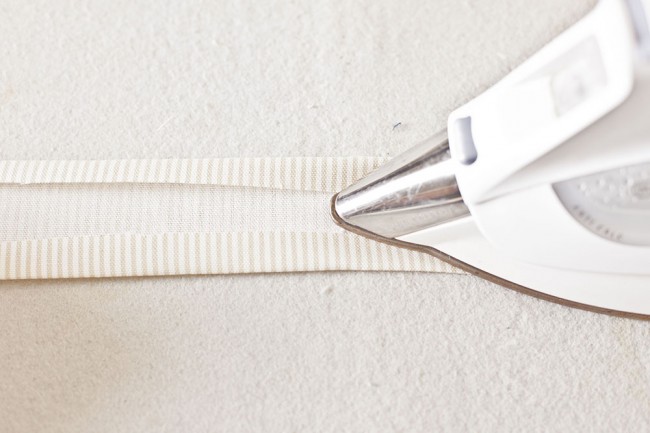
3. Press the two long edges of back top panel (G) under 5/8” toward the wrong side.
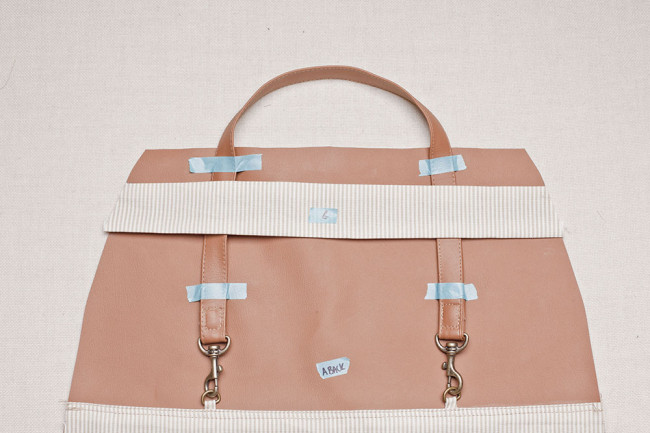
4. Place back top panel (G) between the placement lines on body (A) and over the back handle (P). Make sure the straps of back handle (P) remain taut
and evenly spaced.
5. Edgestitch in place along both long edges of back top panel (G), backstitching over each back handle (P) to reinforce.
The next step for the satchel will be finishing up the body on Monday. You can refer back to the Cooper sewalong intro for the full timeline.