

And we’re finally finishing up our bags today!
Today, we’ll be installing the lining on any of the three versions of Cooper.
If you’ve already done the shell of your bag, this process should be very easy. After making the 4 interior pockets, you’ll put the lining together in much the same way as you did the outer part of the bag, then sew the two together to finish.
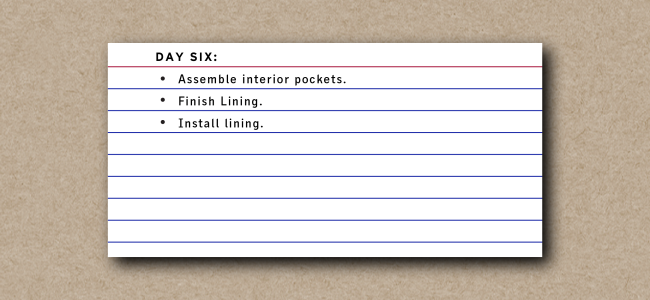
Assemble Interior Pockets
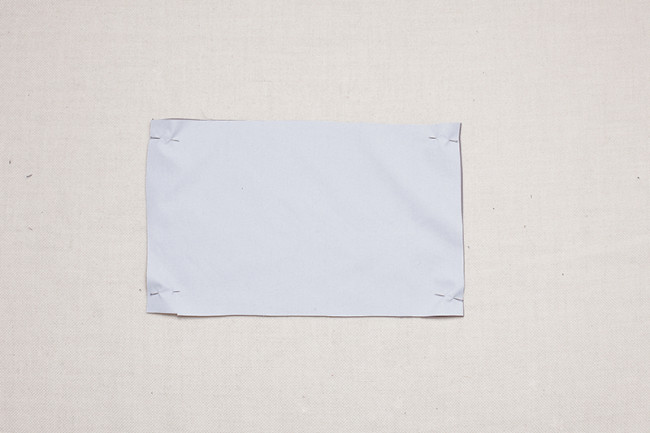
1. Pin the two interior pocket (I) pieces together, with right sides facing.
2. With right sides together, stitch two interior pocket (I) pieces together along three sides. Leave one of the long sides unstitched.
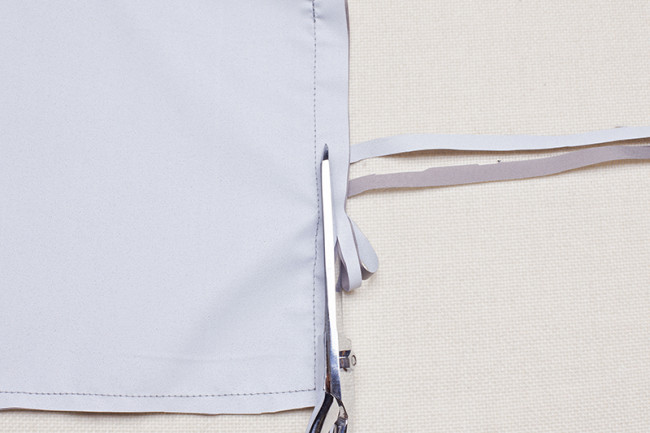
3. Trim the seam allowance and clip the corners.
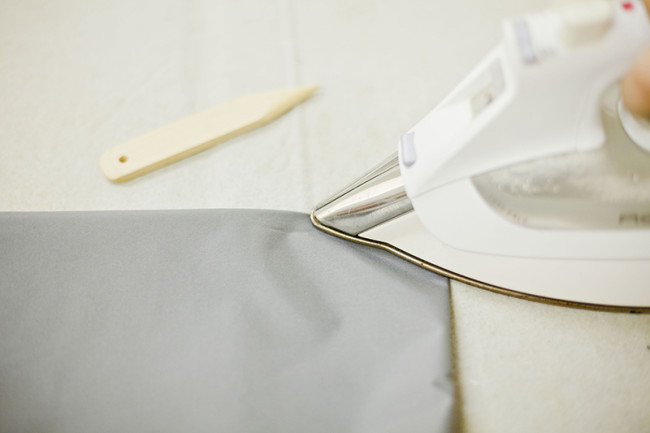
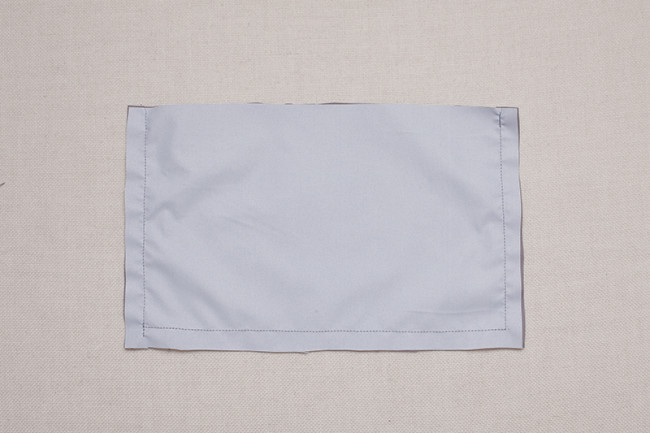
4. Turn the interior pocket (I) right side out. Press.
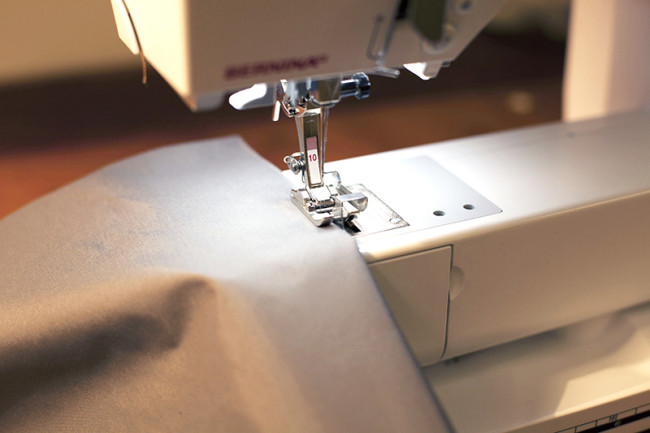
5. Edgestitch along the top closed edge of interior pocket (I).
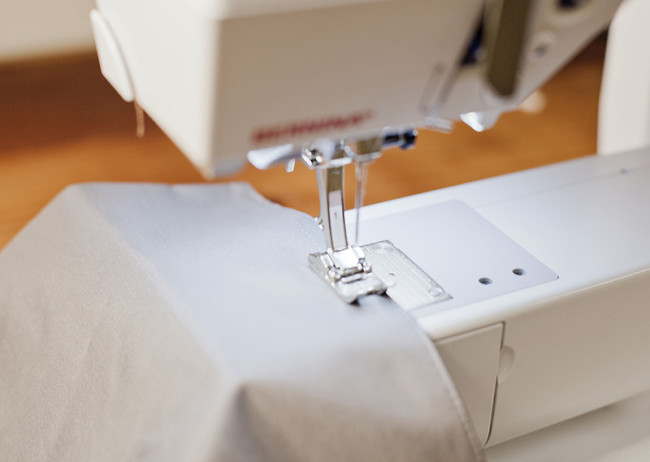
6. Topstitch ¼” from the fold along the top closed edge.
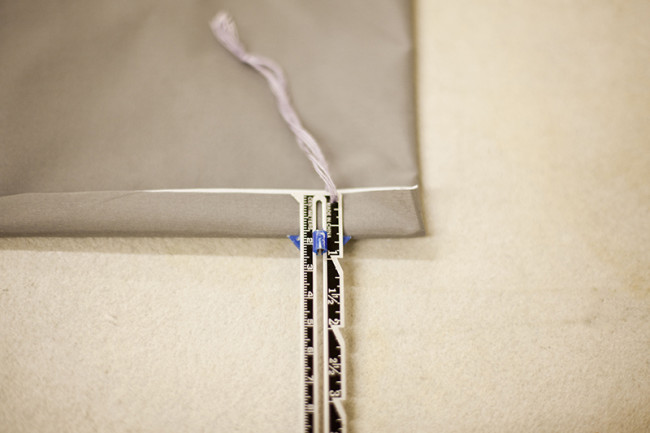
7. Turn the open edge under 5/8“. Press.
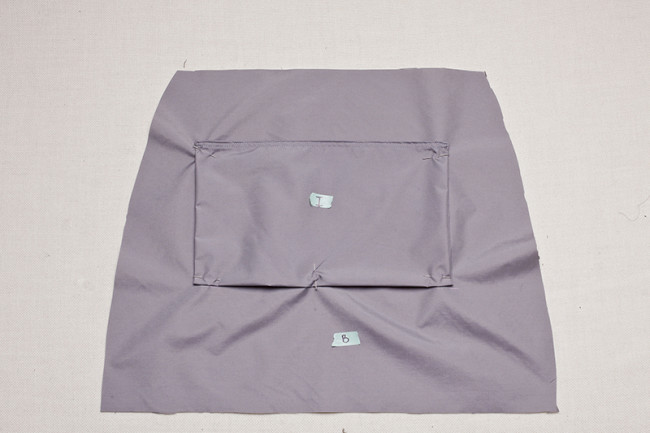
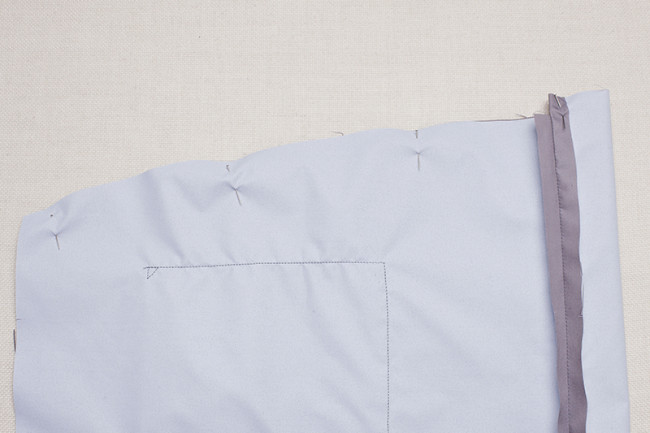
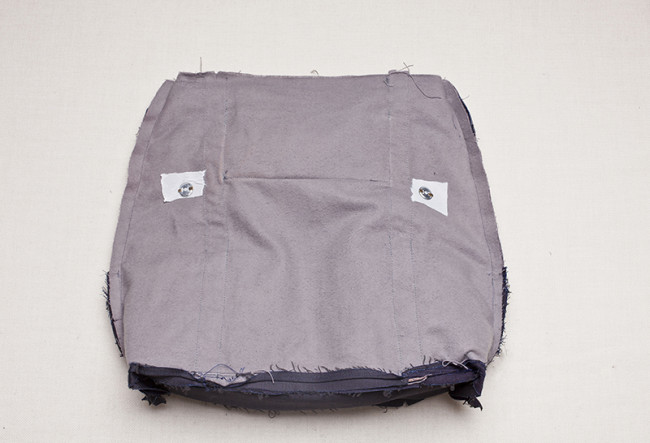
8. Align the interior pocket (I) with the pocket placement lines on body lining (B). The topstitched edge should face upward.
9. Edgestitch the sides and bottom edge of the pocket. Reinforce the top corners with small triangles.
10. Stitch down the center of the pocket, reinforcing the top edge with a small triangle.
11. Repeat for the second interior pocket (I) and body lining (B).
Finish Lining
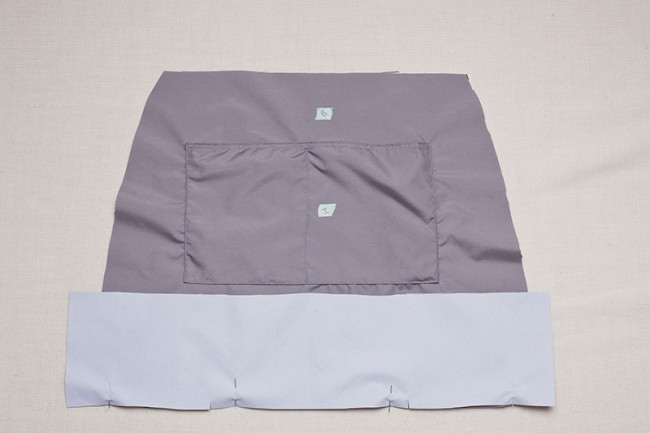
1. With right sides together, pin bottom gusset (F) to the front of body (A) along the bottom edge, matching notches. The edges of bottom gusset (F) will extend beyond body (A).
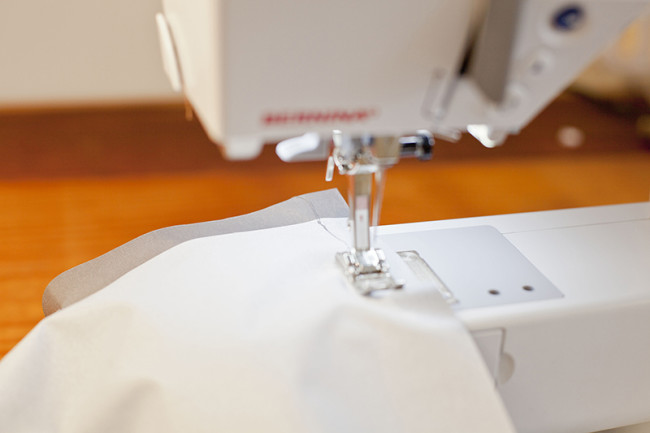
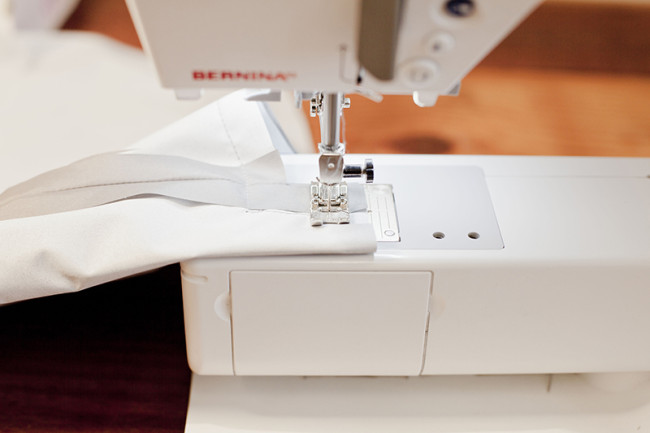
2. Stitch bottom gusset (F) to body (A) along the front bottom edge.
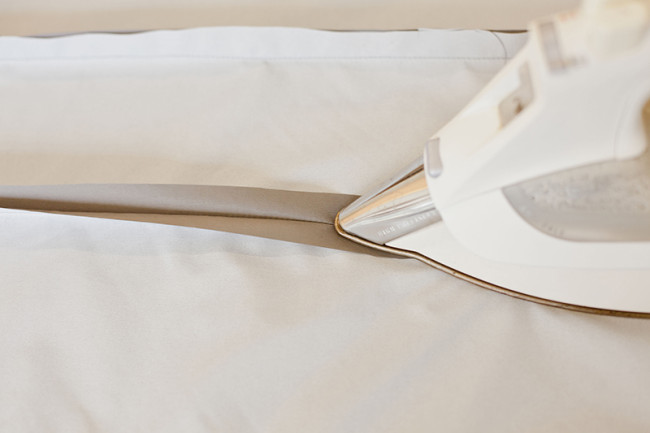
3. Press the seam allowance open.
4. Stitch the back of the body (A) piece to the other side of the bottom gusset (F) in the same way.
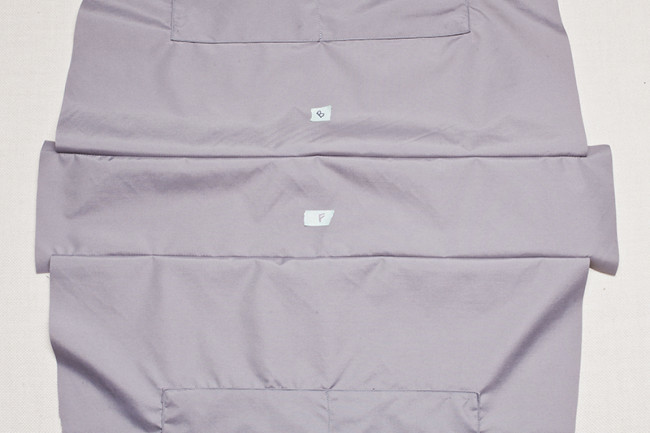
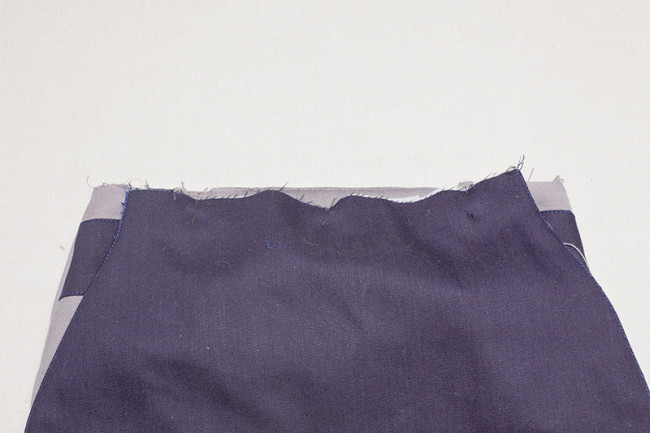
5. With right sides together, pin the front of body (A) to the back of body (A), folding the bottom gusset (F) in half lengthwise and matching all seams.
6. Stitch along each open side of the bottom gusset (F), pivoting at the corner where the bottom gusset (F) meets body (A), and backstitching there to reinforce. Continue to stitch up the sides of body (A), as shown. Press the seam allowance open.
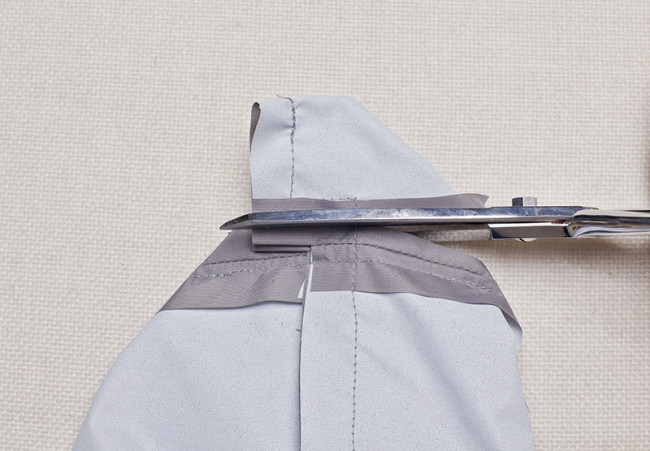
7. Square the bottom edges of the gusset in the same way you did the other shell. Follow the instructions in our video tutorial on squaring corners for more help.
Install Lining
1. Pin the right side of the flap (C) to the right side of the back of body (A). Baste in place.
2. Turn the body of the bag wrong side out, tucking the flap (C) and any straps to the inside of the bag.
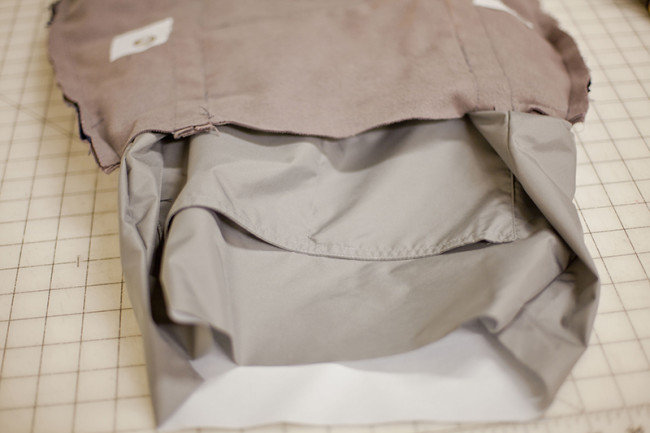
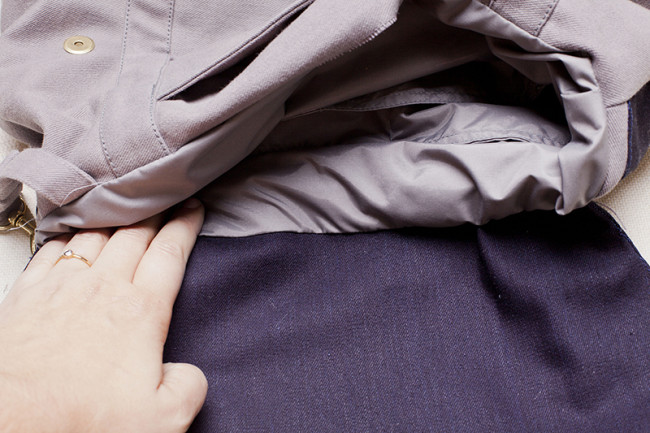
3. With right sides together, tuck the lining inside the opening of the bag, matching side seams and notches.
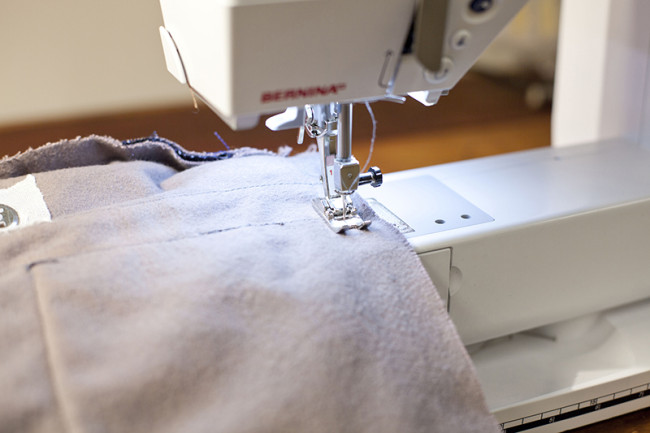
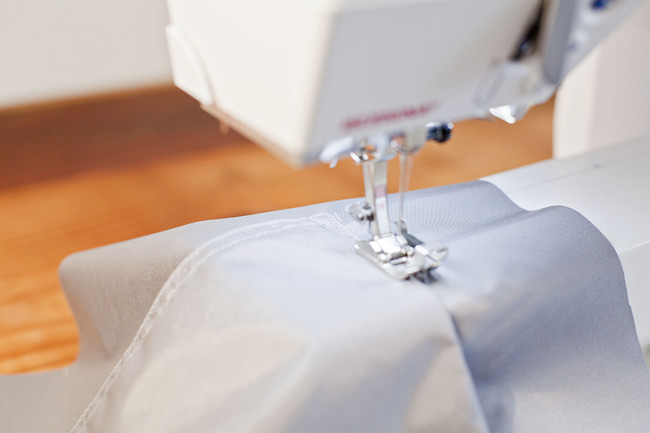
4. Beginning above the outer edge of front body pocket (H), stitch around the top edge of the bag. Stop sewing at the opposite edge of the pocket about 7” away from where you started stitching.
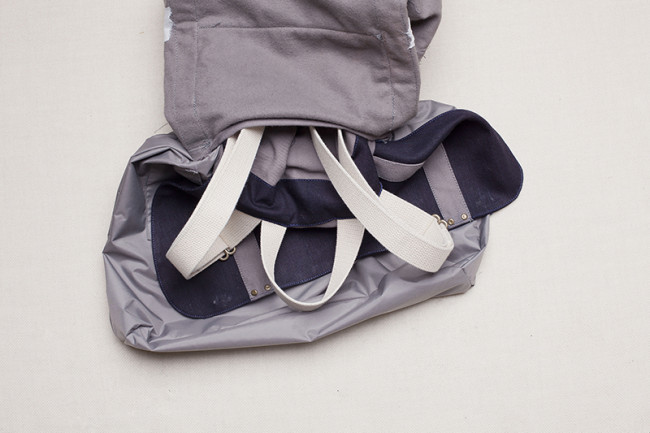
5. Reach into the gap you left and pull the lining, flap, straps, and shell through the gap.
6. Tuck the lining into the shell. The right side of the shell should be facing outward.
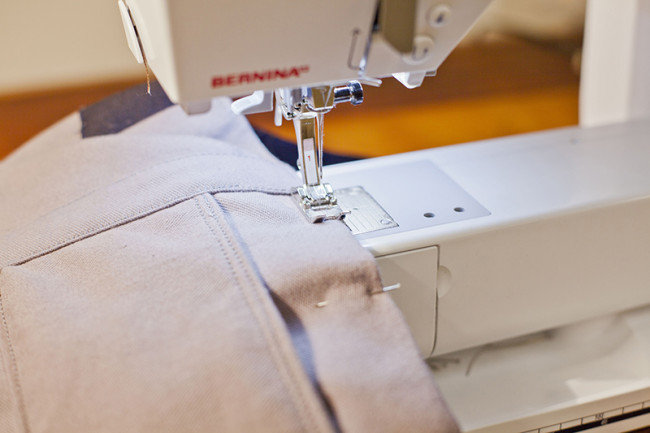
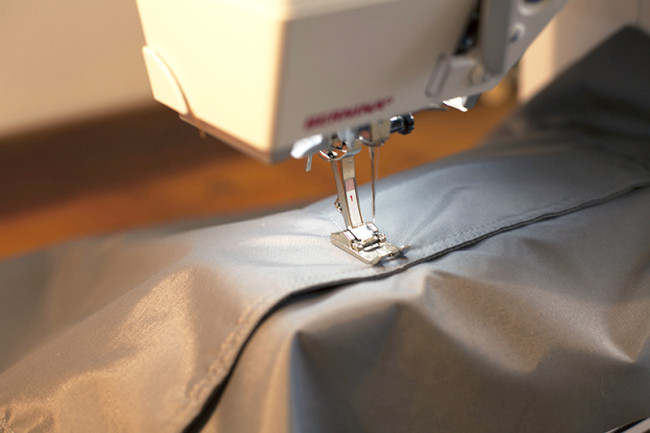
7. Edgestitch around the top of the bag, stitching the gap closed. Remove any remaining basting stitches.
And that’s it! Our bag is now complete!
Be sure to upload your pictures to the Flickr group with the right tags to enter our Cooper contest! See this post for details.
Comments
It looks as if the photos were uploaded out of order. The photos don’t match the descriptions of what’s being shown.
Argh, you’re right, but it’s just some of the photos. I will fix now!
Ok, should be fixed now. Thanks for letting me know. I believe there was an extra image stuck in there that was putting them out of order.
Hello! The photos for installing the lining dont show! Could that be fixed i know the photos will help me alot i am confused on how to finish up the bag. I would like to see them. Thank youuuuu.
The photos look ok from here. Maybe try restarting your browser or clearing your cache? It’s also possible that there’s a problem with your internet service; in this case it will likely clear up on its own shortly.