

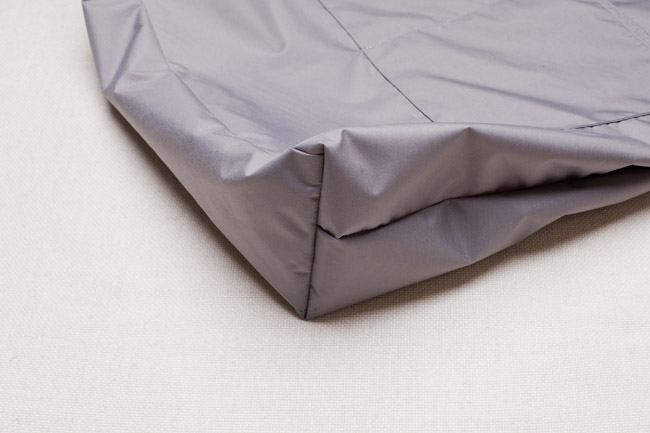
Getting a nice square bottom of the bag seems like witchcraft. Looking at it from the outside, it’s not at all clear how you can sew into those tight little corners.
Luckily for us, there’s no black magic involved. Just a simple little trick we’re going to show you.
First, watch the quick one minute video above to see the process in action. Then you can either pause the video at each step, or take a look at our step-by-step photos below to follow along with your own bag.
Step-by-step:
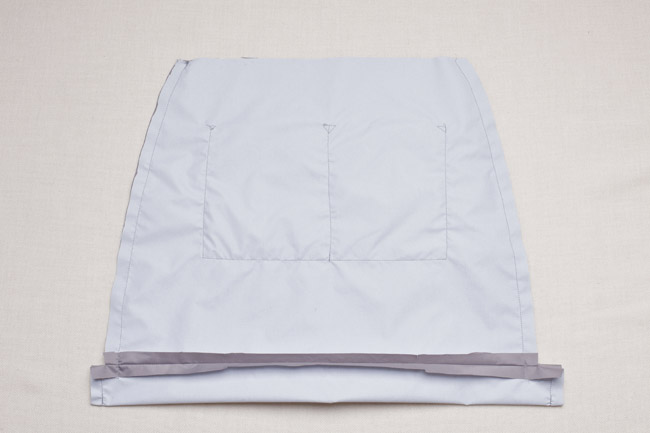
At this point, you have just finished attaching your bottom gusset (F) to your body (A) pieces, and sewing the side seams. The wrong sides should be facing out.
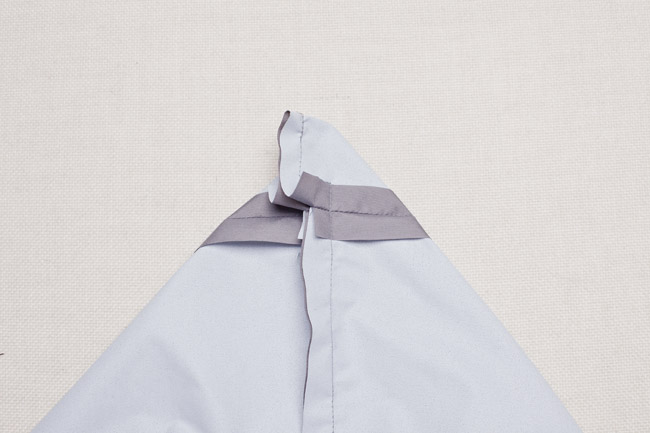
Step 1: Now, lay the bag as flat as possible with the side seams of the body (A) facing upwards. A triangle will form at the bottom edge of the bag.
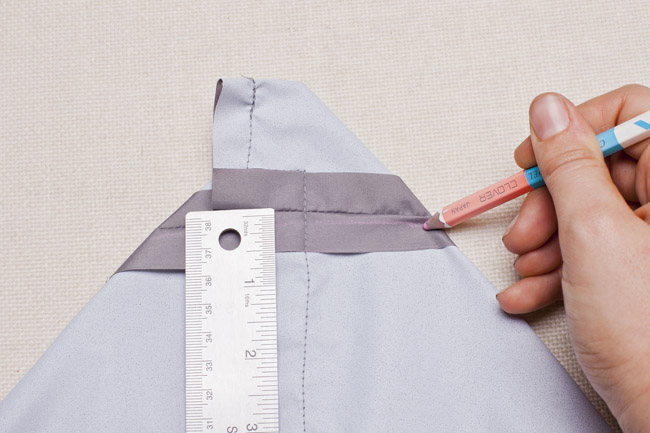
Step 2: Locate the seam line that separates bottom gusset (F) from the body (A) pieces. Make sure that your triangle is laying completely flat and even, then mark 1/8″ past this seam line on the body (A) piece.
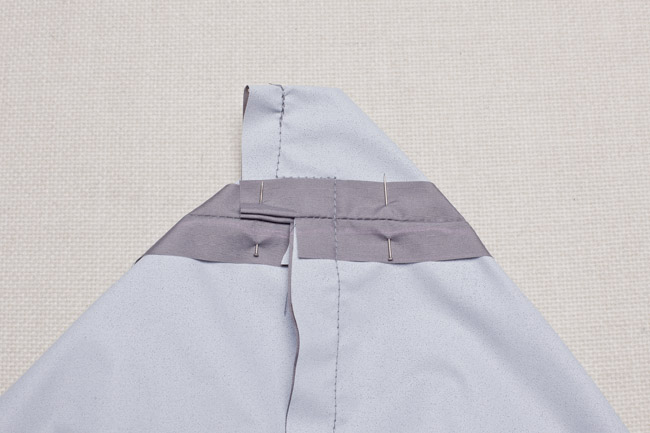
Step 3: Pin along this line to secure your triangle.
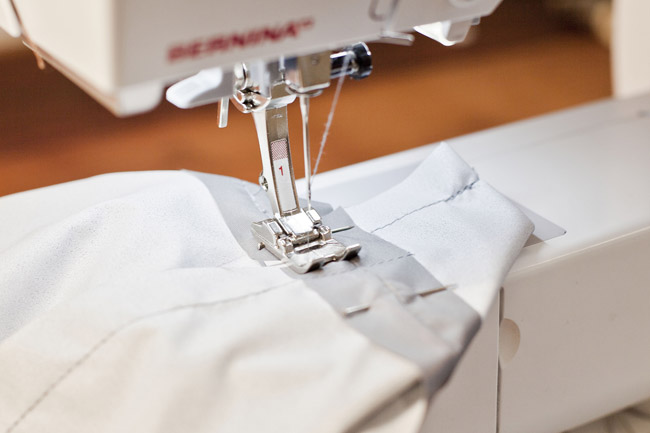
Step 4: Stitch along the line you just drew.
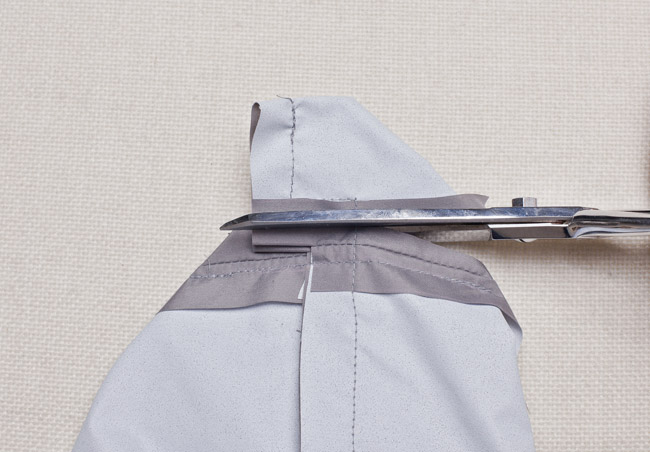
Step 5: Trim the seam allowance to 1/2”.
Step 6: Repeat for the second side, then turn right side out.
You’re all square!
Comments
Thanks! When I made my first tote bag, just one of the corners were wonky and I couldn’t figure out why. Your tutorial is so simple, I can’t imagine going wrong again!
Now this I can do!
I have tote bags on my Christmas list and this little trick is a gem!
Aha! For some reason this has always eluded me. I tried squaring the bottom on a washbag I made for my friend, but it turned out *slightly* wonky (if you look closely at the photos you’ll see…) . I’ll use this approach in the future :)
http://cashmerette.blogspot.com/2013/07/hats-hats-hats-and-washbags.html
thank you, so helpful, I often have to do this on dog beds and I am not sure what method I use, call it hit and miss, this helps.