

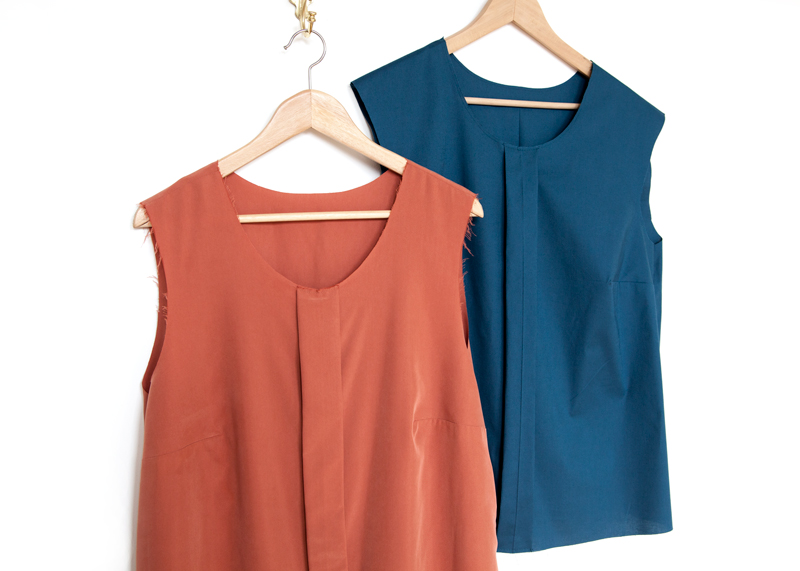
Now it’s time to start constructing our Sorbettos! In this post, we will sew the darts, create the box pleat, sew the shoulders, and sew the side seams. By the end of this tutorial, you’ll start to see your Sorbetto take shape.
Sew Front Darts
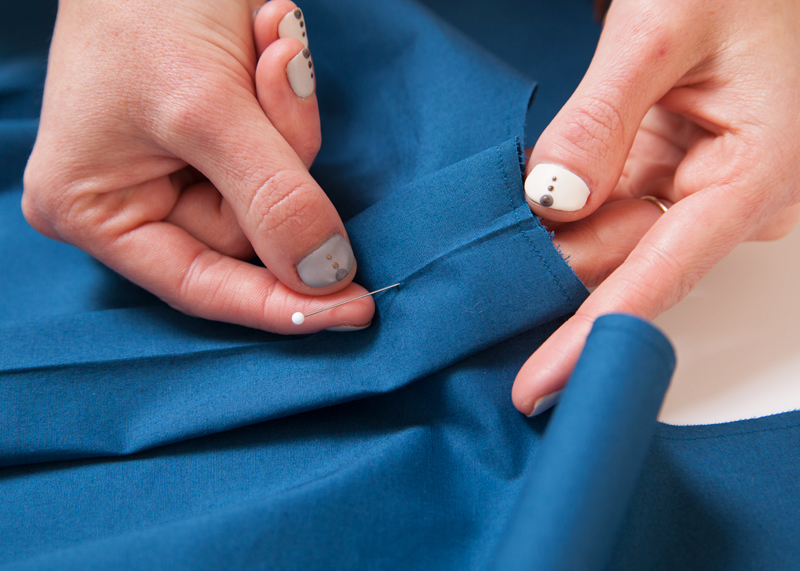
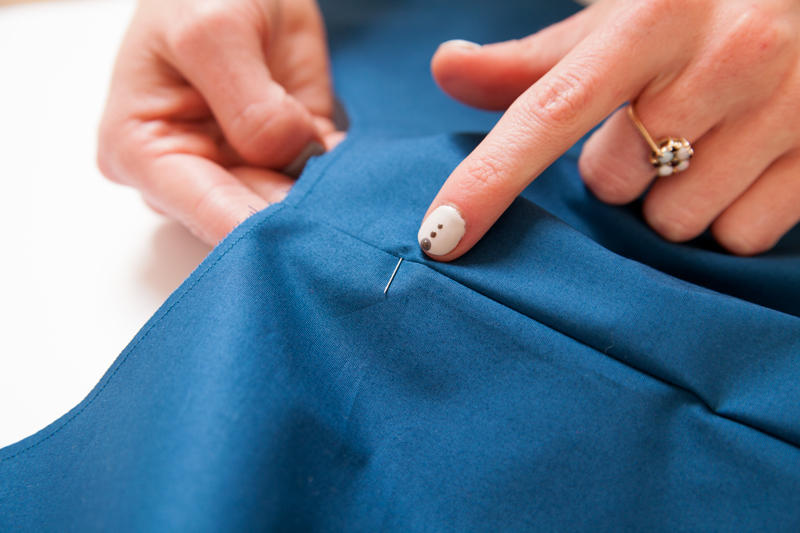
1) Imagine that there is a line directly down the center of the dart. With right sides together, fold the fabric along this line, aligning the dart legs with one another.
When sewing darts, I overdo it with the pins! Make sure that the points of the pins face toward the raw edge of the fabric, so they will be easier to remove while sewing.
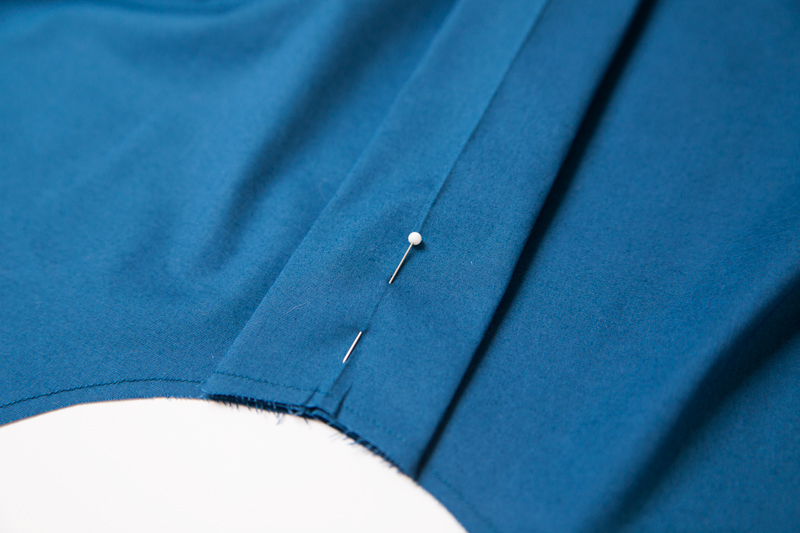
3) Using a straight stitch, sew the dart leg from the side seam to the dart tip. When approaching the tip of the dart, stop, and lower your stitch length to 1. The smaller stitches will add extra stability to your dart tip. Do not backstitch—instead, sew off of the fabric. This will help secure your dart.
4) Repeat this process for the second dart. Press both darts toward the hem.
Make Box Pleat

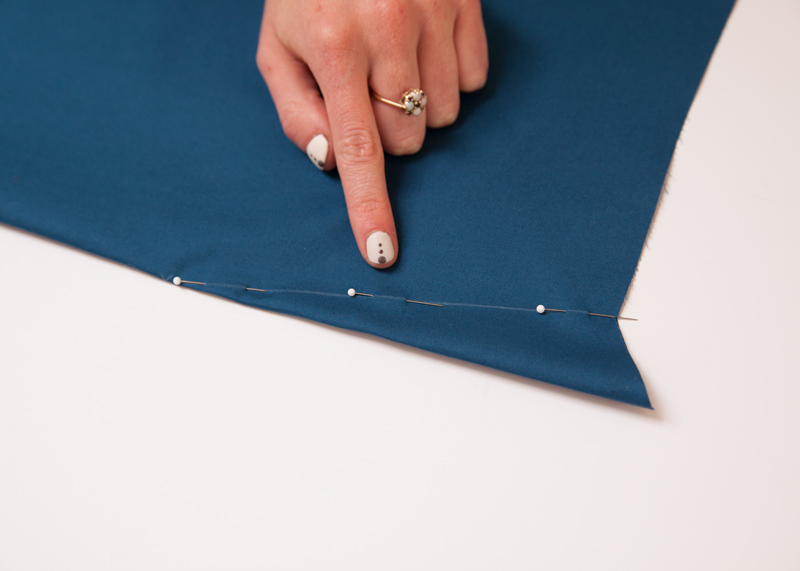
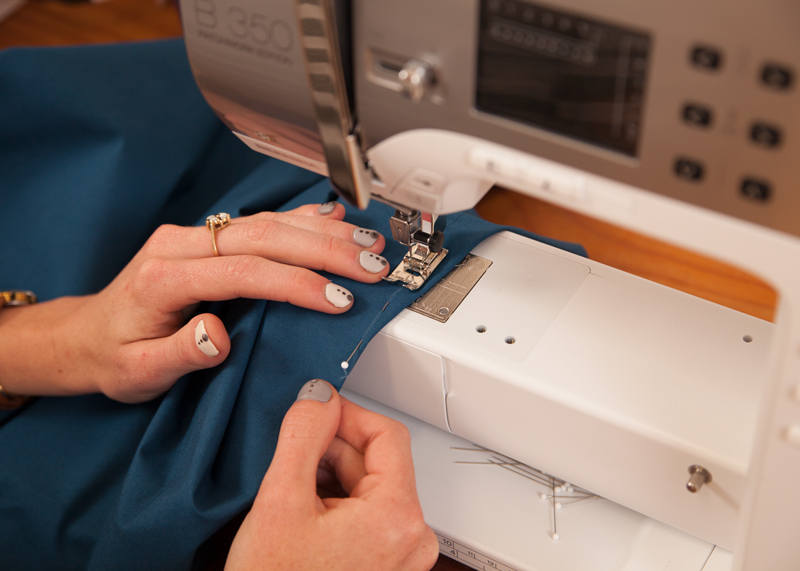
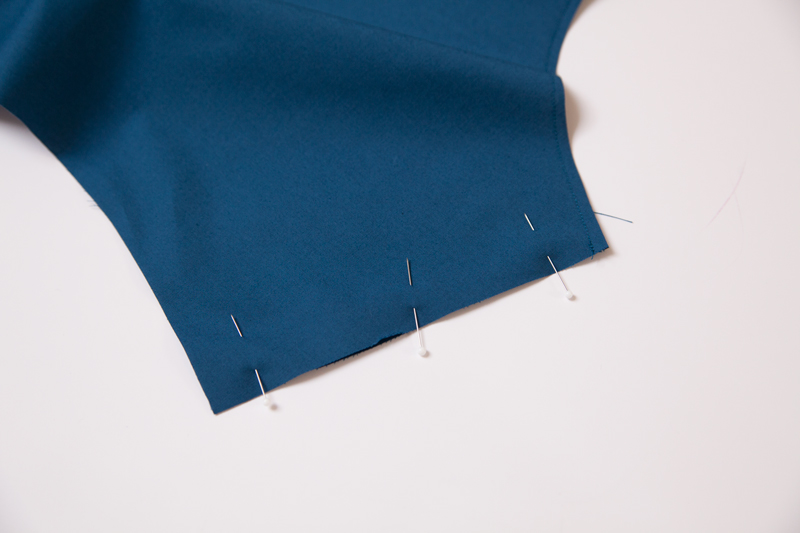
1) With wrong sides together, fold the front (A, C, or G) along the center front, bringing the two pleat lines together. Pin. Stitch along the pleat line from the neckline to the hem.
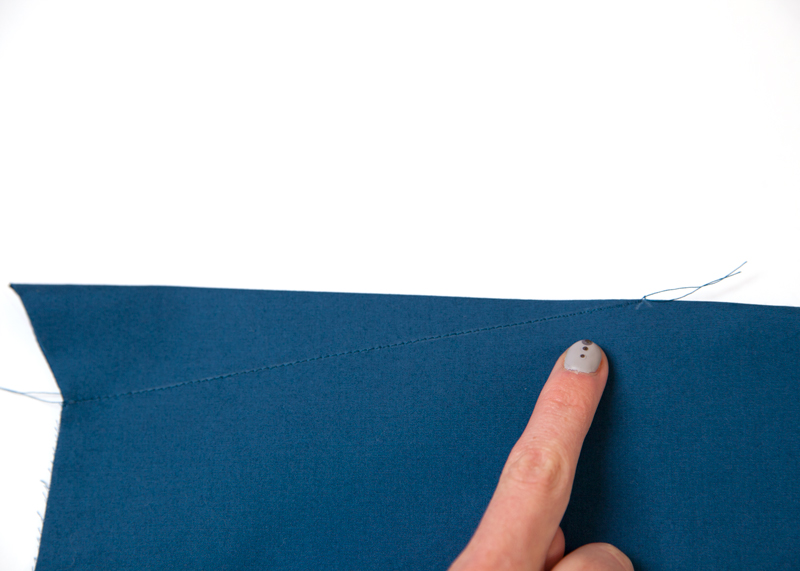
2) With the right side facing up, unfold the front. Press the pleat flat, centering it over the stitching. Pin.

3) Secure the pleat in place by basting the top and bottom, at the neckline and hem, at a scant 1/4”.
Sew Shoulders
1) With right sides together, match the front (A, C, or G) to the back (B, D, or H) at the shoulder seam. Pin. Stitch.
2) Finish the seam allowances separately and press open.
Repeat for the second shoulder seam.
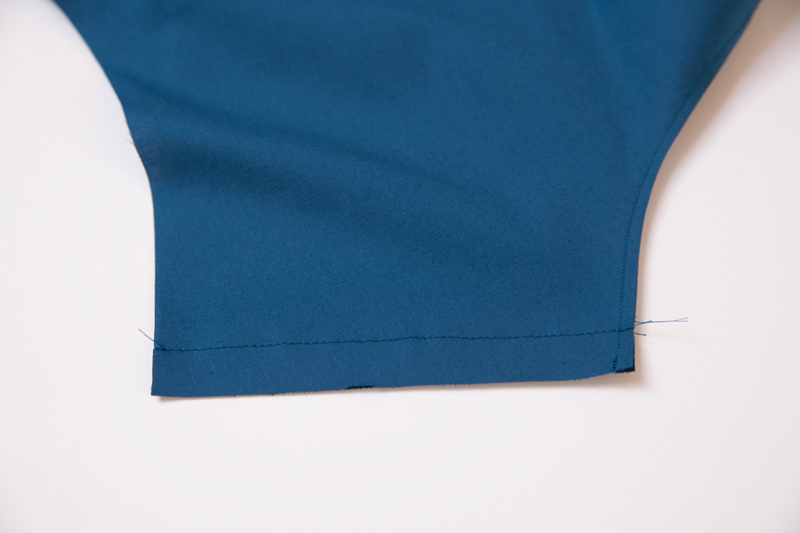
Side Seams: Versions 1 and 3
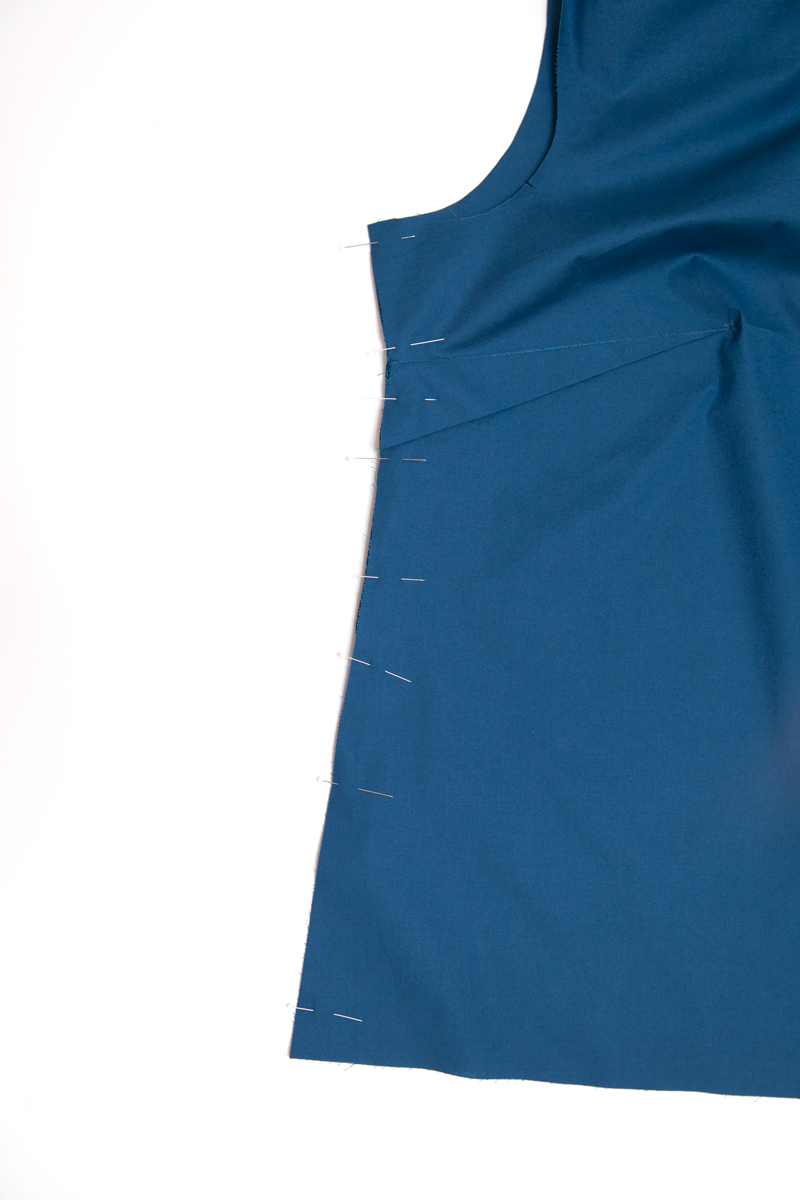
1) With right sides together and notches aligned, match the front (A or G) to the back (B or H) together at one side seam. Pin. Stitch.

2) Finish the seam allowances separately and press open.
Repeat for the second side seam.
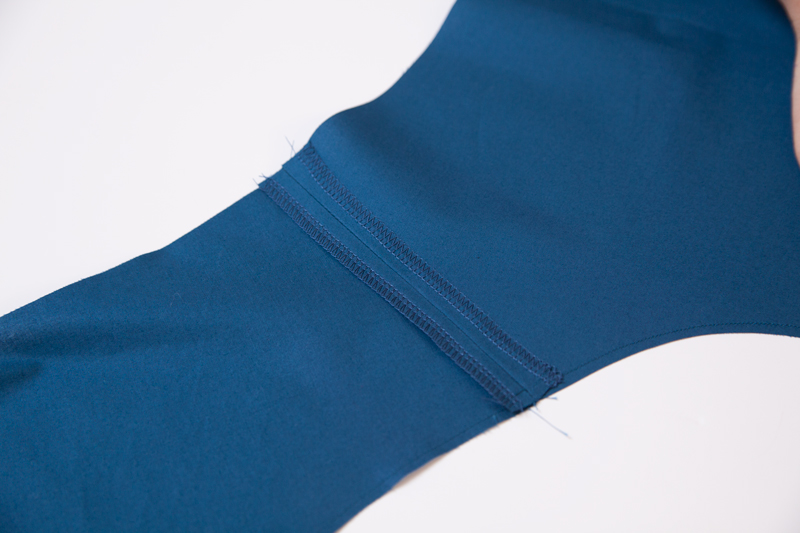
Side Seams: Version 2
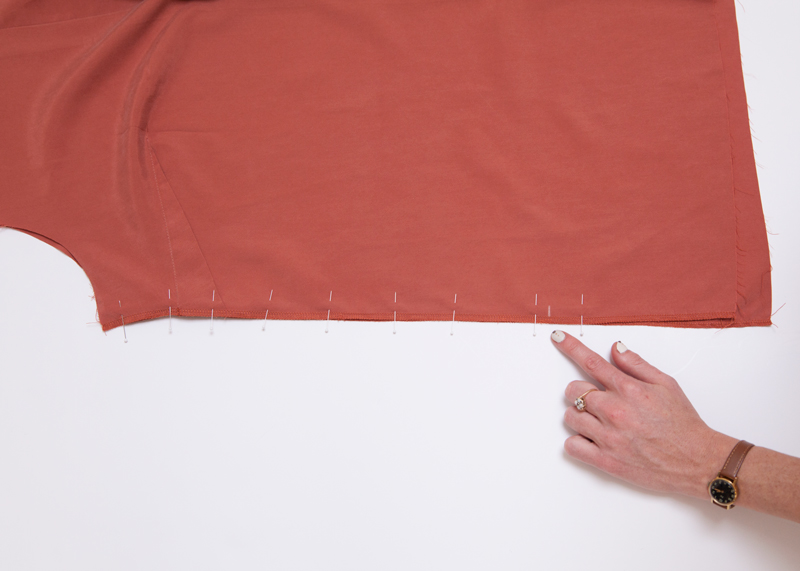
1) With right sides together and notches and circles aligned, match the front and back together at one side seam. Pin.
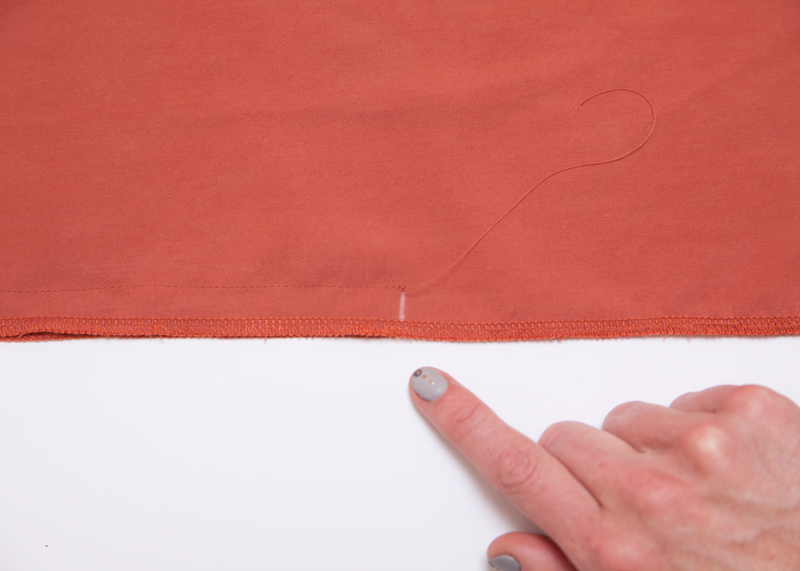
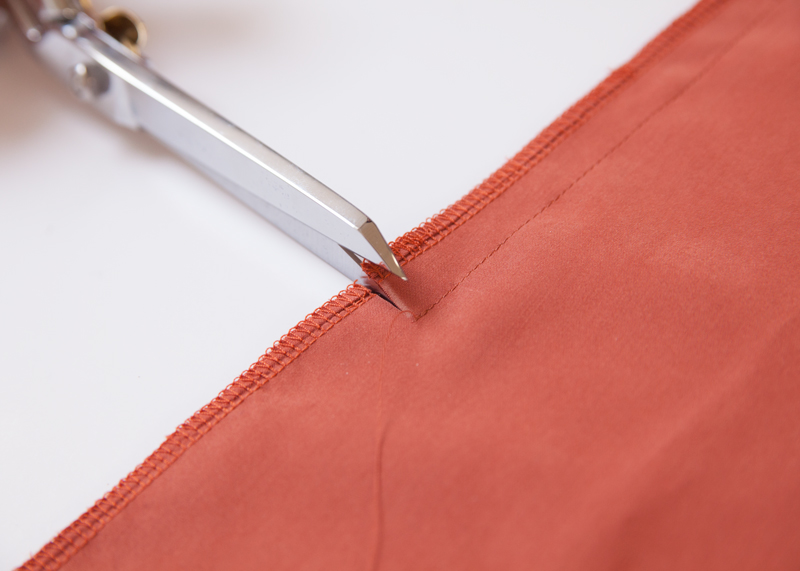
2) Stitch from the armhole to the circle. Finish the seam allowances separately. Clip through the seam allowances at the circle to the stitch line.
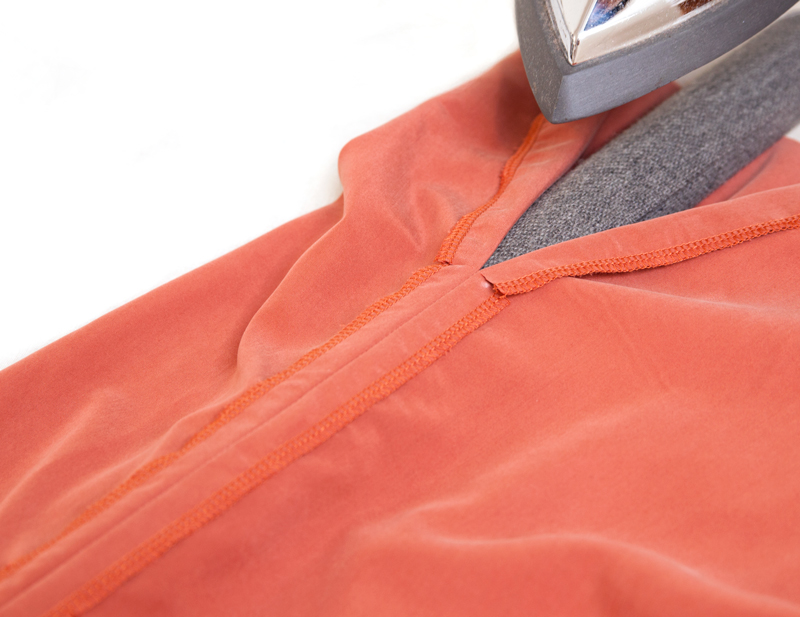
3) Press open the side seam open. Repeat for the second side seam.
Up Next…
In the next lesson, we will assemble the sleeves, insert the sleeves, and attach bias binding.
Comments
For sewing the darts line, you say : ” sew off of the fabric ” . What do you mean ?
Thank you .
Hey Isabelle! Take that instruction very literally. When approaching the tip of the dart, sew off of the fabric rather than backstitching and cutting threads. Because the stitch length is so small, the stitches made “off of the fabric” will twist into each other and secure the stitching.
I’m not sure if this question goes here — but is there a recommended way to secure the pleat to the front of the top so that it is easier to press back into place after washing? I’m thinking small hand stitches on the inside catching the bottom of the pleat (the part that rests on the top), but is there any reason not to do this?
Hello again! I think your idea makes good sense. Some prick stitching along either side of the pleat, down center front, would keep the pleat from shifting after washing.
I would love some direction about how wide to cut the bias tape? I am not sure if I should double the seam allowance of 5/8″ or add a little more.