Today we will attach the skirt or the peplum. The steps are the same regardless of which version you are sewing, so follow along.
Here is our checklist for the day:
- Apply interfacing.
- Staystitch the skirt.
- Sew the skirt.
- Attach skirt to bodice.
- Finish the facings.
- Edgestitch along the front.
Apply Interfacing
1. Apply the skirt interfacing (P) to the wrong side of the skirt front (I) pieces along the center front edge.

Staystitch the Skirt
1. Staystitch around the waistline on the skirt front (I) pieces, and the skirt back ( J) pieces, stitching a scant 5/8” from the raw edge.
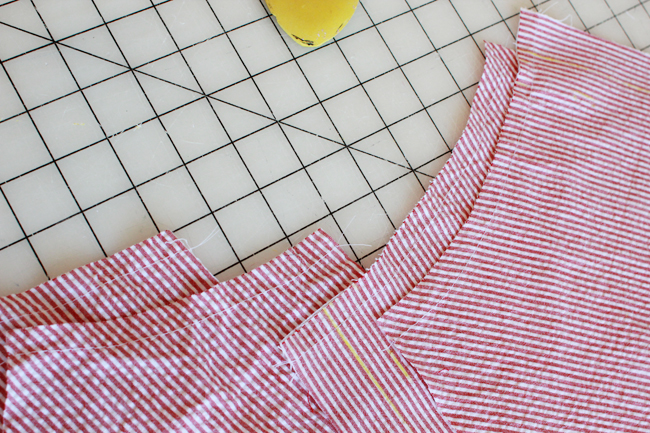
Sew the Skirt
1. With right sides together, stitch the skirt back (J) pieces together at the center seam.
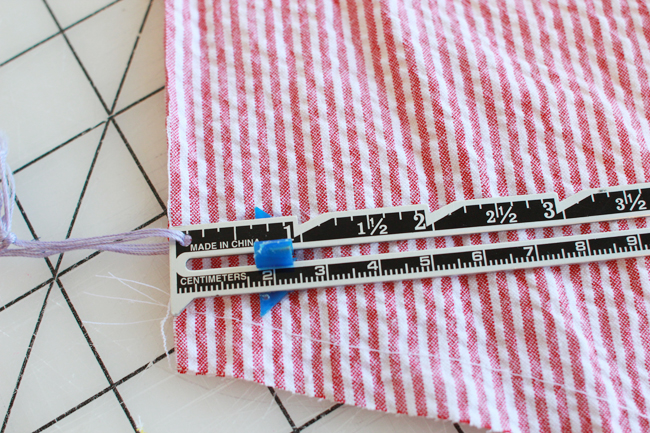
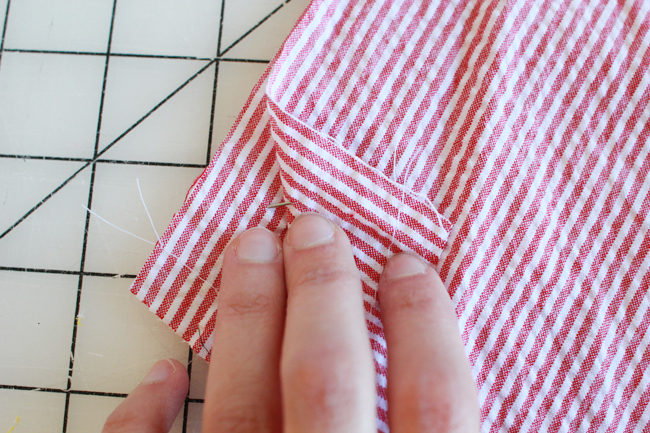
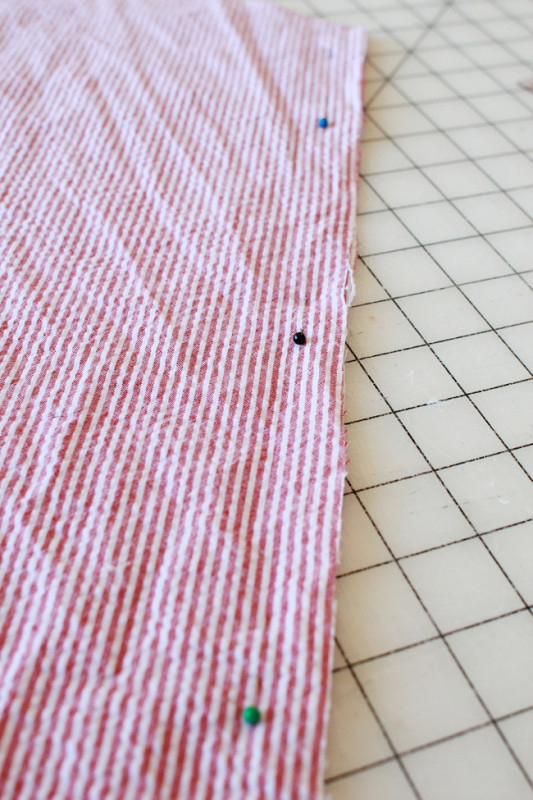
Note: If matching stipes, measure 5/8″ in and place your pin through the same point in the pattern.
2. Finish seams and press open.
Below: Again, I used pinking sheers to clip my seam before pressing open. You can also serge the seam and press toward the back.
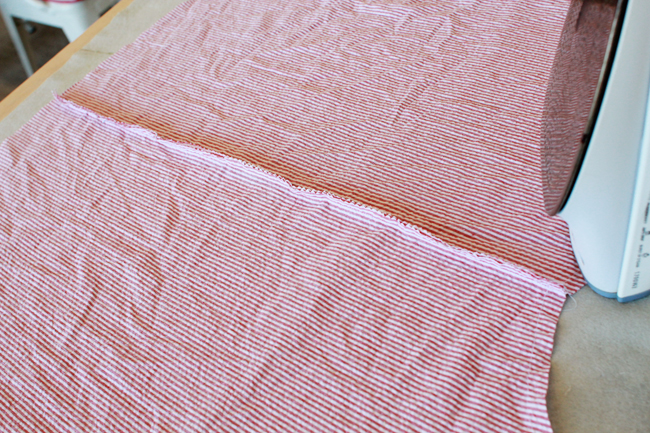
3. With right sides together stitch the skirt front (I) and skirt back (J) pieces together at the side seam. Repeat for the other skirt front (I).
Note: As with the center back seam, if matching stripes, measure 5/8″ in and place your pins so the pattern aligns.
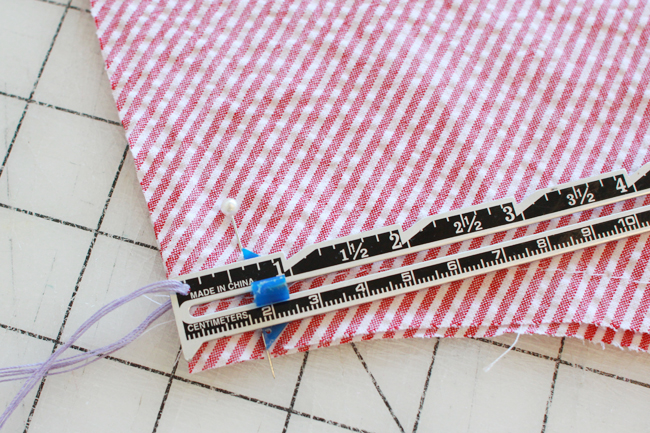
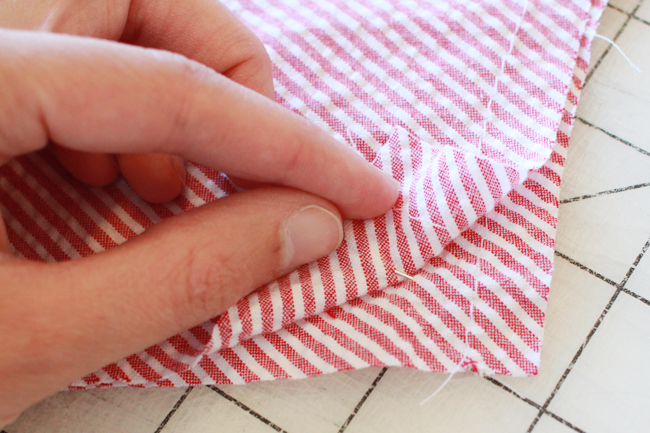
4. Finish seams and press open.
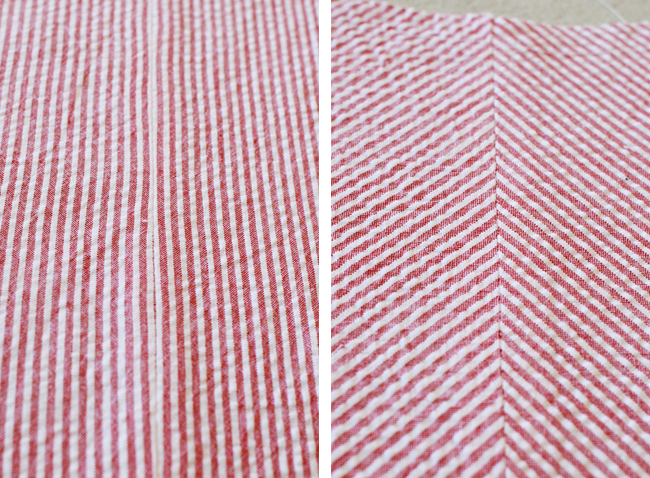
Note: Here is how your center back and side seams should line up:
Attach Skirt to Bodice
1. Open the front facing (E) away from the bodice.
2. With right sides together stitch the skirt to the bodice along the waistline, matching notches and side seams, and sewing across the front facings.
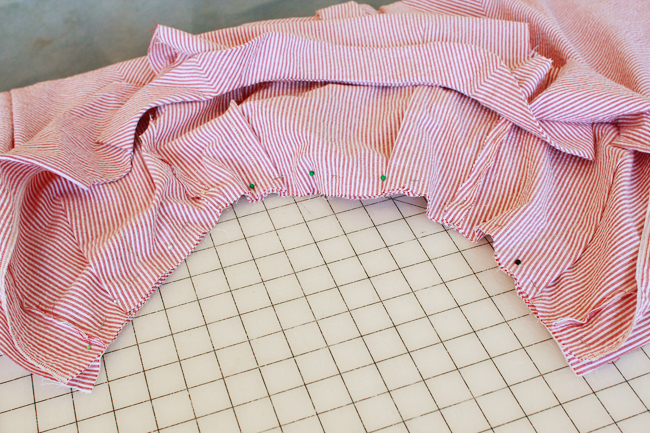
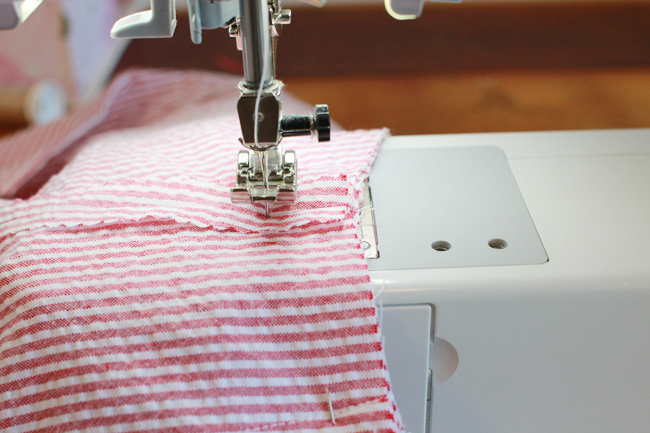
Note: To keep an even 5/8″ seam allowance while sewing around the curve of the waistline, drop your needle and raise your presser foot to pivot the fabric. This is most important at the side seams as well as at the back darts, where the curve of the skirt is most exaggerated.
Finish the Facings
1. Turn the outer edge of the skirt and bodice facings under 1/4” and press.
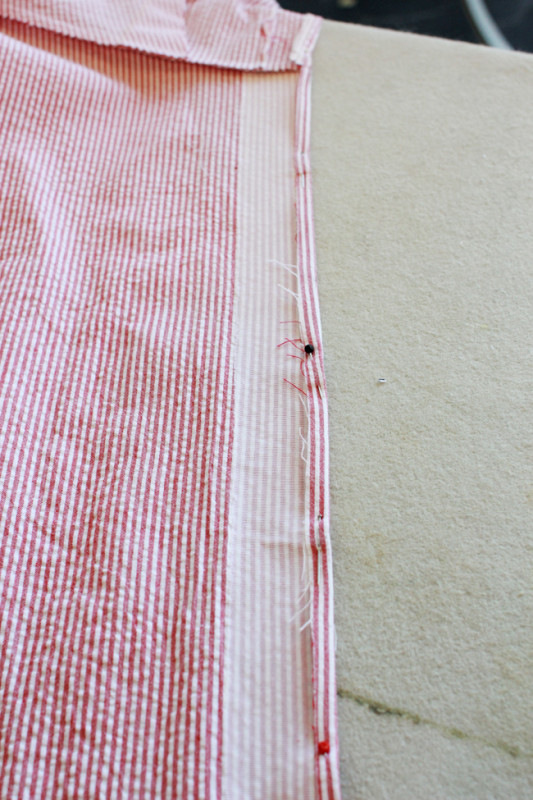
2. Stitch the outer edge.
Edgestitch Along the Front
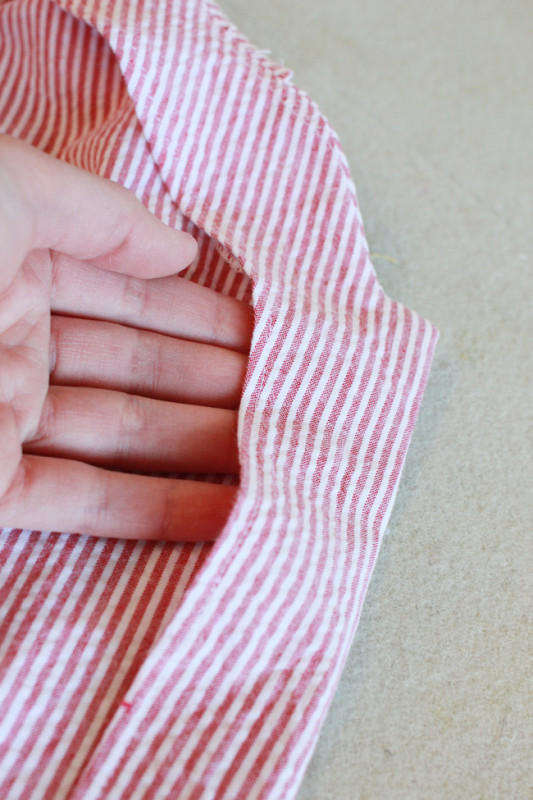
1. Beginning at the bottom of the skirt on the outside of the garment, edgestitch up one side of the front, pivoting at the corners of the neckline, stitching in a straight line to the seam where the collar and bodice meet.
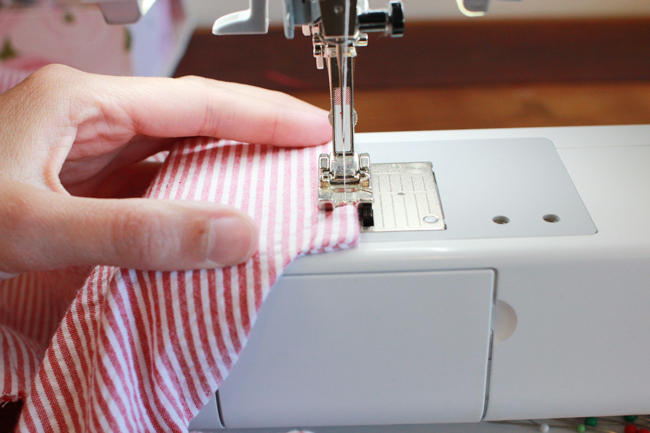
2. Pivot and sew along the front edge of the collar, and then pivot and sew around the outer edge of the collar. Pivot, and repeat down the opposite side.
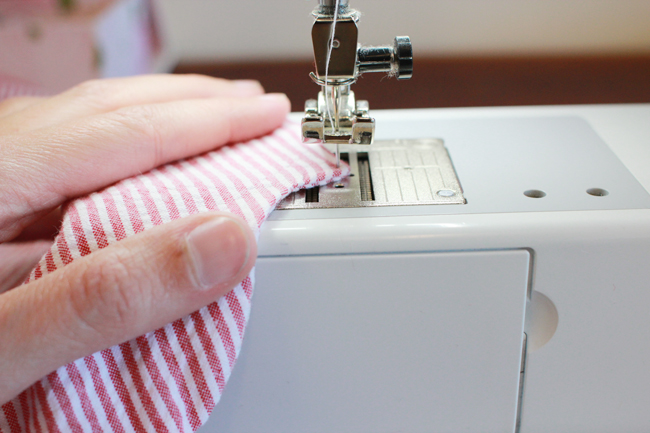
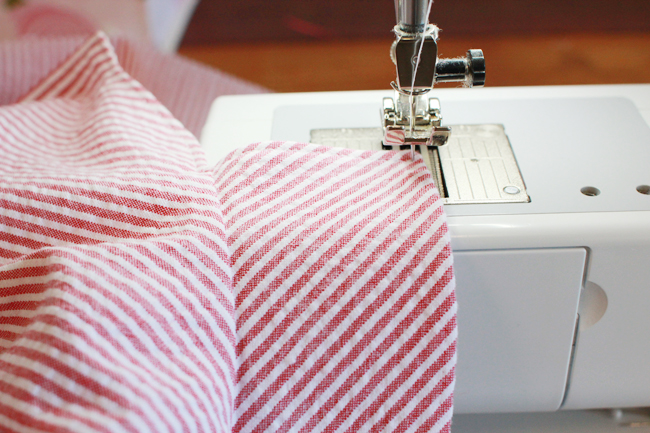
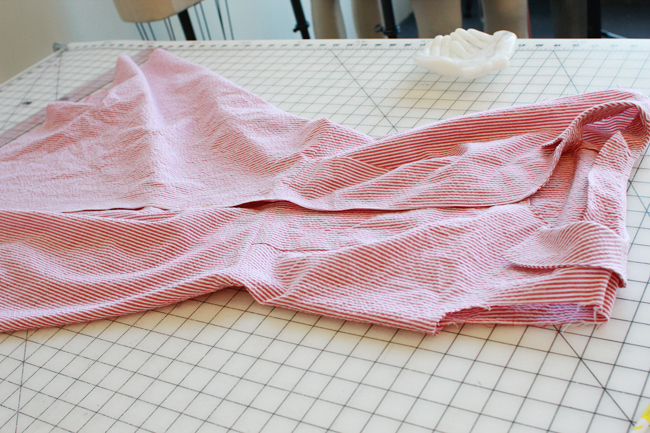
And here is what you should end up with:


Comments
Thank you. These sew-a-longs with so many photos are really a pleasure to read. They make me far more inclined to pick up a project I might feel I don’t have the time for & help me remember that sewing is fun!
It’s looking gorgeous, Rachel! I just have a quick question: I am a little confused on the edge stitching step. I guess what I am wondering is if the interfacing will show on the skirt, or if we are supposed to fold that under (maybe it will make more sense once I have “done” this step–I’m aodt there!)
Thank you!
My apologies, I forgot to say you’ll want to turn the facing under along the fold line, then edgestitch.
Thanks, Rachel!!
Now petrified that I ‘ll ruin it all with the buttonholes!
Hi, sorry I’m a little late in following along but would there be any advantage to adding some sort of reinforcing to the waist seam? A ‘waist stay’ if that’s what that is? I noticed in my muslin that the fullness of the skirt created a reasonable amount of weight so might it be good to ensure the waist doesn’t stretch or pull with a bit of thin twill tape, grosgrain or something?
If your fabric is at all heavy, that is a great idea. Twill tape, grosgrain, or the thin seam tape will all work if you sew them into your waist seam.
Thank you! I haven’t got up to this yet since I only just finished cutting out my proper fabric so I think I will add something like this when I sew it up.
When I attached the skirt to the body I paid attention so that the seams of the body and the seams of the skirt match, but I noticed that I have more skirt on the back than body. How could I solve this? I already checked the pattern but everything seems right and it’s more fabric than just a bit of “sloppiness with the seams”
Did you staystitch your skirt before sewing? Is it possible that the back skirt got stretched out, since the seam is curved? It’s amazing how much that can affect the length of seams!
If you can’t get it to fit the waistline, you can try to adjust by removing some ease from the center back of the skirt.