

Today, I’m going to show you how to sew bias tape in a circle.
I’m making the sleeveless version of Hawthorn, and since we’ve already covered the short sleeve and the 3/4 length sleeve, I’ll be showing the sleeveless variation, which I’m making in this gorgeous silk/cotton Marc Jacobs fabric.
So, whether or not you’re making Hawthorn with us, if you’ve ever wanted to know how to sew a bias facing around a circular opening, read on!
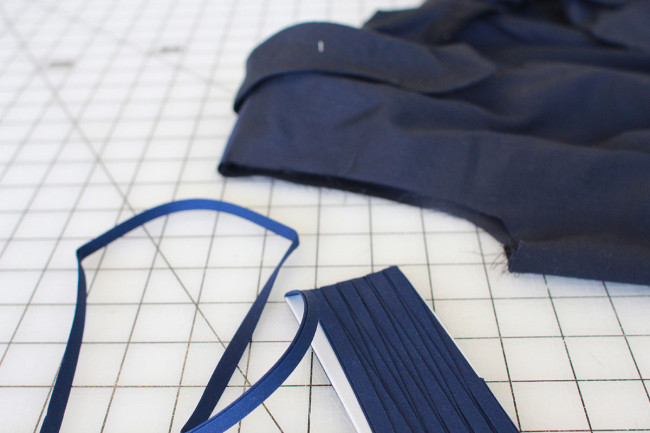
1. Open out your 1/4 inch double fold bias tape.
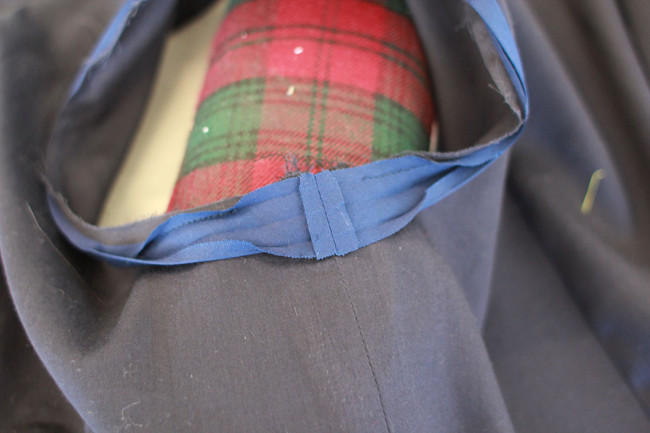
2. On the right side of your bodice armhole, pin the bias tape to the armhole, right sides together. Leave a gap at the bottom of the armhole, at the underarm seam, and a few inches of bias tape trailing on each side of the gap.
3. Stitch the bias tape to the armhole along the first fold line, which is the fold closest to the raw edge. Again, leave an inch or two at the bottom unstitched. We’ll get to that.
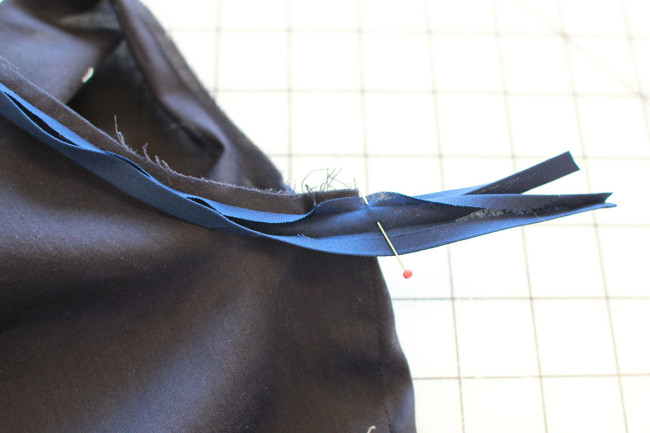
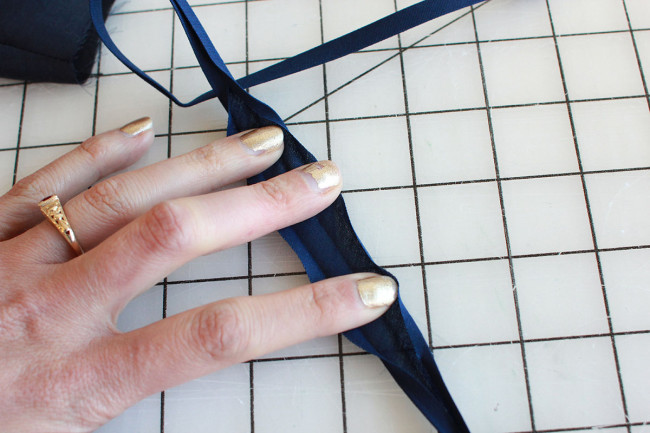
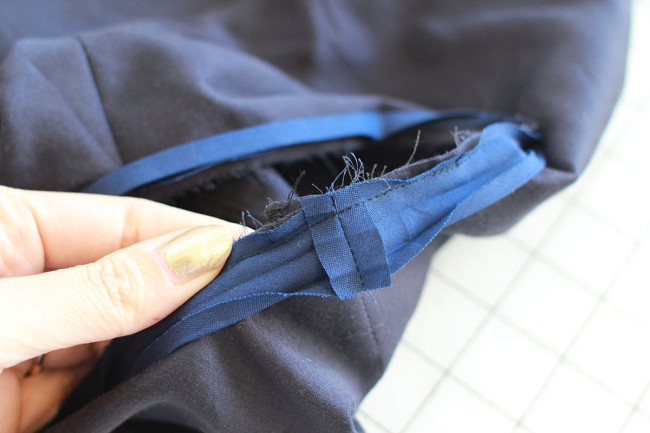
4. Pinch the bias tape together at the underarm to cover the gap you left. Pin the bias tape together at the underarm. The pin will mark exactly how much tape you need to cover up that little gap. Make sure to just pin through the bias tape, not the bodice.
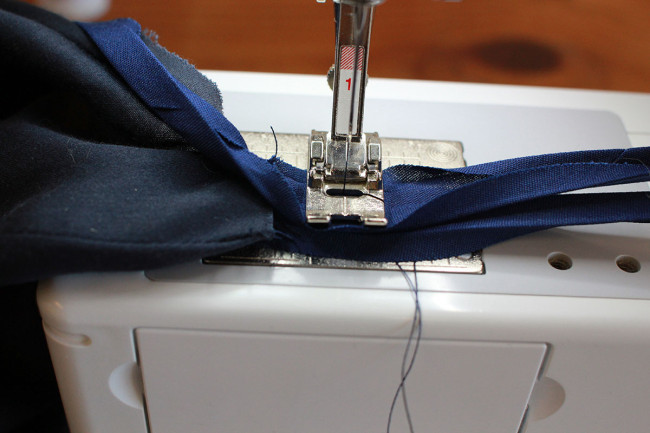
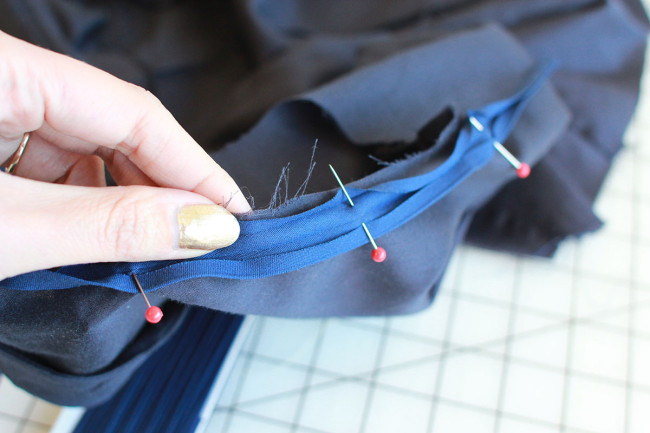
5. Stitch the bias tape ends together right where you placed the pin. Sometimes it can be a little fiddly to get the bias tape ends to lay together correctly, so just make sure you have them lined up neatly under your presser foot before you stitch.
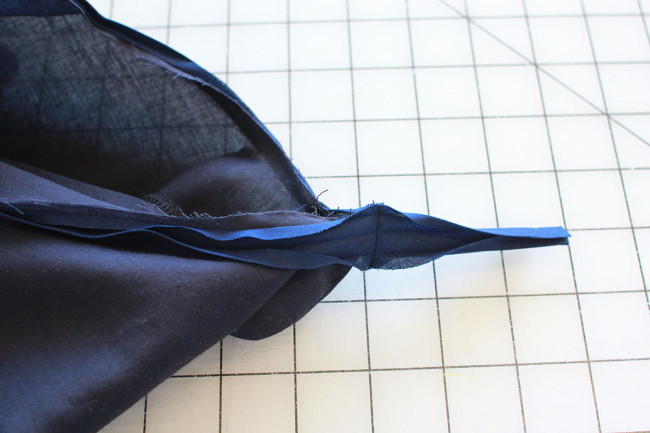
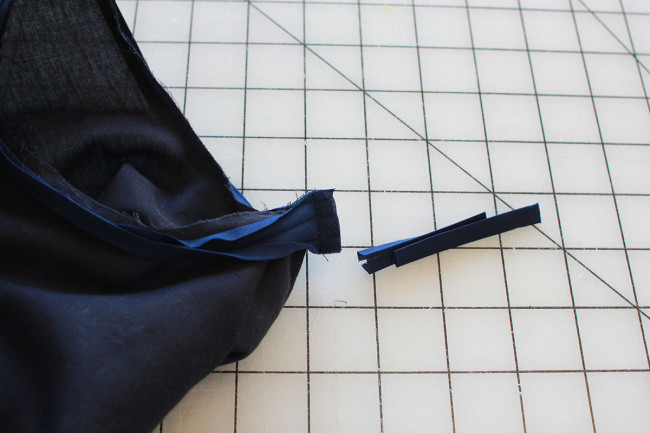
6. Trim the excess ends off the bias tape.
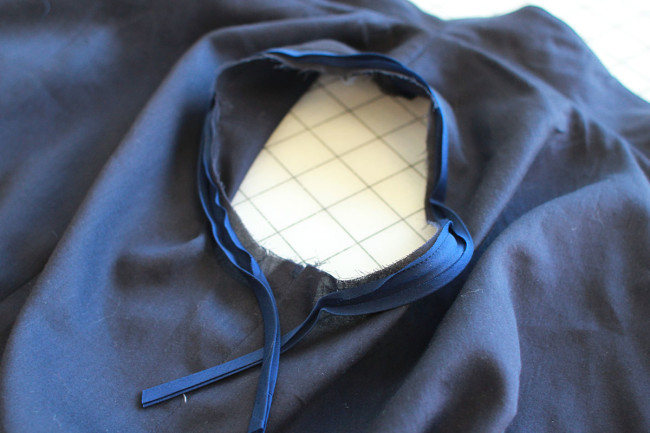
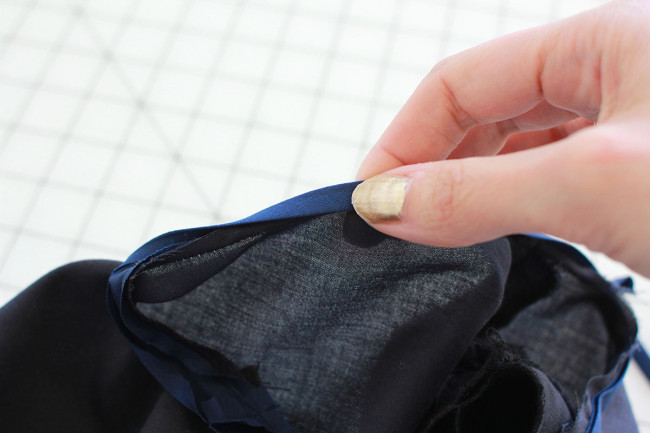
7. Press the bias tape seam allowance open.
8. Stitch along the first fold line over the remaining gap. Now your bias tape is stitched in a circle around the armhole and it’s time to turn it in and finish it up.
9. Turn the bias tape in along the folds again, wrapping it around the seam allowance.
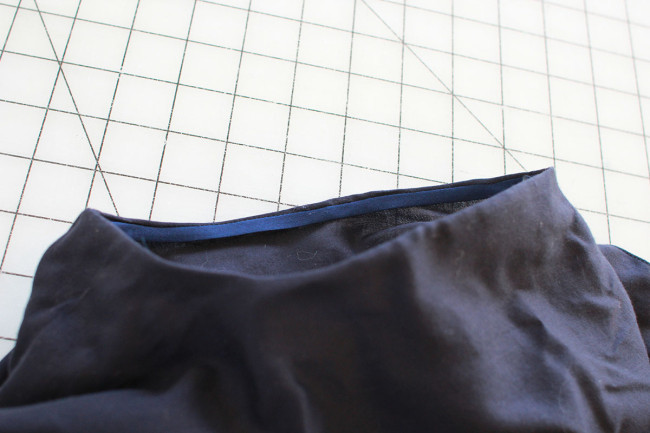
10. Turn the bias tape again to the inside of the armhole, along the stitching line, and press into place.
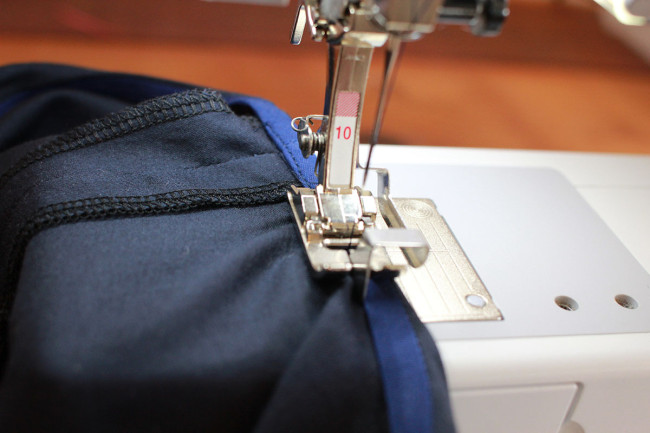
11. On the inside of the armhole, edgestitch the bias tape in place. If you have an edgestitch foot, now’s the time to use it!
12. Give the armhole a final press to flatten it out and shape it. You might notice some wrinkles, or the bias tape stitcking out a little funny. A good press with lots of steam (if your fabric will tolerate it) can really help you shape that armhole just right.
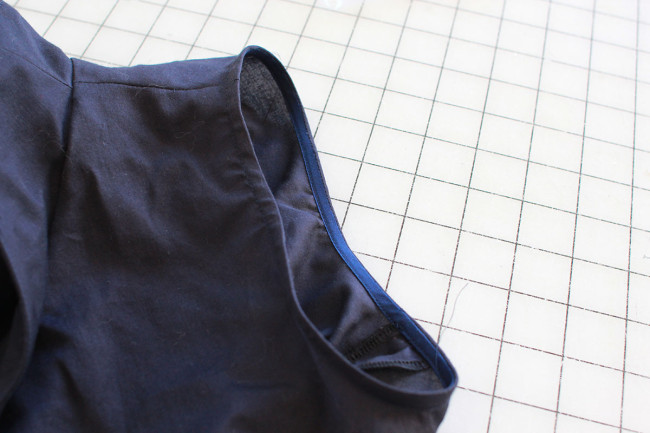
And that’s it! Your armholes are finished!
You can also use this technique to bind an opening rather than use the bias tape as a facing. All you need to do is skip step 10.
I am really thrilled with how my dress is coming along. I can’t wait to show you all! How is yours coming?
Comments
I just wanted to say that the photos and the explanations are sooooooo clear! Thank you for these tutorials!
I was nervous at first, but your explanations, along with pics – were great! Thank you!!
Great timing! This is the version that I decided to go with. Yours looks lovely!
I’m just about to do this part. Do you like to under stitch the bias facing too?
No, I don’t find that to be at all necessary.
My bodice is looking great. It seems to fit well and as I’m also making the sleeveless version I used this same technique for the bias tape. I have to order more fabric since I mis-calculated and now don’t have enough to cut out the skirt!! I am so sad! But it’s a good/hard lesson to learn!
This tutorial is fantastic!!!! I always pick up new little tips from your page that help my sewing skills improve. Thank you for the tip on the ends of the bias tape—mine always looked sloppy.
I’d just like to add that if you press the bias tape into a curve before applying it to the armhole, it seems to work in better, especially when you stitch it to the inside. Otherwise, great tutorial.
Great tip!
You get a less bulky result if you join the ends at 90 degrees to one another, exactly like the other joins in the bias tape.
Another good tip. I find the straight join a little less fussy to do, but I think your method would perhaps be preferred if the join were in a more visible or noticeable area?
I would love to make this dress (or the peplum blouse version)! I was way too busy when you first started this project. Wonder if I could jump in now? Thank you for this great tutorial on applying binding in a circle. (I’ll be making some baby clothes that need this. So glad to see how to do it.) BTW, I love your ring!