

Today is when things get exciting! At the end of this section you will see what the bodice of your Hawthorn looks like. Here is a list of what we will be covering today:
- Create the Collar
- Join Collar to Bodice
- Sew the Facing
- Installing the Facing
- Stitch Side Seams
Create the Collar
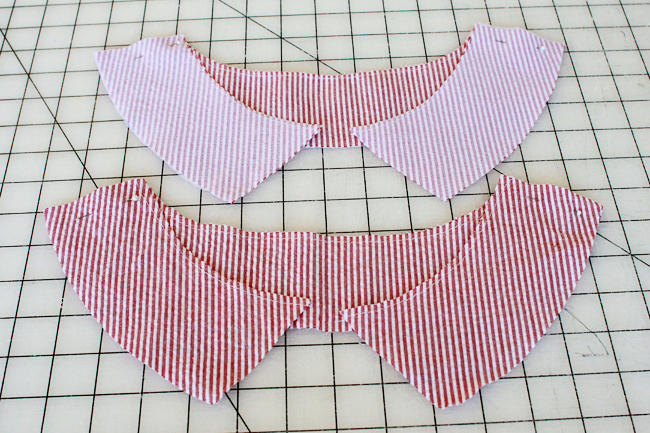
1. With right sides together stitch the two interfaced collar front (F) pieces to the interfaced collar back (G) piece (Pictured Above).
2. Finish seams (as I have done with pinking shears) and press open.
3. Repeat for the uninterfaced collar pieces.
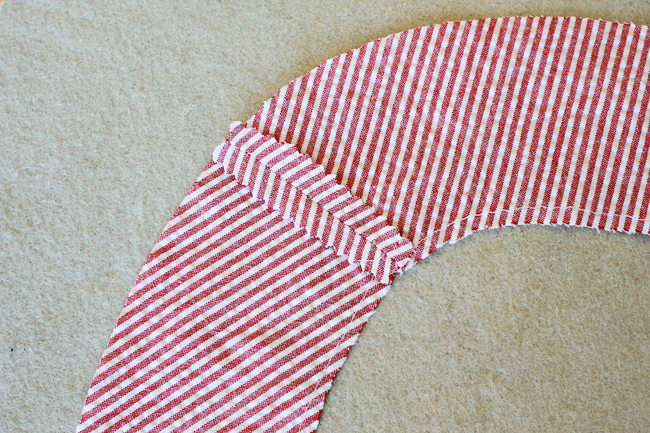
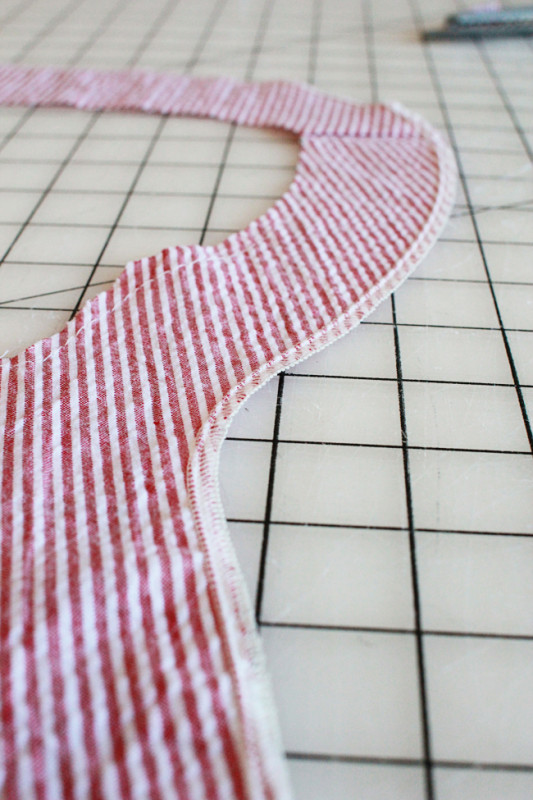
4. With right sides together stitch the collar pieces together. Begin by stitching one short edge, pivot at the corner, stitch along the outer edge, pivot, and stitch the remaining short edge.
Below: Drop your needle and raise your presserfoot to pivot your material.
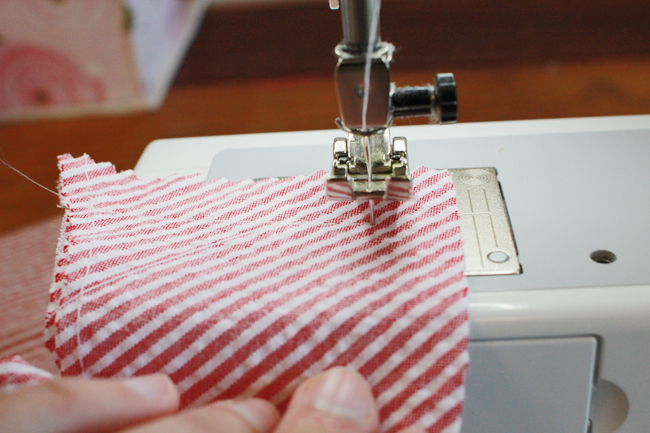
5. Trim seams to 1/4” and cut several notches in the seam allowance all along the outer edge. This will help the seam lie flat.
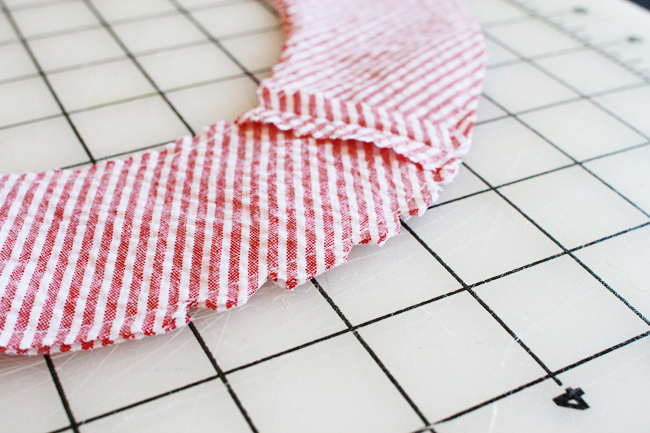
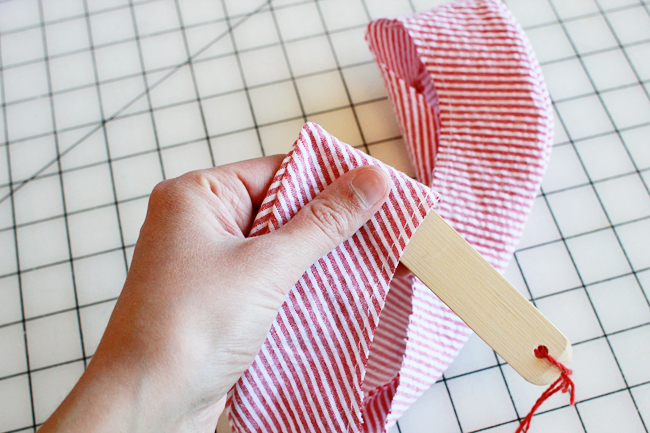
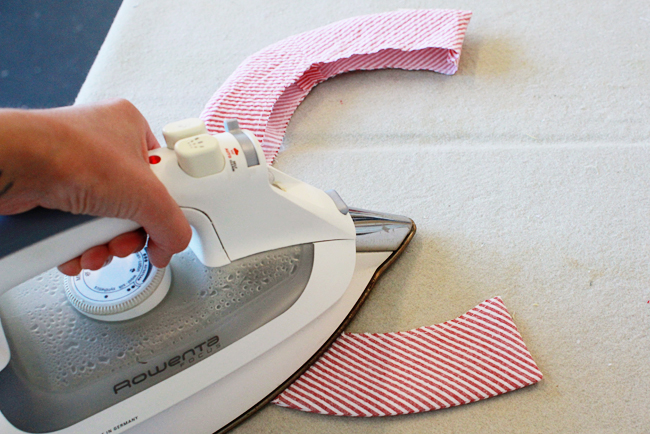
6. Turn the collar rightside out and press.
Below: Using a bamboo point turner will result in nice, crisp edges.
Join the Collar to Bodice
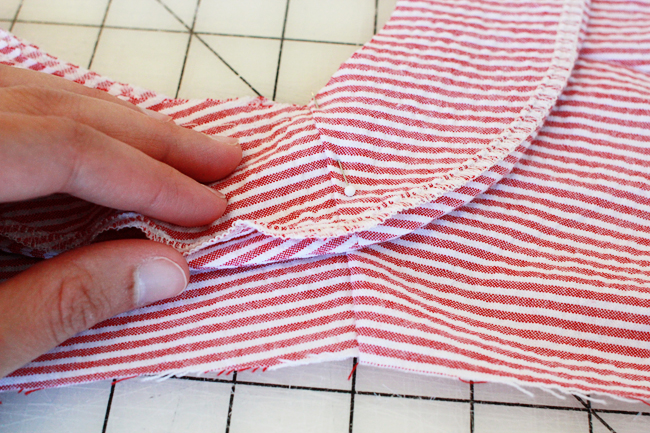
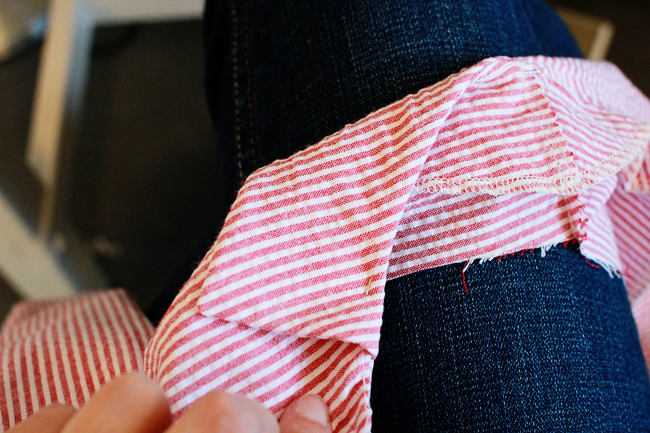
1. On the right side of the bodice, pin the collar to the neckline between the large circles, matching shoulder seams.
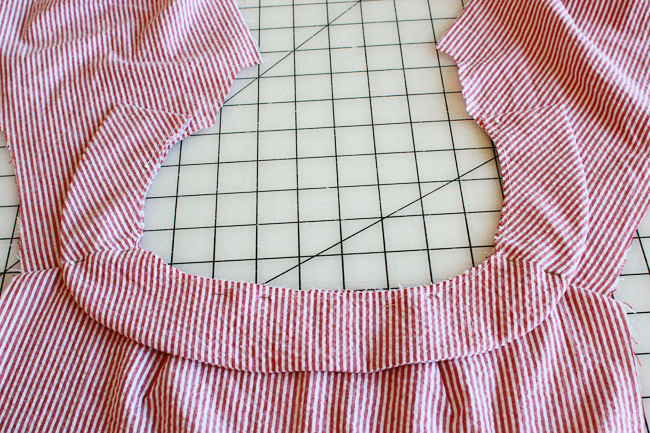
2. Machine baste the collar in place, at a scant 1/4″.
Sew the Facing
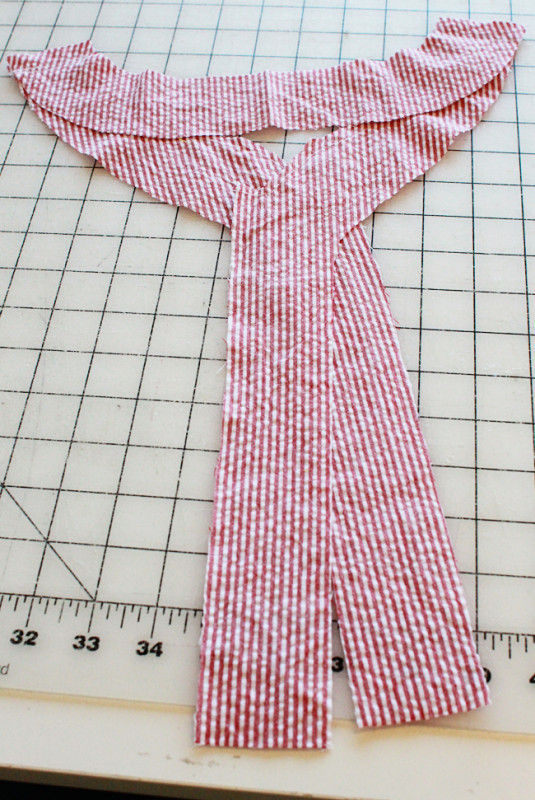
1. With right sides together stitch the two facing front (E) pieces to the facing back (H) piece at the shoulder seams.
Note: I did not interface my facings. It was recently brought to my attention that interfacing isn’t always a must, and I happened to run out after interfacing my collar.
2. Finish the seams and press open. You can also finish the outter edges of your facings by pinking them or serging them, as shown below:
Installing the Facing
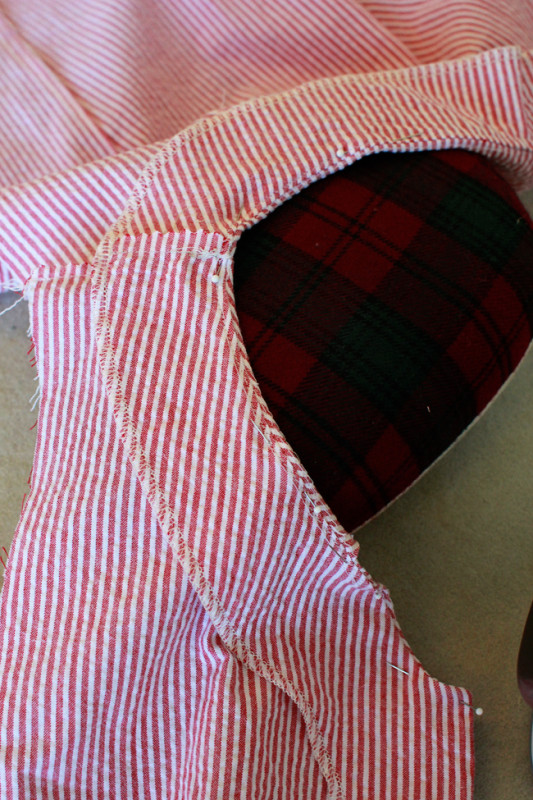
1. Stitch the facing to the bodice. With right sides together, using 1/4” seam allowance stitch up one side of the front, pivoting at the corners at the neckline, stitching around the neckline, pivoting at the second set of corners, and stitching down the other front.
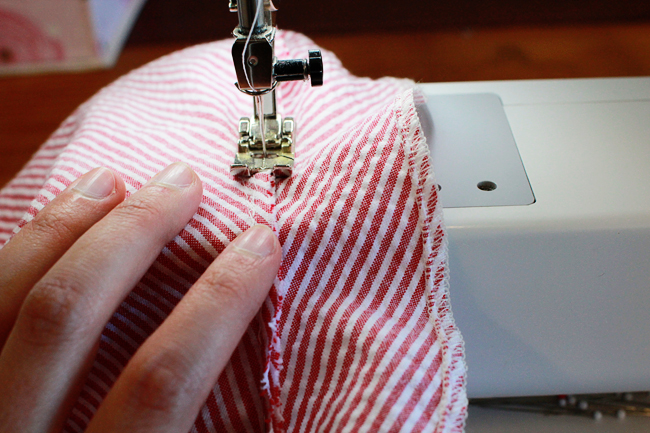
2. Understitch the facing along the neckline, between the two large circles. To do this, pin the seam allowance to the facing and stitch down.
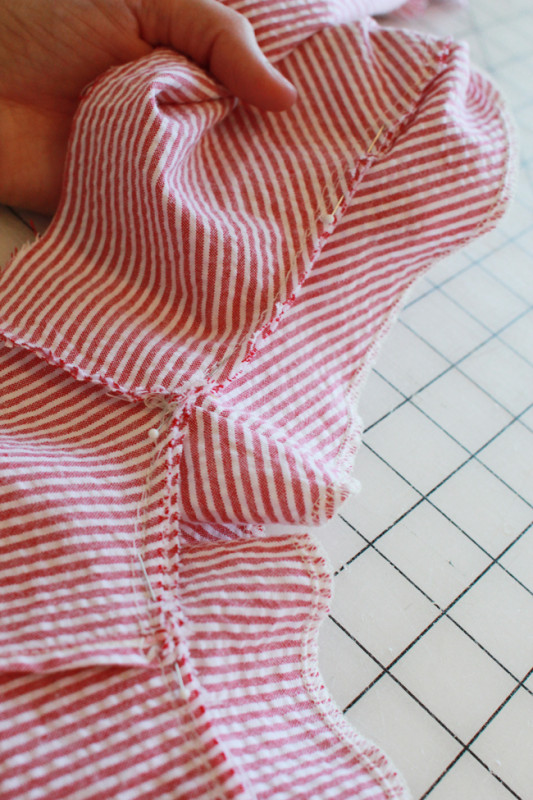
3. Clip the corners.
4. Notch along the curved neckline seam allowance, to help the neckline lay flat once it’s turned out.
5. Turn the facing under and press.
Below: I like to pin things in place before pressing because it helps the three layers of fabric lay in the directions I want.
Stitch Side Seams
1. With right sides together, pin side seams with standard 5/8″ seam allowance.
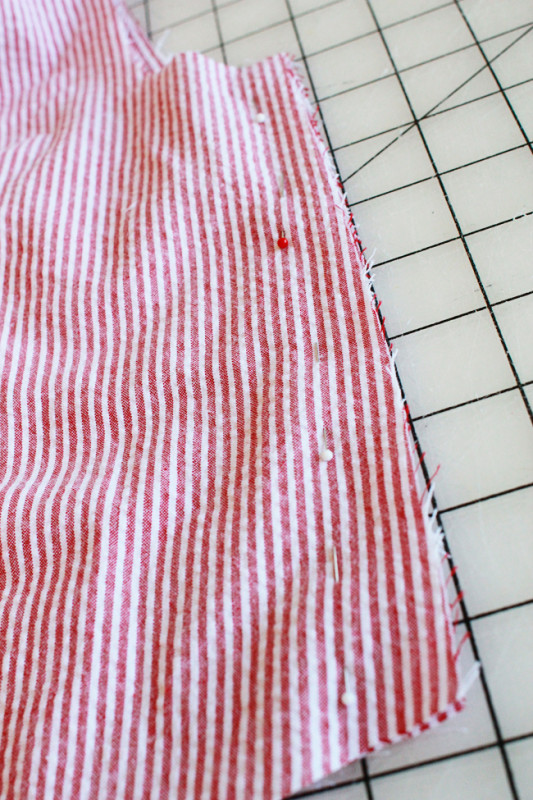
Fit Tip: At this stage you can put your bodice on and pin the front closed at buttonhole markings. You are free to alter the fit if you need to!I ended up sewing my side seams with a 1″ seam allowance because my bodice was just a bit too large. Just remember to sew the top of your skirt side seams with the same seam allowance so the two halves match up at the waistline. Dont be a slave to the 5/8″ seam allowance!
2. Stitch side seams.
And now you should have a pretty well constructed bodice!
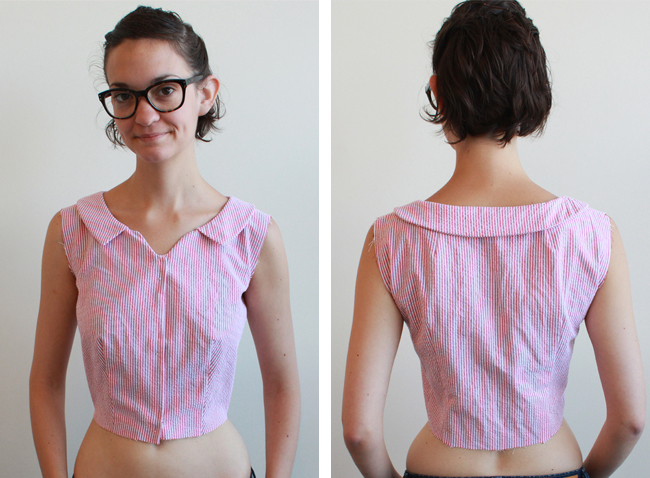
I am always tempted to just stop here and make a crop top instead of a dress. In fact, that’s what I did with my muslin! I’ll show you some pictures of how that turned out later this week.
Comments
I found that the collar is too short and doesn’t reach the circles on the bodice front when sewn with a 5/8″ seam allowance. Some other people found this too: http://www.flickr.com/groups/colettepatterns/discuss/72157634449392415/
I made a size 12 and the circles did match up but I actually prefer the collar to come in toward the centre more so I cut the largest size collar (18) and really like how it looks. It balances my proportions better than the corresponding size collar.
Hmm, interesting… we’ll take a look at this today.
Looks good! One thing I noticed in the photos is that the facing was sewn so that the wrong side is visible when it is flipped inside the dress, and the right side is hidden. While it’s not a huge deal, it’s usually nicer the have the right side of the facing visible on the inside of the garment, and the wrong side hidden.
Awe, you caught my mistake! I was aware of the fact, but didn’t have time to rip the stitches and re-sew.
I don’t like to use fusible interfacing either. I’m interfacing my pieces with cotton batiste. However, I have found (ask me how i know!) that buttonholes sometimes benefit from the glue in fusible. I’m working with linen here, which can ravel, so I’m using a 1″ strip of sheer weight fusible just behind the buttons and buttonholes. I think I’m fusing it right to the main linen dress pieces too, rather than to the cotton facings. Does that sound like a good plan?
That sounds good to me! I sometimes will also back buttonhole areas with squares of silk organza. You can use a glue stick to glue baste them in place too.
I have a silly question, probably a question I should already know the answer to but don’t. When attaching the collar should the interfaced side be up or the underside of the collar. I am hoping for up because that is how I attached it but the collar just doesn’t seem to lay right.
Not silly at all, I actually just asked Sarai and Kristen that question while sewing my own dress! They agreed upon sewing the collar with the interfaced side up. Be sure to post a picture to the flickr group to get feedback about why your collar might be laying wrong.
Thanks for asking this. I came here looking for an answer to the exact same question. I guess the uninterfaced collar pieces should be referred to as the “under collar”. That would help clarify. :)
@ Tiff- I’m grateful that I’m running a bit behind in the Sew-along, as I was able to benefit from the collar discussion on Flickr. I sewed at 1/4 ” and the circles matched up.
I would like to say that I really really enjoy finding your newsletter in my e-mail, I never know what little gem I am going to find.
Thank you for taking the time to share with your audience.
I find that you achieve the purpose of understitching much better when you are working with the right sides facing up so you can see exactly where your stitches are going. I also kinda press my hands on each side of the garment as I go along to keep the facing and garment sections smoothed away from each other. Ironing it all to the facing side first helps too.