

If you’re making version 2 of the Mabel, there is a narrow faux placket that runs down the center front. You attach buttons to this placket for a decorative finish.
Today, we’ll quickly run through attaching this placket before we finish the rest of the seams on Friday.
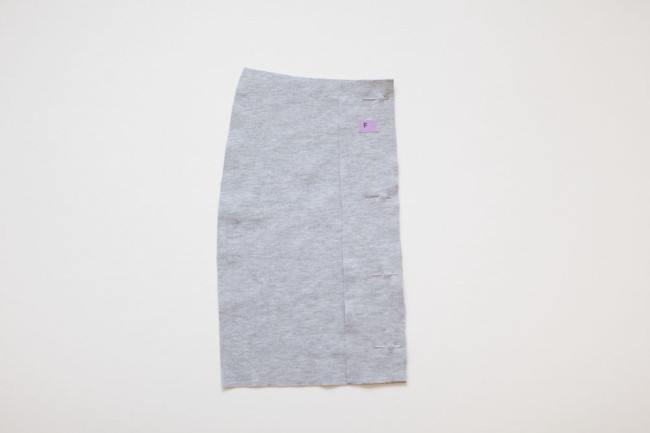
1) __Pin placket.__Place the button skirt center (F) on top of the button skirt front (E), with right sides together and notches aligned. Pin.
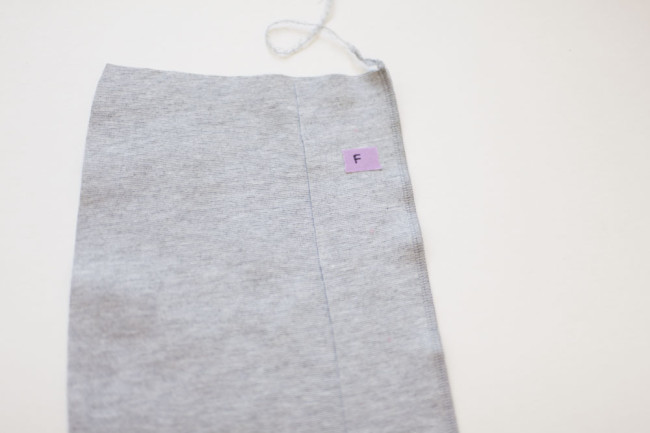
2) Sew placket. Stitch the button skirt center (F) to the button skirt front (E) along the long edge.
3) Sew the other side. Repeat the two previous steps to stitch the second button skirt front (E) to the button skirt center (F).
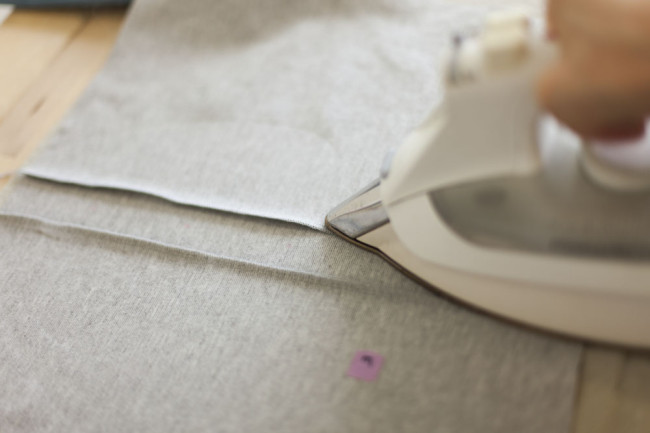
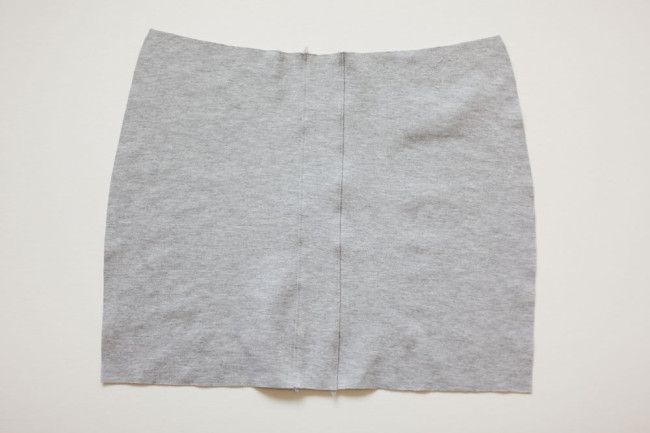
4) Press seams. Gently press the placket seams toward the center. Pressing is usually not necessary with knit seams, but in this case, it will help hold the seam allowances in place.
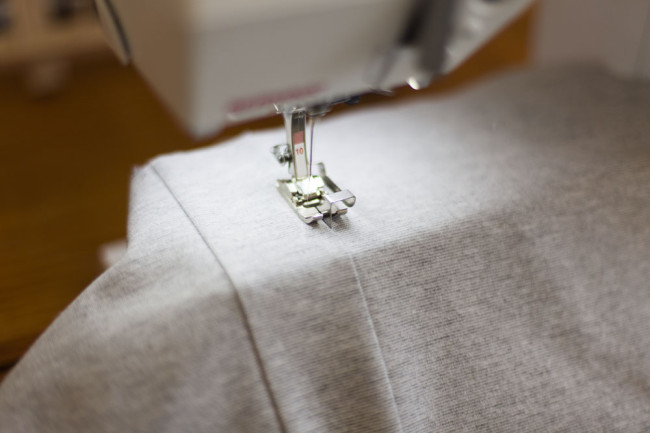
5) Topstitch. Topstitch along each edge of the button skirt center (F) using a single needle and a straight stitch. The reason that a straight stitch works here is that this placket really will not be stretched much vertically, and these stitches won’t bear much tension. There’s little danger of them popping.
I like to use an edgestitch foot and lengthen my stitch to about 3.0mm for best results.
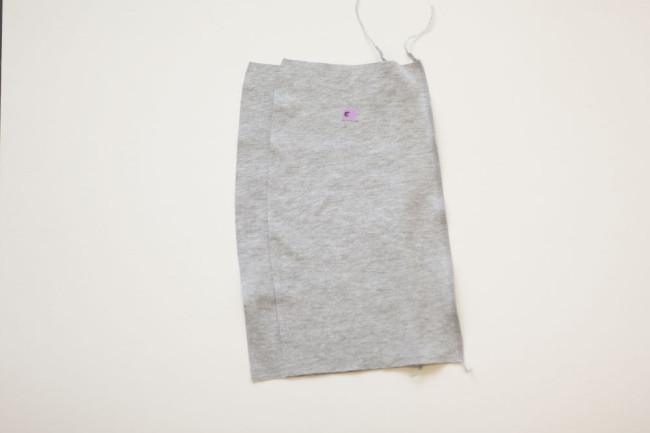
Your front placket is now attached! On Friday, we’ll return to show the rest of the process.