


Today, we’ll start out slowly with the process of creating the waistband for the Mabel.
No mattern which version you’re sewing, the waistband will be created in the same way. This should take you only about 15 minutes.
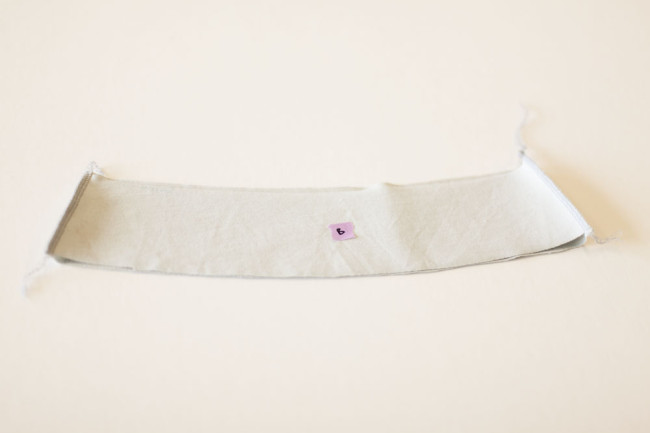
Trim the lining
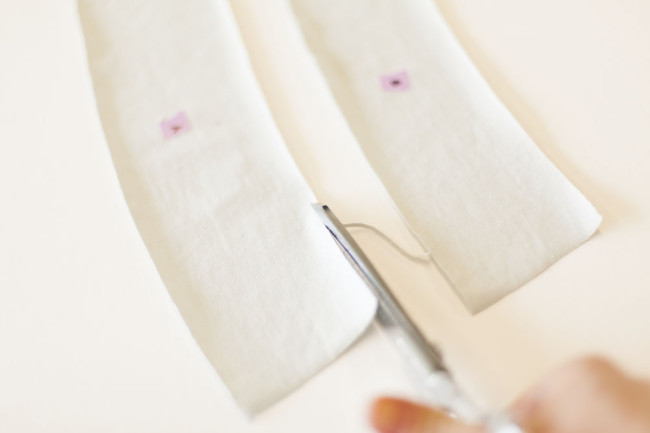
1) Trim the lining. First, trim 1/8″ from the top edge of each of the waistband front (A) and waistband back (B) lining pieces. Trimming this accounts for the turn of cloth and helps the shell roll to the inside.
“Turn of cloth” is a term that refers to the fabric that’s taken up when a fabric is turned to the inside or outside of a garment. Generally, you want a lining to be slightly smaller than the outer fabric, so that it rolls to the inside and is less visible.
Sew a test seam
1) Sew a test seam. Before you start stitching, take two pieces of scrap fabric and sew a test seam. Check for any adjustments you need to make to your tension. For a complete reference on troubleshooting tension issues, see The Colette Guide to Sewing Knits.
2) Test for stretch. Pull on your test seam to check for strength. Make sure your stitches do not pop. If they do, your tension may be too tight.
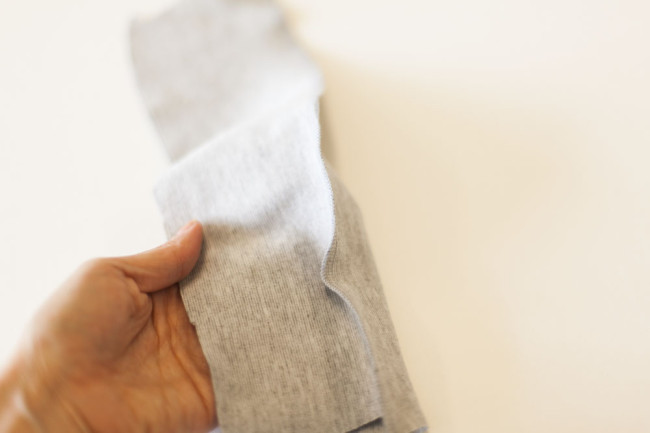
Sew side seams of waistband and lining
1) Stitch the waistband side seams. With right sides together, align the side seams of the waistband front (A) and waistband back (B) main fabric pieces. Stitch along the side seams.
Remember, you can use a serger or a zigzag or stretch stitch for seams. We’ll be demonstrating with a serger.
2) Stitch lining side seams. Repeat this to sew the side seams of your waistband lining.
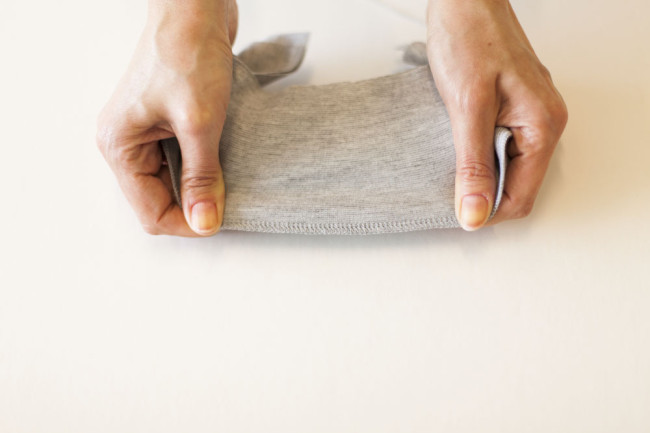
Attach lining to waistband

1) Pin waistband to the lining. Place the waistband lining and waistband main fabric pieces with right sides together, aligning the notches and side seams. Pin.
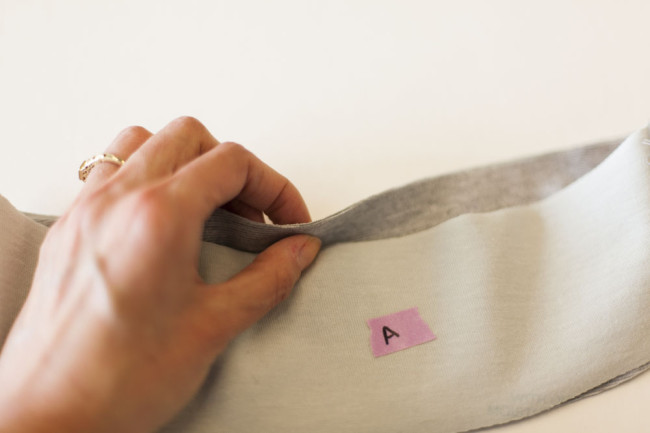
Even though you trimmed the lining, you still want the raw edges to line up. The point is to make the lining slightly smaller than the outer fabric, not just for the lining to have a shorter seam allowance.
2) Stitch around the top. Stitch around the top edge of the waistband pieces.
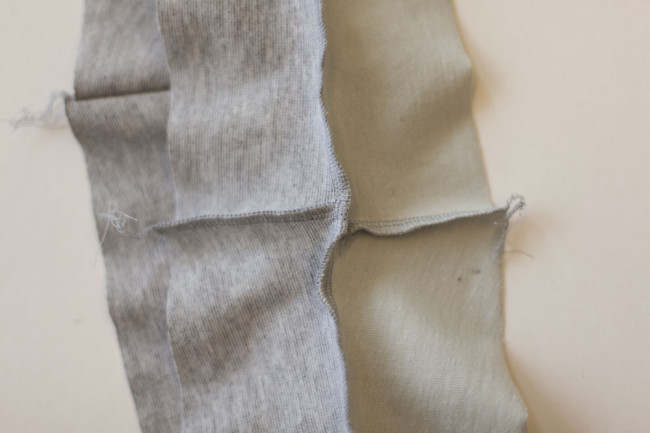
As you stitch, align the seam allowances so that they face opposite directions. This will help to eliminate bulk at the seams.
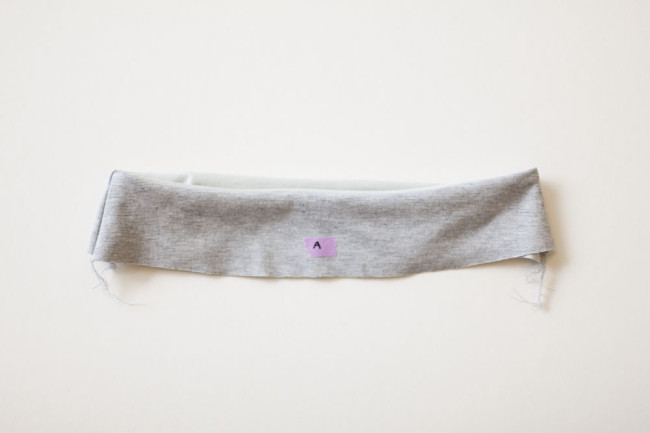
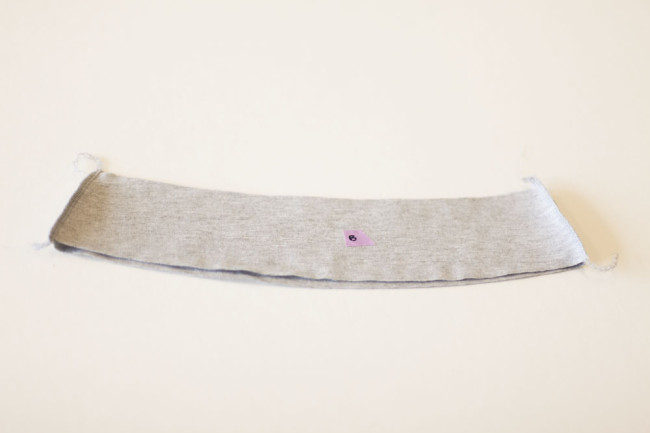
3) Turn out. Turn the waistband right side out.
Your waistband is now ready to go!
In the next step tomorrow, we’ll be covering attaching the front placket if you are making version 2. After that, we’ll talk about sewing the kick pleat for version 3.
On Friday, we’ll finish the rest of the seams, hem, and final finishing. You’ll see what an incredibly quick make this is!
Errata note: There was a grading issue on some sizes of the waistband back piece that led to a small discrepancy in the waistband side seam for some sizes. If you are having an issue with this, you can download a new waistband front piece here, or just trim the waistband front to match the back.
Comments
Hi Sarai! Thanks for the terrific pattern and sewalong. A quick question – I bought ponte but still think it’s too thin for what I really want. Can I line the skirt with another knit to bulk it up? I am sewing version 3. I saw on the blog that you made a reversible Mabel so I’m hopeful that it’s not too tricky. Thanks!
My reversible Mabel was actually made from a reversible double knit, so the fabric came that way. :)
I think this is possible, though I haven’t tried it myself. I would just be careful that the fabric and lining have the same amount of stretch, so you don’t get one sagging. And also, you want to make sure it won’t be so thick that the seams will be bulky.
Help! I’m sewing version 3 in size L and the side seams of my front and back waistbands are different lengths. Am I supposed to stretch one? I’ve double checked the test square….
Pip, can you email us via our contact form (link below) and we’ll figure it out for you ASAP?
https://www.colettepatterns.com/contact
Done! Thank you.
That happened to me too. I sew the L version 3 and the waistband didn’t match. I wonder what I did wrong!
Hi, I’m a super sewing newbie and would love help w/ some basic questions:
1) I’m supposed to backtack even w/ zigzag stitch, right?
2) when you sew over a seam w/ knits, are you supposed to sew over in a particular direction? I mean a previously sewn seam if that helps explain. So, for example, if I were attaching the waistband to the skirt, would I sew over towards the back of the skirt?
Thanks for your help!
Hi Donna. For your first question, it can be helpful to backstitch in order to keep the seam from coming apart at the start and end. This applies to zigzag as well.
I’m not sure I understand your second question. Do you mean does it matter where a seam that’s sewn in the round starts and ends? I typically start and end on a side seam in a case like that, and sew a complete circle. It doesn’t matter which direction, but you do want to make sure your seam allowances face the direction that you want as you stitch over them.
Sarai,
I think what she’s asking is about the direction of the seams. When you are attaching the skirt and waistband, you have the side seams aligning. She’s wondering which direction to sew the seams? I saw in one of the pictures, that you have the seams going in opposite directions, nesting together at the seam line. (It’s very common in quilting). I’ve had the same question myself, so it was really helpful to see that in the picture.
Oh, the seam allowances, I see!
Yes, I try to nest them like that in order to reduce bulk. So if I am sewing two seams together, I will have one seam allowance toward the back and one toward the front.
Great question!
One more question for non serger sewing: am I supposed to decide between a narrow zigzag or a mock overlock? Or do both? Thanks again! I am in awe of all the amazing sewists here.
The narrow zigzag is for the seam itself, and it’s what holds the garment together. I like to use that in combination with the mock overlock. The mock overlock finishes the raw edge, while the zigzag holds things together.
You CAN use the mock overlock to seam in one step. But you might need to make your seam allowance narrower, or trim the seam once your done because the stitch will be more narrow than 3/8″. You also want to test sew a seam and stretch it a bit to make sure that the mock overlock on its own will be sturdy enough.
Hope that makes sense!
Similar question here, about order of operations.
I assume that you sew the seam together first with zig zag or stretch seam and then finish with the mock overlock? Rather than seal the edge first and then sew the seam?
Also, when you’re doing the mock overlock, are you sewing both raw edges together or do you mock overlock each raw edge separately. I assume the former, but want to make sure before I do it!
Yep, sew the seam and then finish it, just like you would on a woven garment.
You would sew both raw edges together, just like if it were being serged. This will create less thread bulk overall.
I would be interested in knowing the solution to the issue of the waistband not matching. I made the pencil skirt a couple weeks ago and had the same issue. To make things match, I sort of manhandled the fabric. I totally suspect the issue was completely me, but still would be interested in the opportunity to learn a fix. The skirt turned out nice. I’m step behind on the sew-along and just cut out my fabric last night… I’ll report back if I have the same problem again.
Also behind and just got around to cutting the paper pattern pieces last night. Knowing about this waistband issue others have mentioned, I checked my XL pieces and saw that one of the pieces (I forget which one) looks to be 1/8 – 3/16″ longer on the side seam than the other piece. While I’m curious to find out if it’s supposed to be longer, I’m not too terribly concerned. Like you, I’m going to go ahead and “manhandle” it to work or probably just let it hang over. The only real concern I have about letting it “hang” is when it comes to attaching it to the skirt with a 3/8″ seam allowance versus a 5/8″ seam.
When you manhandled it, did it cause any rippling or puckering along the waistband?
Also, I want to add that after I cut out my pieces, I used post it notes (like in the pics) to label the pieces. I have trouble reading my chalk marks, and the post-it note works really well!
Sarai, what was the verdict on the length of the waistband? Do they match up or do we need to make some work around or adjustment?
Hi there, getting ready to cut, I too have a 3/8 difference on both the fold and sewn edge between pieces- what is the width of the waistband finished and I can adjust the pattern accordingly?– the size difference is the same for several of the sizes not just Large- thanks-N
Hey guys! To answer everyone’s questions at once, we found that this is a bit of pattern errata due to the grading of some of the sizes.
It’s already been fixed in the digital pattern (so if you want an updated complete pattern, just log into your Colette Patterns account and re-download it to make sure you have the latest). If you have a printed one, I’m putting together a new waistband back piece you can download on it’s own. I’ll update the post with a link today when it’s ready to go.
Sorry for the confusion.
You guys, here is a link to the updated waistband front piece for download:
https://www.colettepatterns.com/media/errata/colette-patterns-1029-mabel-waistband-front.pdf
Again, sincere apologies for the mistake, but everything should be corrected now. We’re adding this errata to the product page on our site as well.
Thanks, Sarai… just finished cutting my fabric. Now to clear off the sewing table and find my sewing machine, change needles, wind bobbin thread, test stitches. Hopefully I’ll get the waistband step done tonight.
Thanks, Sarai!!
Merci! Also fyi, I had an extra printed page of patterns in my printed copy so I got two sets of waistbands and etc– not complaining as it is handy–but someone else might be short–
Is there any reason not to use a fusible tricot interfacing on the waistbands instead of sewing in a lining?
If you don’t mind the interfacing against your skin, you can use one. I think most people would prefer the look and feel of a lining. I’d also be worried about the tricot not having enough stretch.
Sorry for the poorly worded question…I meant to ask about using fusible tricot interfacing inside the lining to give it more body. Oh dear…how silly my original inquiry appears
Oh yes, you can certainly do that!
hi, so i printed the corrected front waist piece, what about the back piece? please some one help. thanks so much!
By far the most fun you can have without omitting bags
Custom Nike New Orleans Saints Jersey Customized Elite Camo Realtree Men NFL Jerseys,Custom Nike NFL Jerseys-Customized New Orleans Saints Jerseys http://www.thefireworkshop.com/Custom-Reebok/Custom-Nike-New-Orleans-Saints-Jersey-Customized-Elite-Camo-Realtree-Men-NFL-Jerseys-Custom-Nike-NFL-Jerseys-Customized-New-Orleans-Saints-Jerseys-22kb.html