

If you’re making version 3 of Mabel, today’s lesson is for you.
We’re going to go over creating the kick pleat in the back of the skirt. A kickpleat is both a traditional style detail for a pencil skirt and allows for a little more mobility. It helps keep the skirt from riding up while you’re walking.
We’ll also attach the front side panels of the skirt, getting ready to complete the skirt tomorrow.
Sew Kick Pleat
1) Pin at center back. With right sides together, align the pencil skirt back (I) pieces at the center back seam. Pin.
2) Stitch center back. Beginning at the top edge, stitch along the center back seam and along the top edge of the pleat. The seam curves along the top of the kick pleat, so you can sew it in one continuous length.
3) Stitch the pleat. Stitch along the center back seam of the pleat.
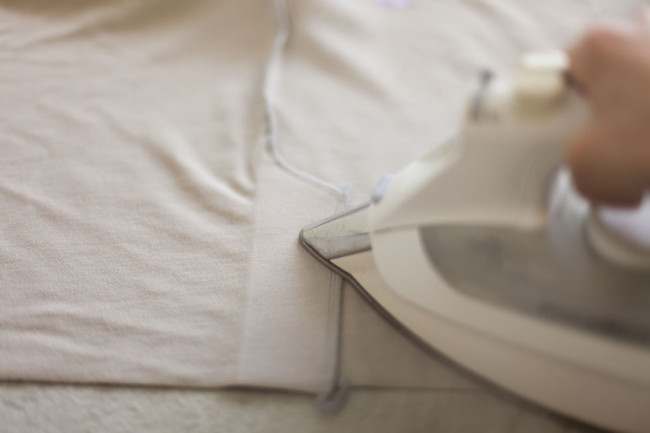
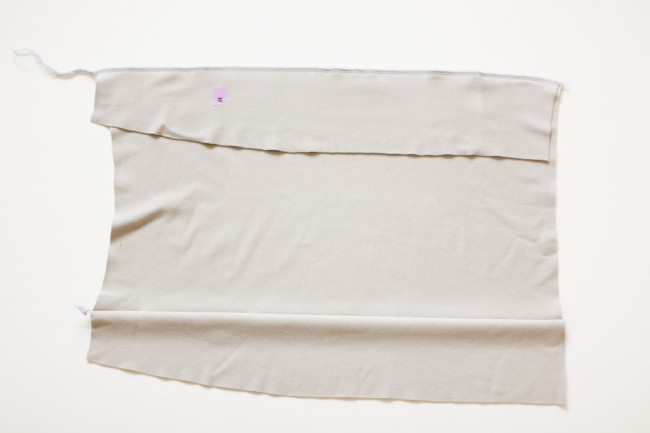
4) Press. Smooth the pleat to the desired side of the skirt. Press. While pressing is not typically needed while sewing knits, this will help hold the pleat in place.
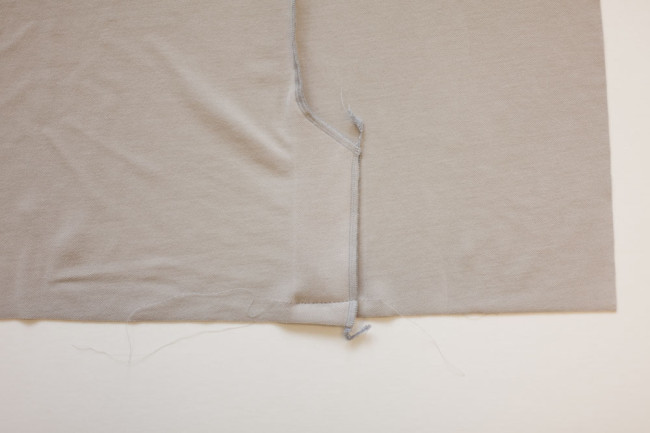
5) Baste pleat closed. Baste the pleat in place along the bottom edge of the skirt, as shown above. This will temporarily keep the pleat in place while you finish.
6) Topstitch pleat. Topstitch for 1″ along the curved top edge of the pleat to secure in place. You can use a straight stitch or a narrow (0.5mm wide) zigzag for this. Backstitch at each end of the stitching to secure.
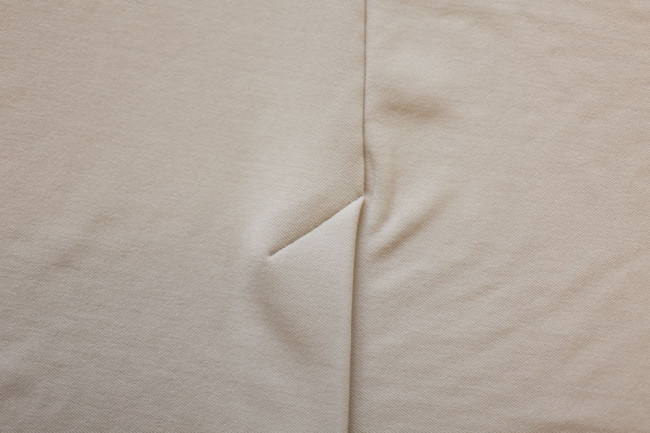
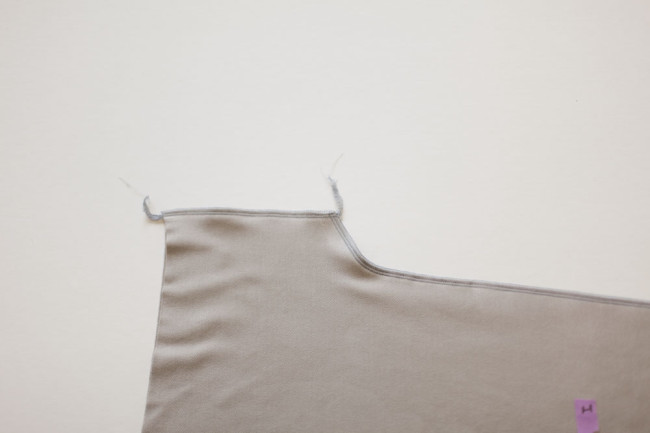
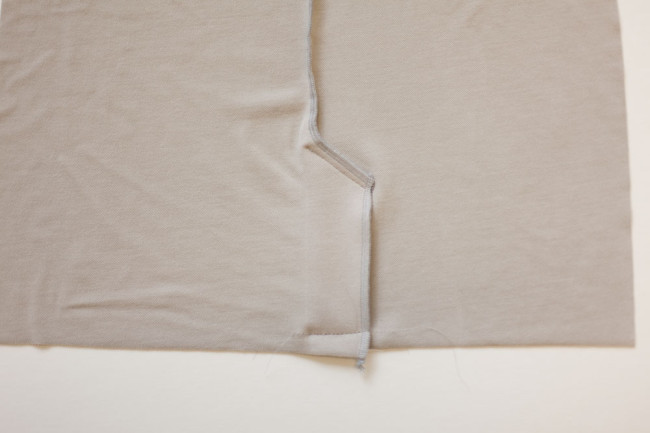
Here’s what it will look like on the outside of the skirt.
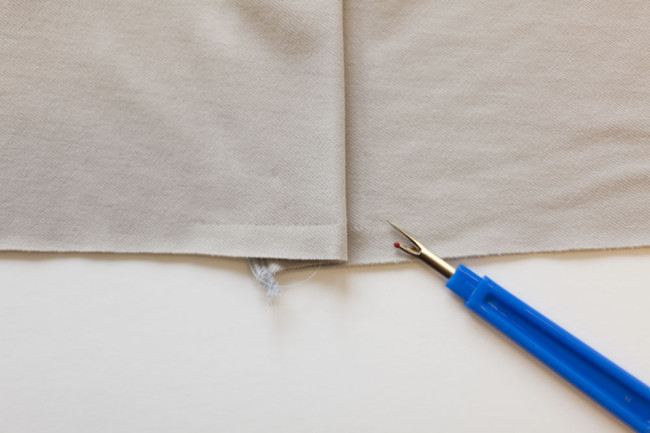
7) Remove the basting. Use a seam ripper to remove the temporary basting stitches holding the pleat closed.
Sew side panels

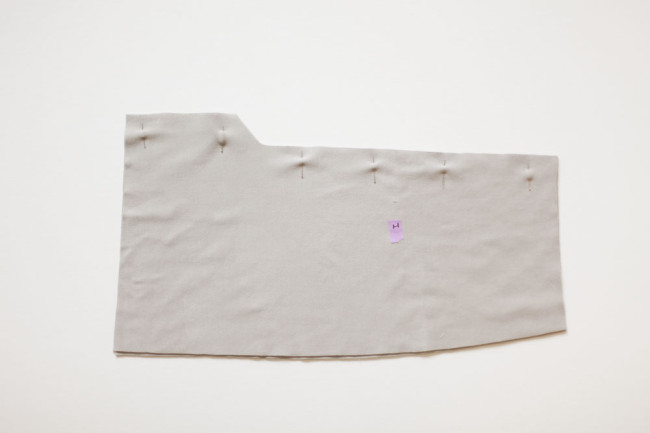
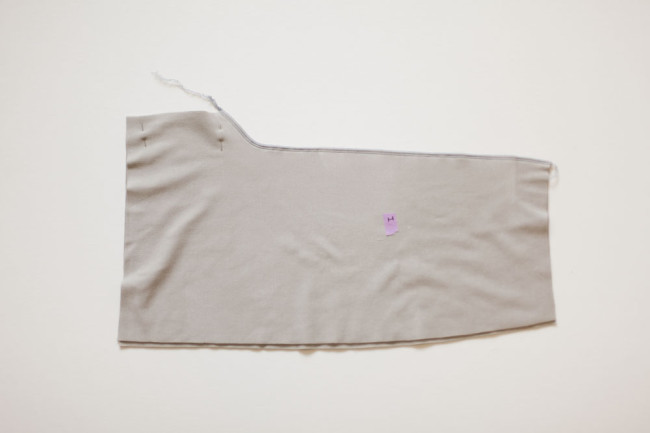
1) Stitch side panel. With right sides together, align the pencil skirt center (G) and one pencil skirt side (H) piece, matching the notches. Stitch.
2) Stitch second side panel. Repeat for the second pencil skirt side (H) piece.
This will now be your skirt front unit.
Tomorrow, we’ll be finishing up our Mabel skirts, no matter which version you’re sewing. We’ll be sewing the side seams, attaching the waistband, hemming, and finishing. See you there!
Comments
When basting knit fabric, is it necessary to use a stretch stitch? Am I correct that the answer is NO? I’m basing that thought because you say the pleat topstitching can be done with a straight stitch.
No need for a stretch stitch! The reason you can use a straight stitch there is that the skirt will not stretch vertically when it’s worn, and those seams are vertical. If you were stitching across, it would be different.
But generally, you don’t need to use a stretch stitch for basting, no matter whether the seam will be stretched or not. The reason is that basting is temporary. Just be sure to remove the basting, of you may hear the scary sound of stitches popping later!
Sarai, any tips for doing the topstitching? The pictures above and the instruction drawings indicate that it goes from the center back seam line (looking at the front of the skirt) all the way to (past?) the vertical seam stitching line of the kick pleat itself. Isn’t topstitching generally done on the fabric right side? The pictures show it being done from the wrong side, and I don’t know how I’d ensure I was sewing through the kick pleat if I did sew with the right side up.
My topstitching – done with the wrong side up – is 1 1/2 inches long and doesn’t meet the center back seam. It also starts about 1/4 inch below where the curve starts and is about 1/4 inch away from the pressed fold that creates the continuous vertical line down the center back. I tried to start the topstitching from the center back “seam / fold” but found it hard to do. Was I supposed to stitch along the curve, pulling it straight? I actually started stitching (or tried) where the curve straightens out.
I like to stitch with the right side up so that it starts right at the back seam. To get the pleat held down along the seam, you use your fingers to feel where the bump of the edge of the seam is, and stitch parallel to that.
Is there any reason why we are sewing the kick pleat closed? Most RTW skirts that I have seen have the pleat left open. Is there something special about knits which requires it be sewn closed?
I am a novice so I may have made a huge boo boo, but I have sewn mine open for that very reason Suzy.
I finished the back seam at the curve, finished the edges of the kick pleat, then hemmed them, THEN sewed the curve, finished the edge and finally topstitched the pleat.
It seems to have worked well enough…………although I am still to sew the front to the back and attach the waistband, so Mabel is far from finished. :lol: It may look pants when it’s on.
When you say “closed”, I’m not sure if you mean closed at the bottom, or that the kick pleat is not an open slit in the back. I’m going to assume you mean the latter?
If that’s the case, it’s just a different style detail, and not specific to knits.
A kick pleat is closed. A vent is left open. Many pencil skirts have vents at the slit. I was puzzled at first too but I really like it. My Mabel is made from double sided wool Marc Jacobs knit I bought for $3 at an American sewing guild fabric sale. It is beautiful! Love the Mabel. Can’t wait to make more.
Thanks Nancy! That clarifies things.
Well goodness! Vent vs. Kick Pleat. Learn something new every day. Thank you!
Suzi, what did you do?
Thanks Nancy, I can now add a vent to my list of sewing skills :)