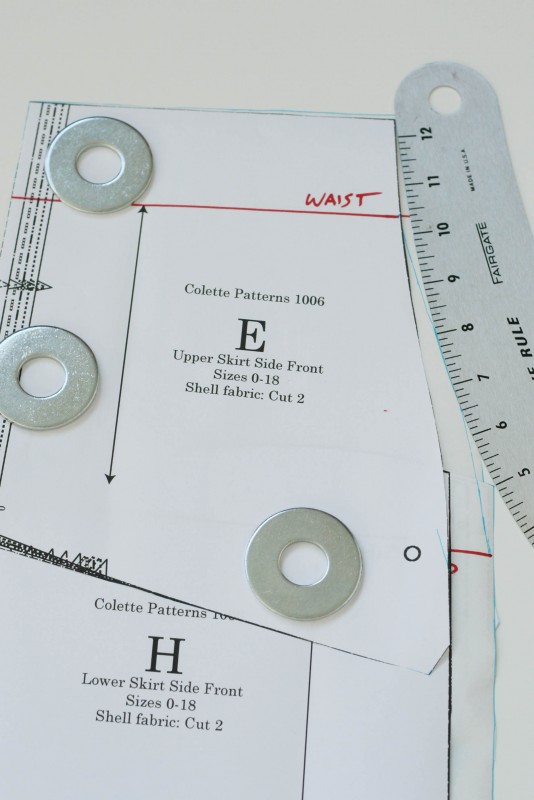
Our final pattern adjustment for today will be grading between sizes, perfect for those of you with larger hips.
The idea of grading between sizes is actually useful to any of us who don’t have the average proportions of a pattern size chart. In other words, your one size in one area (like the waist) and another size in another area (like the hips).
How do I know if I need to grade the hips?
If you’ve done your muslin and determined that you need to size up in the hips, this is the pattern alteration for you.
How to grade the hips
Now, normally, grading between sizes on a multi-sized pattern is very easy, provided the pattern is pretty simple. Let’s say you have a size 4 waist and size 8 hips. You’d just mark the waist and hips on the pattern pieces. Then you’d draw a curved line (using a french curve) between the lines for the size 4 (at the waist) to a size 8 (at the hips). Here’s how that might look:
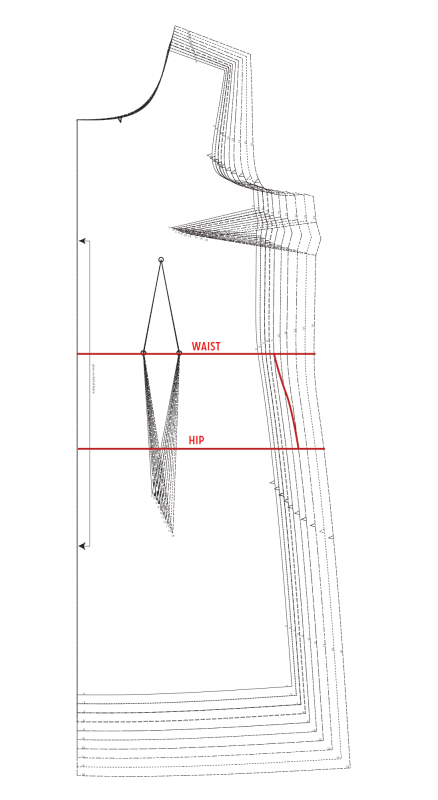
But there are two things that make this a bit trickier with the Rooibos.
First, the side skirt is not in one piece. You have an upper portion, a lower portion, and two different pocket pieces to work with. Take a look, and you’ll see why it’s not as simple as the example above:
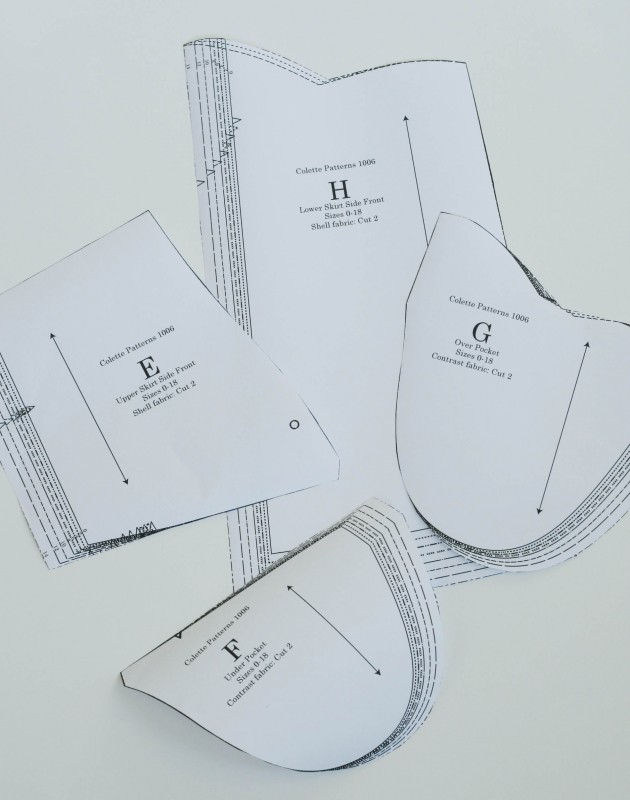
Second, and this is even trickier, the pieces are not “stacked” on the same sides. If you look above, you’ll see that the multi-size lines are on the left side of pieces E and H, but on the right side of pieces G and F. They were laid out this way to make cutting a lot easier, but this means we’ll need to take some extra steps with our adjustment.
No problem though! Here’s the step by step on how to do it. Just follow along and you’ll be fine.
You’ll need:
- Wide paper for tracing your pattern (any wide paper will do, even the back of wrapping paper)
- Pencils and / or pens
- a french curve ruler
- a standard clear ruler
- paper scissors
- tape (I like artist’s tape because it’s easy to reposition without tearing)
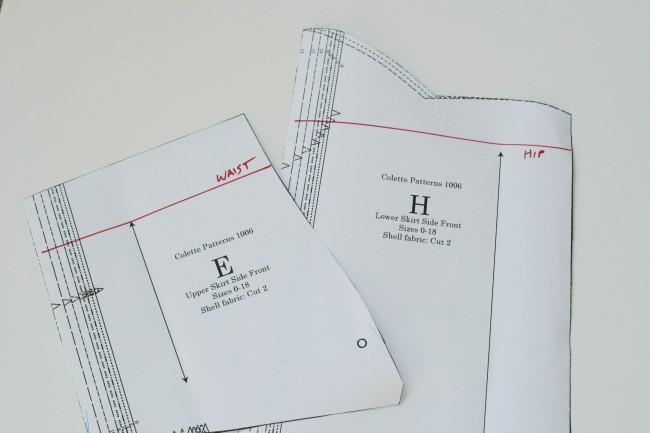
1. Start by cutting out the larger of the two sizes you need for pieces E, F, G, and H. For this example, we’ll be grading from a size 10 at the waist to a size 14 at the hips. So I cut all the pieces in size 14 to start.
2. Mark the waistline and hipline on your pattern pieces. Remember when you found your waist and hip while making your muslin? You want to transfer those positions to the pattern.
To do that, just measure where the waist and hip fall on the side seam of your muslin, and mark it in the same place on your pattern. Be sure to account for the 5/8″ seam allowance at the waist seam.
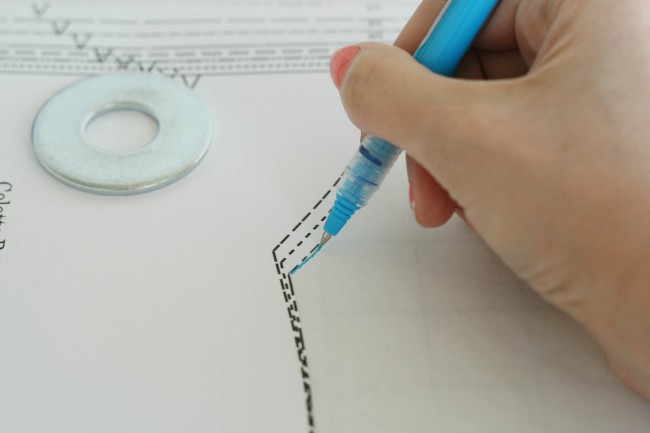
3. On your pattern paper, trace pieces E and H and transfer all of the markings, including the waist and hip lines.
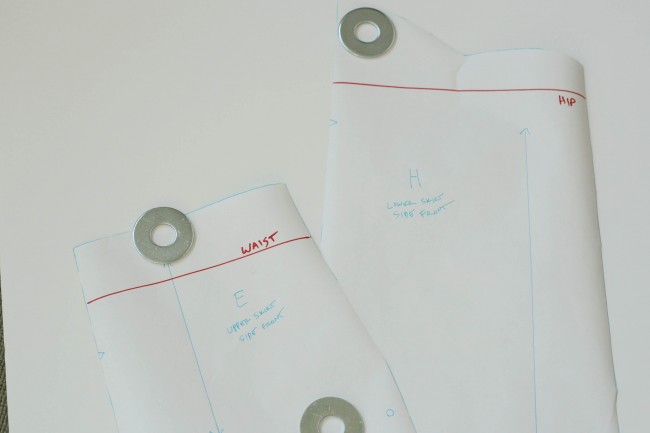
4. Cut them out. Now you’ll have two new pattern pieces, in the larger size (size 14 here).
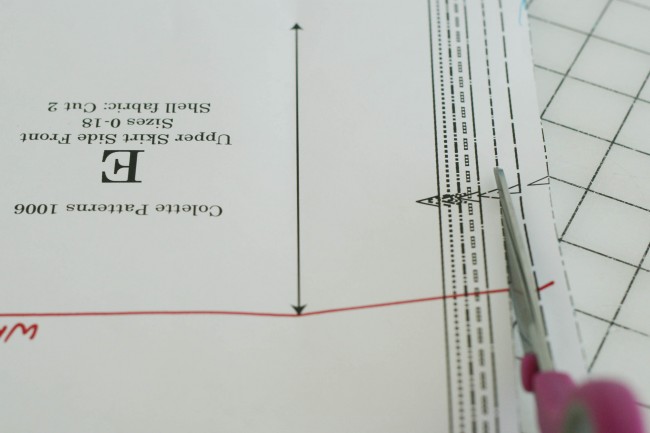
5. On your original E and H pieces, cut the pieces down to the smaller size (size 10 in this case).
Now you have pieces E and H in both a smaller size (the original pattern pieces) and a larger size (the ones you traced). Set aside the smaller size of E and H for now.
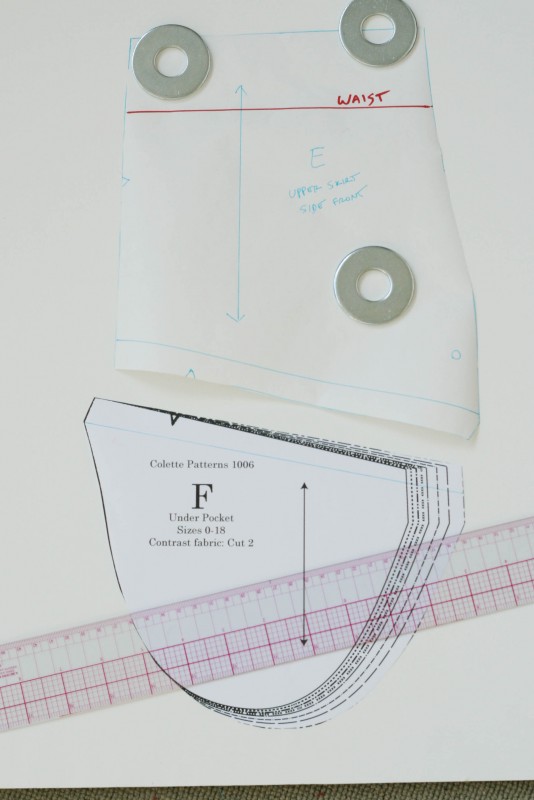
6. On pieces E and F, use a ruler and pen or pencil to mark the 5/8″ seam allowance along the diagonal edge where the two pieces would be sewn together.
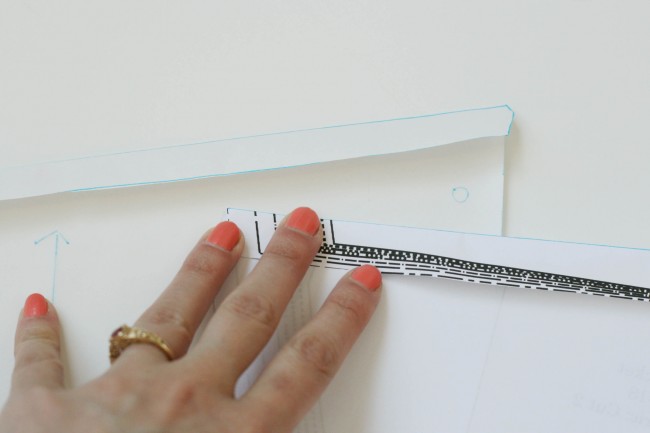
7. Fold these pieces back along the seam line you just drew.
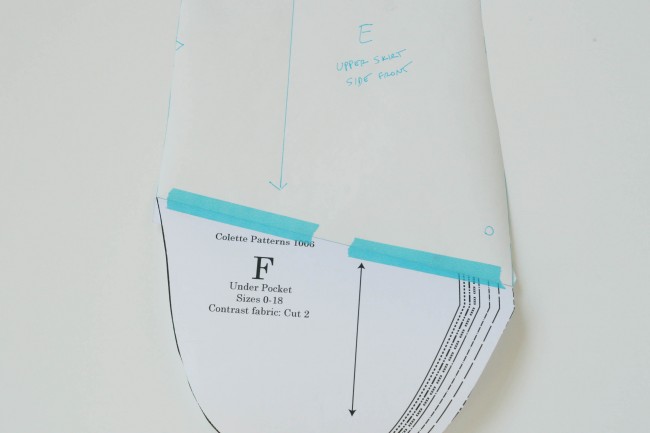
8. Tape E and F together, with the folded edges right up against each other.
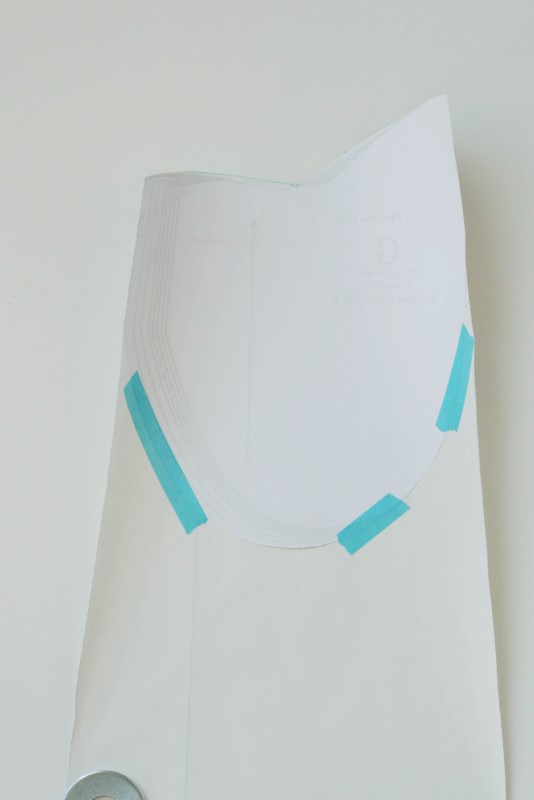
9. With the wrong sides facing upward, tape H and G together. Align the top edge, where the scallop is, and tape in place.
Now you have an upper skirt/pocket unit, and a lower skirt/pocket unit.
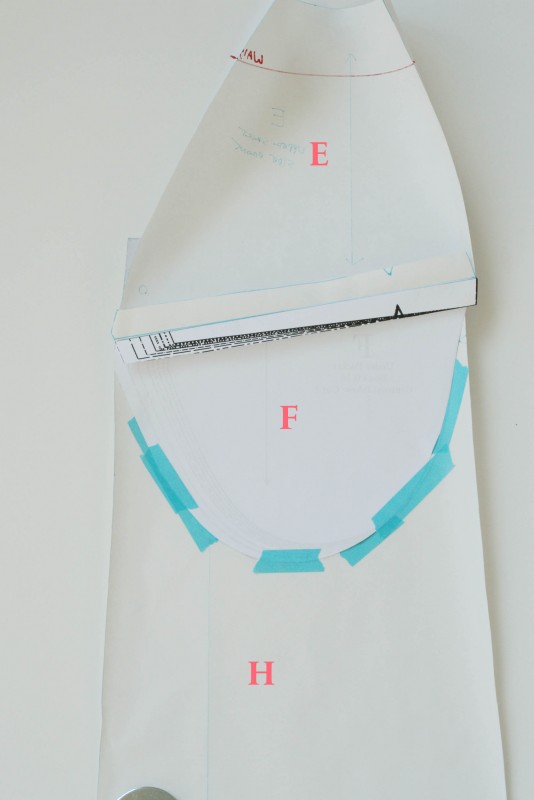
10. Align the curved pocket edges on both units to form your complete skirt side! Tape in place. You can see I labeled each piece above to make it easier to see what’s going on. You’ve basically just assembled the paper pattern just like you’ll do when you sew it together.
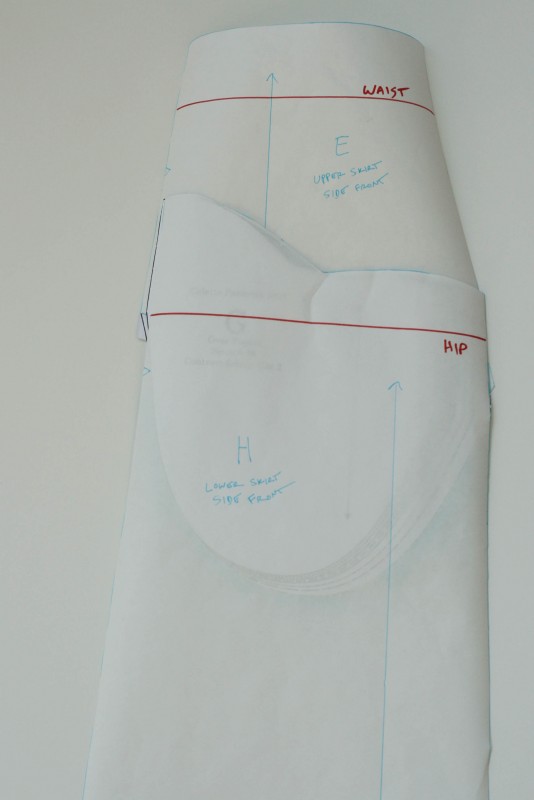
Here’s how it looks on the right side.
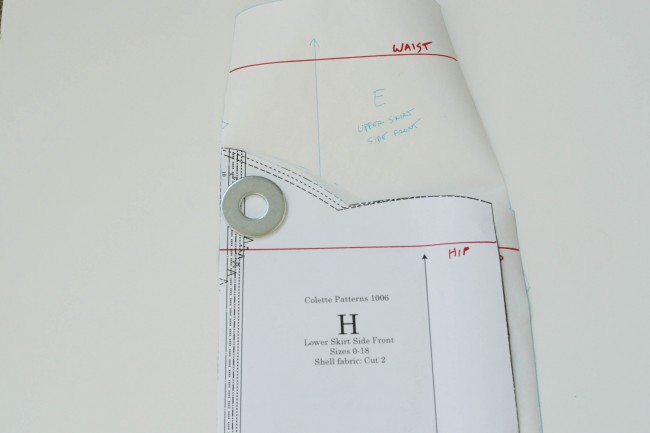
11. Take your smaller version of piece H and lay it over the larger one, aligning it at the top left. Tape in place.
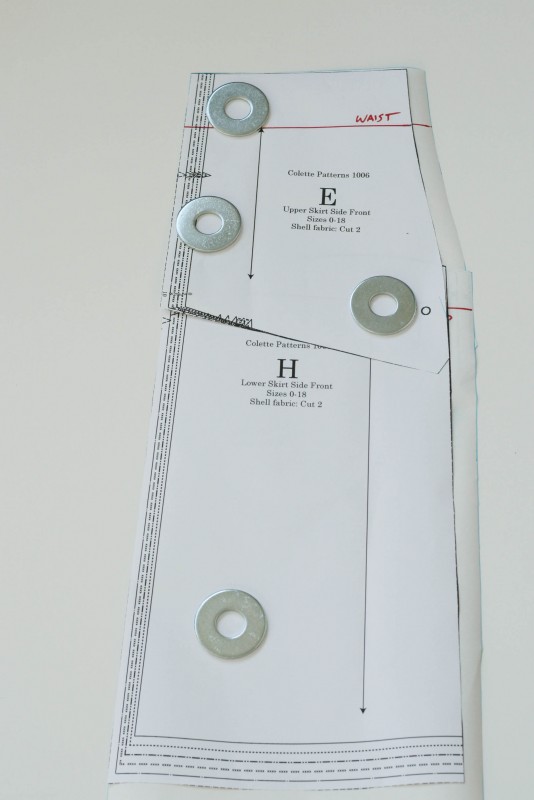
12. Do the same for the smaller version of piece E.
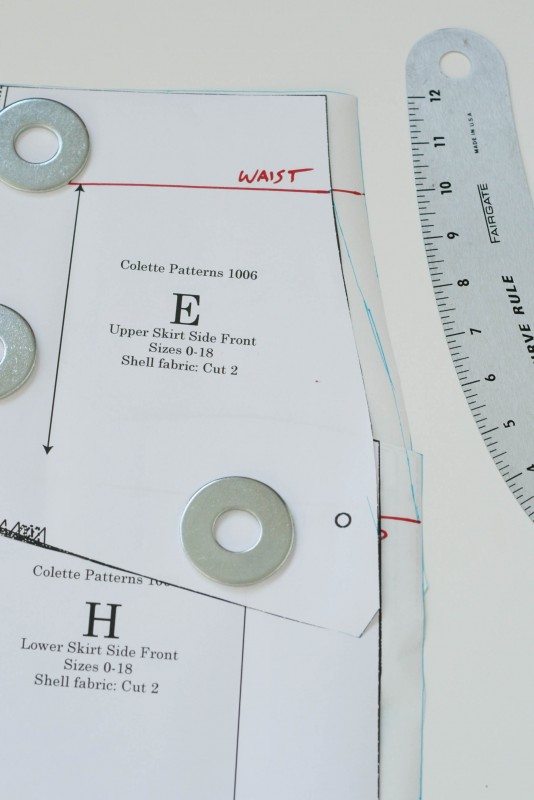
13. Now it’s time to do the grading! Use a french curve to draw a curved line between the smaller size at the waist and the larger size at the hips.
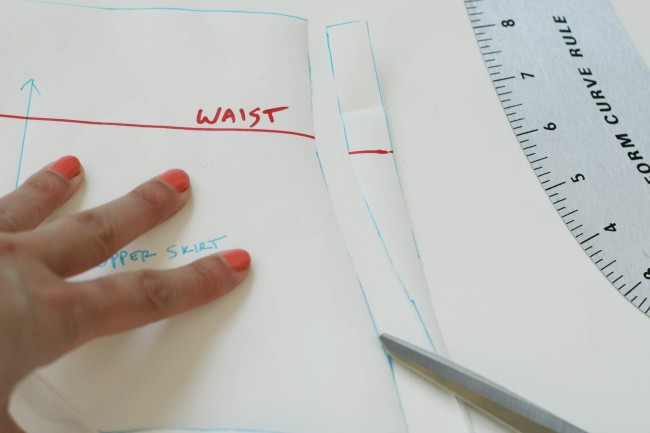
14. Cut away the excess on the pattern pieces.
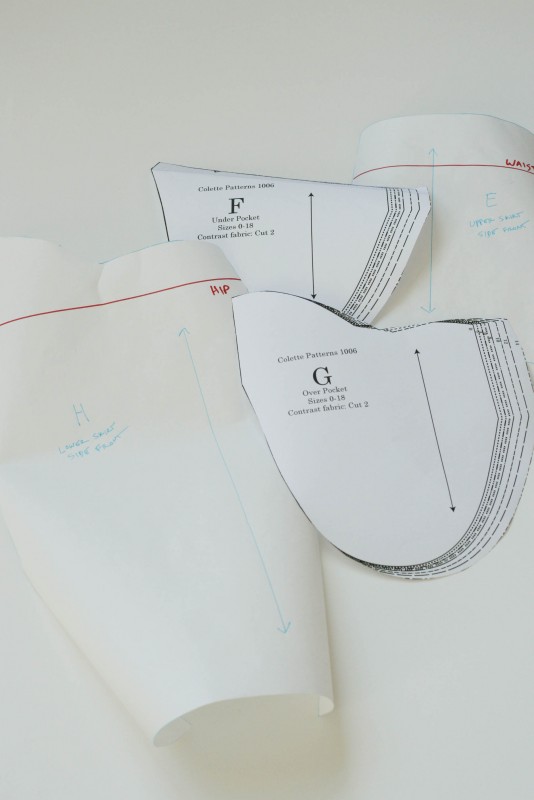
Here are your new and improved pattern pieces!


Comments
What a great post! I have a girlfriend who is always complaining about these kinds of issues. Thank you for taking the time , gawd knows these post take FOREVER to write! And we love your snippets! All the gals that come and sew talk about how helpful and informative they are! Yay!
It’s always so cool to see how different people do adjustments and good to know for future reference where the grading is on opposite sides.
ps. adore the new look!
Your new blog looks just lovely!
LOVE, LOVE the wonderful information you have on this site. Better than ANY book anyone ever printed for instructions! I began sewing again after the seventies because of your inspiration and Collette Patterns. You girls ROCK,. love animals, and are just the tits!
Hi,
I finished my muslin and desperately need help with making adjustments to the pattern for a much smaller waist and hips. I ‘ve sewn a size 0 muslin. Thanks so much.