We’re almost done with our Rooibos Sewalong! Today we’ll cover the last of the sewing for this dress. Luckily, there’s nothing unusual about the remaining steps, so we should be able to get through it pretty quickly.
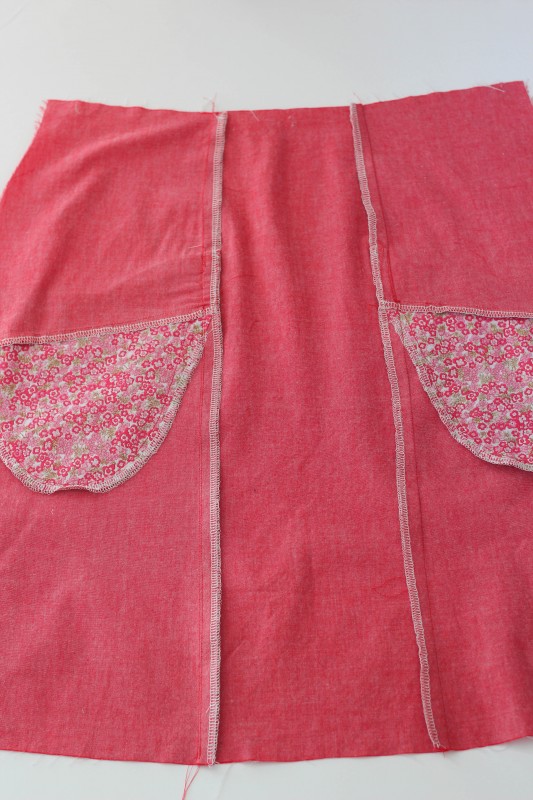
1. With right sides together, stitch the skirt side front panels you assembled in our last installment to the skirt center front. Finish the seams and press toward the center.
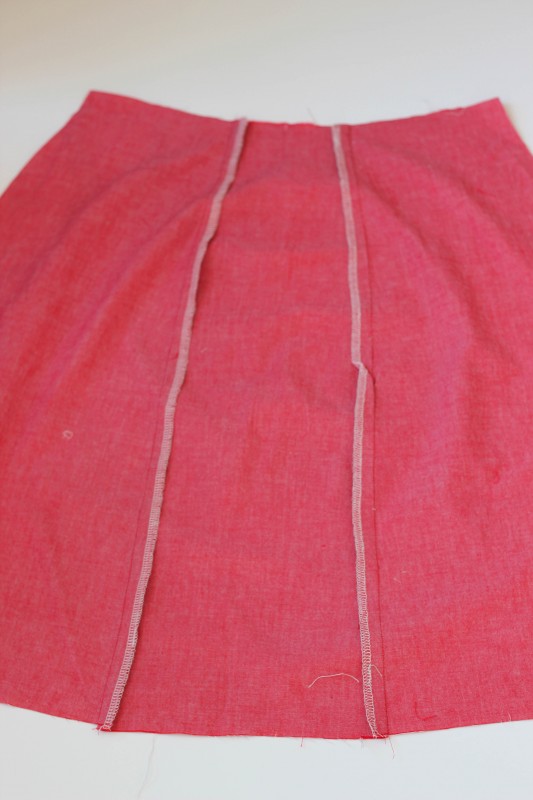
2. With right sides together, stitch the skirt side back pieces to the skirt center back. Again, finish those seams and press them towards the center.
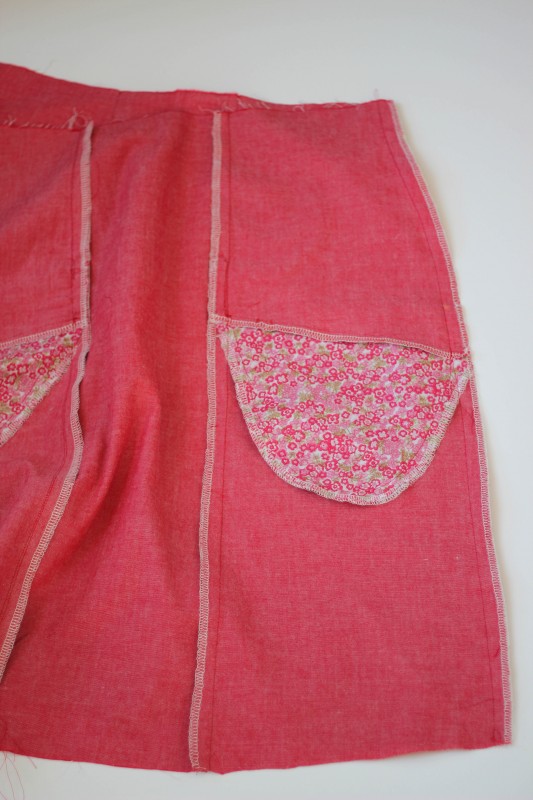
3. With right sides together, stitch the skirt front to the skirt back at the right side seam. You only want to do the right side seam for now. Leave the left open so we can insert the zipper.
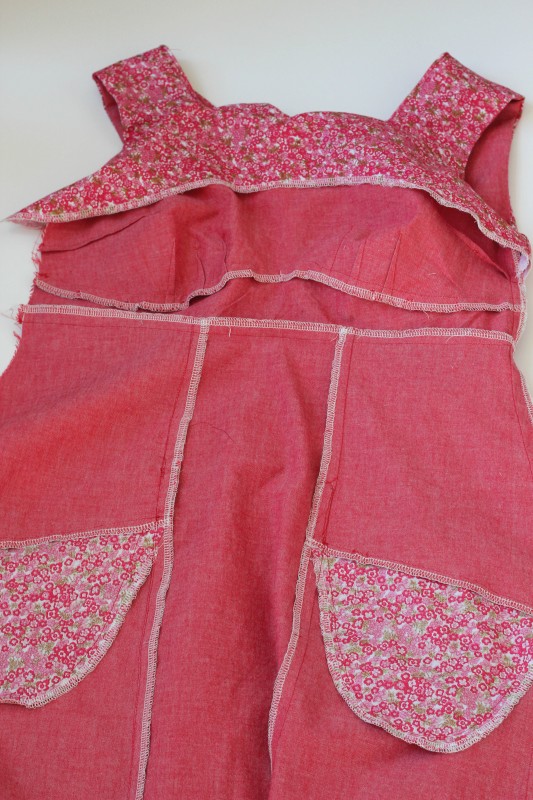
4. With right sides together, stitch the bodice to the skirt along the waist seam, taking care to align the side seam. Finish the seam and press up, toward the bodice.
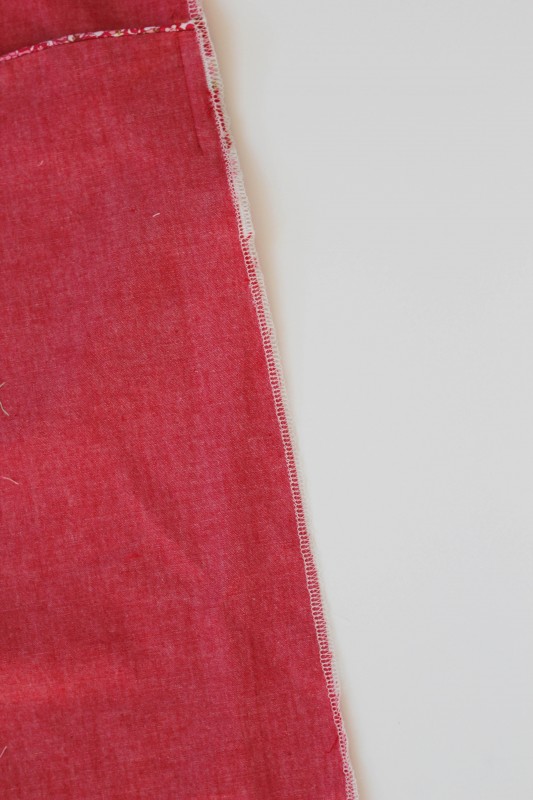
5. Now you should have two raw edges on the left side of the dress, where the zipper will go. Finish each of these edges separately. It’s easier to finish them now, before you put the zipper in. Here, I’ve serged them.

6. Using an invisible zipper foot, insert the invisible zipper in the left side of the dress, between the large circles.
Don’t remember how to do it? Check out our tutorial to refresh your memory on installing an invisible zipper.
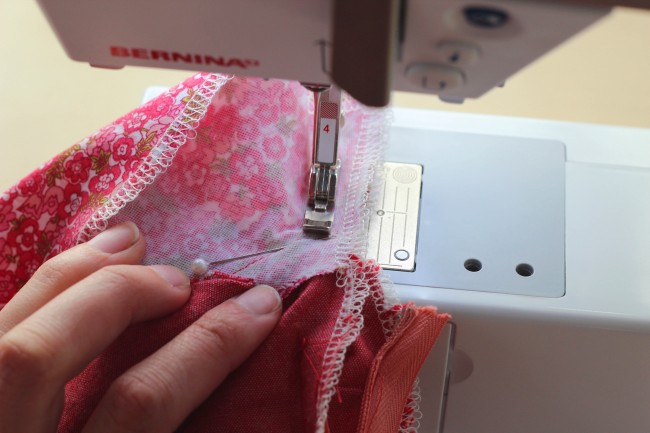
7. Using a regular zipper foot, stitch the left side seam closed above the zipper. The zipper foot will let you get as close to the zipper as possible. You will also stitch the facing pieces together here, in one continuous seam.
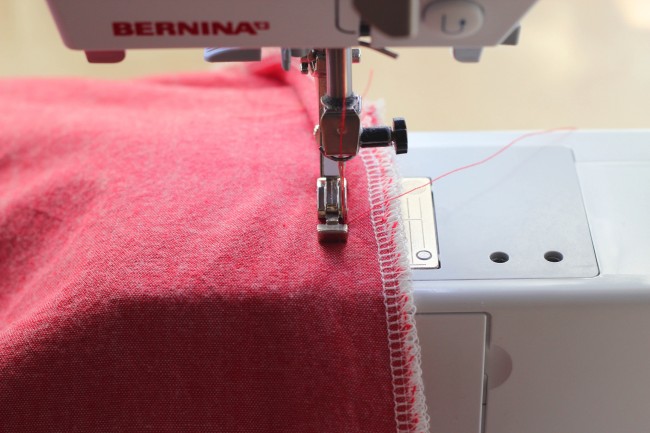
8. Again using the zipper foot, stitch the left side seam closed below the zipper. Try to stitch as close as you can to the zipper, to avoid bubbles.
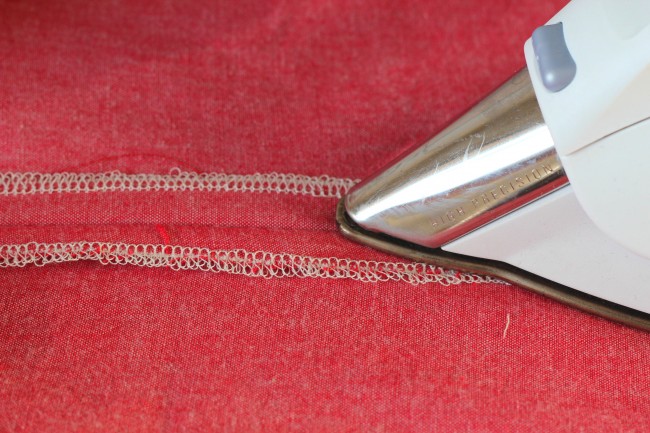
9. Press this seam open. Turn it right side out, and press the seam flat over the zipper.
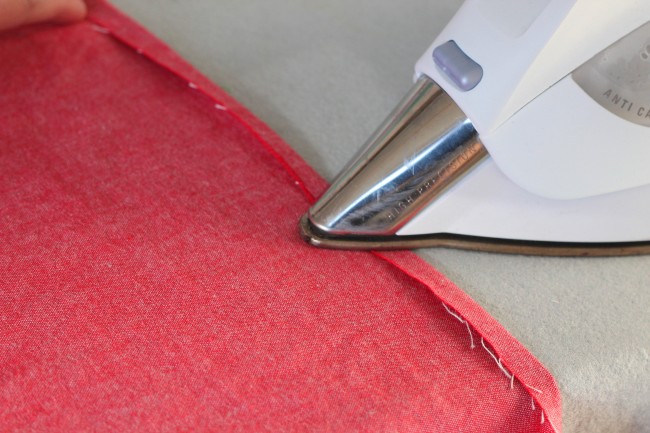
10. Finally, we’re ready to hem! Try on the dress and adjust the hem to your preference.
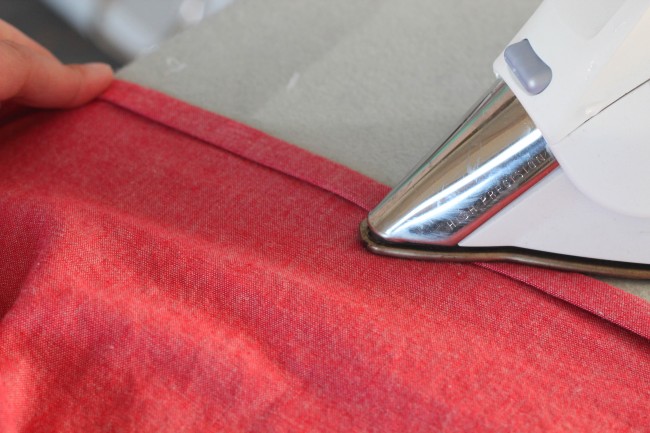
11. Turn the edge under 1/4″ and press.
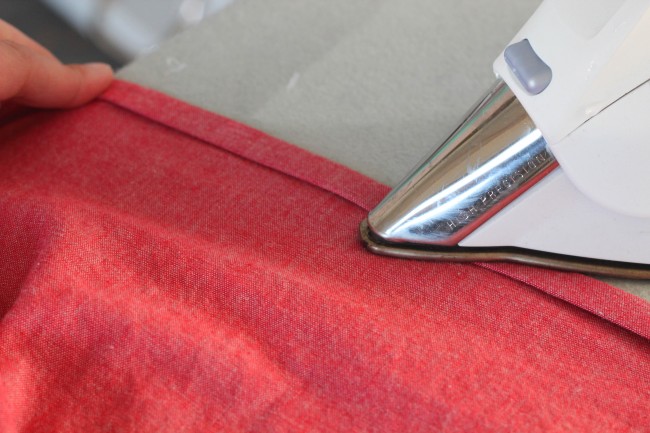
12. Turn again 3/8″ and press.
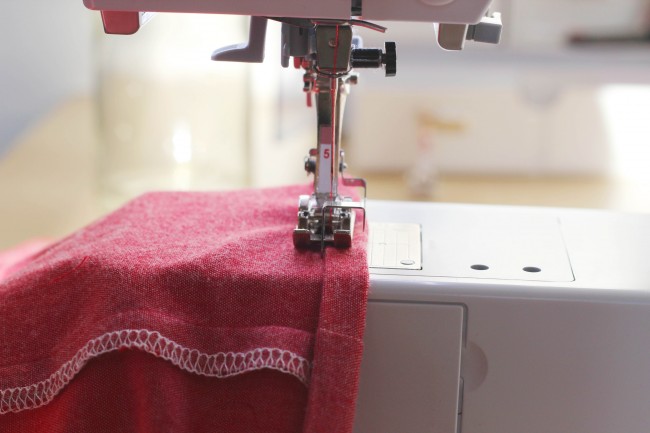
13. Stitch the hem in place.You can use a regular old presser foot, or an edgestitch foot. In this case, I’m using the Bernina #5 foot, which is technically a blindstitch foot. But it works very well for edgestitching!
14. Press the collar points down. You can tack them in place with a few handstitches if you like, and if it seems to need it.
15. You can also tack the facing down around the underarms, just to keep it from folding outward when you’re putting it on.
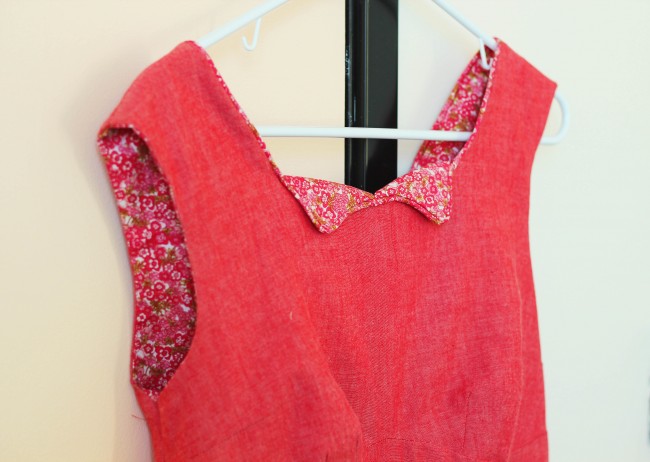
And that’s it, my dress is done! It looks extremely cute, if I do say so myself. I’ll do the big reveal and model it in an upcoming post!


Comments
I’m almost done with my Rooibos. Just need to sew the hem. I’m so happy with it. It’s formal but still a bit girlie. Exactly the look I was going for. Thank you very much for the sewalong. It helped me a lot. Two other Colette patterns are already on the way to me.
Very nice!
Because my pattern took so long to arrive I’ve only just started my muslin and I need help! I wrote a post in the forum and also on my blog requesting help. If someone can give me some advice about how to fix my fitting problems I would love to hear from you. I would really love to finish this dress and have it fit me properly. Thanks
This sew-along has been so exciting for me. I don’t think I would have had the confident to attempt this dress, but your instructions really helped! I hope you do more sew-alongs in the future!
I’m so glad it helped! The sewalongs are a lot of work, but they’re pretty rewarding. We’ll definitely do more!