

When I first started sewing I felt like sleeves were my sewing achilles heel. I absolutely dreaded this step of any project. Lapped zipper, no problem, reversed corners, I got this, but the thought of a set in sleeve gave me cold sweats. To overcome this fear, I sewed exclusively clothing with sleeves for a solid 6 months. And let me tell you exposure therapy does the trick.
Today we will be focusing on all things sleeves. First I will walk your through sewing the sleeve for versions 1 and 3 then Sarai will demystify version 2 and it’s placket and cuff.
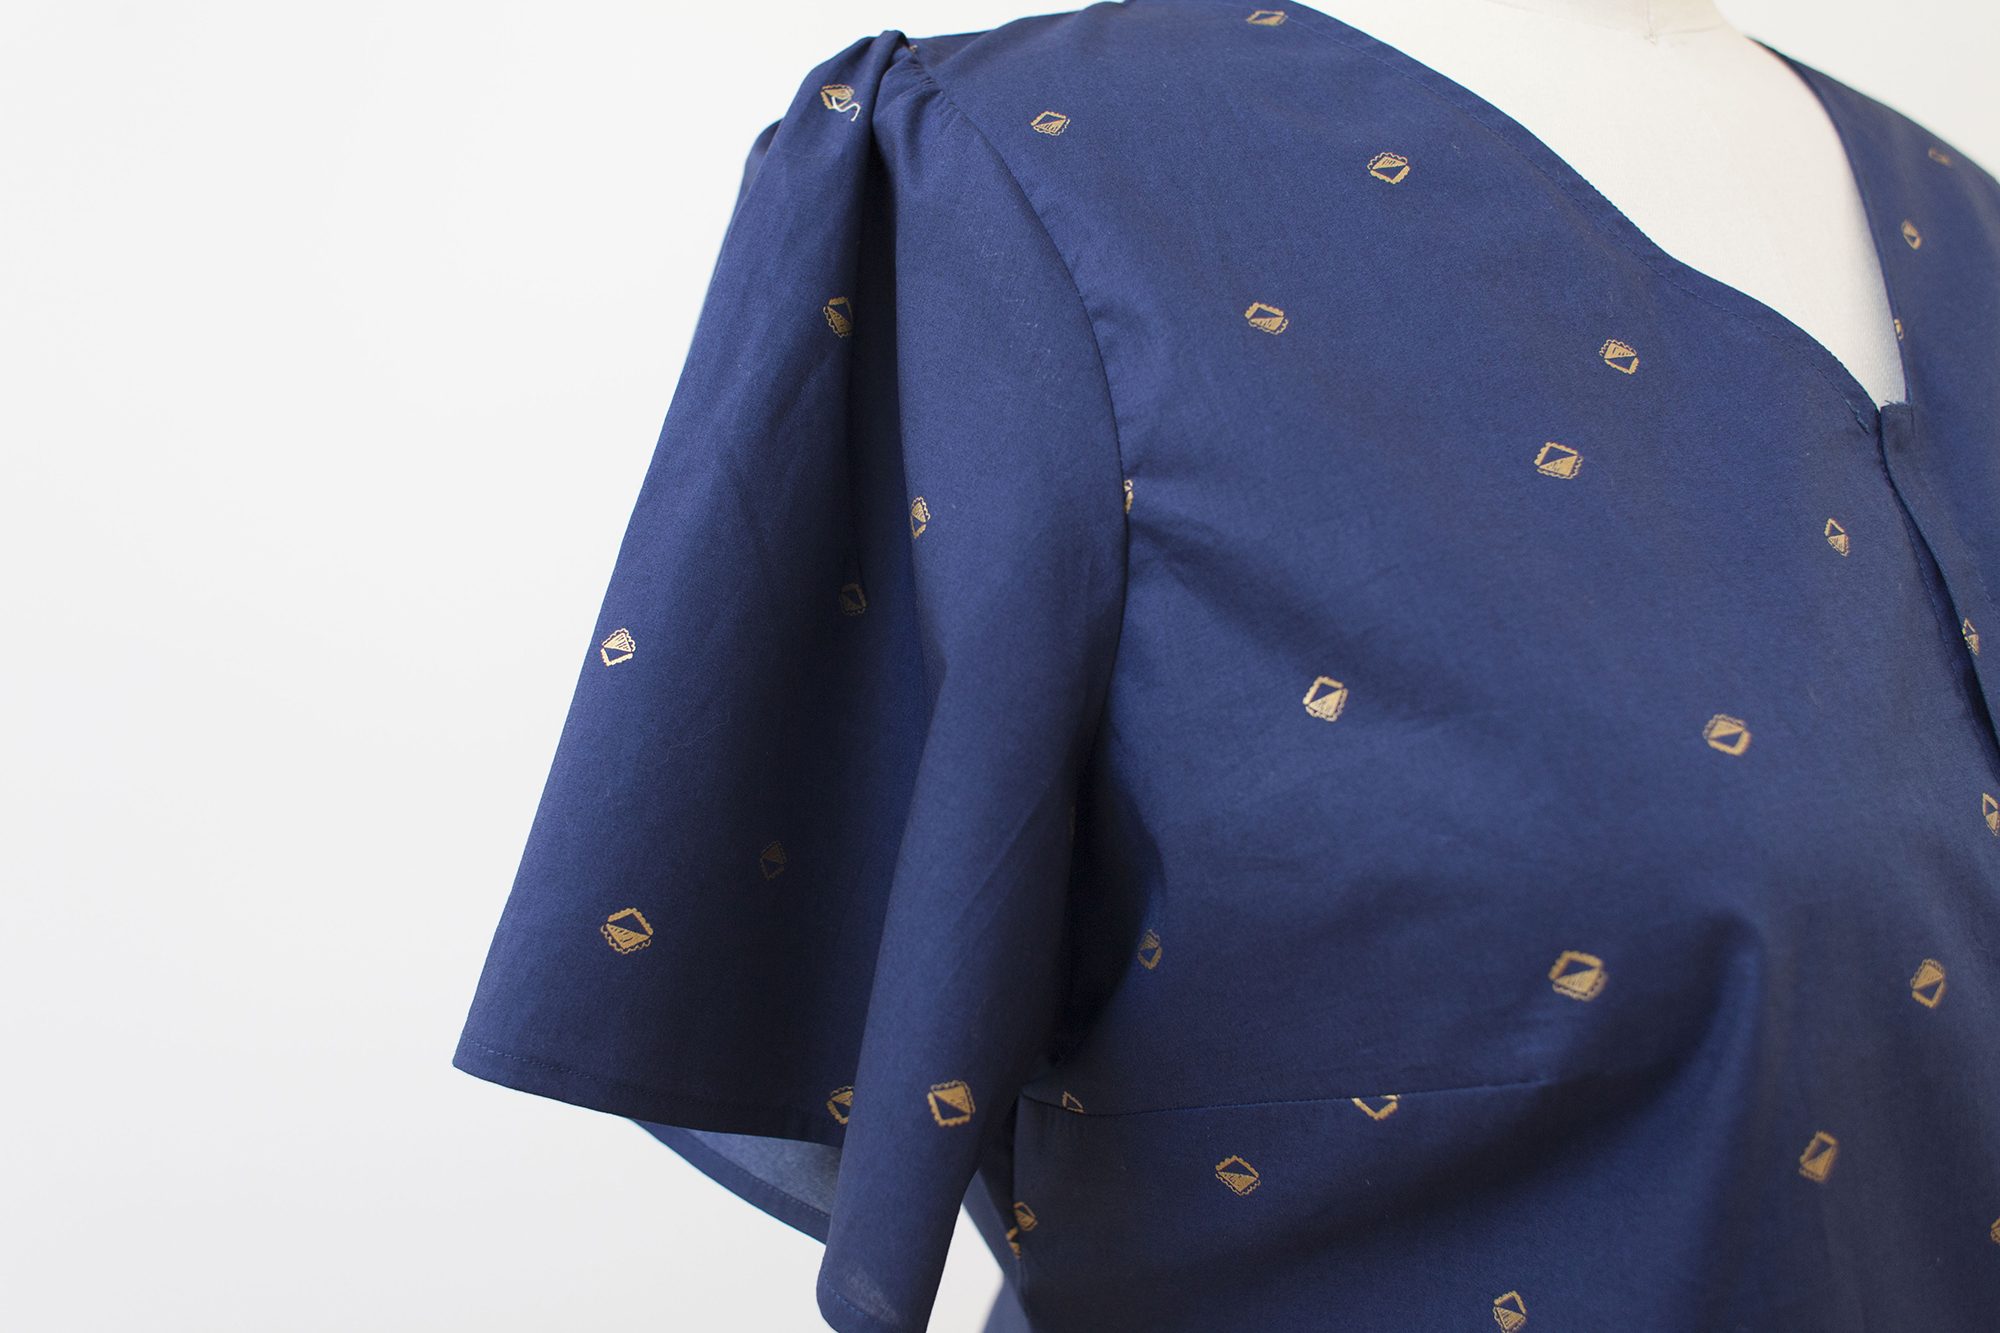
Version 1 Sleeve
Prep the Sleeve
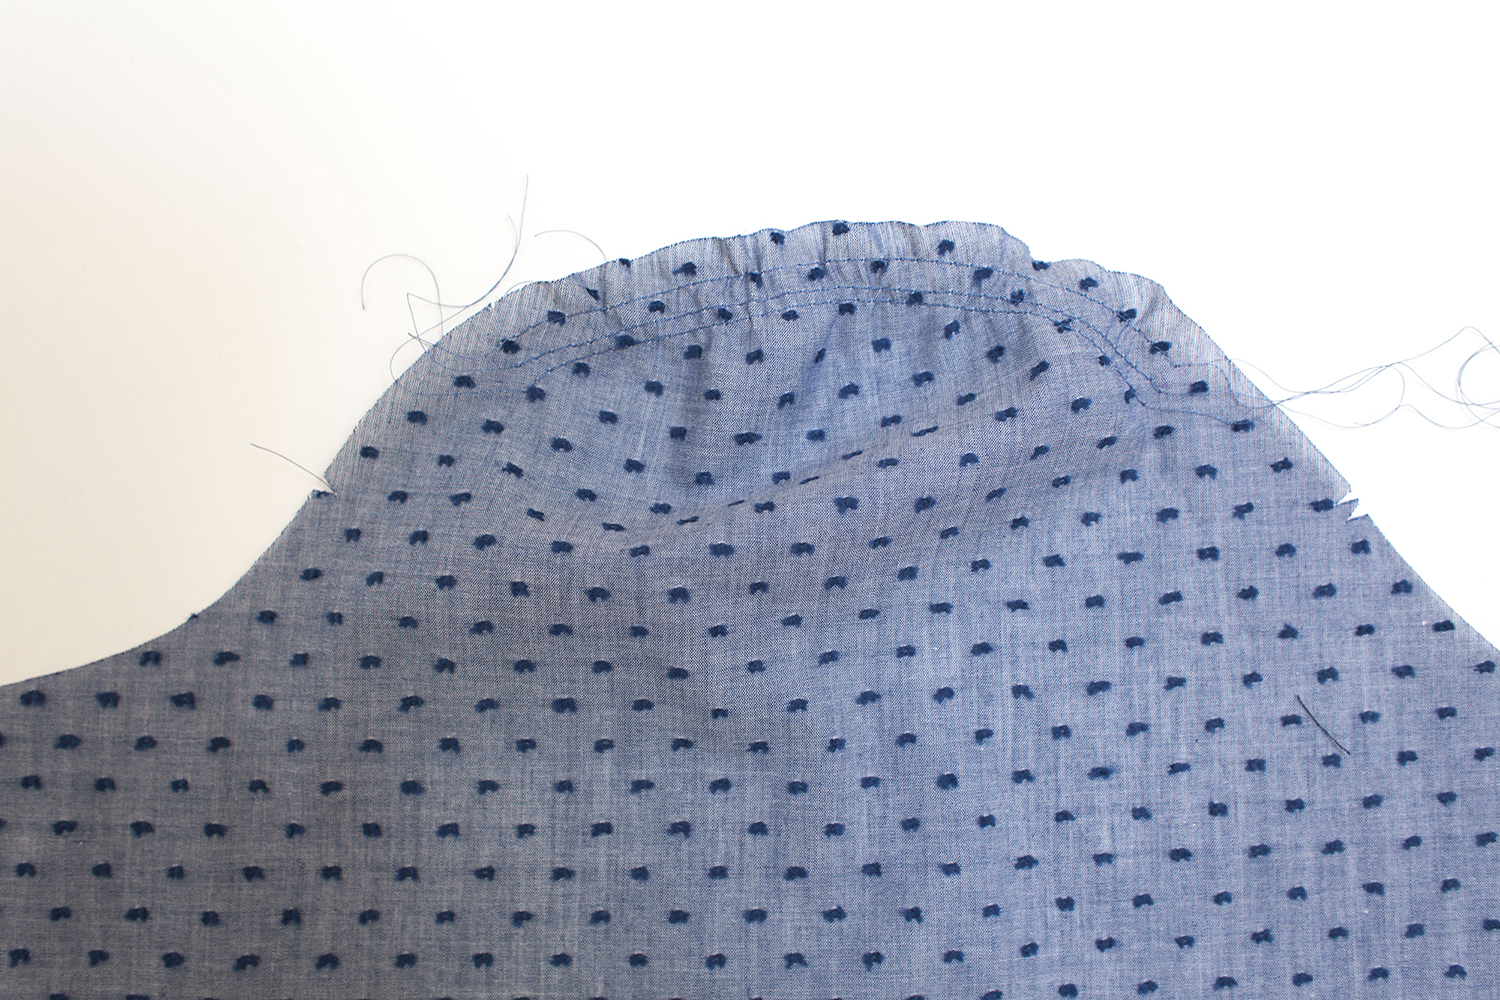
1) Sew 3 rows of basting stitches (at 1/2″, 5/8″, and 3/4″) between the small circles on the sleeve cap of the short sleeve (F), leaving long thread tails. Pull the tails to gently gather.
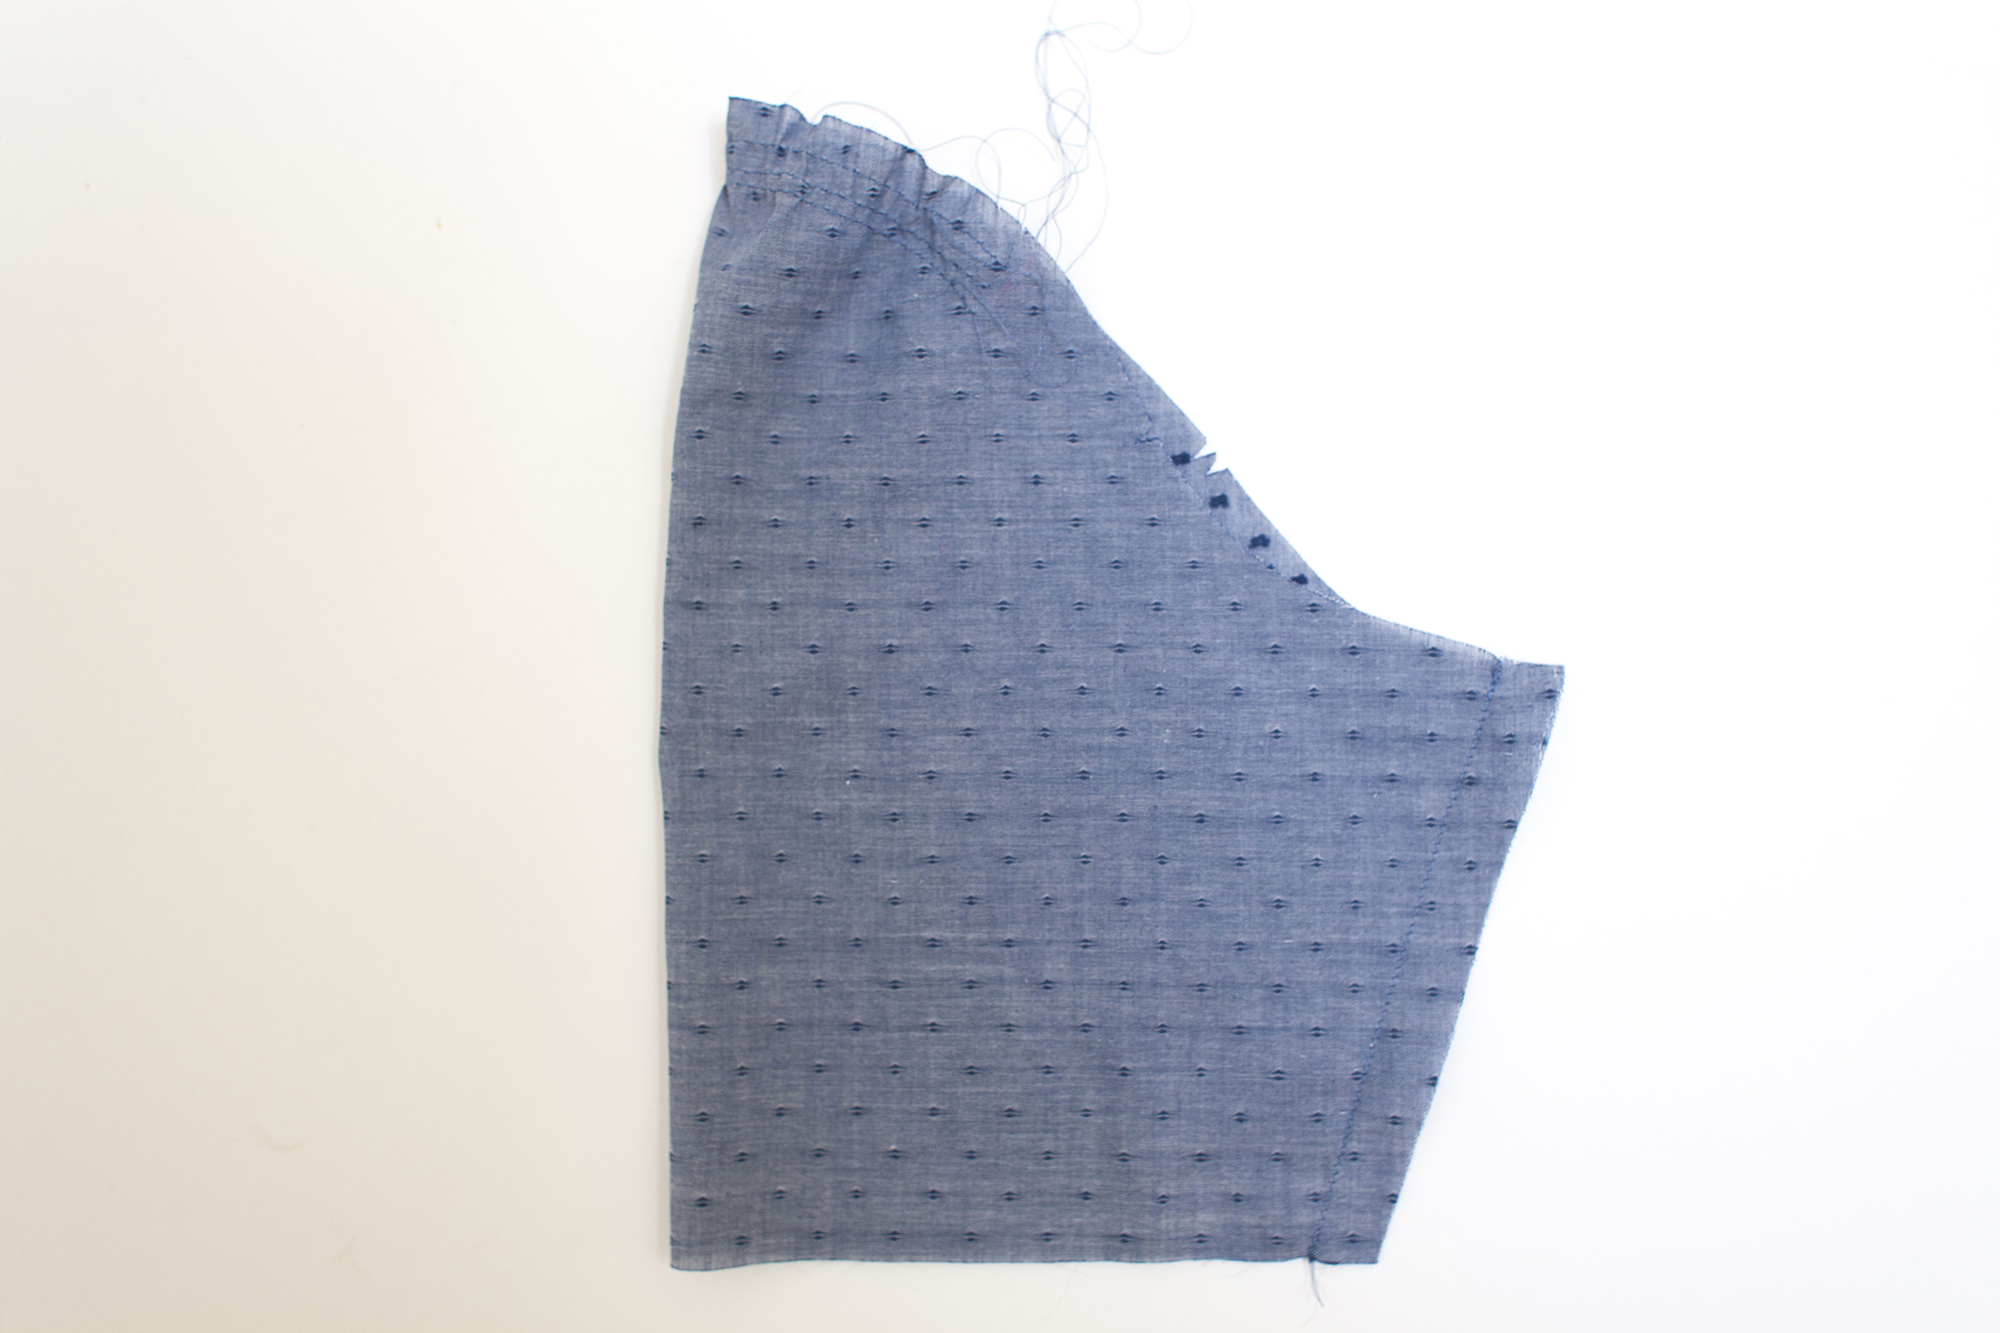
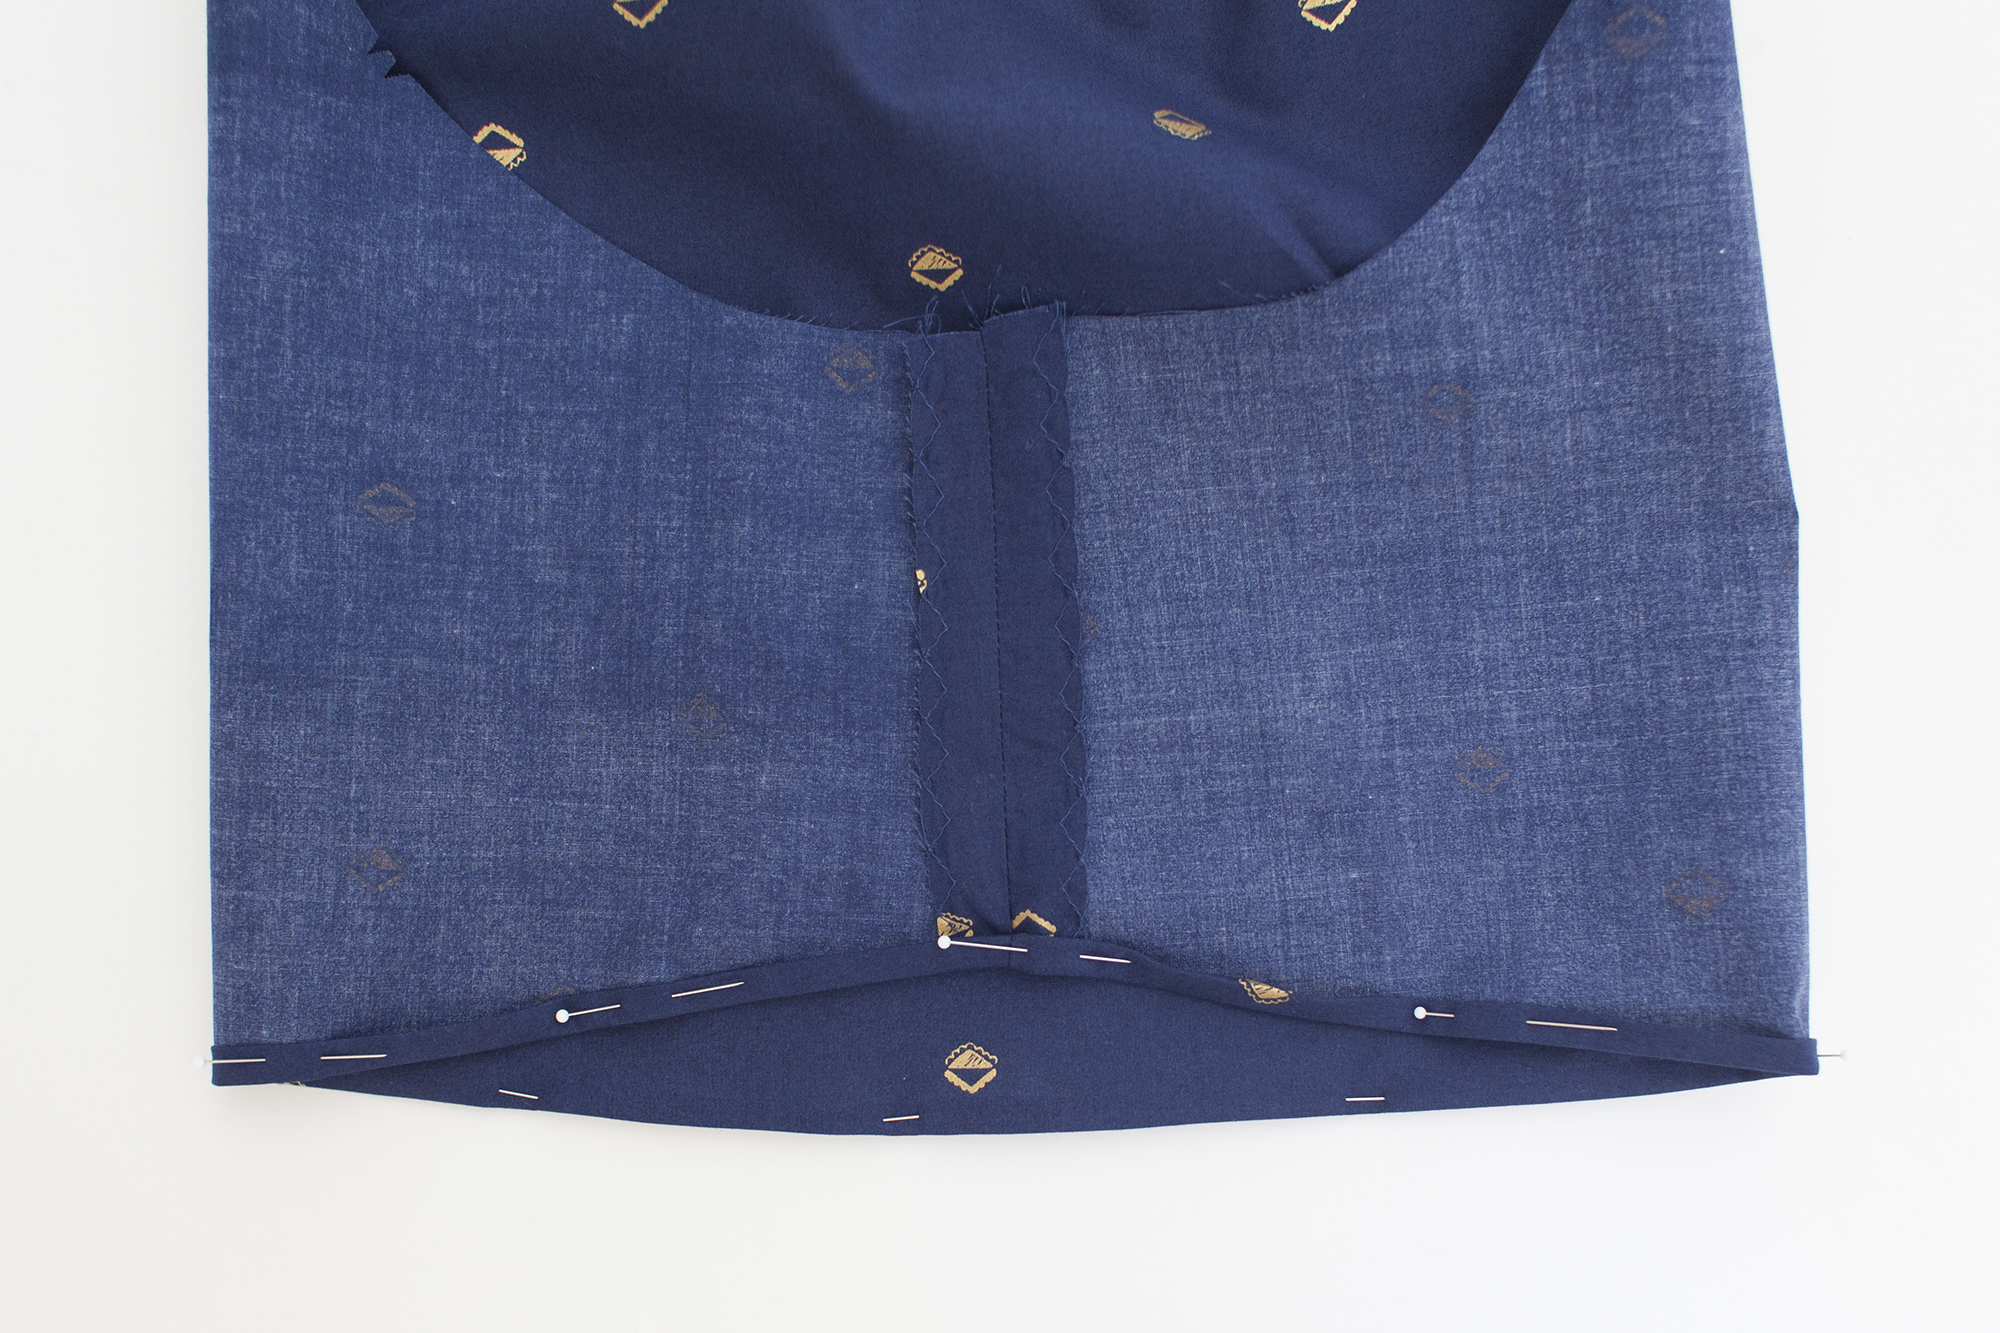
2) Fold the short sleeve (F) in half, right sides together, matching the underarm seam. Stitch along the under- arm seam.
3) Finish the underarm seam and press open.
4) Repeat steps 1 – 5 for the second short sleeve (F).
Prep the cuff
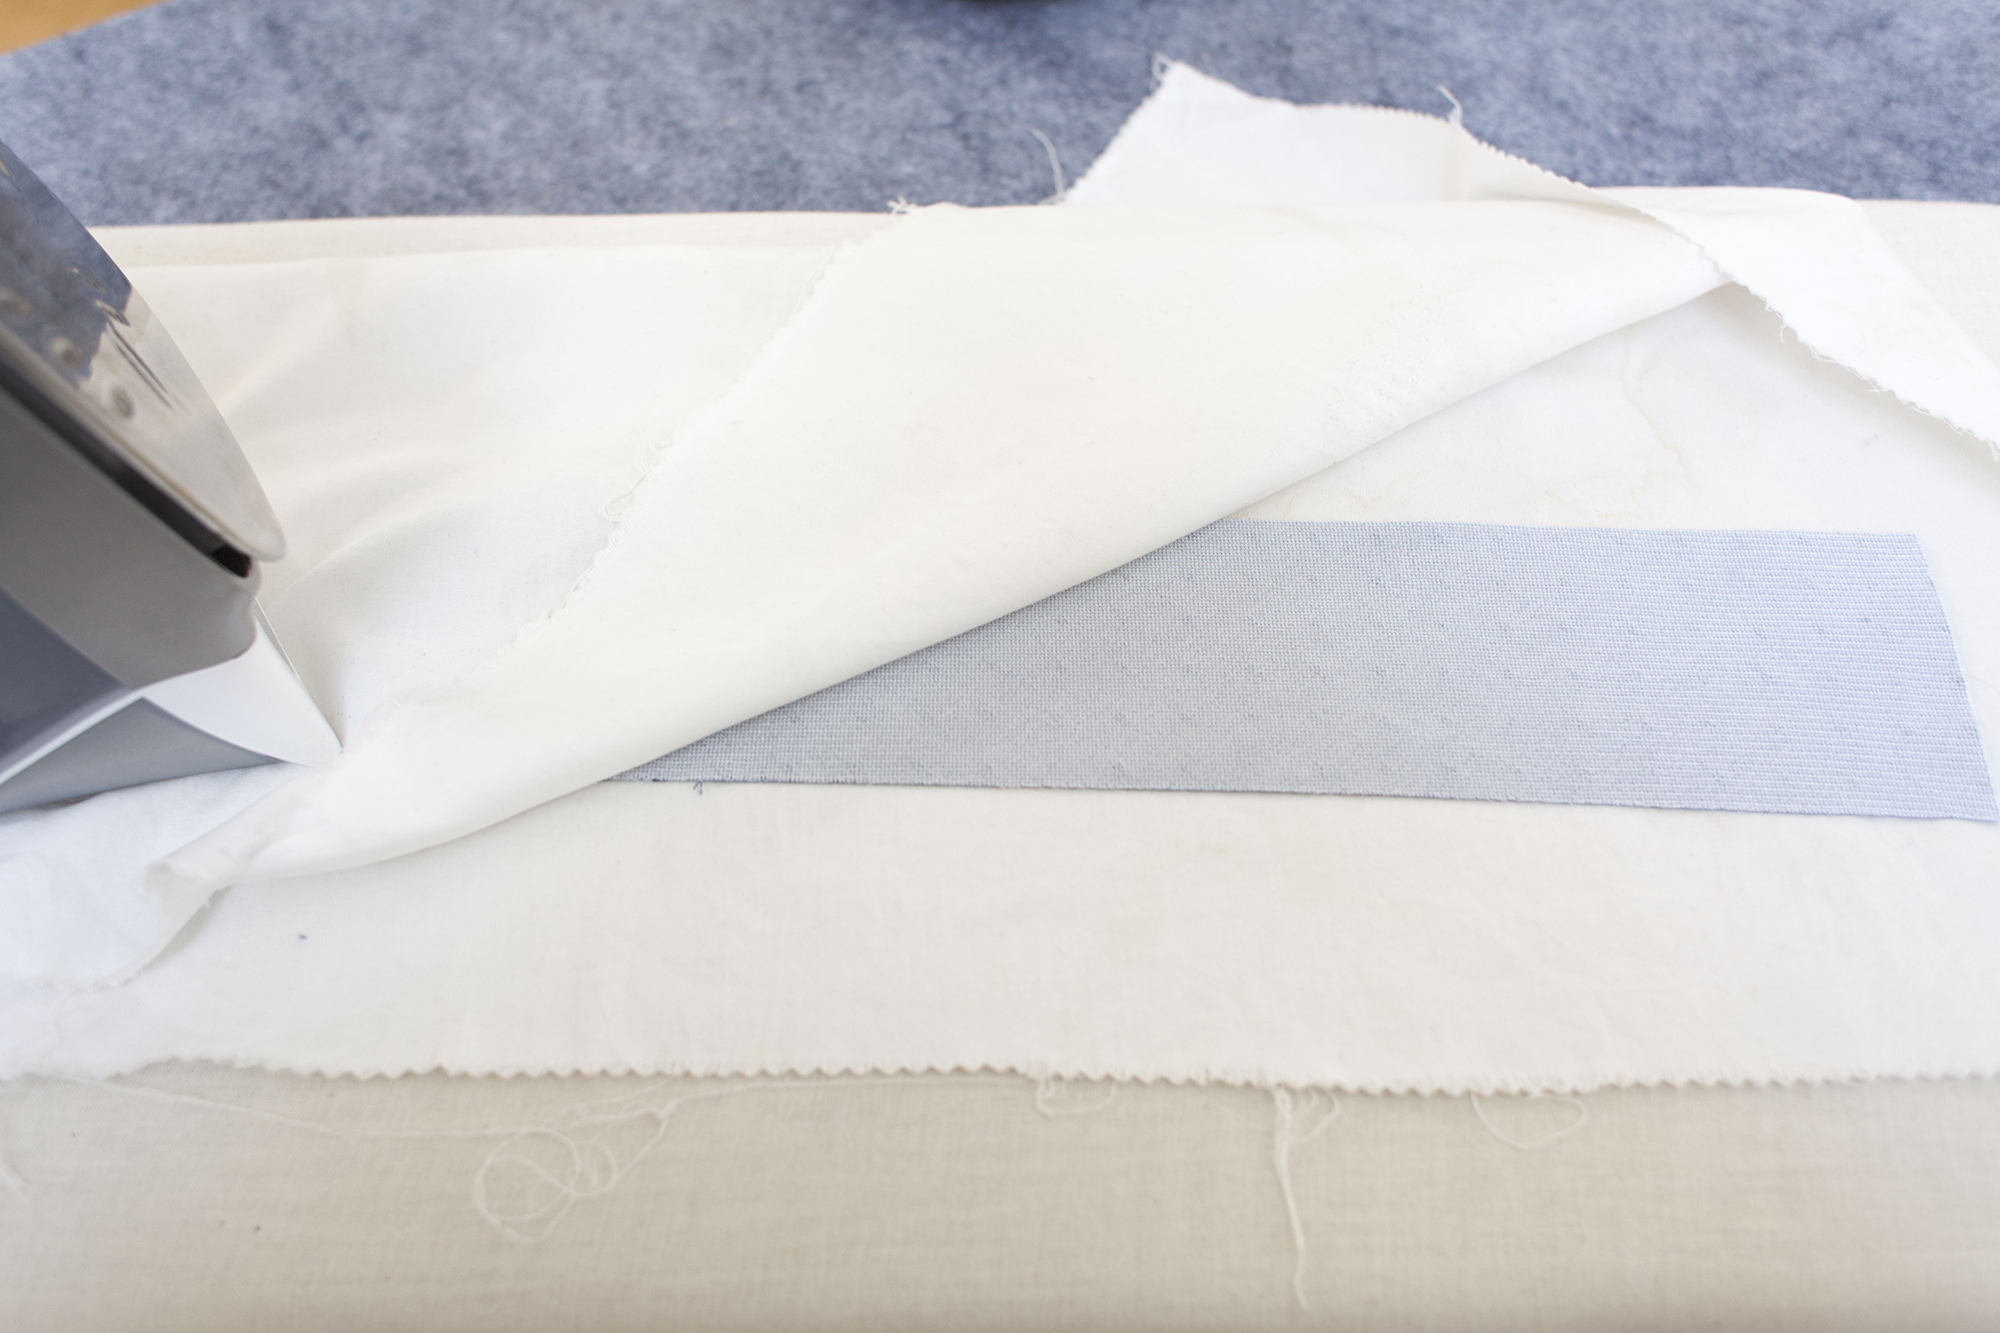
1) Apply interfacing to the wrong side of each short sleeve cuff (G) piece.
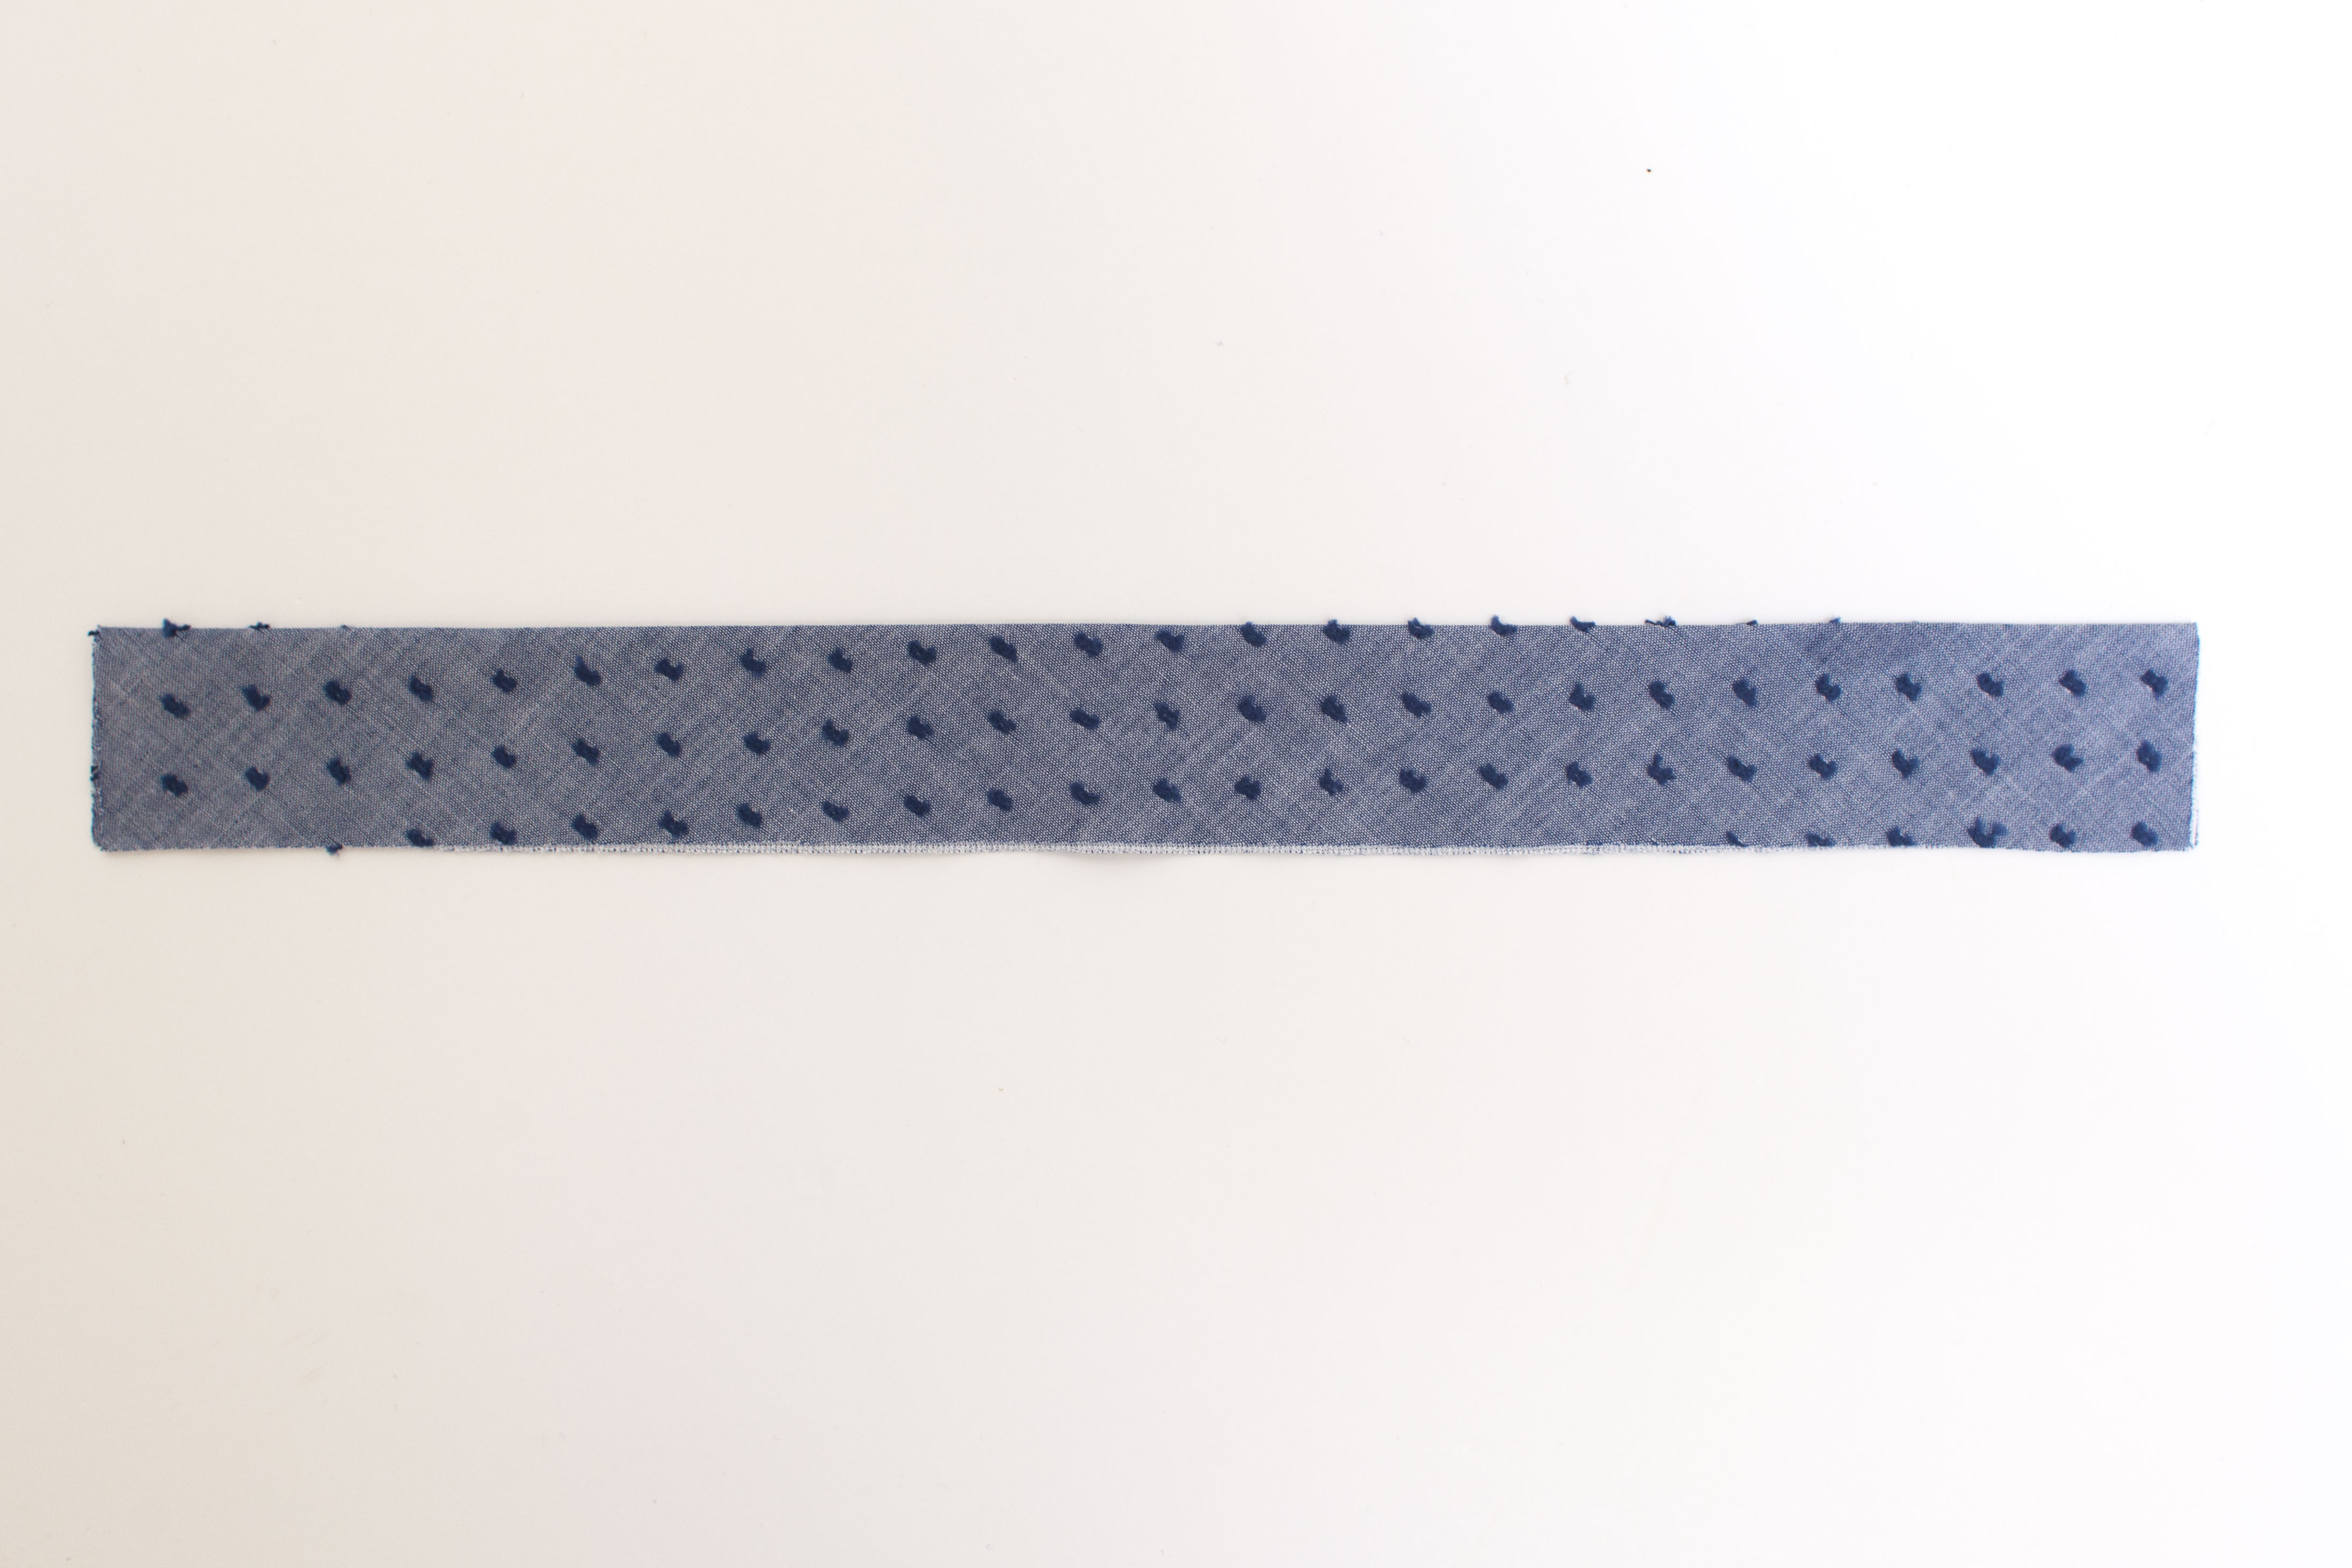
2) With wrong sides together, fold the short sleeve cuff (G) in half lengthwise.

3) Press one long edge under 5/8″ toward the wrong side of the cuff.
4) Unfold the cuff and match the short edges of the short sleeve cuff (G) with right sides together. Stitch along the short edges.
5) Repeat steps 2 – 5 for the second short sleeve cuff (G).
Sew the Cuff
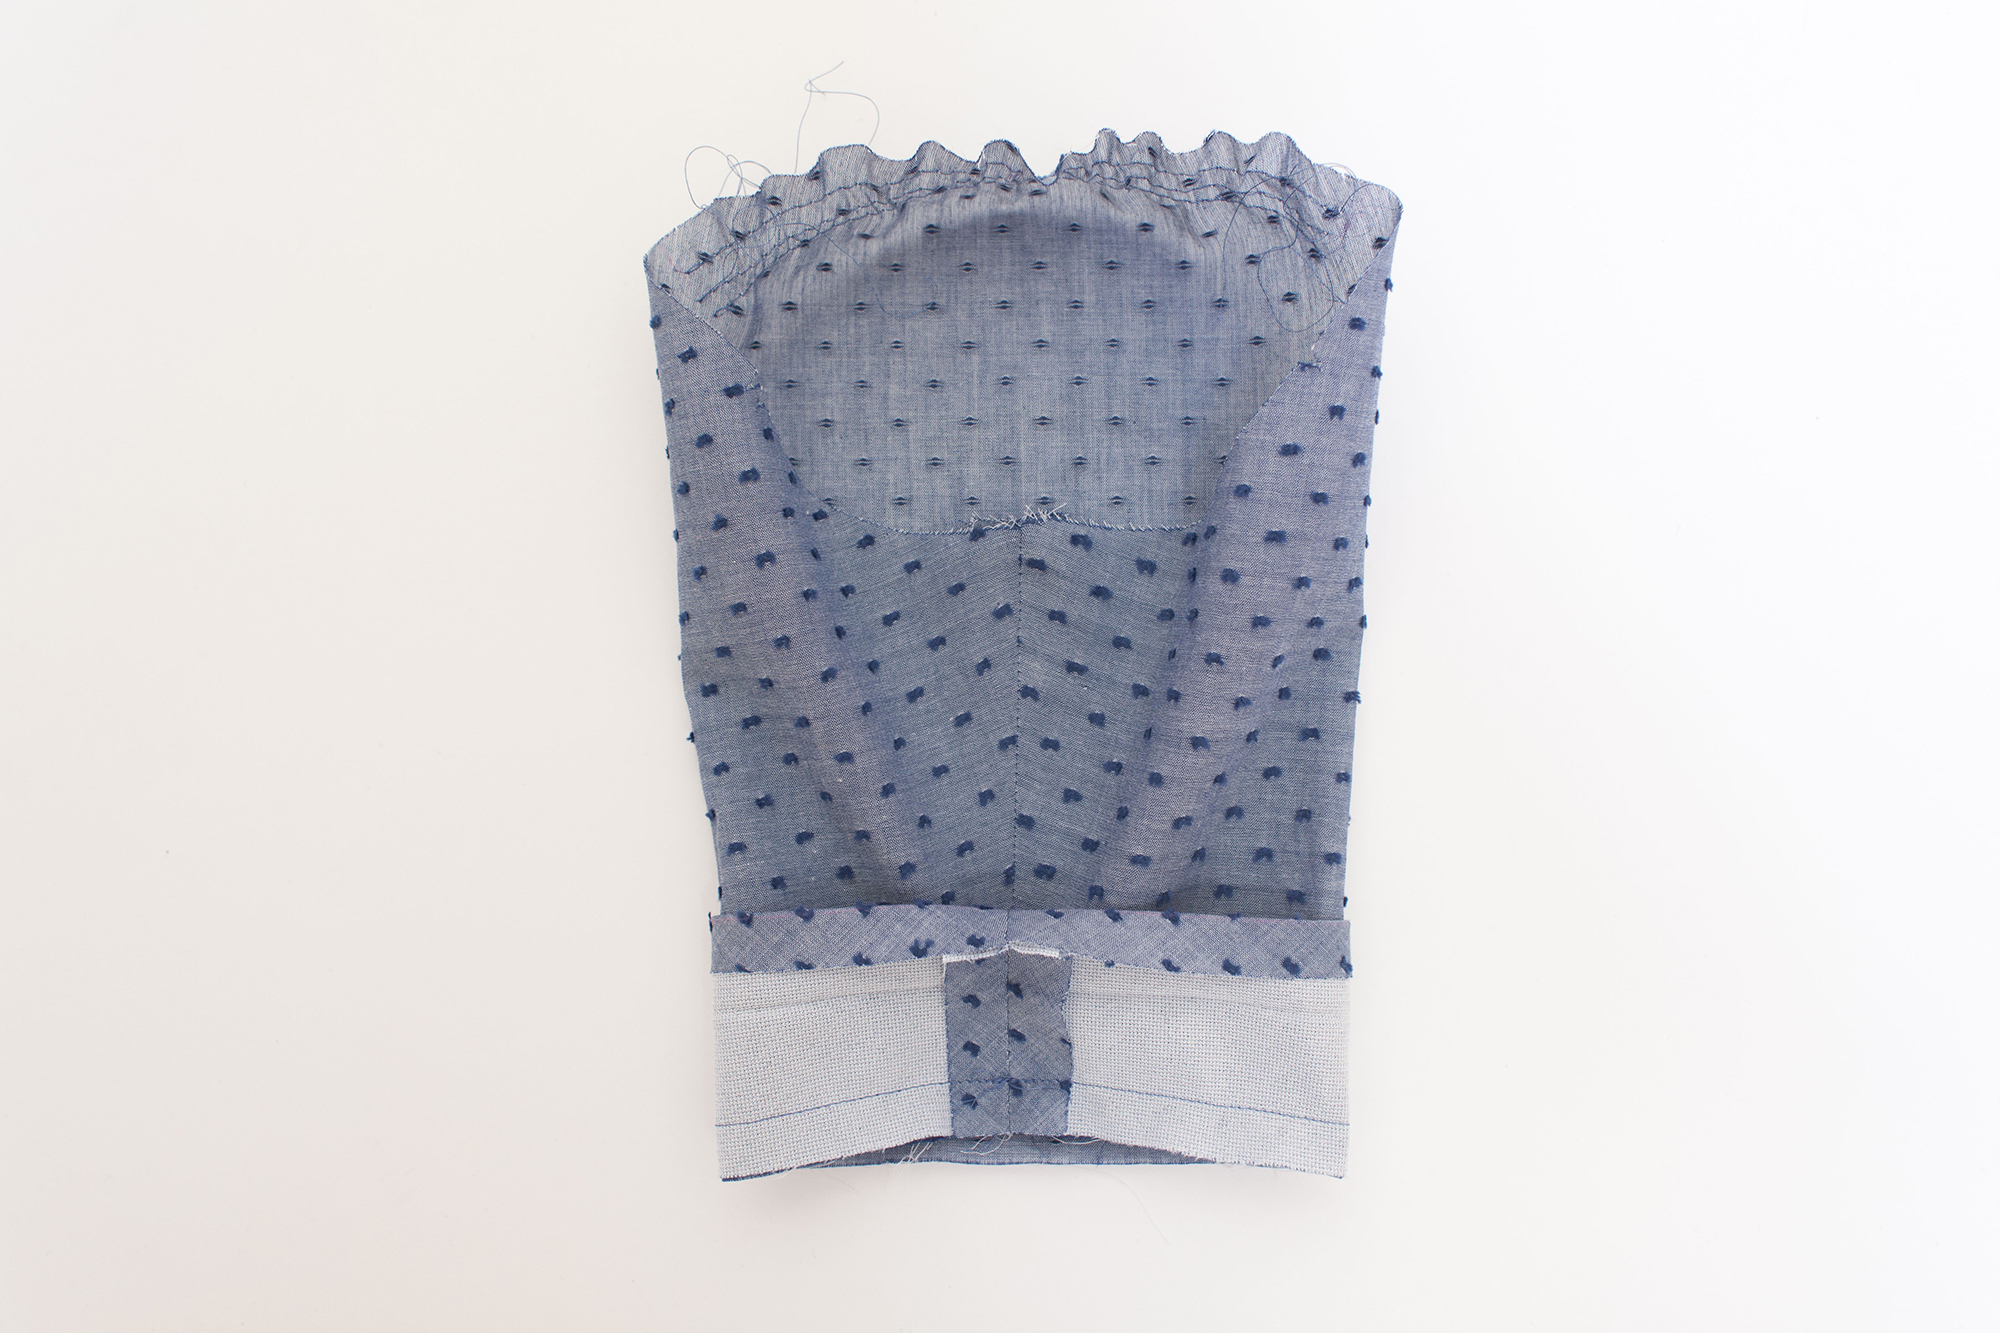
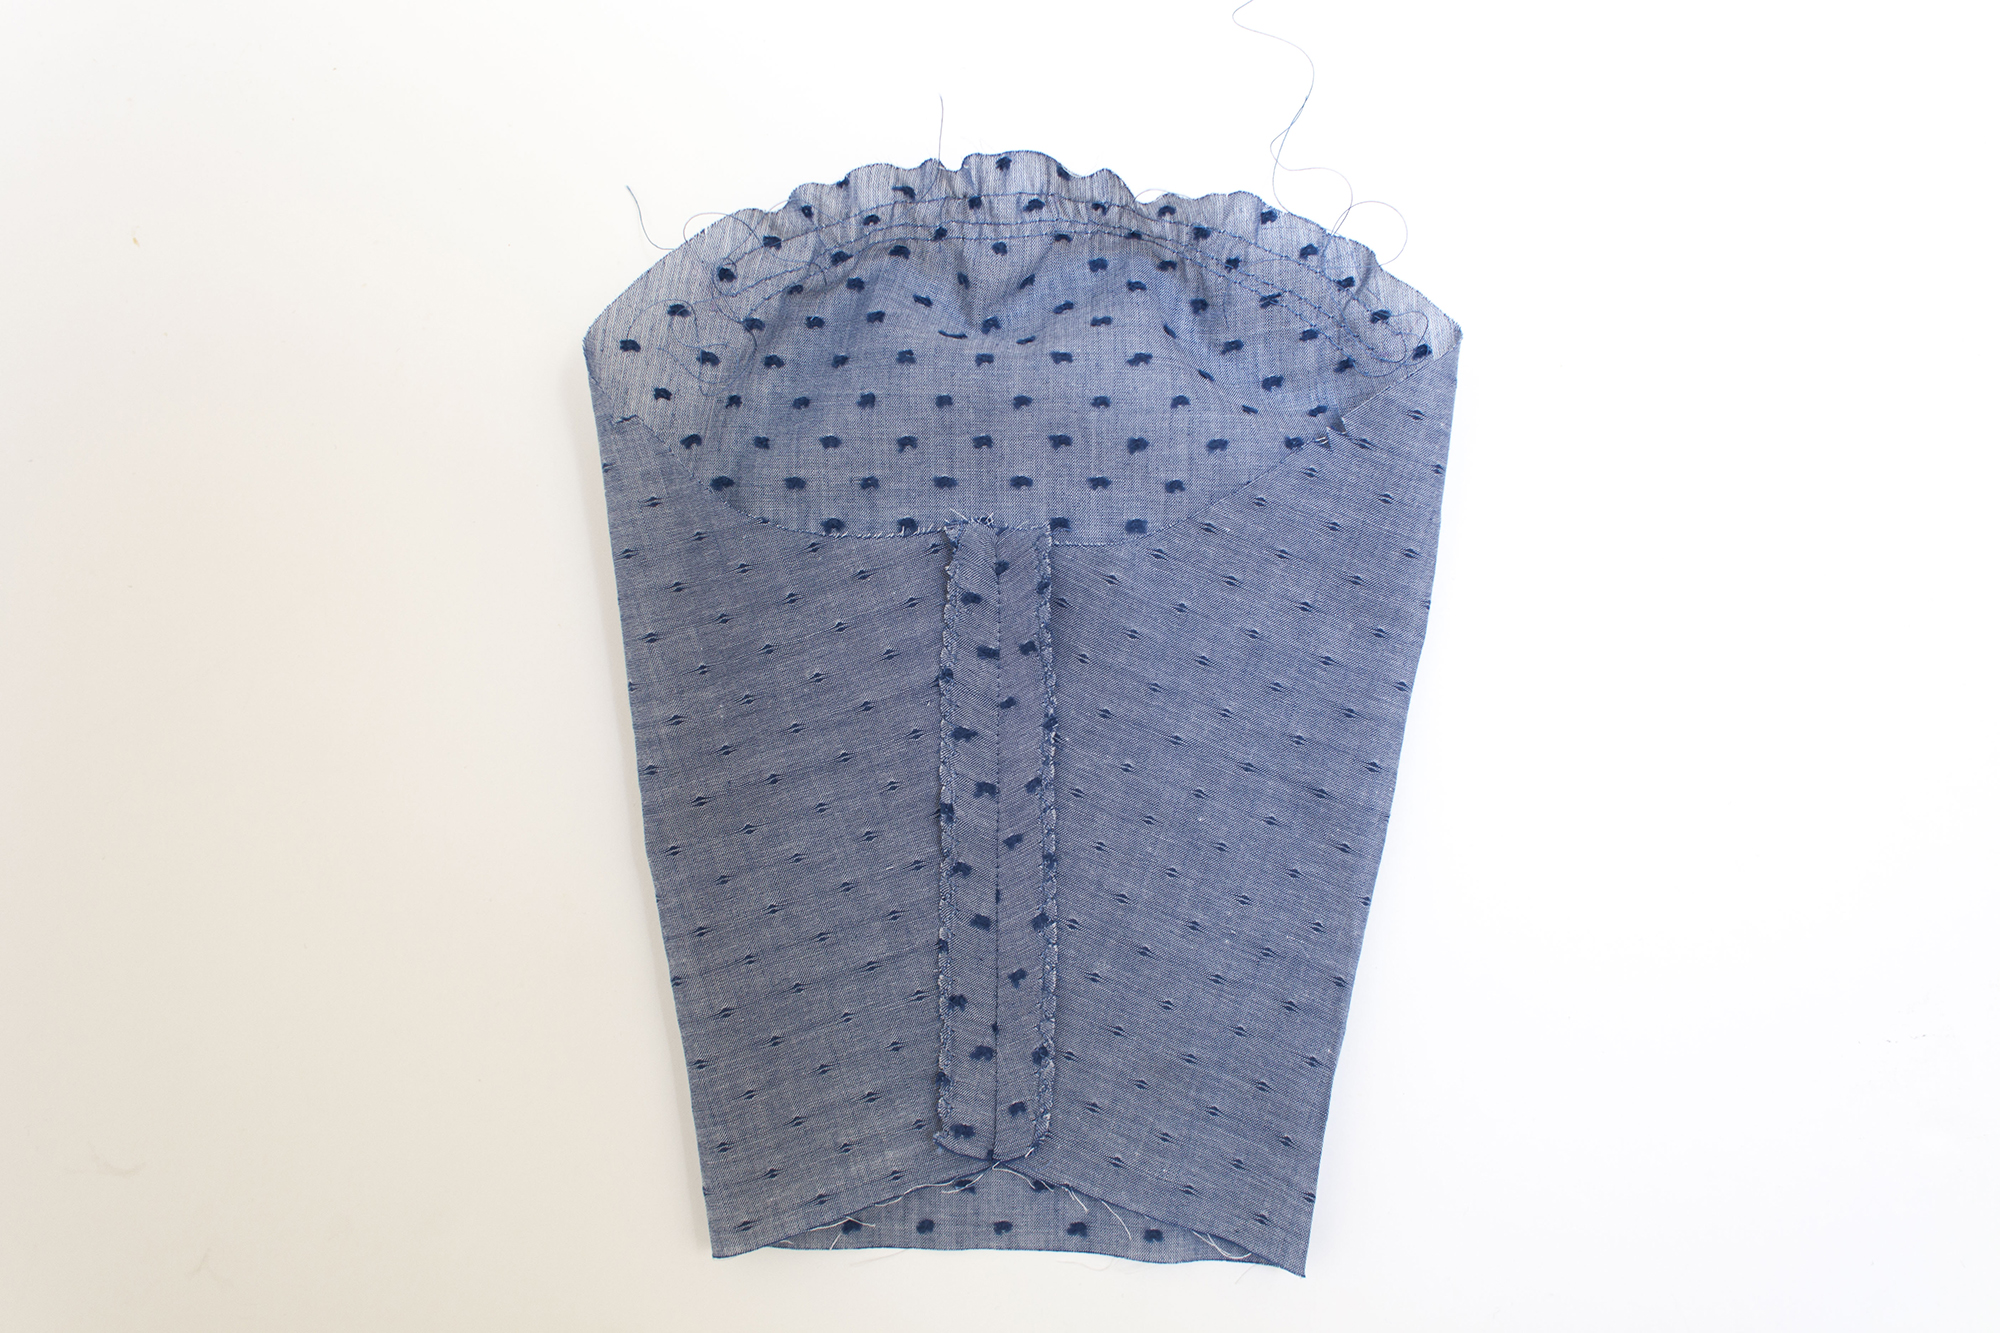
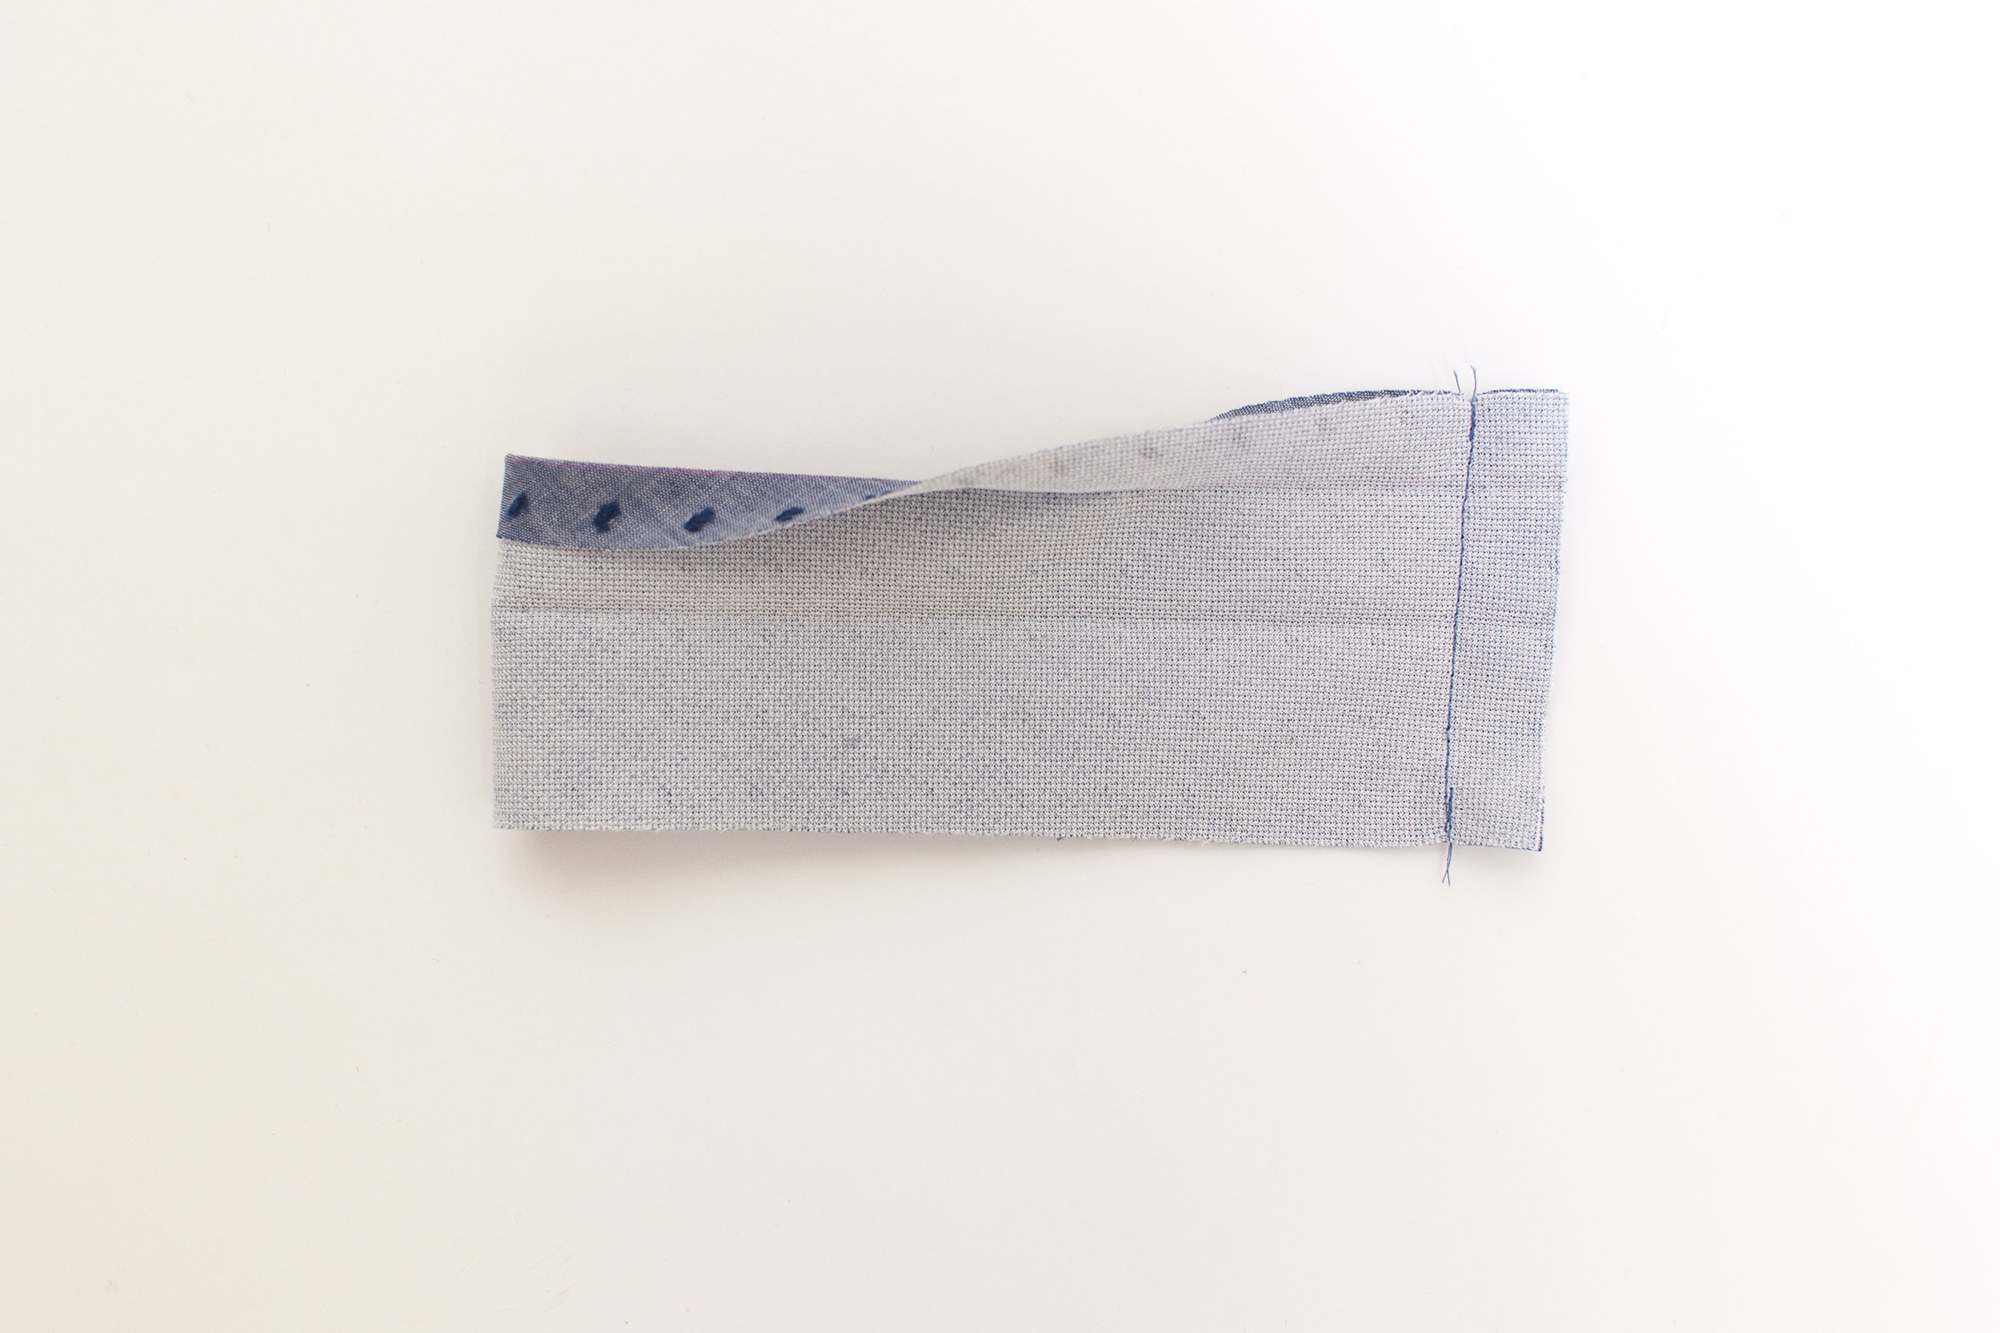
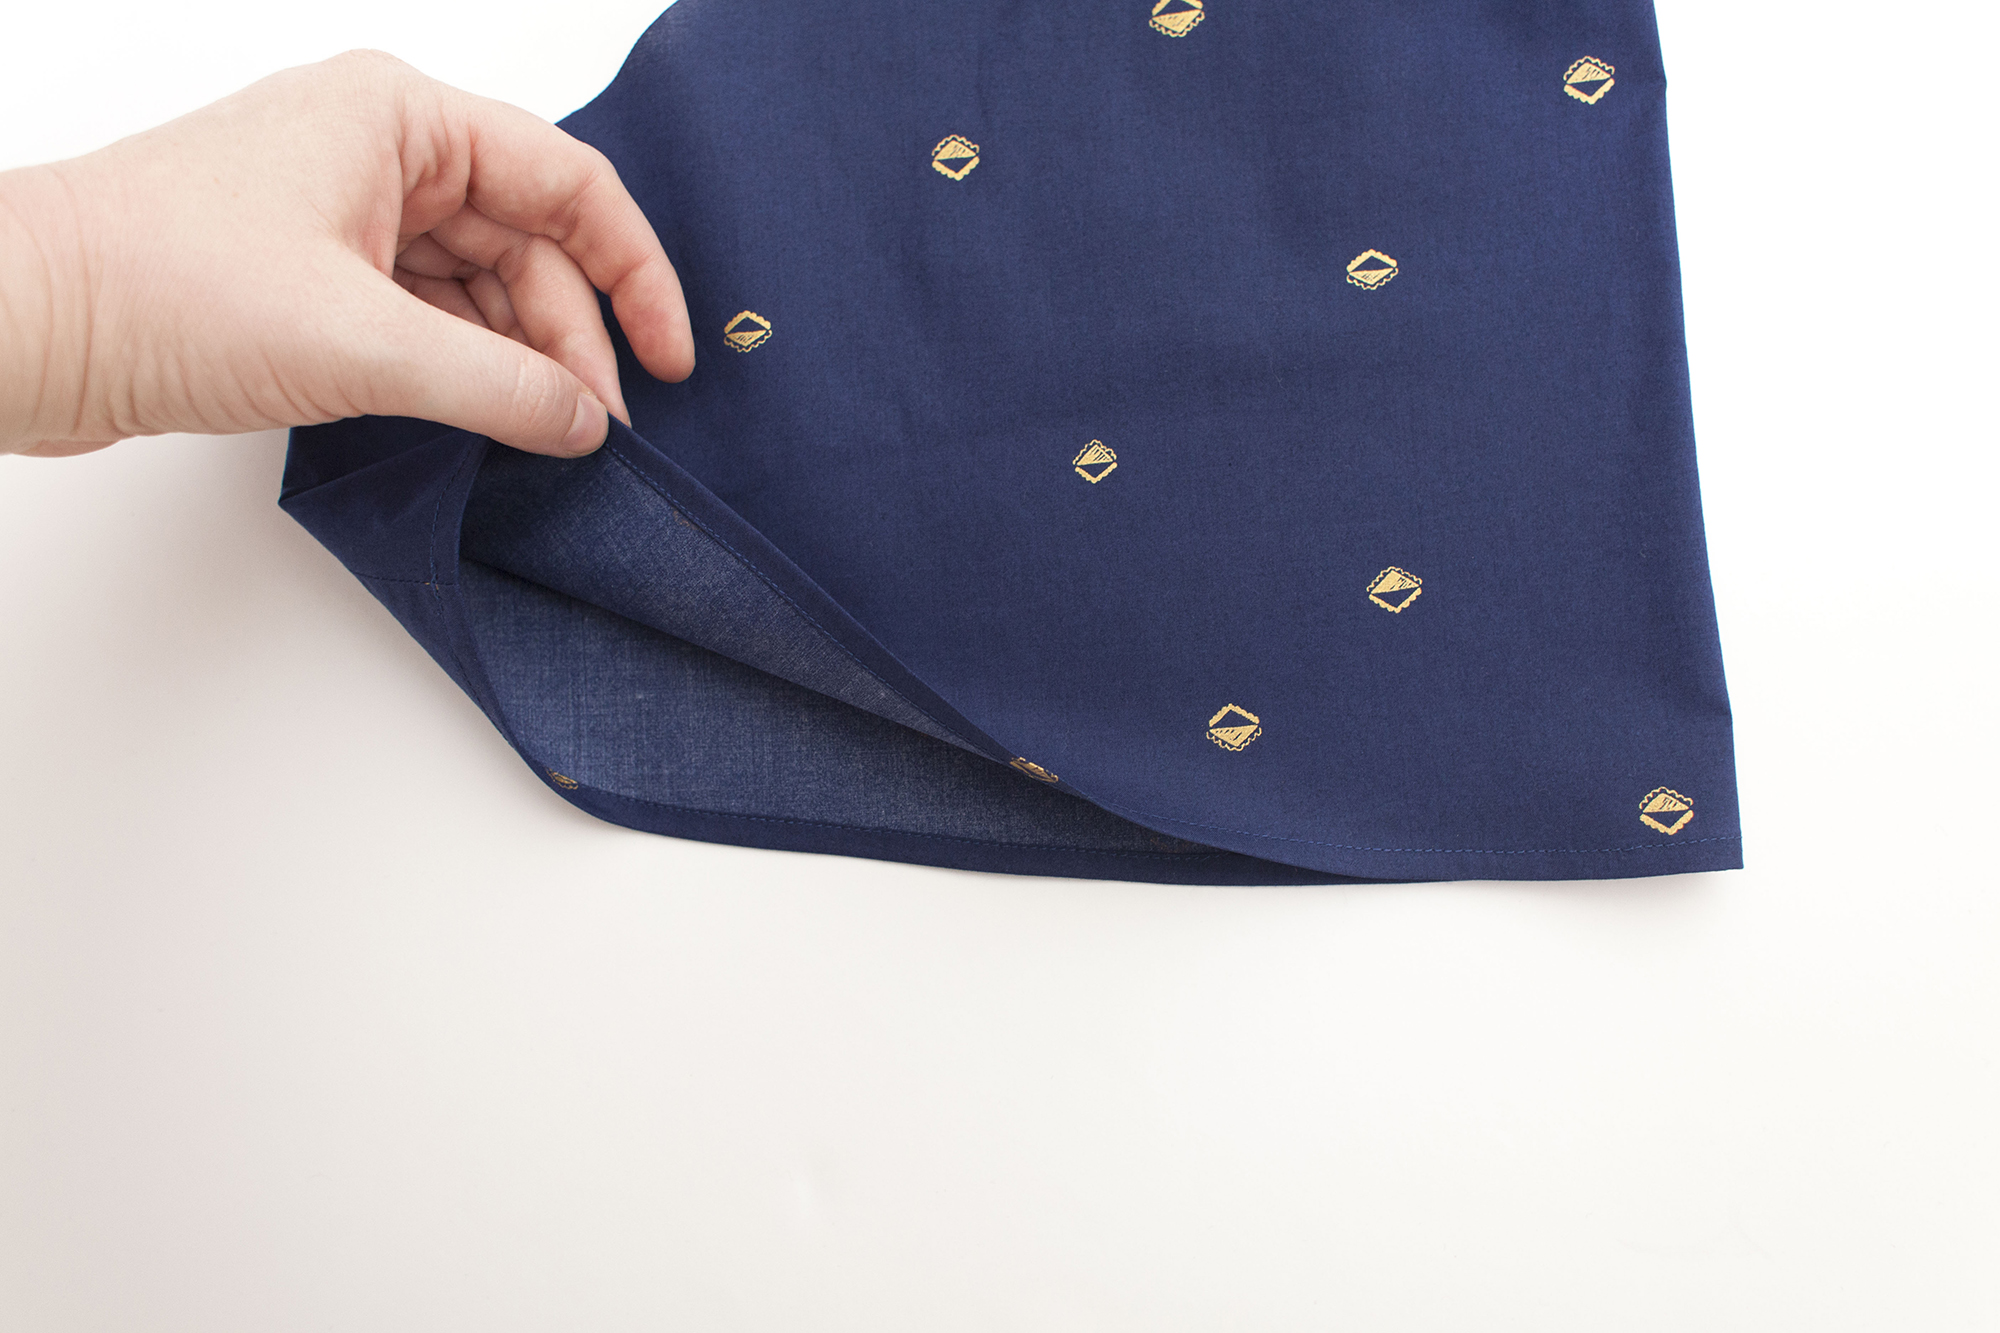
- With right sides together, align the unfolded edge of the short sleeve cuff (G) with the raw edge of the short sleeve (F) matching underarm seams. Stitch together in a circle.
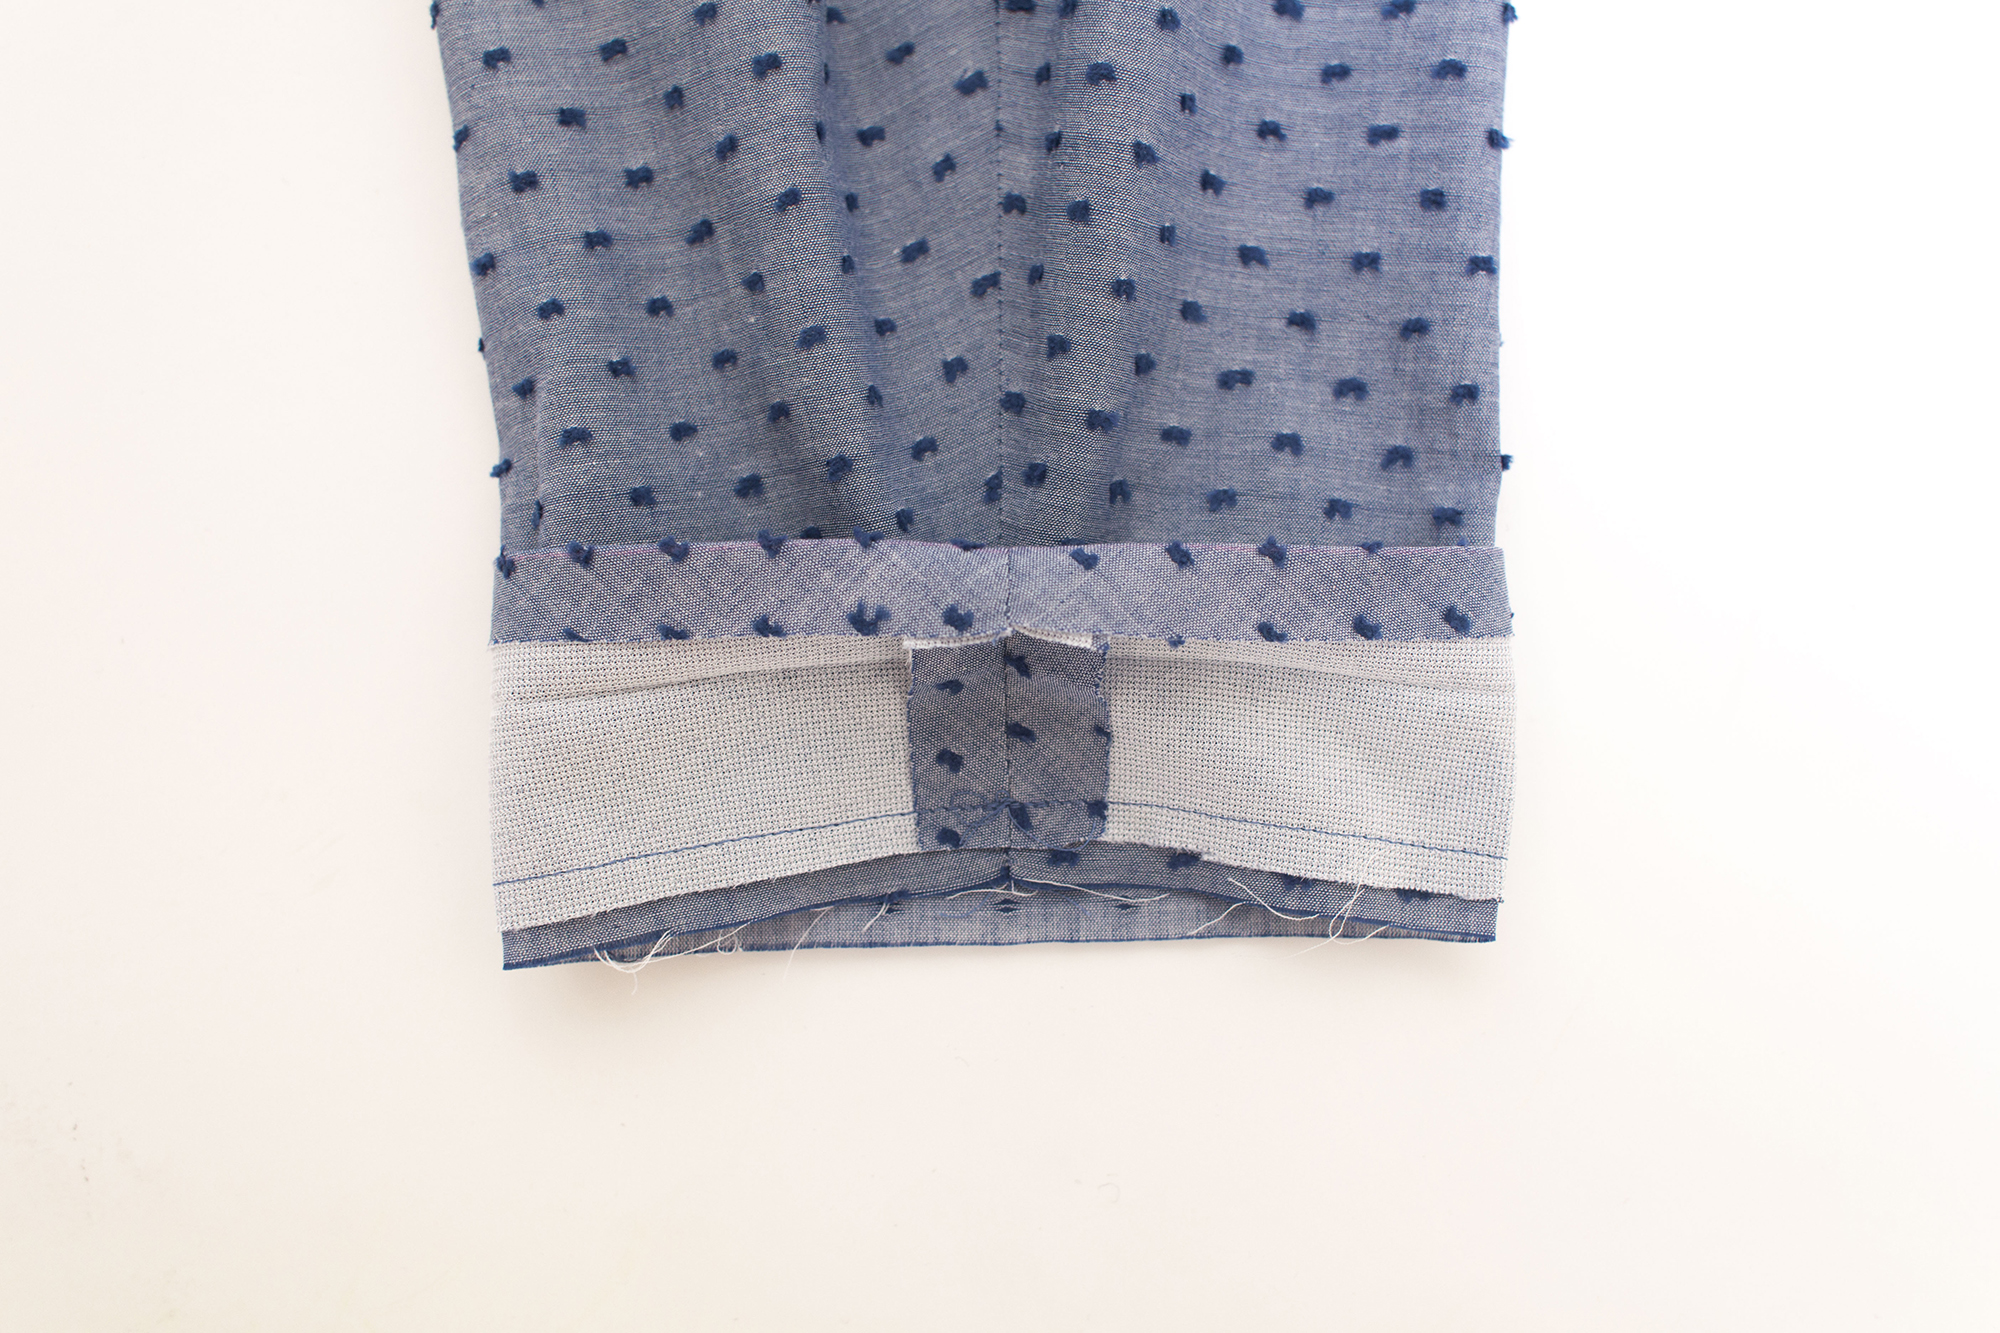
- Grade the seam.
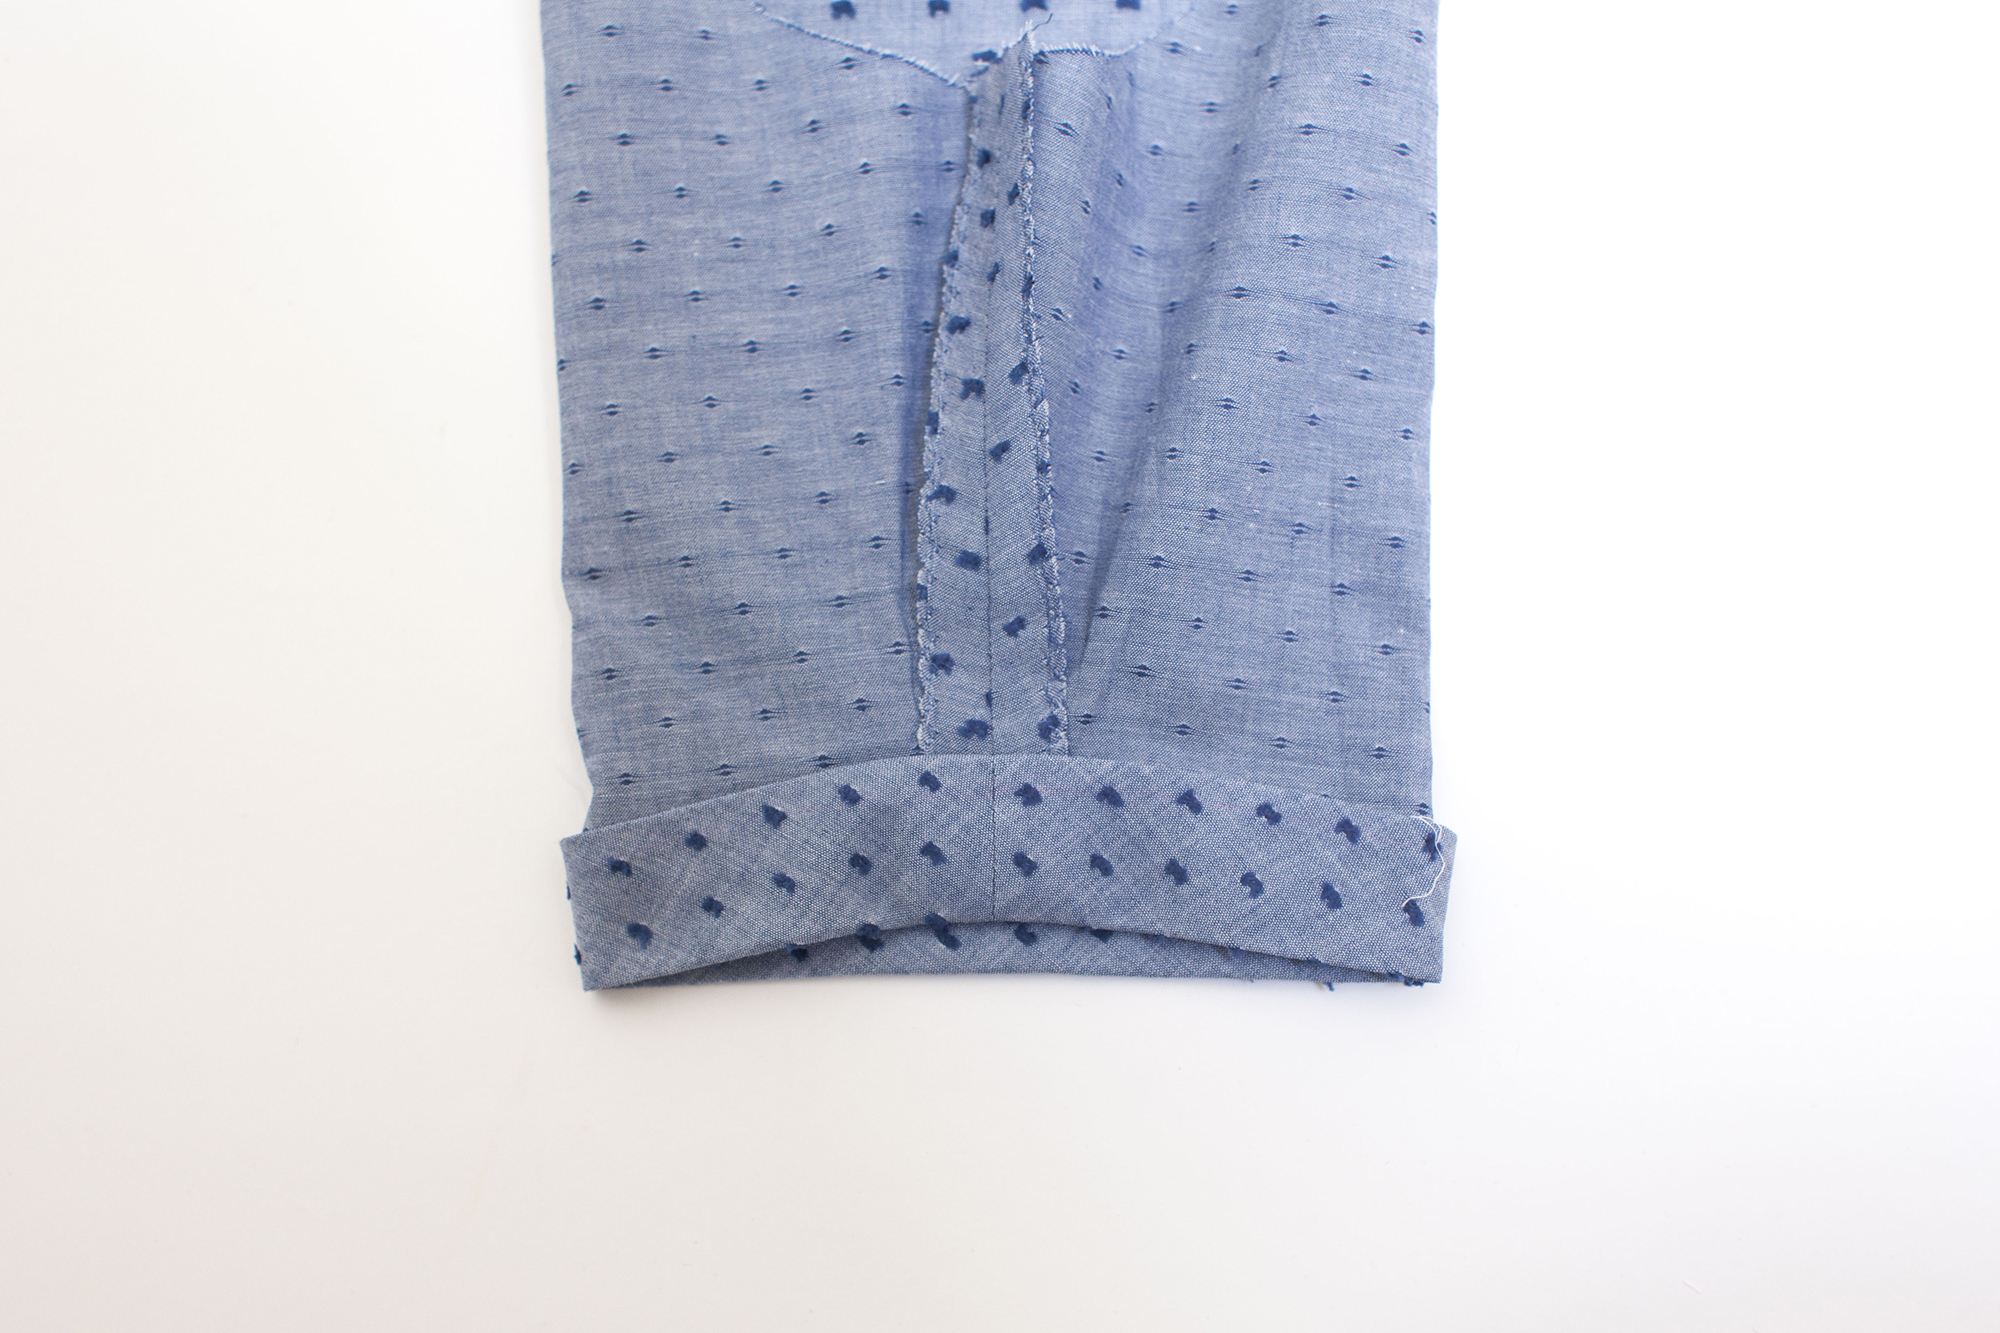
- Fold the cuff in half toward the wrong side of the sleeve. Fold the seam allowance you pressed under, covering the seamline and enclosing the seam allowance.
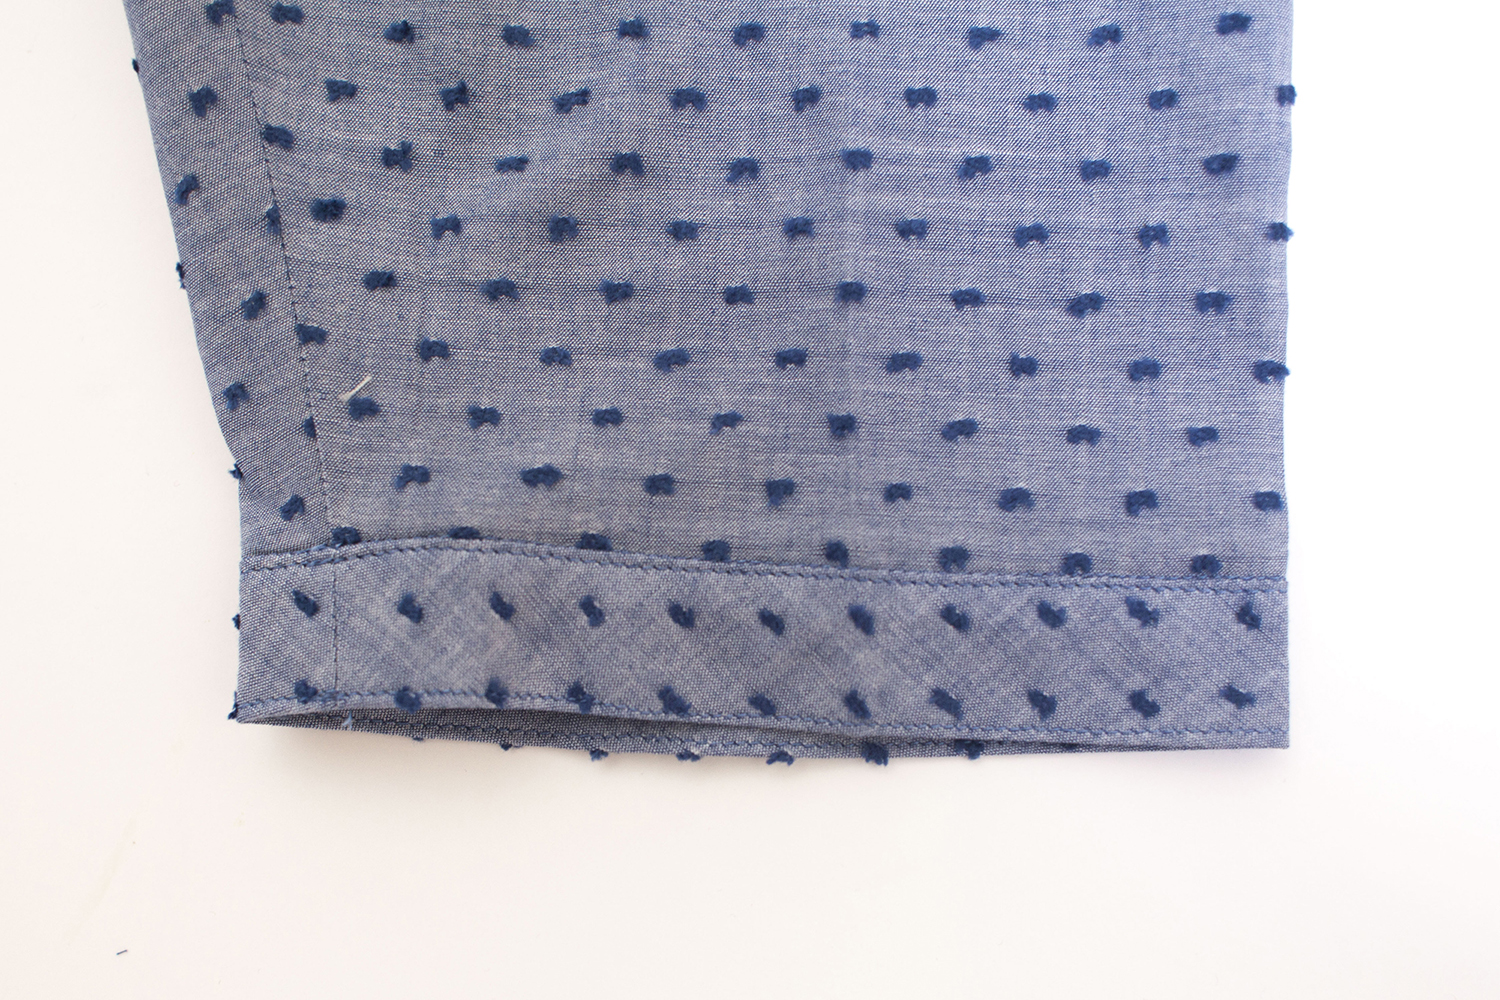
4. Edgestitch along the folded edge on the inside of the short sleeve cuff (G). Edgestitch along the bottom edge of the short sleeve cuff (G).
- Repeat steps 1 – 5 for the second short sleeve (F) and short sleeve cuff (G).
Version 3 Sleeve: Flutter Sleeve
Prep Sleeve
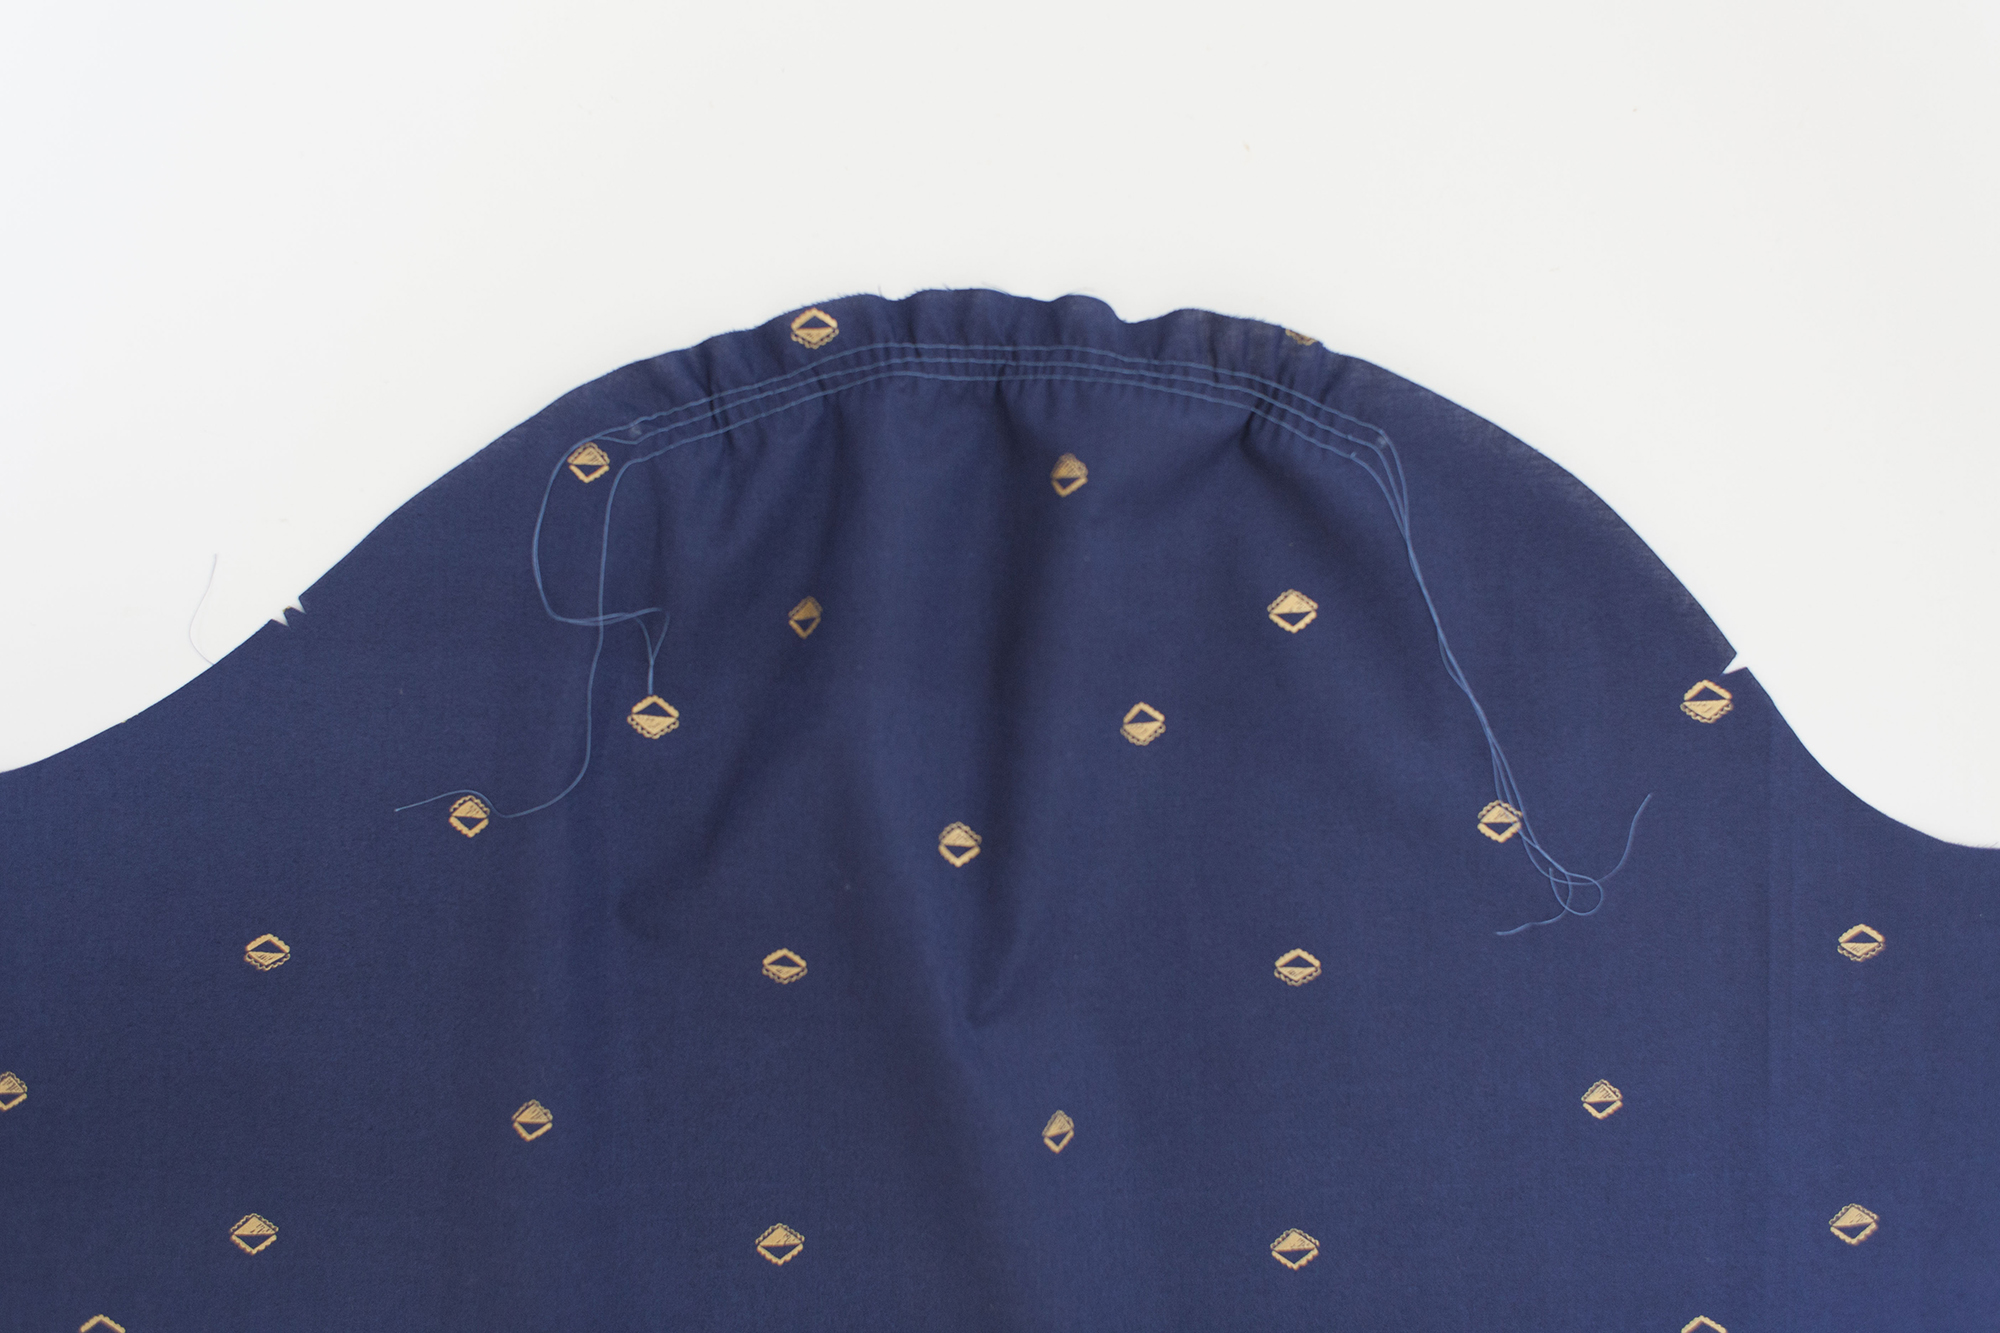
1) Sew 3 rows of basting stitches (at 1/2″, 5/8″, and 3/4″) between the small circles on the sleeve cap of the flutter sleeve (K), leaving long thread tails. Pull the tails to gently gather.
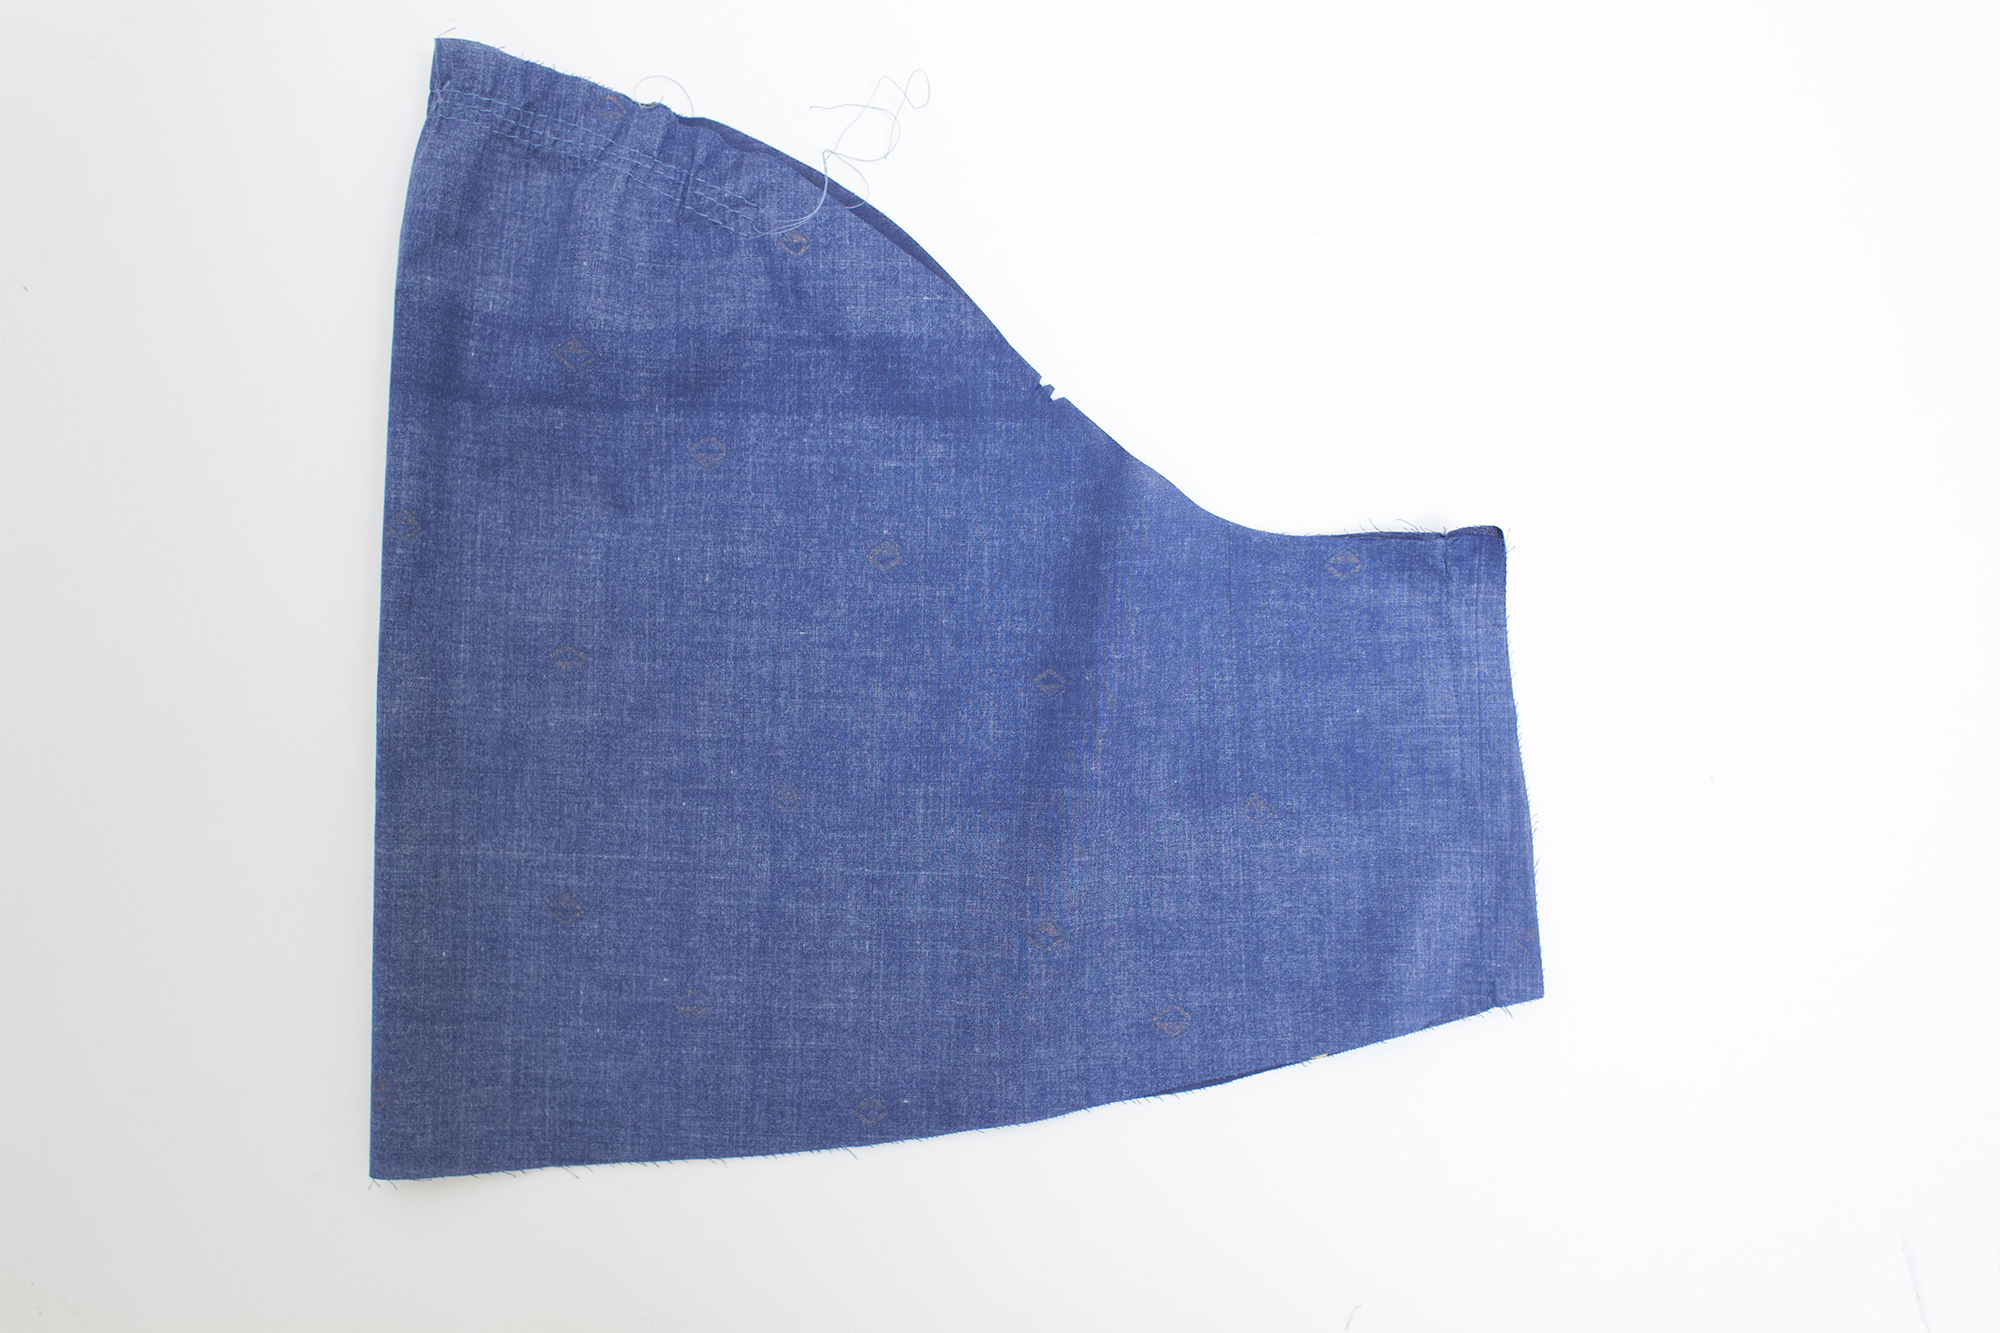
2) With right sides together, align the underarm seams of the flutter sleeve (K). Stitch along the under- arm seam.

3). Finish the underarm seam and press open.
4) Repeat steps 1 – 5 for the second flutter sleeve (K).
Hem Flutter Sleeves
1) Fold the hem of the flutter sleeve (K) under 1/8″ towards the wrong side of the sleeve. Press. Fold the hem of the flutter sleeve (K) under 1/4″ towards the wrong side of the sleeve. Press. Pin as needed.
2) Edgestitch along the fold of the hem.
3) Repeat for second flutter sleeve (K).
Install Sleeve (All Versions)
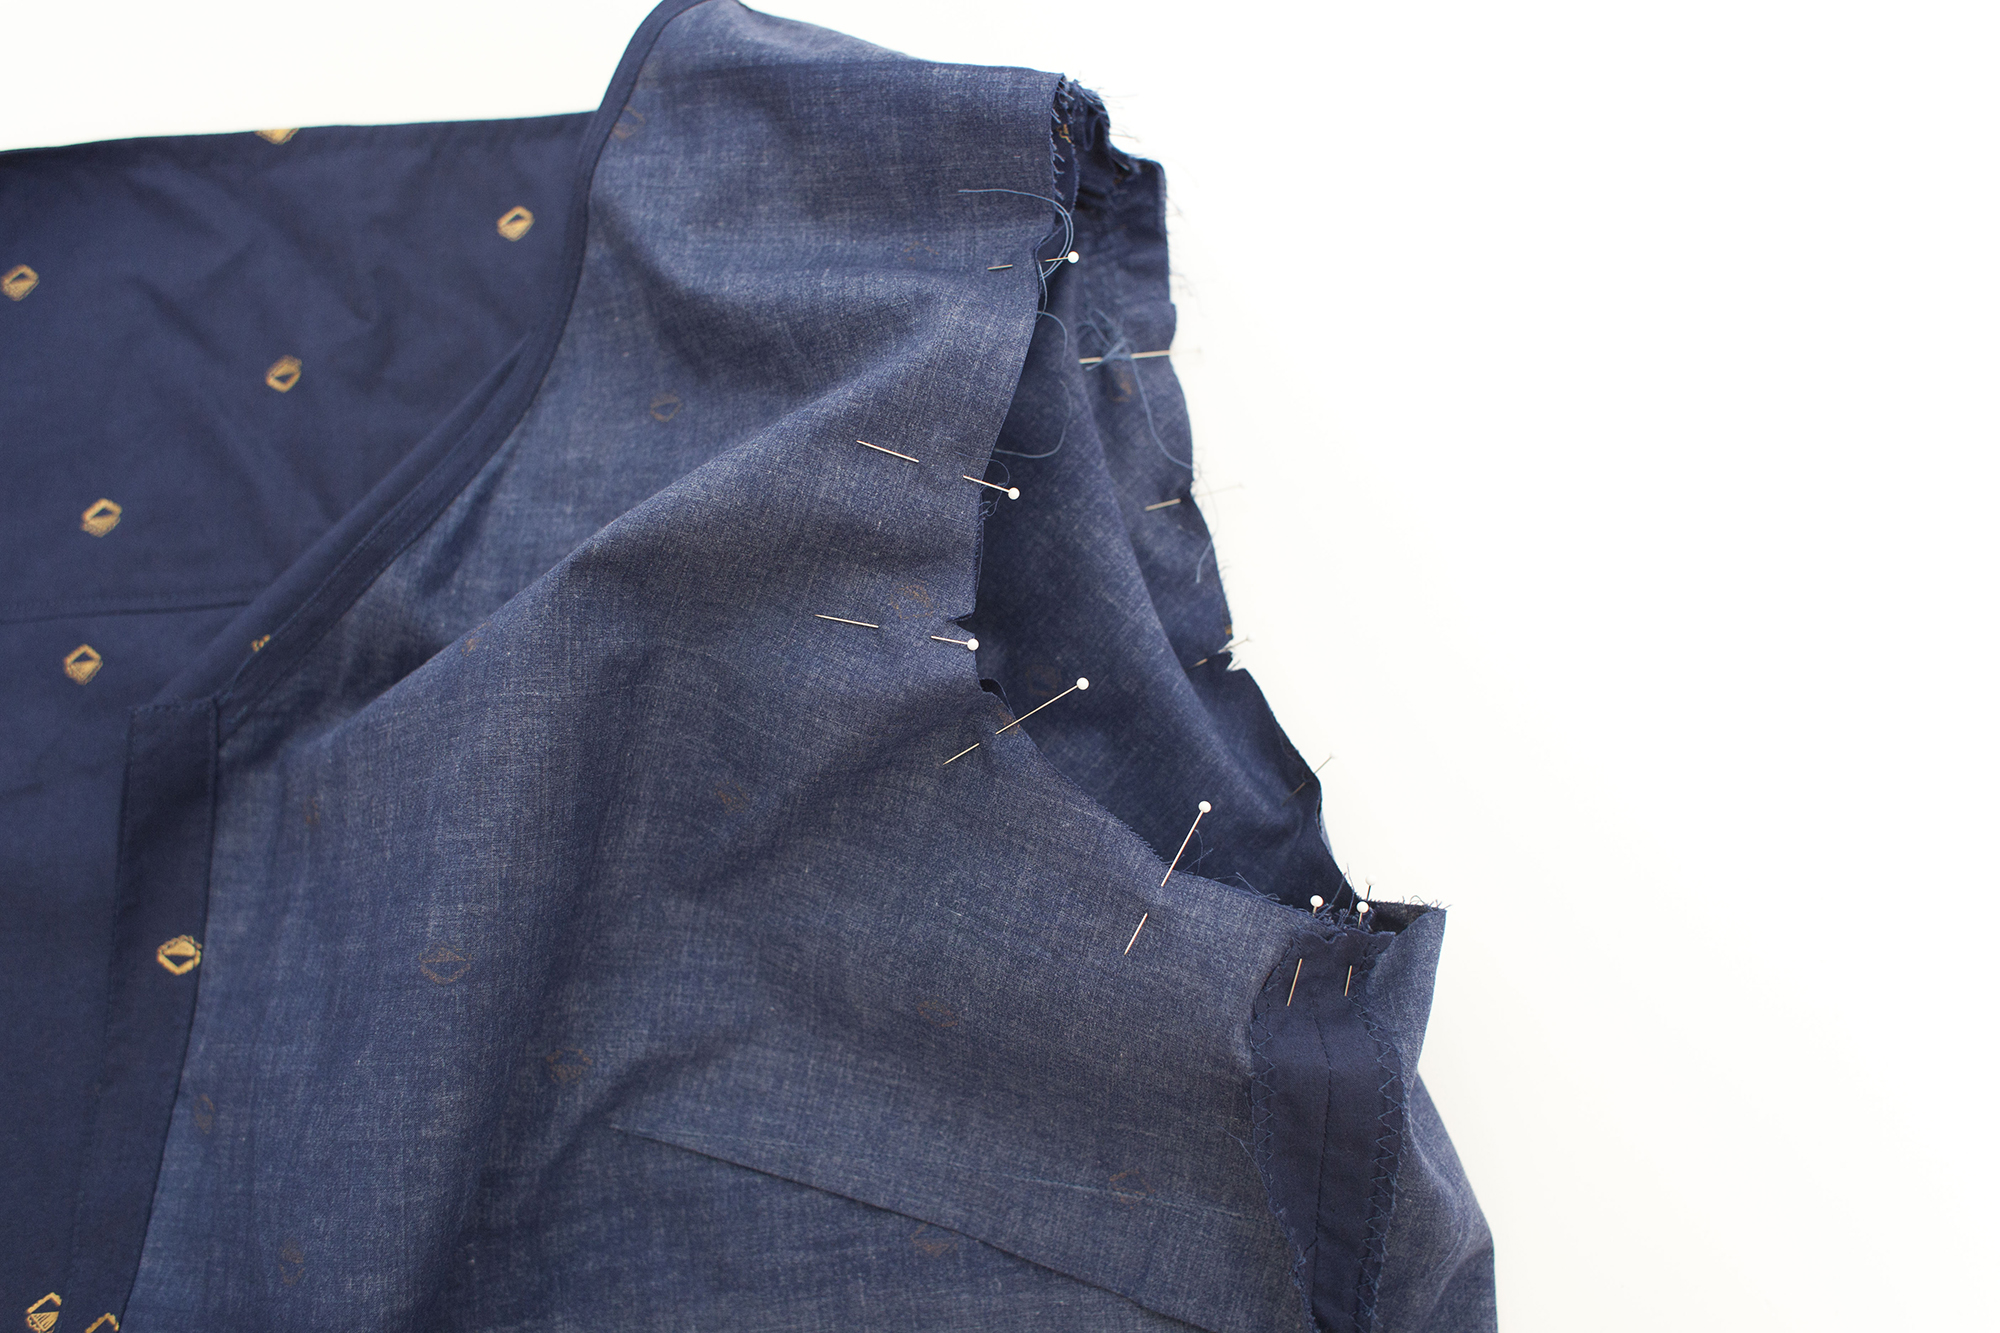
1) Place the short sleeve (F)/ (K) into the armscye with right sides together, notches aligned, and the large circle aligned with the shoulder seam. Adjust the gathers to fit the armscye.
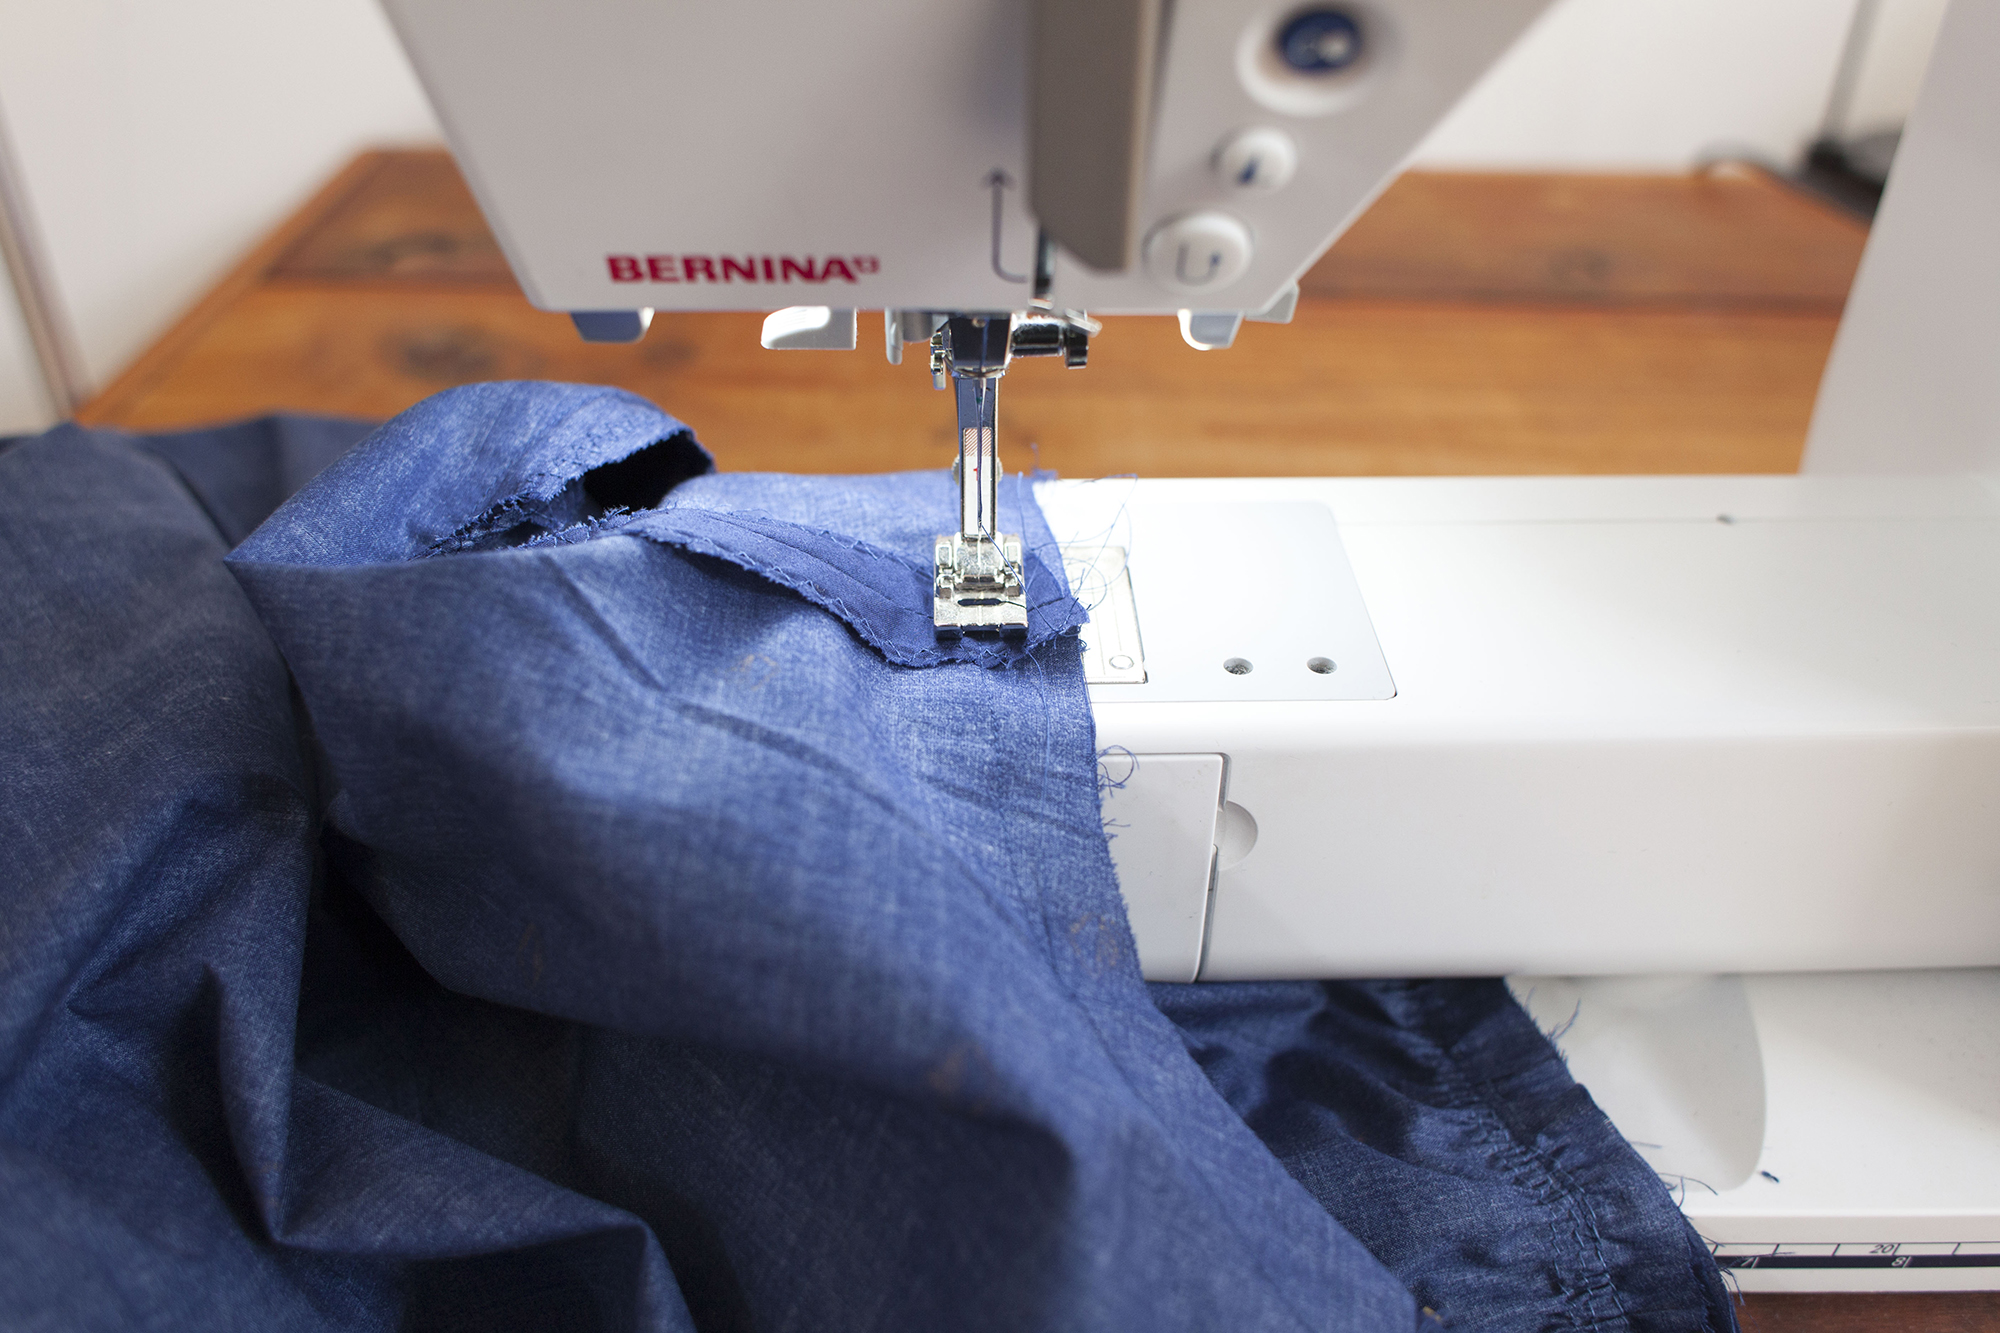
2) Stitch around the armhole, easing the sleeve cap as you sew.
3) Finish the seam and press towards the sleeve.
- Repeat steps 1 – 3 for the second short sleeve (F)/(K).
Comments
Is there an easy way to alter the sleeve cap to eliminate ease? I would prefer not to have gathers at the top as shown in the photo.
I decided I did not like the gathers either, so made a pleat at the top of the sleeve, just like the one on the back of the shirt…
Three questions please:
When you edgestitch the inside of the sleeve cuff, is this done from the outside?
You just need to be careful to catch in the cuff on the inside?
When you attach the sleeve to the body, are you sewing with the sleeve underneath?
I like edgestitching on the outside for this step. I find the Wash Away Wonder Tape works really well to help control the inside cuff as you topstitch.
Regarding eliminating the ease in the sleeve cap, this could be a whole post of it’s own, but there is a great tutorial here.
I’d love to see the tutorial about eliminating ease in the sleeve cap. Your link goes to the Wonder Tape page of Wawak :)
Thank you for bringing that to my attention. The link has been updated to route you to the correct page.
We will definitely keep that in mind for future tutorials.