

Today, we finally begin sewing!
Before you begin this lesson, you should have already made any fitting adjustments you might need, then cut your pattern from the fabric you’ve chosen.
We’ll begin with staystitching, a process that helps keep the edges of your garment (especially necklines) from stretching out.
Staystitch Necklines
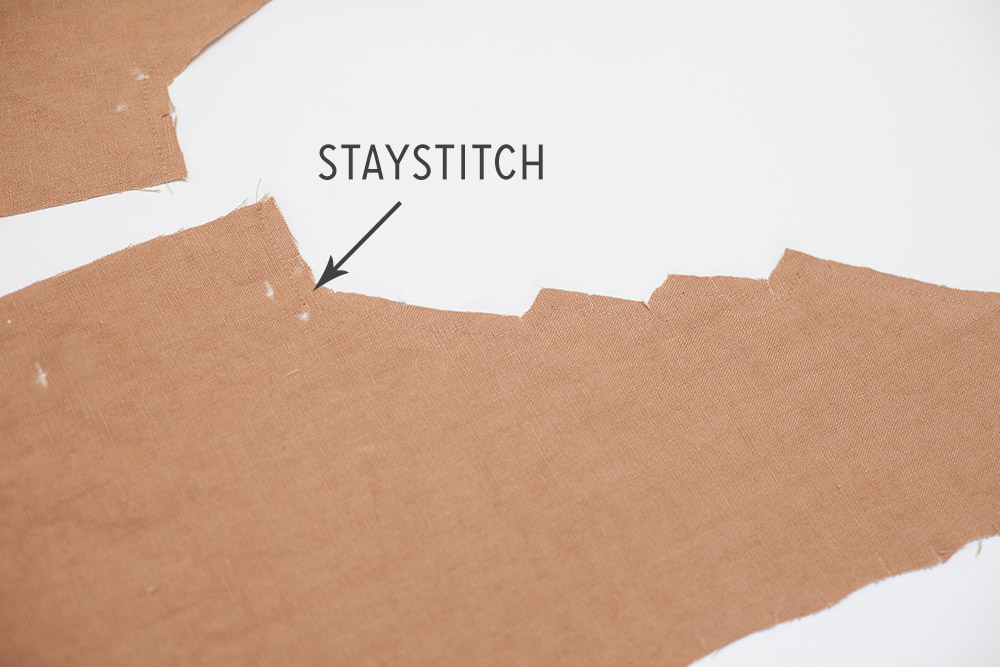
Staystitch the neckline of the two bodice front (A) or pleated bodice front (B) pieces, and the neckline of the two yoke back (D) pieces, at a scant ¼”.
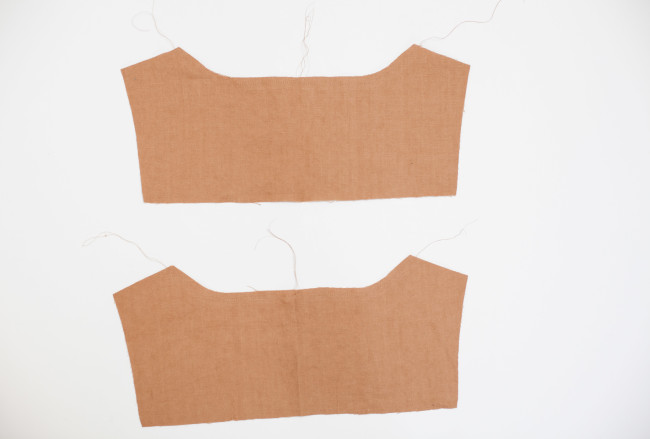
Stitch from the shoulder toward the center of each piece. This minimizes stretching as you stitch.
Apply Interfacing
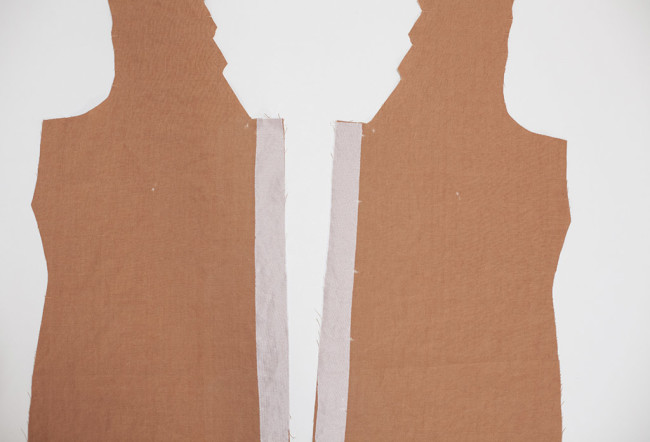
Apply interfacing to the wrong side of the center front of the bodice front (A) or pleated bodice front (B) pieces, as shown. To do this, place the interfacing along the shirt front, adhesive side down. Use a hot iron to press up and down, bonding the interfacing to the fabric.
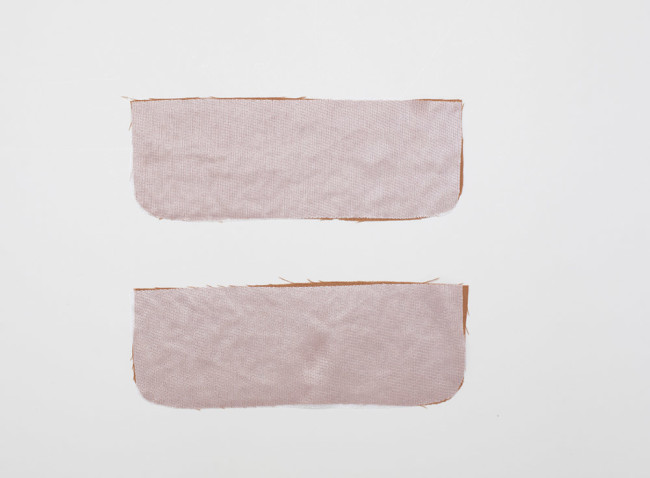
If you are making version 2 (long sleeves), you can also apply interfacing to two of your cuff pieces at this point, or wait until it’s time to construct them. For clarity within the pattern*, we have you wait, but I prefer to just do my interfacing all at once. The result is the same.
That’s it for today! We’re starting off slow and easy to give people a chance to catch up on cutting. Next up, we’ll be sewing the bust darts (and shoulder pleats if you’re sewing version 2).
*What do I mean by clarity? Well, writing a pattern with multiple versions is sort of like writing a Choose Your Own Adventure book sometimes. We often have to move steps around to minimize flipping back and forth between versions constantly, which makes the pattern harder to follow.
Comments
Wow! I am loving this pattern and your clear instructions! I had planned a long sleeve, but after doing that nifty yoke (which is kind of like a pillowcase I’ve made many of), and tried it on pinned for fit…I may just go sleeveless. My fabric is a sweet blue linen for this one. Thank you!
I finished the yoke, but find the inner yoke extends about half an inch beyond the outer yoke at the neckline. is this normal?
Do you mean after sewing the yokes together (the step we’re going over later this week)? If so, they should line up. If they’re a little off, you can trim one down at the neckline to fix this.
Thank you for going slow and having very clear instructions with this project. This is my first blouse and am enjoying the process.
Thanks for sewing-along!
Thanks for the catch up time. I still have to finish sewing my muslin, but I should be good to go by Wednesday. I appreciate the sew-a-longs. Sometimes, I need a push to get things done.
Hello Haley and Sarai,
First the SBA lesson was AMAZING!! Thank you.
Second, I’d like to use self interfacing ( is that a term? I mean my shirt fabric.) How would you suggest sewing it in?
Finally, I’d like to make a sleeveless version (mentioned in an earlier lesson.) Will bias binding be addressed in a later lesson in order to do that?
Thank you!
Thanks Jennifer!
For self interfacing, you have lots of options. You can baste it in within the seam allowance to hold it in place until the placket is stitched. Or, you can use a glue stick to temporarily glue-baste it in place. That is my usual method. The glue will wash out after you’ve finished. :)
We don’t have a post on a sleeveless modification queued up, BUT here is a post from the Hawthorn sewalong on binding an armhole with bias tape. It’s pretty much the same! Very easy to do. :)
/hawthorn/hawthorn-v3-armhole
Hi there, I just downloaded Aster after noticing as I was re-watching Miss Fisher’s Murder Mysteries for the (embarrassing to admit)-th time that Aster would be an excellent way to re-create a much admired Phryne top. And as a bonus, no need to do an FBA! I will make a “regular” version first, but would like to eventually make one like the white blouse worn with the white slacks and brocade-ish overcoat here. I think this means attaching a Hawthorn like collar. Maybe a future Colette hack?
Right now I’m making a basic white top, but I hope I can also get to my nicer fabric and make a second top quickly enough to share it on August 7th-14th. I am a beginner (I’ve only made a skirt so far) so I just didn’t want to use my pretty patterned fabric until I was sure I had a better understanding of how this shirt is put together.
So far so good!