

If you’re making version 2 of Aster (long sleeves), the task of sewing the sleeves is probably the most time consuming part of making this blouse. I think you’ll find it less complicated than it looks at first glance, but it does require a bit of precision when you’re folding, pressing, and stitching. Take it slow, and don’t be afraid to redo stitching when you’re not satisfied with it. That’s what seam rippers were invented for.
Let’s walk through the whole process together. We’re going to be applying a placket to the sleeve, installing the cuff, and setting the sleeve into the armhole.
Install sleeve placket
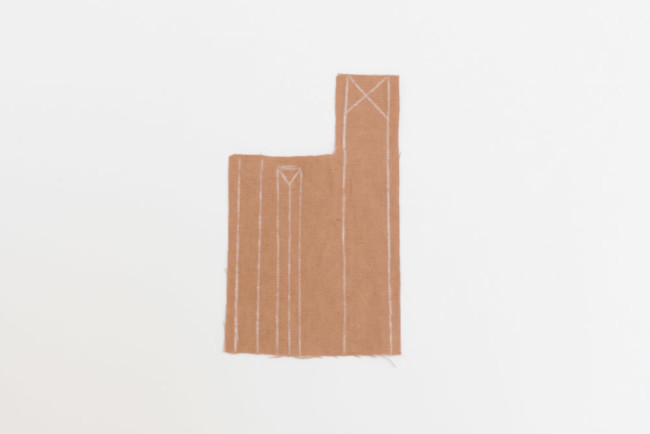
First, you want to make sure that all the markings on the placket pattern piece are transferred to your sleeve placket (I). I used a water soluble pencil for this, which is what I recommend.
You can sew the plackets one at a time, or do them both together. Doing them both at the same time is faster.
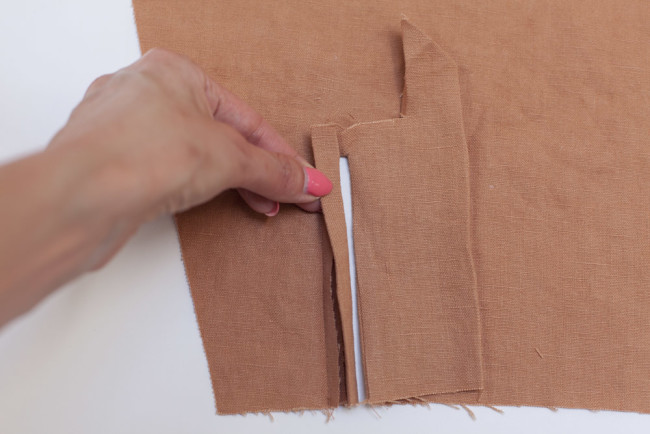
On the wrong side of each sleeve placket (I), fold in at the first fold line and press.
Clip each sleeve placket (I) up to the second fold line, as shown. This will allow you to fold it in.
On the wrong side of each sleeve placket (I), fold in at the second fold line and press.
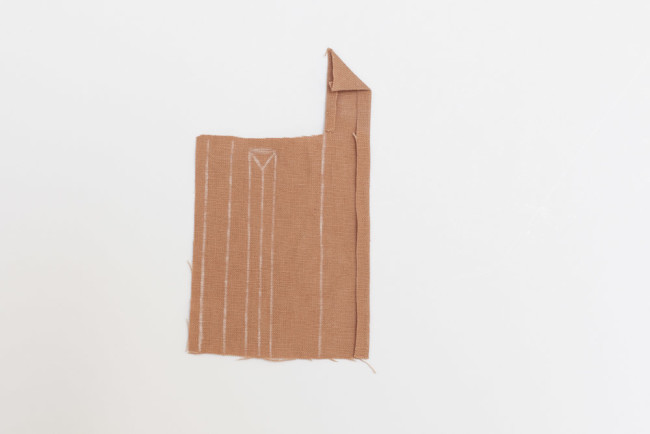
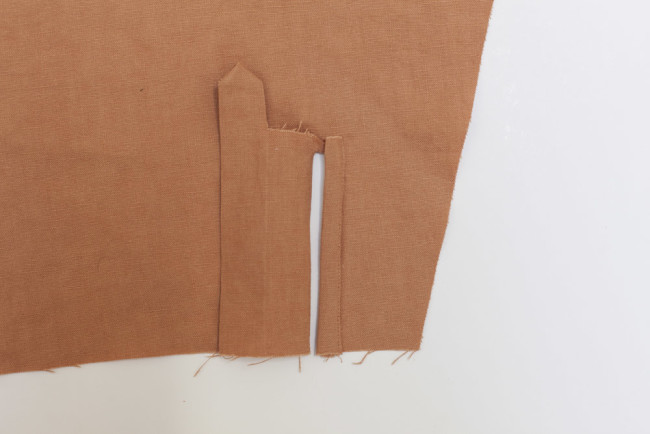
On the wrong side of each sleeve placket (I), fold diagonally at the third fold line and press.
On the wrong side of each sleeve placket (I), fold diagonally at the fourth fold line and press. This will form the point on the placket.
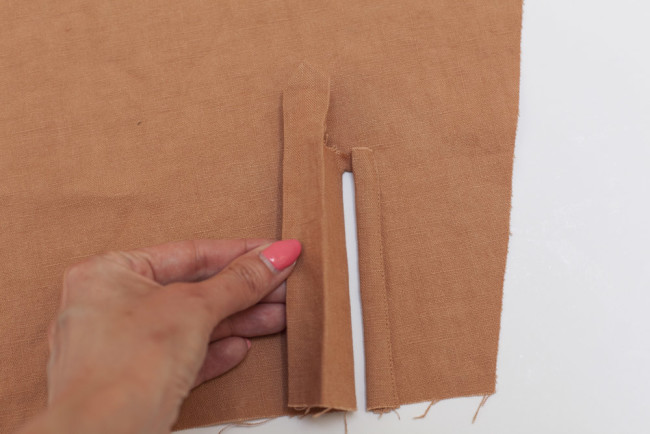
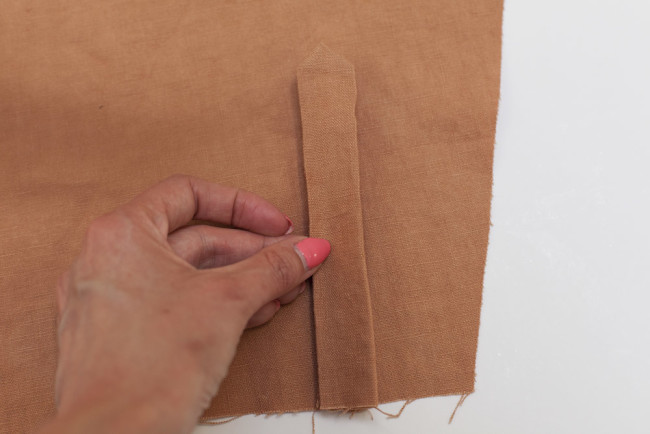
On the wrong side of each sleeve placket (I), fold in the fifth fold line and press.
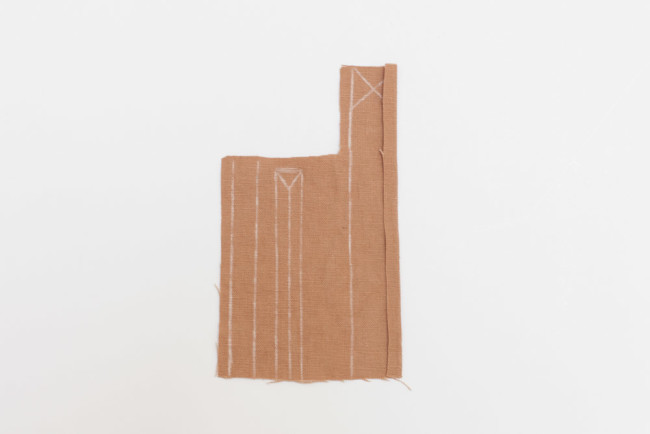
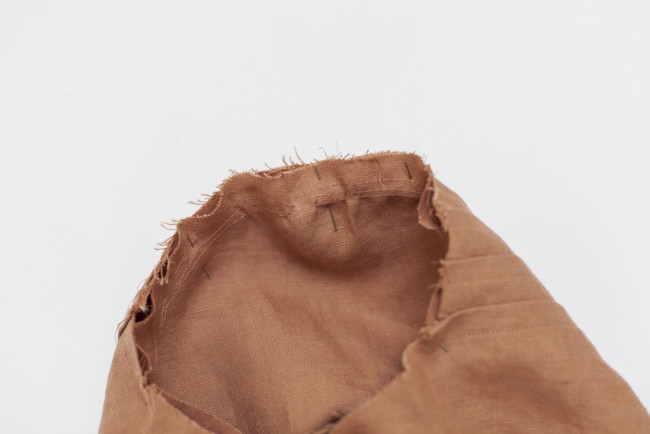
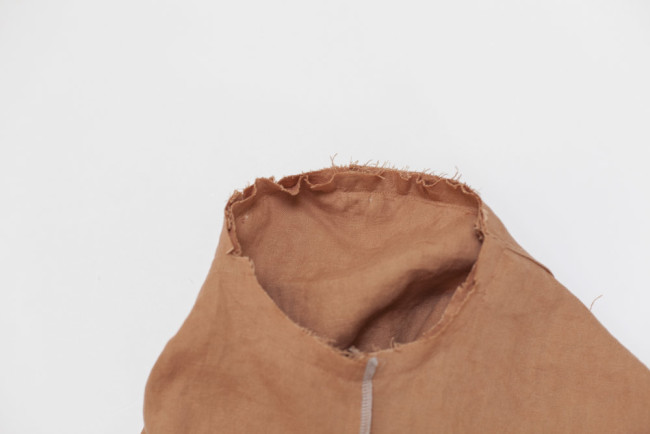
Pin the sleeve placket (I) to the long sleeve (H), with the right side of the placket facing the wrong side of the sleeve. Align the Y-shaped slash line on the sleeve with the Y-shaped slash line on the placket.
Note the position in the diagram; the pointed side of the placket should be towards the small circles on the sleeve.
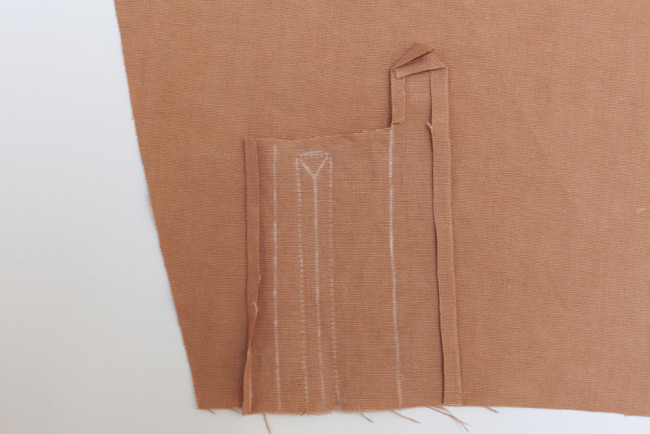
Stitch the sleeve placket (I) to the long sleeve (H), following the dashed line around the three-sided box that surrounds the Y-shaped slash line, pivoting at each corner.
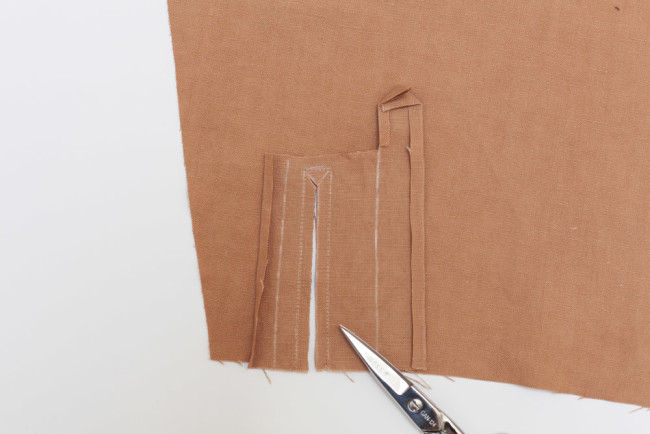
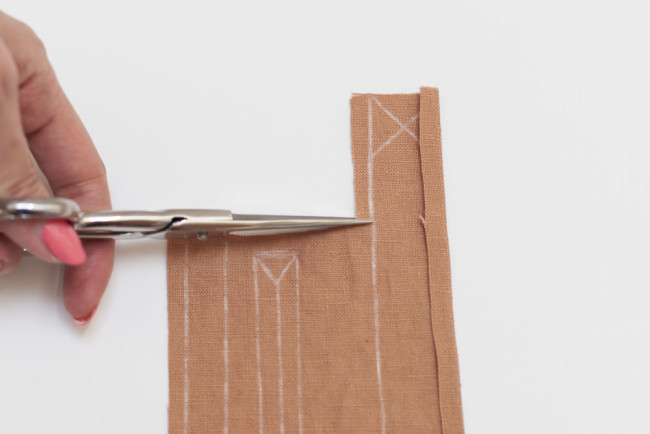
With sharp shears, slash both the long sleeve (H) and sleeve placket (I) along the Y-shaped slash line, carefully snipping the short ends up to the stitching line.
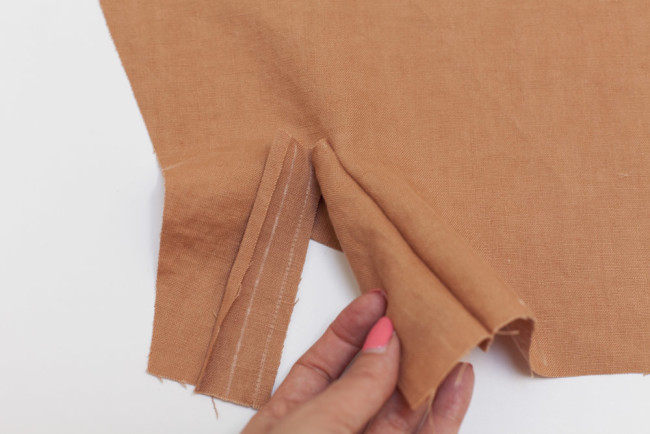
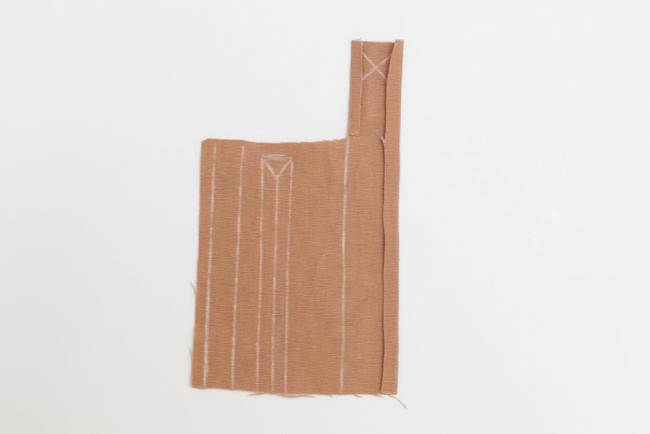
Push the sleeve placket (I) through the slit.
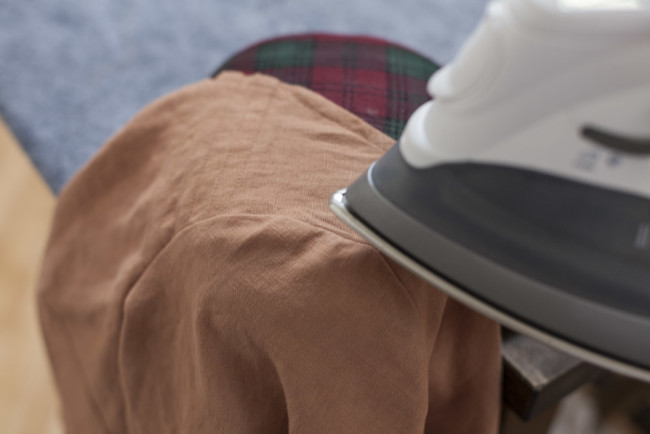
On the right side of the long sleeve (H), press the placket flat to eliminate any wrinkles.
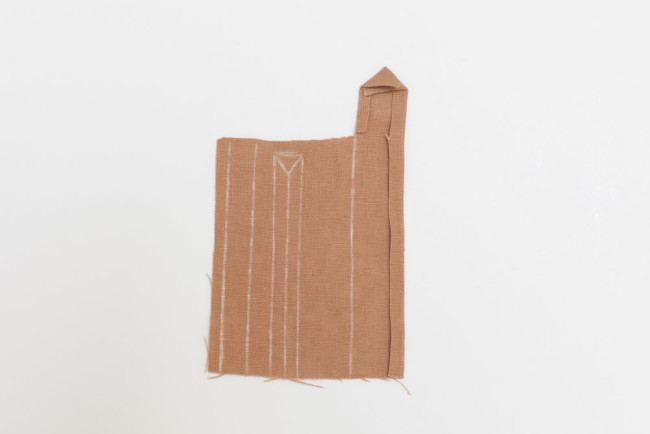
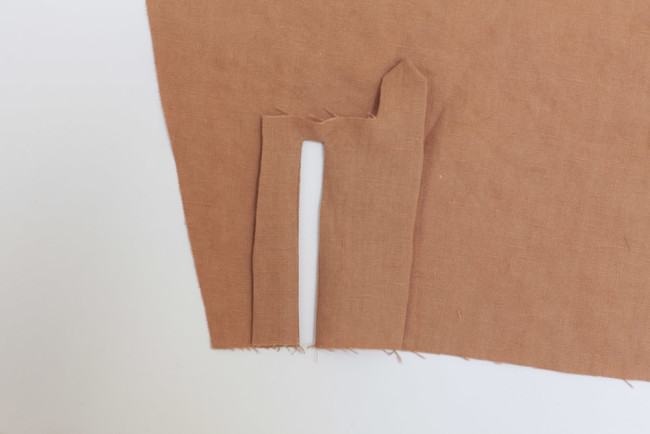
Fold along the solid line on the narrow edge of the placket, as shown. This will enclose the raw edge.
Press and edgestitch in place.
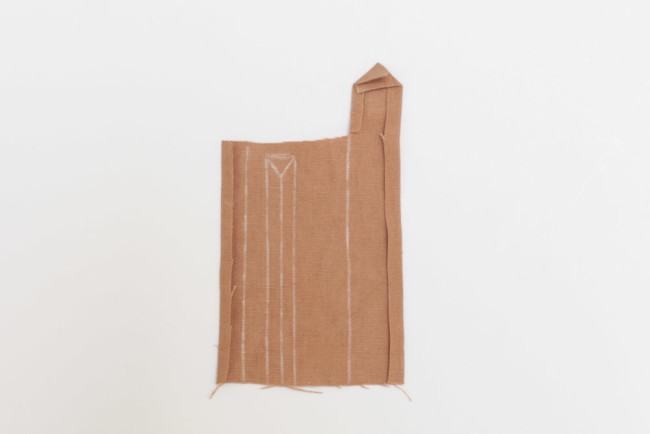
Fold the left side of the placket towards the right, so that wrong sides of the placket are facing together. Now, only the right side of the placket is visible, and the slit and the narrow edge of the placket will be covered, as shown.
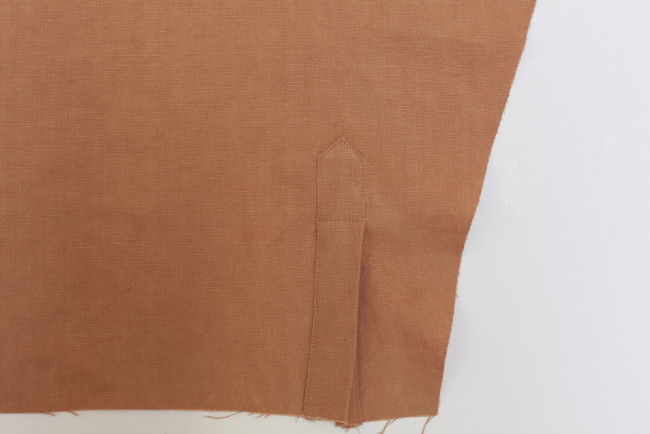
Press and stitch the pointed edge in place as shown. The stitching at the top encloses any raw edges for a neat finish.
Sew Long Sleeve
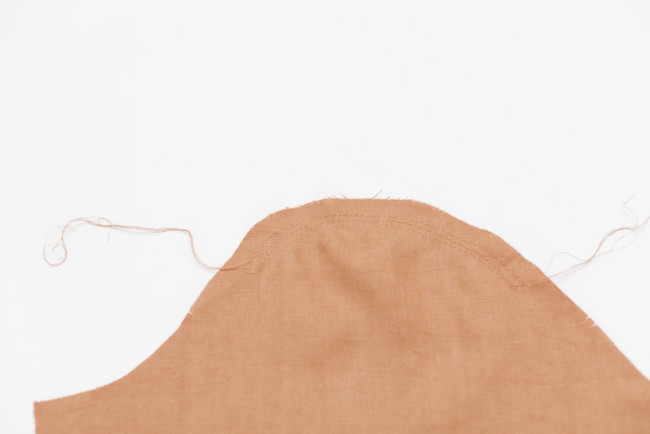
Sew 3 rows of basting stitches between the small circles on the sleeve cap of the long sleeve (H), leaving long thread tails.
Pull the tails to gently gather.
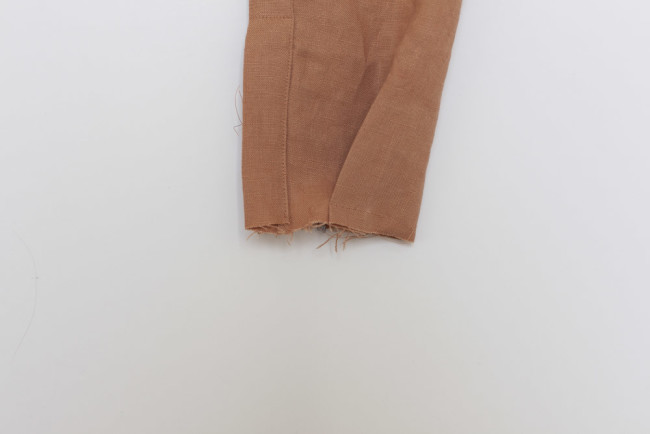
With right sides together, align the underarm seams of the long sleeve (H).
Stitch along the underarm seam.
Finish the underarm seam and press open.
Repeat steps 1 – 5 for the second long sleeve (H).
Sew Long Sleeve Cuff
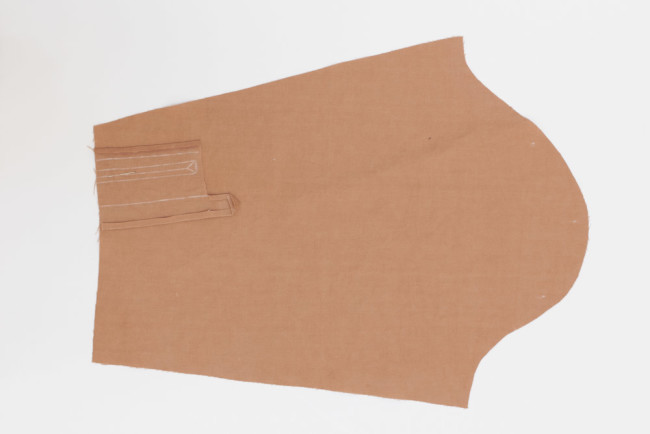
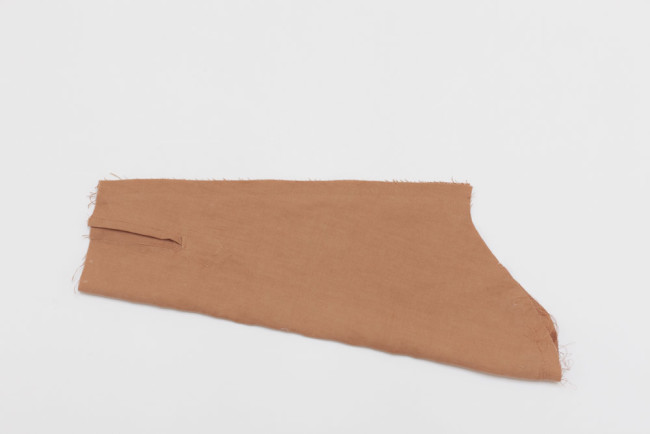
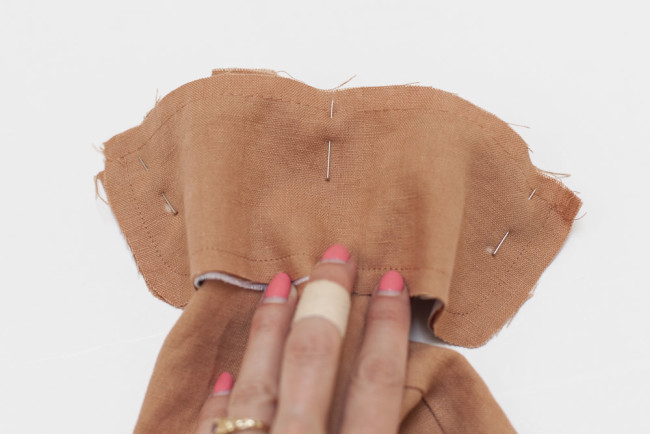
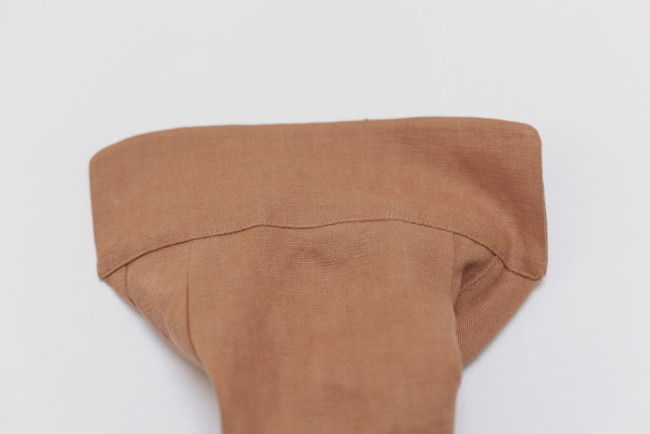
On the long sleeve (H), bring the small circles together to form a pleat, and press towards the placket, as shown.
Baste the pleat in place.
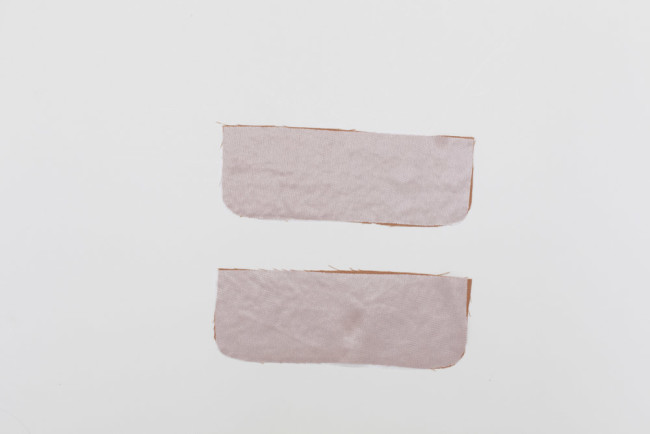
Apply fusible interfacing to the wrong side of one of the long sleeve cuff (J) pieces, if you haven’t done this previously.
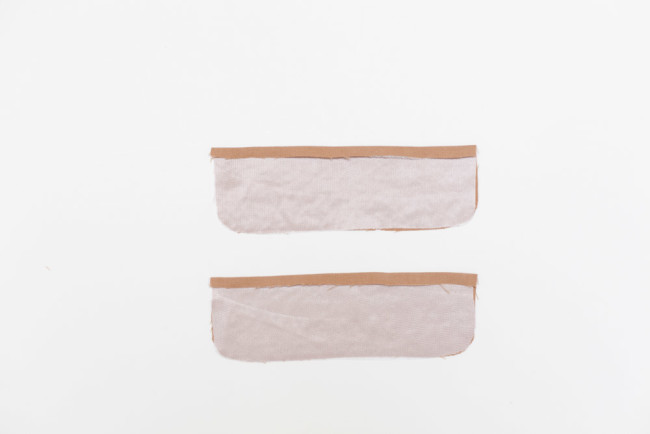
Turn the top edge over 3/8″ and press.
Baste edge of cuff in place.
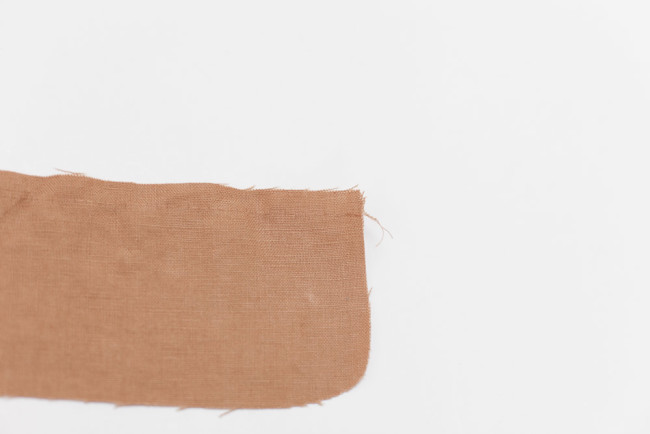
Here’s a trick I like to do. On the non-interfaced cuff piece, stitch a line of basting 3/8″ from the long straight edge. This will act as a guide for you later.
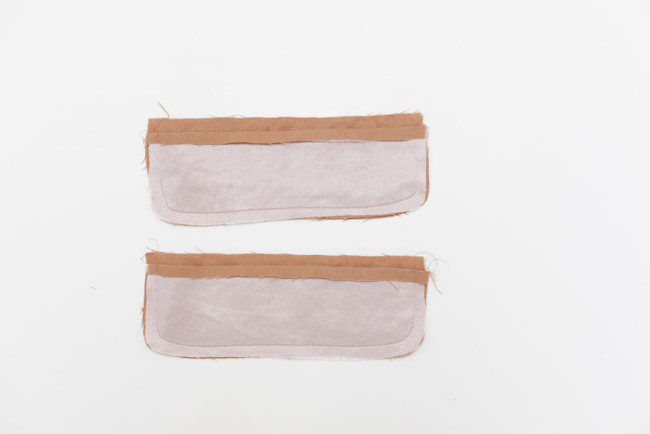
With right sides together, stitch one of the non-interfaced long sleeve cuff (J) pieces to the interfaced piece along the outer edge, using a 3/8″ seam allowance.
Repeat steps 1 – 6 for the second long sleeve cuff (J).
Attach Cuff
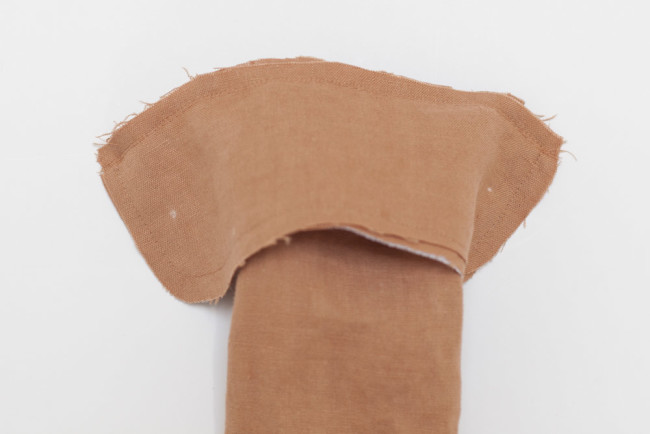
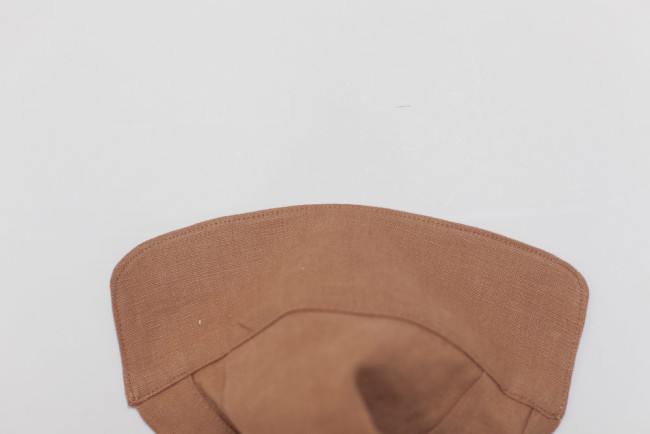
Open the edge of the long sleeve (H) out as far as possible.
Pin the long sleeve cuff (J) to the right side of the long sleeve (H). The longer, non-interfaced side of the long sleeve cuff (J) should be on top, and the edges of the long sleeve (H) carefully aligned with the stitching on the long sleeve cuff (J).
Stitch this side of the long sleeve cuff (J) to the long sleeve (H) using a ¼” seam allowance. You will only be stitching through the non-interfaced side of the long cuff (J). Take care not to stitch through the other (folded) side of the long sleeve cuff (J). I try to pull the other side of the cuff away from the area being stitched.
This is also where that line of basting comes in handy. Stitch just inside that line to achieve a 1/4″ seam allowance.
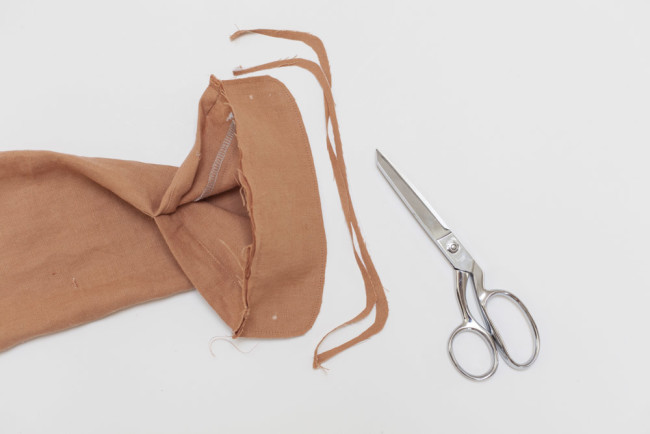
Trim the seam allowance all the way around the long sleeve cuff (J).
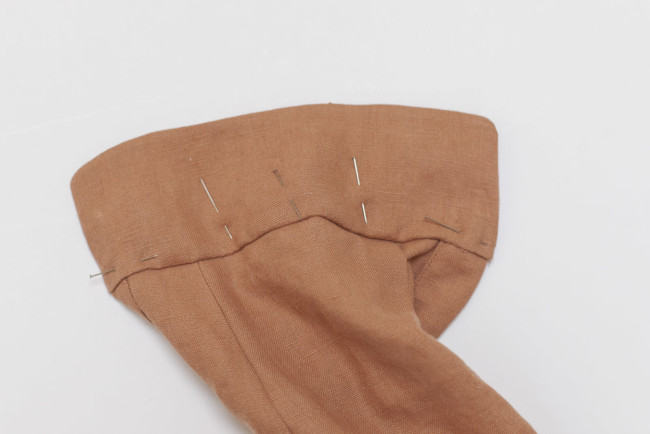
Turn the long sleeve cuff (J) right side out and press. Pin the cuff in place. I used vertical pins in the center, and horizontal pins at the edges to keep everything tucked neatly inside.
On the right side, edgestitch the long sleeve cuff (J) to the sleeve through all layers.
Topstitch along the outer edges of the long sleeve cuff (J).
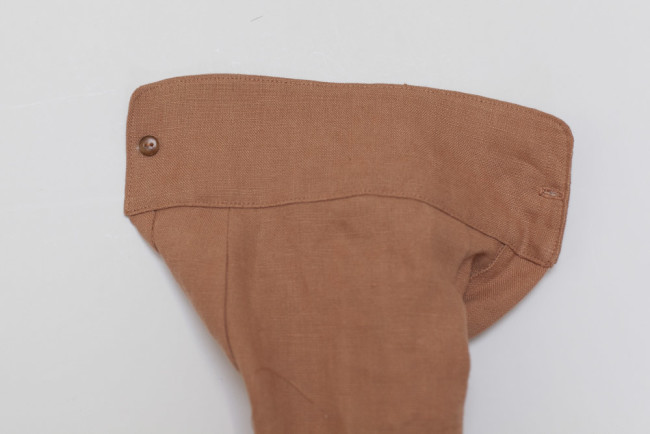
Sew a buttonhole at the placement mark on the long sleeve cuff (J).
Sew a button at the placement mark on the other side of the long sleeve cuff (J).
Repeat steps 1 – 9 for the second long sleeve cuff (J).
Set Long Sleeves
Place the long sleeve (H) into the armscye with right sides together, notches aligned, and the large circle aligned with the shoulder seam. Adjust the gathers on the long sleeve (H) to fit the armscye.
Stitch around the armhole, easing the sleeve cap as you sew.
Finish the seam and press towards the sleeve. Use a tailor’s ham if you have one.
Repeat steps 1 – 3 for the second long sleeve (H).
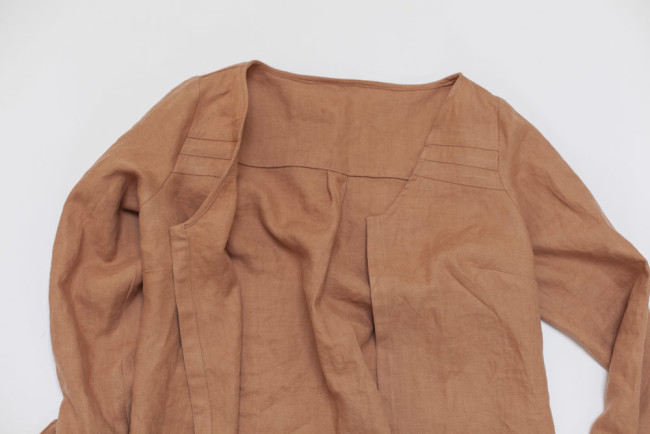
Look how far we’ve come! You are almost to the finish line!
Comments
The pictures and step by step instructions made it easy to follow. Thank yo so much.
Hello! There seems to be an error in the PDF instructions on step three of the cuff construction. I have sent an email to Colette HQ to alert them to it. The pattern instructions say: Stitch this side of the long sleeve cuff (J) to the long sleeve (H) using a 1⁄4″ seam allow- ance. You will only be stitching through the interfaced side of the long cuff (J)
You have it right above- “You will only be stitching through the *non-interfaced* side of the long cuff.
Thanks!
Mariah
Such a lovely explanation of the sleeve placket. It worked perfectly. A little tip for those having problems keeping your pressed creases sharp … a little spritz of spray starch gives fabric a firmer hand to hold a long lasting crease.
Thanks so much, yet again, for a wonderful sew along.
There must be an error between here and the PDF instructions. Do I sew the interfaced or non-interfaced side of the cuff to the sleeve first? This has been driving me crazy.
Also I think videos would be more useful than just repeating the instructions with fabric. The fabrics seem to be unsuitable as well, since you cannot tell right sides from wrong sides in the pictures.
The PDF pattern may have had an initial error/typo if you downloaded it early. You should have received an email letting you know that you can login and download a fresh copy of the instructions. The instructions here are correct.
I’d love to do video in the future!