

Now that we’ve talked about the supplies you need (and you’ve had a chance to buy them) and how to sew with knit fabrics, it’s time to start cutting.
Getting Started
1) Choose your size. Use the body measurements chart on
the back cover to determine your size. If you are between sizes, choose the larger size.
A note on making muslins: Muslins (test garments) are important for getting a perfect fit when you’re working with woven fabrics. With knits, they’re not of quite the same value because (1) knits are more forgiving with fit and (2) The fit will depend a lot on your particular fabric.
If you want to make a test garment, I recommend buying double the amount of your fabric and using that for your trial run.
Overall, fitting and adjusting as you go will be an easier method for fitting your knit garment.
Laying

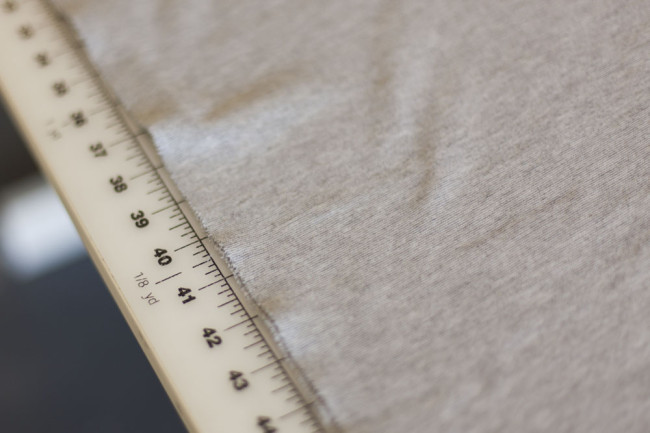
1) Lay your fabric. Begin by folding your fabric in half lengthwise, with the right sides together and the selvages aligned. Place the fabric on your cutting table or mat.
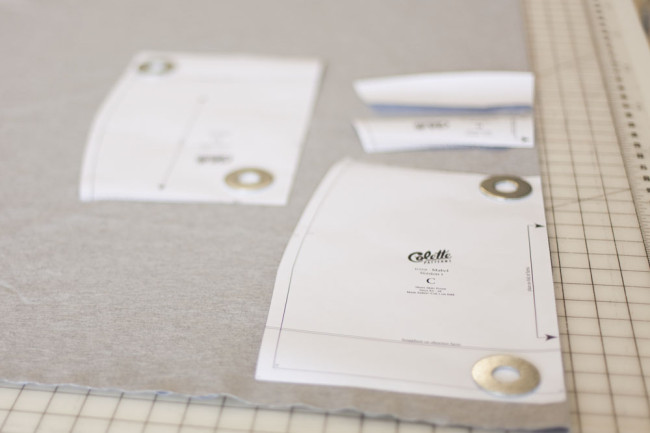
2) Lay the pattern. Lay out the pattern pieces as shown in the cutting layout diagrams. Start by placing the pieces that go along the fold. Then lay out the other pieces, making sure the grainline arrow is parallel to the selvage. (Measure from each end of the arrow to the fold. Position is correct when distances are exactly the same.)
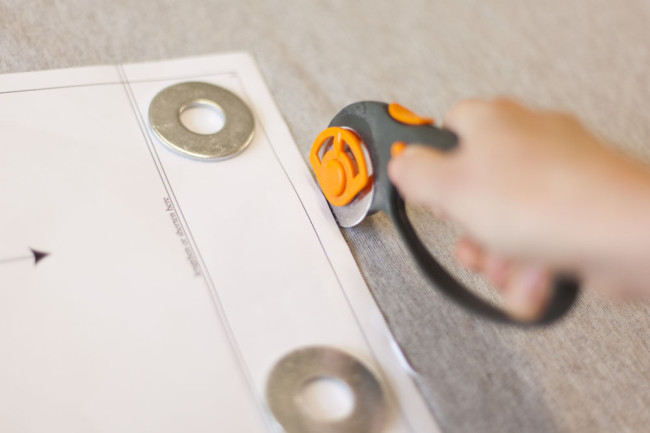
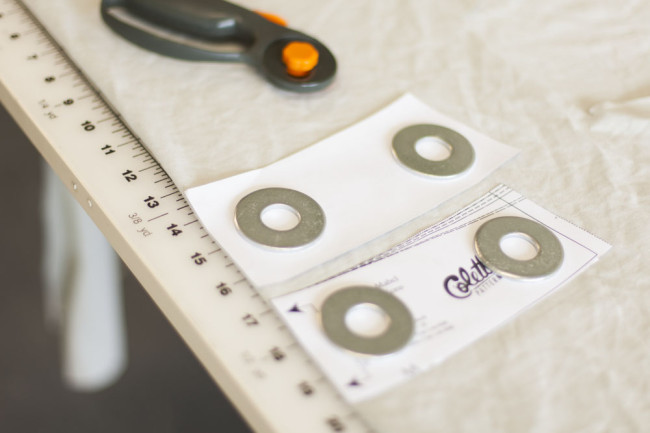
I always use pattern weights to hold the pattern in place. This causes less distorition than pinning your pattern to the fabric.
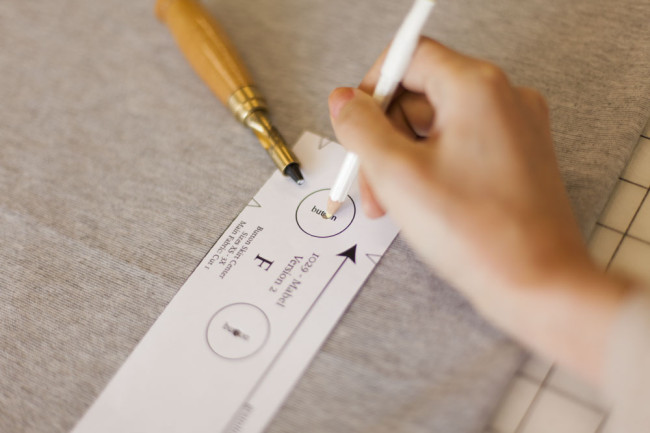
3) Transfer markings. Use your marking pen, pencil, or chalk to transfer the markings (such as circles, buttonholes, and fold lines) to the wrong side of the fabric. Mark the center front of pieces cut on the fold, as this will help you to align pieces accurately.
I like to use a tool called a screw punch to create holes in my pattern, so I can mark internal markings really easily.
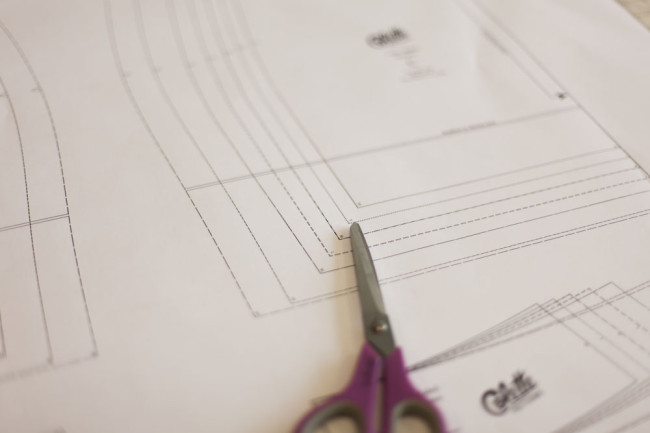
Cutting with fabric shears
If you’ll be cutting your pattern out with shears, use these instructions. For a rotary cutter, see the next section below.
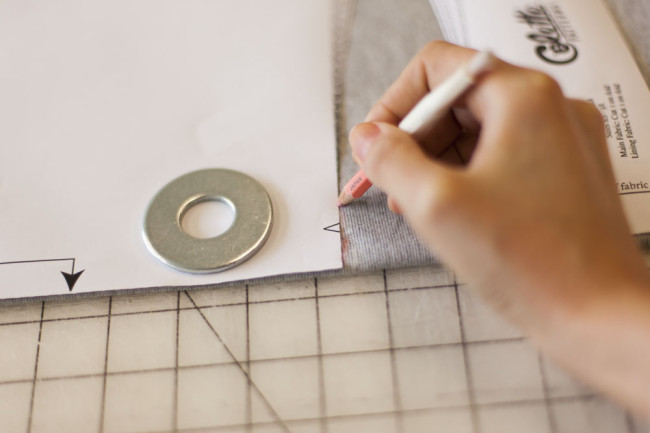
1) Trace outlines. Trace the outlines of your pattern pieces onto the fabric using your marking pen, pencil, or chalk.
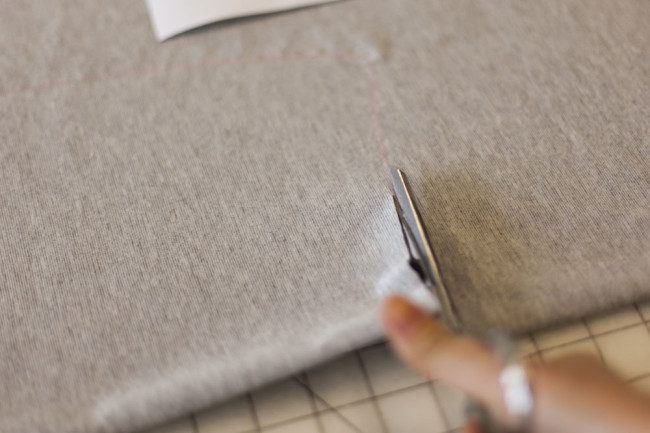
2) Cut pieces. Remove the pattern pieces and cut each piece out of your fabric.
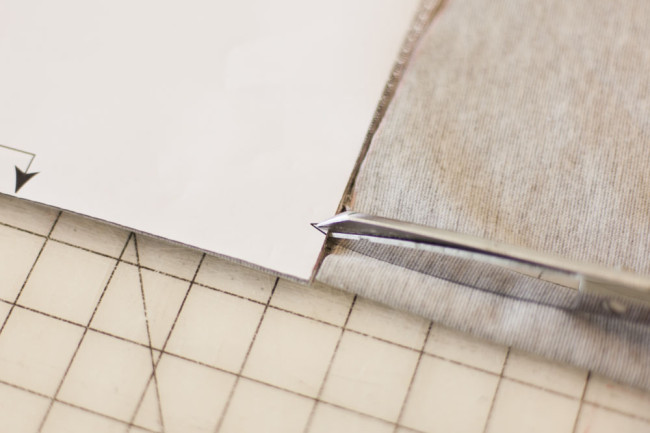
3) Clip notches. Place the pattern back on the fabric. Wherever you see notches in the pattern, clip into the seam allowance. This will help you align the edges of the pieces later. Because this pattern has small 3/8″ seam allowances, be sure to make your notches very shallow.
Cutting with a rotary cutter
To cut with a rotary cutter, you will need a cutter and a self-healing cutting mat.
1) Cut around pieces. Use your rotary cutter to cut around each pattern piece, cutting through both layers of fabric.
2) Clip notches. Place your pattern piece back on the fabric. Wherever you see notches in the pattern, clip into the seam allowance using your fabric shears. This will help you align the edges of the pieces later. Because this pattern has small 3/8″ seam allowances, be sure to make your notches very shallow.
Cut the waistband lining
1) Cut waistband lining. Cut the waistband lining from your lining fabric in the same way.
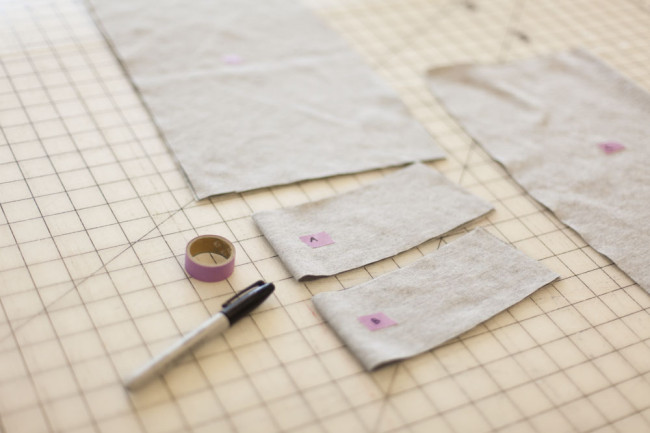
Label pieces
1) Label your pieces. For ease of use, label each pattern piece witht he name or letter of the pattern piece. This will help you differentiate pieces that look alike, such as the front and back waistband.
Now we’re ready to start sewing! Tune in tomorrow as we walk through creating the waistband.
Comments
Hi! I’ve finished my first Mabel and really enjoyed it – such a quick project! Just thought I’d mention – I noticed that in the pattern instructions, page 5 states that the seam allowance is 3/8, but page 7 says that standard 5/8 seam allowances are used. Because you reference the 3/8 seam allowance in your instructions above, this is clearly correct, but the PDF instructions seem to be a bit contradictory.
Thanks!
Thanks for the heads up on the PDF! I’ll get this fixed ASAP.
I’ve got a question on choosing the right size. There’s a big difference between my waist and my hip measurements. According to my waist measurement, I’d be cutting one or two sizes larger than if I was cutting per the hip size. Is it easier to cut per the waist measurement and adjust the hip or cut per the hips and adjust the waist?
I find it easier to cut the waist at your measurement and adjust the hip to fit.
What would you advice for the opposite problem? According to the sizing chart my waist is size 6 and my hip size 12. That makes my waist a S and my hip a L.
Do I make the L and grade down to S in the waist?
Or do I make a M and use the stretch to my advantage?
I’d definitely grade them rather than cut in between, because you don’t want to have the looseness at the waist.
Whether you choose to grade from the waist or the hip size, you will get the same result. All you need to do is trace a curved line between the two sizes, starting with the S at the waist and L at the hips.
Here is a tutorial showing this on the Rooibos. It’s a little different because you need to tape pieces together more on that pattern, but the concepts are the same: /rooibos/grading-rooibos-for-larger-hips
Thank you! That’s very helpfull!
This is my first time making a skirt, so all of this is pretty much new to me. I’m excited to get started over the weekend!
Very excited that this Sew A Long has finally started. Thank you!
I need to lengthen my Mabel a few inches (to knee length, I’m 54 and a teacher, so minis are not an option). Would you suggest adding at the adjustment marking or, since it’s several inches drafting on at the bottom? I’m an enthusiastic knit novice so have no idea how best to make a change. Thank you for sew-along guidance (and keeping serger optional).
For that much length, I’d usually say to just add it to the hem. In the case of Mabel, either way should work fine because there really isn’t much curve at all at or below the adjustment line. The shape will be almost identical, either way you use.
I need to add length because I’m tall (182 cm / 6ft). Does the same advice go for me?
If you’re tall, you may also have more length in the hips. I would split the difference and add length both at the hem/bottom of the skirt, and at the hips.
Thanks! I will give this a try!
I am making version3, I have 2 G’s in my pattern. Can’t figure out any difference between the 2. What am I missing?
Hi Sally, I checked all the pattern pieces and don’t see that issue. Can you tell me, are you using the printed tissue pattern, or a downloadable pattern? If it’s the download, are you printing the version 3 only files, or all versions together?
Ok, we figured it out! It looks like it was an issue with changes our printer made, and some envelopes have two patterns stuffed in them. On the plus side, it means you get an extra set of pieces if anything gets messed up. :)
I had two gs and two hs in my printed tissue pattern.
See my comment to Sally above. :) I’m glad you guys let us know.
I have a largish tummy and sway/narrower back waist and wanted to take the front of the 2xl with the back of the xl. But I found the shapes of the two sizes were very different so I just made the 2xl with no changes to practise. The front is lovely with straight sides but I have to take 4″ out of the back, would it be better to start with xl and make the front larger for my “real”Mabel?
Hi Debbie. Yes, the shapes are a bit different because we draft different blocks for different size ranges, so that we can get closer to people’s body shapes at those sizes (of that makes sense).
If the 2XL fits you in front, I think it would be easier to adjust the 2XL back by removing width from it than going with the XL in this case. As you noted, the curve of the seams is a little different between those two sizes, and I think you’ll get a better result that way.
So I have put 4 darts in the back on the practise skirt, just used the overlocker, and it seems to work as the fabric is a terry sweat shirt. So I’ll keep the darts and adjust the back waistband piece to fit. Thanks!
wondering what you used to line the waist band with. thanks :)
For all of my Mabels (I’ve made 7!), I’ve used a cotton jersey for the waistband lining. You just want it to have enough stretch, but less bulk that your more stable outer fabric (if you’re using a ponte, double knit, etc).
A suggestions for cutting out the pattern. I have sometimes found that knits which have been rolled on a bolt for some time will get a line of discoloration at the fold line. Basically the dye wears off from repeated movement, and/or the fibers can slightly fray.
I find it best to check the center fold. If this is present, just refold. I will fold the selvedges in so they line up with the center fold line, giving me 2 new folds which I know are clean.
Hmm. This may speak to how old some of the fabric is…
Excellent tip! This goes for wovens too!
Greetings!! I am going to sew a size small Mabel for myself. I also would like to make medium for my sister. Is there a way to cut pattern to reserve use of other sizes in future? Thank you
The best thing to do is trace your pattern onto other paper instead of cutting. Then you don’t have to worry about it, and you can make any adjustments you like without worry about ruining the pattern.
I use regular bond/plotter paper, which you can get a paper supply or art supply store.
Knits are wonderfully forgiving, but I thought I’d mention something just for the record. This is regarding laying your knit fabric out for cutting. Apparently some knits are manufactured in a giant tube, and then cut open. Thinking this through, you will realize that the “selvedge” in this case is actually just a cut edge and likely not on grain. My personal experience verifies this- you can end up with a garment that wants to twist if you line yourself up on crooked “selvedges”. To avoid this problem, focus on the fold, not the cut edges. Fold your fabric carefully lengthwise along a rib of knit stitches (the cut edges will not be exactly together, but it doesn’t matter). Then measure your pattern piece grain lines to be parallel to the fold of the fabric, rather than parallel to the cut edges. Your garment will be on grain. :) This information can be found in more detail in the book, “Sewing with Knits” by Connie Long.