

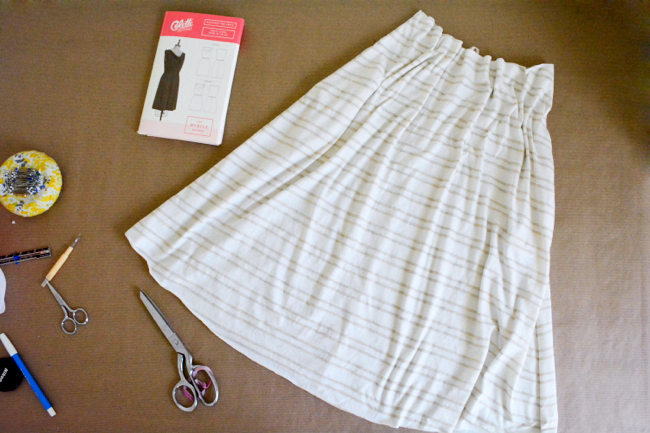
In this post we’ll be putting together the skirt and attaching it to the bodice.
Since the skirt has pockets, I’ll be using my standard machine for most of the skirt sewing. This means I finished the raw edges of the skirt side seams and all pocket edges before I started assembling. If you want to skip the pockets, you can just sew straight down the side seam edges and do any seam finishing after the fact (or just serge them together).
Assemble Skirt
1) Sew back skirt. Pin back skirt pieces together at center back, right sides together, aligning notches. Stitch.
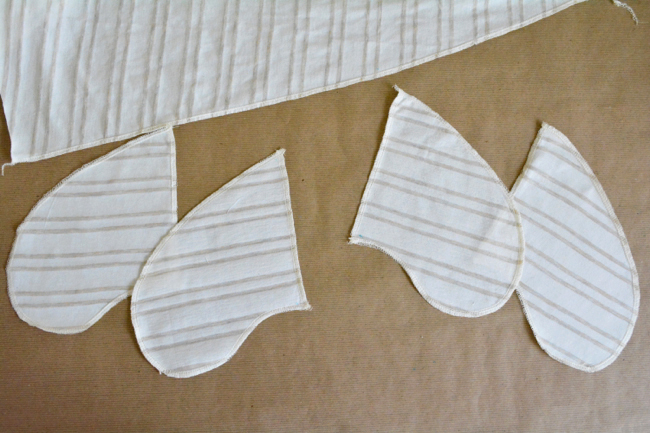
2) Attach pocket. Pin a pocket to the side seam edge of a skirt back, right sides together, aligning notch and small circles.
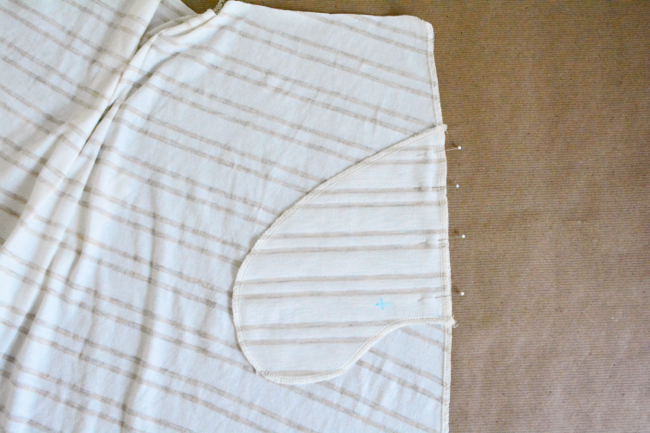
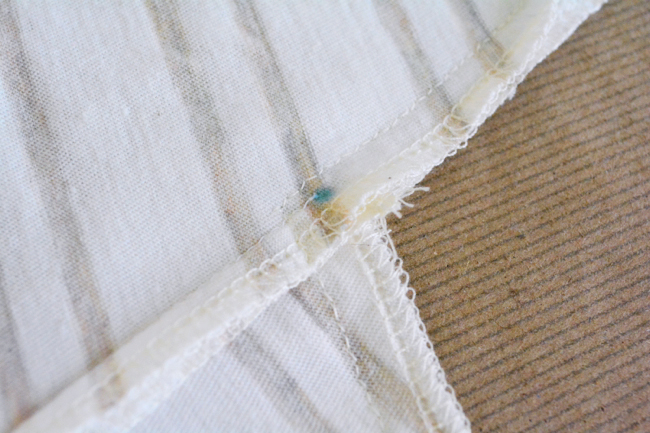
Attach pocket to skirt by sewing between small circles with a scant 3/8” seam allowance.
3) Repeat for other back skirt side seam edge.
4) Attach pockets to the front skirt in the same way.
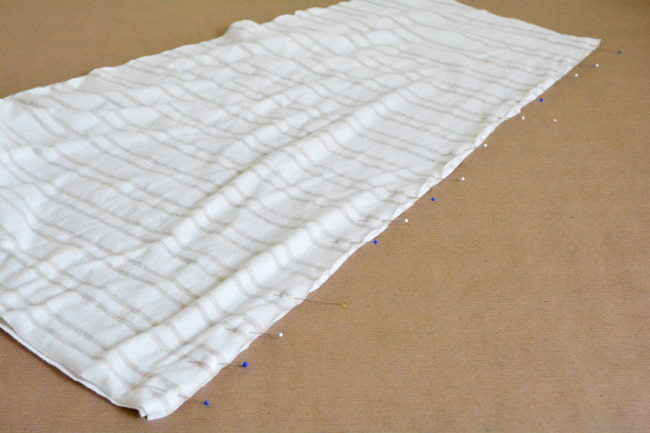
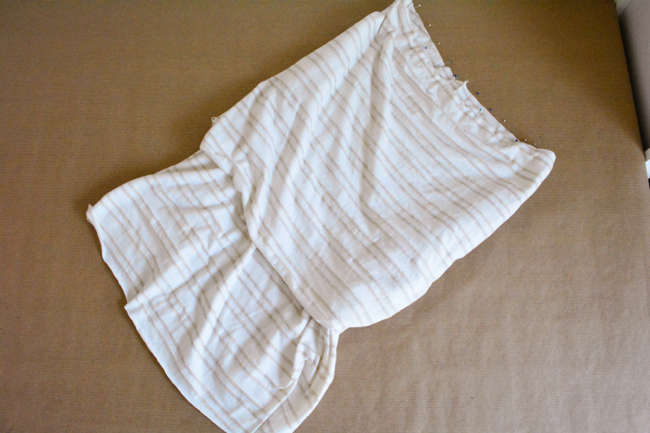
5) Pin skirts together. Fold pockets out and away from the skirt. Place skirt front and back right sides together along one side seam, aligning raw edges and pockets. Pin.
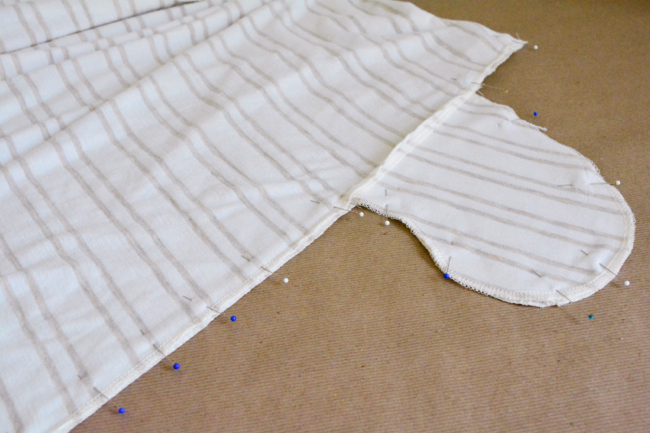
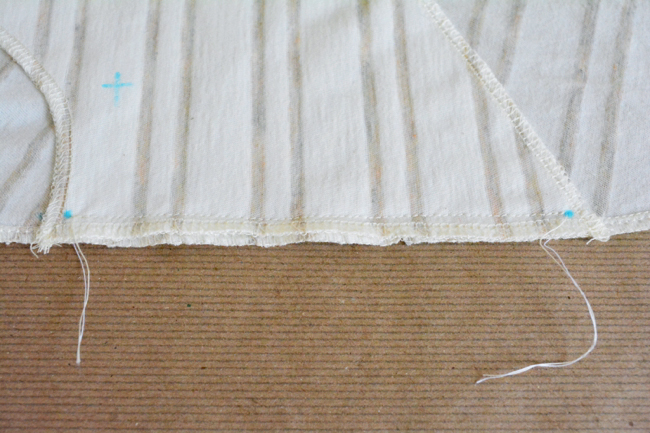
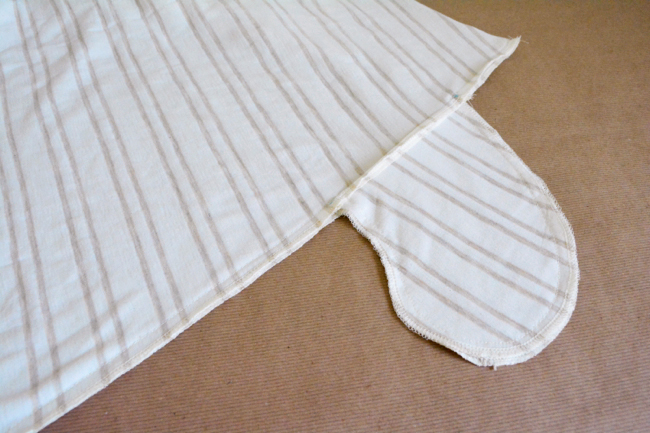
6) Sew skirt together. Starting from the top edge, stitch side seam together, pivoting at the top of the pocket to go around the curve of the pocket, and again at the bottom of the pocket to continue on down to the hem edge.
Make sure that your stitching line around the pockets lands to the inside of the small circles.
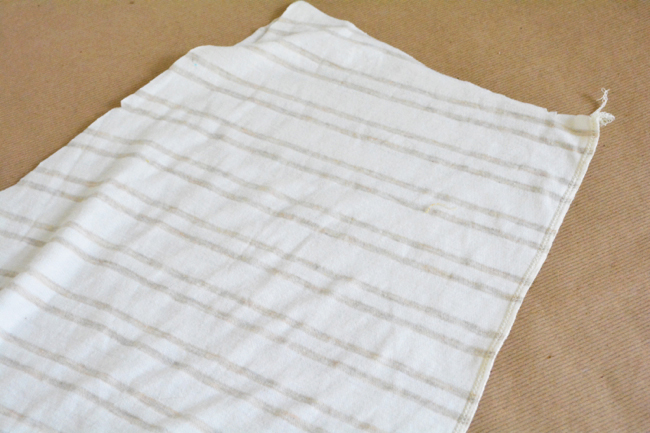
7) Repeat for other side seam. Turn skirt right side out.
Attach skirt to bodice
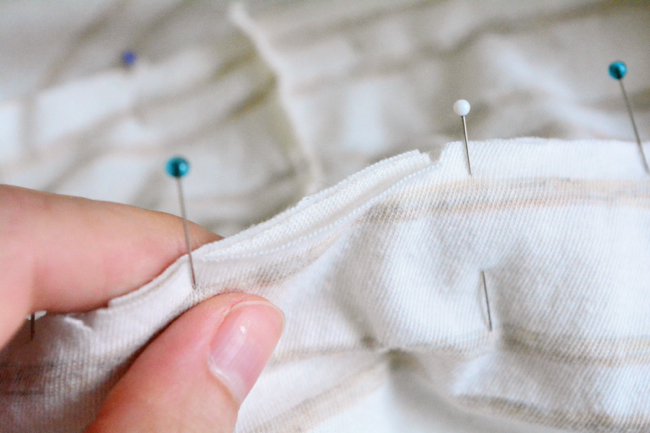
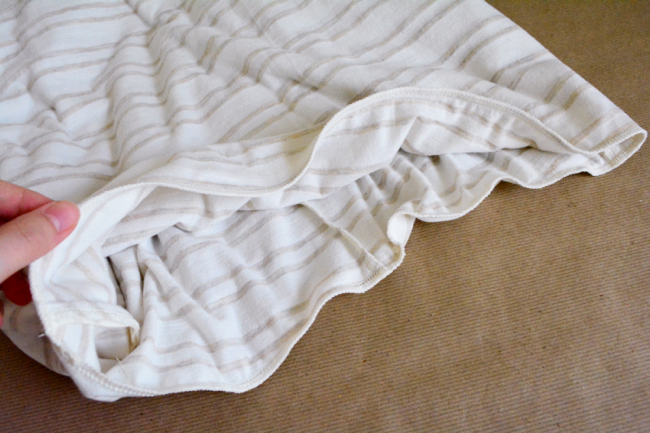
1) Pin skirt and bodice together. Turn bodice wrong side out. This means that you should be seeing the right side of the lining on the bodice front, and the wrong side of the bodice back. Stuff skirt inside bodice, matching up all the raw edges around the waistline, so that right side of bodice shell and skirt are together. Align all notches and side seams and pin.
For the front half, the bodice shell will be sandwiched in between the lining and skirt.
2) Attach skirt. Stitch bodice to skirt.
Wovens
All steps are the same for wovens. Just make sure you’re using the appropriate stitches and seam finishes and pressing after each seam.
We are stopping there for today! I know it feels like we are right in the middle of a section in the pattern instructions, but the next post will be all about the elastic waist so we’ll hold off until then.
Comments
I found that when I tried to overlock a single layer of fabric I stretched the pieces out of shape. As knits don’t fray do you think there is a need to finish the skirt pieces before sewing them together? I opted not to and used my sewing machine to construct the skirt and avoided the overlocker all together!
If it’s giving you trouble you can definitely skip it! If you’d like to experiment for the future, try turning your differential to a higher number.
As I was just sewing now I realized I should have told you to turn your differential DOWN! Sorry bout that, my mistake!
Hi Devon, Me again :/ Is there any reason why we couldn’t line up the skirt back pattern piece on the fold line? I realize it would add 6/8″(the included seam allowances), but I am adding width to the skirt anyway.
No, you could do that! If you wanted to keep it the same size, just fold back 3/8″ along the center back [the seam allowance] and cut it along the fold.
Devon, I love that you matched your stripes!
I couldn’t bear it if I didn’t! :]
I totally stuffed this step and attached the lining to the back of the skirt and the front to the front of the skirt. I couldn’t get into it as I had blocked off the waist!! I had to cut off the overlocked seam and start again. Next time I will baste the lining to the front before attaching the skirt.
Oh no! I think your plan for next time is a pretty foolproof solution.