

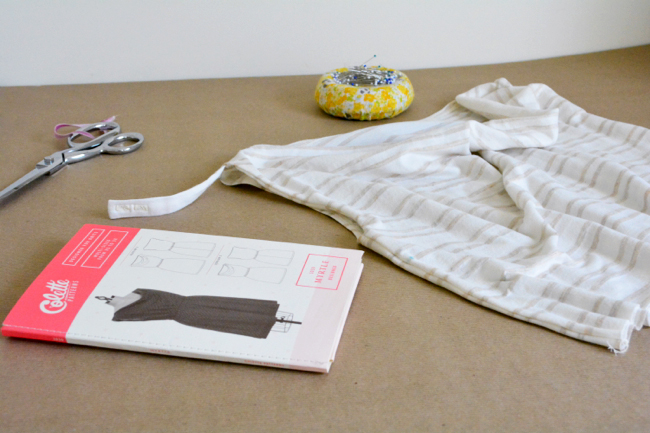
Now it’s time to get to it, so let’s fire up those sewing machines! We’ll be starting things out by hemming our back bodice (V1 & 2) and creating our shoulder tabs (V2).
Before we dive in, let’s cover a little bit of buttonhole basics.
Buttonhole basics
Buttonholes seem to be one of the most feared obstacles in the path to intermediate sewing, but they’re really not that bad, I promise! The Myrtle buttonholes are even less pressure because you do them right away in the beginning, so if things go awry you can just start over with a new shoulder tab.
Here are a few tips to make your buttonhole experience go well:
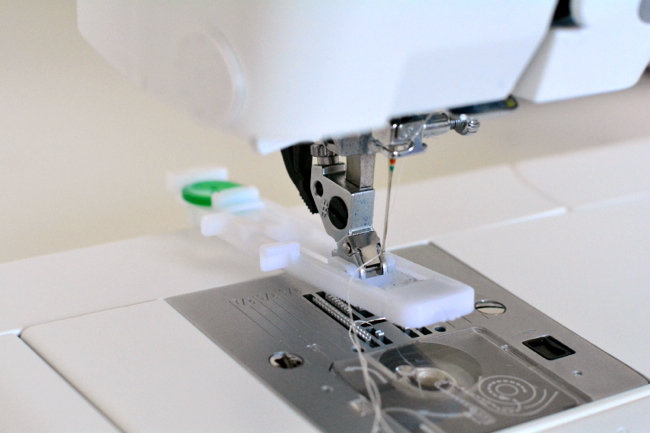
Set up properly. Your machine’s owners manual is your best friend when setting up for a buttonhole. There are lots of different types of buttonholes out there, but usually there is a specific buttonhole foot to put on. Mine is a one step buttonhole, and it attaches so that the bulk is sticking out the back. There is a slideable compartment to put the button, which determines the buttonhole size.
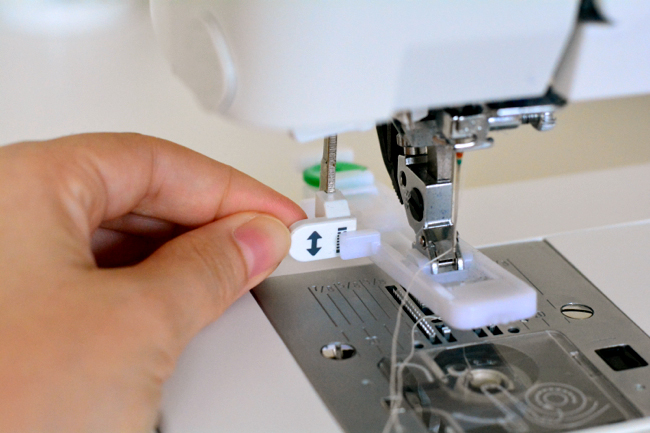
There is also a lever to pull down just to the left of the needle that tells the machine when to turn around at the end of the buttonhole.
For a multi step buttonhole, each component of your buttonhole will be a separate stitch that you will select. They are usually labeled A, B, C, D or something to that effect. You will be the one determining how long the button is by deciding when to turn around.
If your machine is computerized, go with the default settings when you select the buttonhole stitch. If your machine is mechanical, often times there is shading or little buttonhole icons on the length and width settings to help you set them. Also, again, refer to your owners manual.
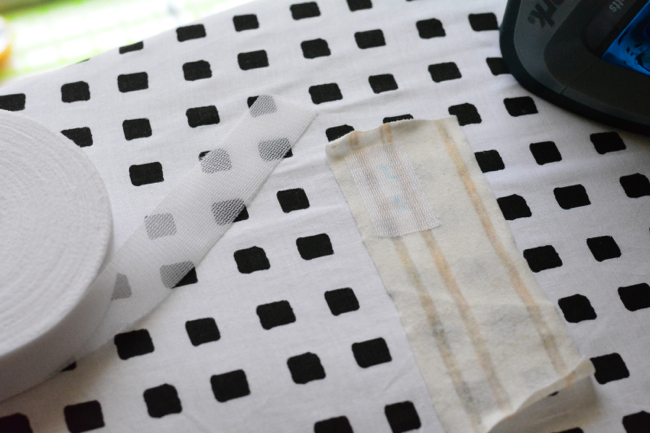
Interface. Buttonholes don’t do well when the fabric is too thin, so your fabric is lightweight try using some fusible interfacing on the shoulder tab. I used knit interfacing because it’s more lightweight than woven interfacing.
Practice! Always do at least one practice buttonhole before you go for it on your project. Make sure you are practicing on the same situation as your project – in this case, two layers of fabric with a layer of interfacing in between [if applicable].
Sew the shoulder tabs (V2)
1) Interface. Fuse interfacing to wrong side of fabric under buttonhole marks.
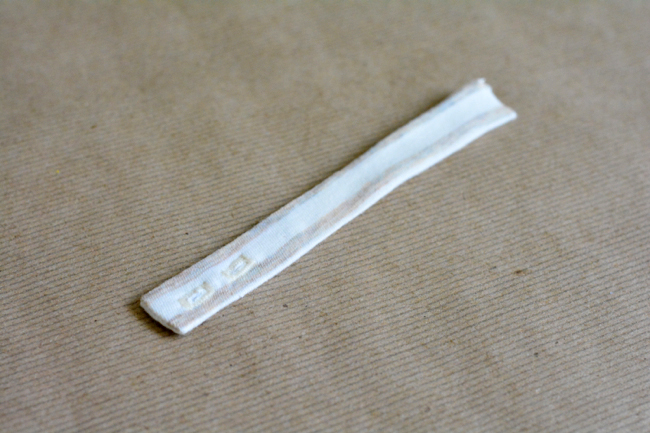
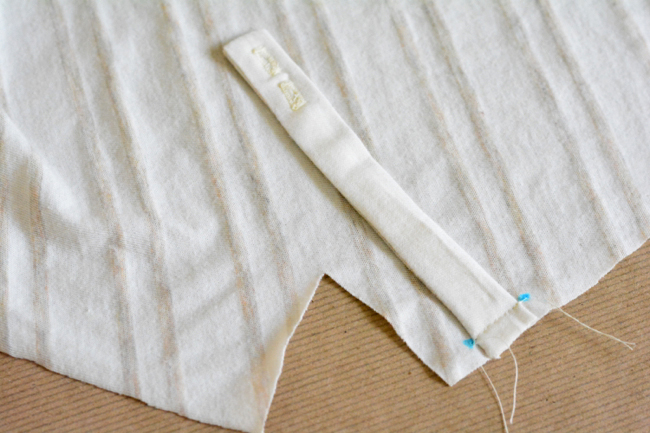
2) Pin and stitch. Fold one shoulder tab right sides together and pin. Stitch together along the long edge and the short edge closest to buttonhole marks.

3) Turn and press. Clip corners and turn tab right side out.
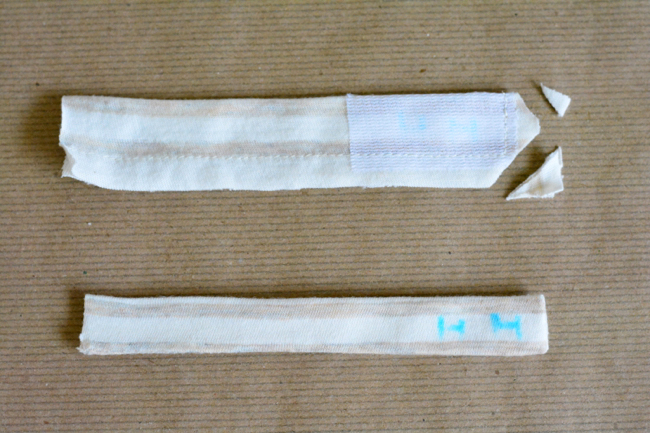
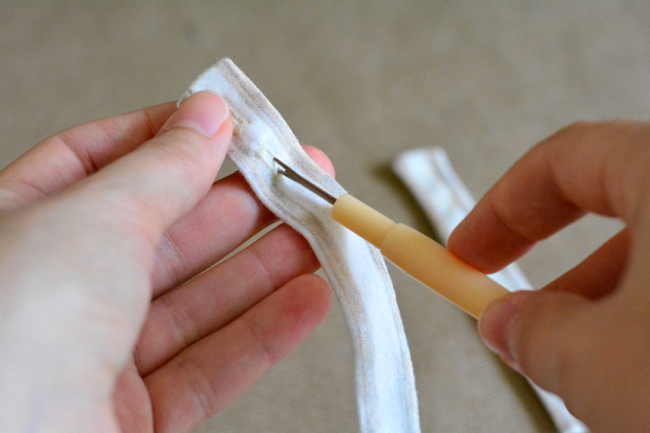
4) Create buttonholes. Make two buttonholes on the placement marks. Using a seam ripper, slice through the fabric in the center of the buttonhole from each end to middle. Be careful not to cut the thread.
5) Repeat to make second shoulder tab.
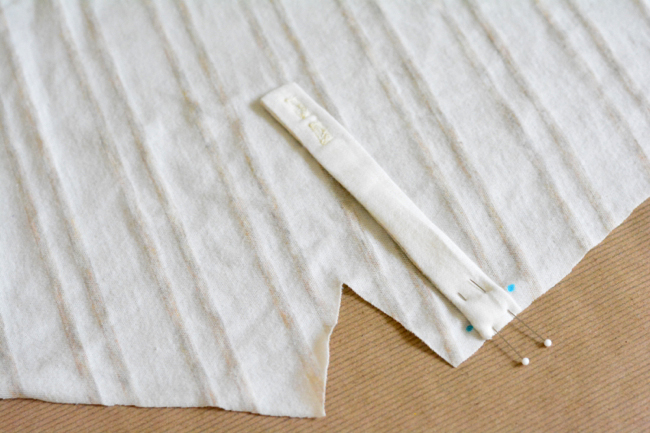
6) Pin shoulder tab. Pin one shoulder tab to right side of bodice front between small circles, aligning raw edges, right sides together.
7) Attach shoulder tab. Stitch tab to bodice between small circles.
8) Repeat with other shoulder tab and shoulder seam.
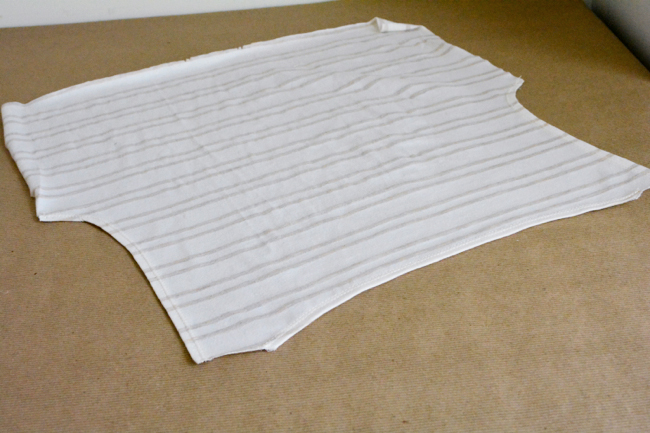
Hem Back Bodice (all views)
1) Prep hem. Finish the back neckline edge of the back bodice. Fold 3/8” to the wrong side, pin and press. (My fabric is lightweight so I also used a narrow strip of knit interfacing along the hem as a stabilizer.)
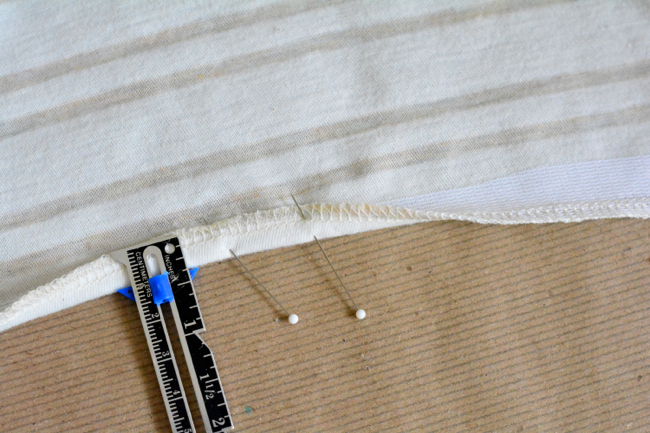
2) Sew hem. Hem with a twin needle or hemming method of your choice. Here is a post on the Coletterie about using a twin needle.
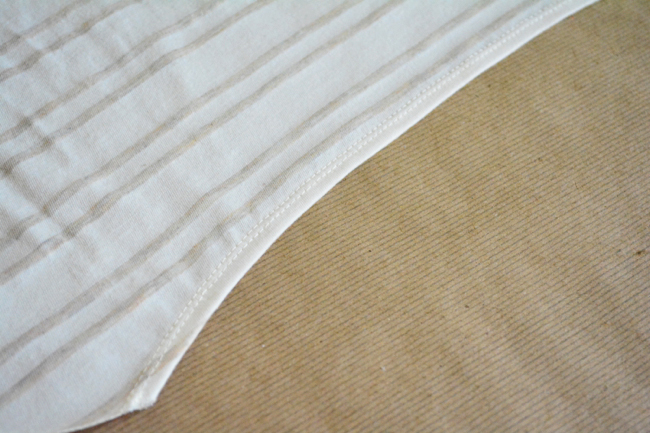
3) Repeat hemming process with both armhole edges of back bodice.
WOVENS
If you are using a woven, the shoulder tab process is the same. After the tabs are constructed, topstitch around the edges to help keep them flat and to add more durability.
Instead of hemming the back bodice edges, you will use 1/4″ double fold bias tape to finish the edges. Woven fabric will not stretch around the curves in the same way knits will, so they must be finished with a bias tape facing. Here is a post on the Coletterie with detailed pictures for that process, and remember to download the woven instructions from the pattern store.
That will be it for today! I’ll see you back here on Wednesday to finish constructing the bodice.
Comments
Is it recommended to serge the raw edge of a knit when hemming? (If so, I haven’t been. Oops!)
It’s not usually absolutely necessary, since most knits don’t fray. It just helps your project look a little more finished and polished.
There are some knits that can unravel, like more loosely knitted sweater knits, so in that case you would want finish the edge.
If your fabric isn’t fraying you can totally skip it if you want!
Is the purpose of the two button holes (vs. one) to allow for adjustment of the tab? On RTW, I only use the button hole that is closest to the end of the tab. I’m going to only make one button hole per tab … unless that second hole/inside hole is needed for something other than adjustment. :)
Nope, you can just do one!
I LOVE this pattern! I have cheated and sewn ahead, way ahead. This pattern is so great and it fits perfectly with no adjustment (except skirt length since I prefer mid calf length) I’ve sewn 4 (four!) versions already. The first wasn’t successful, through no fault of the pattern, I should not have tried knit fabric for the first time AND stripe matching in a test run. But I’ve gotten may complements on the other versions every time I wear one. I’ll be trying the Juniper pants next.
Hooray! It’s always nice when we find those repeat patterns we can make over and over. Here’s to making 4 more!
Hi Devon – When I sew the neck/armhole hems, I’m getting a ridge between the two rows of stitching on the right side of the fabric. I’ve adjusted the tension in varying degrees from normal to almost nothing and that doesn’t solve the problem. I’ve also tried wooly nylon in the bobbin, which makes the hem more stretchy, but does not eliminate the ridge. I then tried the fusible stabilizer which actually makes the ridge more pronounced. What’s the magic trick to getting a hem without the ridge? :)
Try making sure that when you thread the two threads through the tension discs, one thread goes to either side of the little metal plate between the discs. On my machine that makes a big difference!
Here’s what else I usually do:
-Put upper tension down 1 number
-Lengthen stitch length slightly (like to 3.0)
-Gently crowd the fabric into the feed as it goes through. This basically means to push the fabric just a little faster than it’s moving so that it isn’t stretching at all as it goes through.
Lastly, I’ve found that narrow twin needles work better on thinner fabric, and wider ones work better on thicker fabric. Maybe as an experience try your twin needle with a different thickness of fabric and see if it’s different?
I’m getting the same problem with the raised channel. I don’t particularly like the appearance I’m getting on the hem.
Is the use of the twin needle functional, or decorative? Would using a single needle and the stretch stitch setting on my machine result in a hem that works and doesn’t unravel/’pop’?
It’s functional in that it stretches, and decorative in that it mimics the coverstitched look that we’re all used to seeing on knits. You can use any stretch stitch and single needle to hem. I personally have found that the narrow zig zag has a tendency to pop more often in a hem because hems are sometimes stretched a lot when putting on/taking off clothes. So other options would be a wider zig zag, a reinforced straight stitch, or a honeycomb stitch (picture here: http://www.singerco.com/sfImageCachePlugin/cached_images/stitch-238_honeycomb.gif)
Thanks, Devon. Think I need to experiment on some fabric scraps!
Hi Devon,
I have zero experience with knits, so I decided to go for a woven for my first Myrtle. So I bought some nice light satin aaand… it turns out to be a bit stretchy in one direction. I’ve experimented a bit and it goes perfectly fine when I sew with a narrow zigzag stitch. But now I have no idea how I should finish the neckline and armholes. It hardly frays, so could I just zigzag the edge and hem like the knit version? My machine doesn’t support twin needles, though. But I’m not sure about bias tape either – I can hardly sew on bias tape with a zigzag stitch, right? What do you think?
Bias tape would be the best option, and you don’t need to zig zag, just use a regular straight stitch. Even though the fabric is a little stretchy, the bias tape will look much nicer than turning and hemming, especially once you wash it. I think the bias tape will be easier too, rather than trying to fold under a tiny slippery little edge, especially at the bottom of the underarms where it’s much more curved.
Thanks for the advice! You’re probably right about the tiny slippery edges, I’m impatient enough as it is ;) I bought some bias tape, will try it this weekend :)
I had to modify the shoulders so that they were narrower. Although I really like the way the bodice “hides” all of the edges, it makes alterations challenging since you have to go inside the bodice, then work with a sandwich of seams — for me, this almost makes my head hurt. Nevertheless, I did it, learn a few things and like the result so far. Thanks.
After much experimenting, I find that pinking shears followed by use of the twin needle gives a good, neat hem. Finishing the raw edge with stitches added bulk and made the row of twin stitches into a ridge, which pressing didn’t solve. Now I am quite pleased with the appearance of the hems.
Hi, I am way behind and just started the buttonholes on the shoulder tabs. either I cant do them right or my machine sucks! I’ve practiced a ton on scrap fabric but the stitching is either too loose, too tight and eats the fabric. I’ve had to take the bobbin out several times because the knit fabric gets stuck in the needle hole :(
Should I use a different thread in the bobbin? Can I buy a better foot? Is it the plate? Help!
Did you interface the fabric?
Try using a woven interfacing instead of a knit interfacing to add more stability. You could also try changing your needle if you haven’t in a while, a dull needle makes problems. Try rewinding a new bobbin and double checking that everything is threaded properly.
Worse comes to worse, you can always forgo the buttonhole and just hand tack the shoulder tabs in place inside the dress.