

Today we’ll be attaching the lining to our bodice, sewing the side seams, constructing the skirt, and attaching our bodices to our skirts.
Originally this post was planned to cover Versions 1 and 2 together, but that was quite a bit of information, so we’ve decided to do split them up. This post details Version 2; you can find the “Attaching Bodice Lining and Skirt” for Version 1 here.
Remember, all seam allowances are 5/8″ unless otherwise noted.
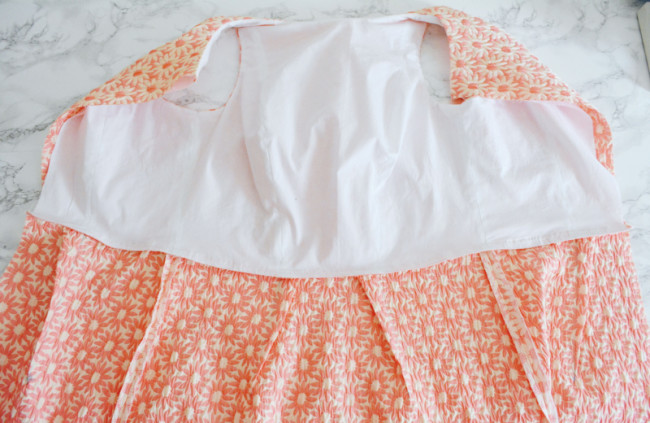
Attach lining
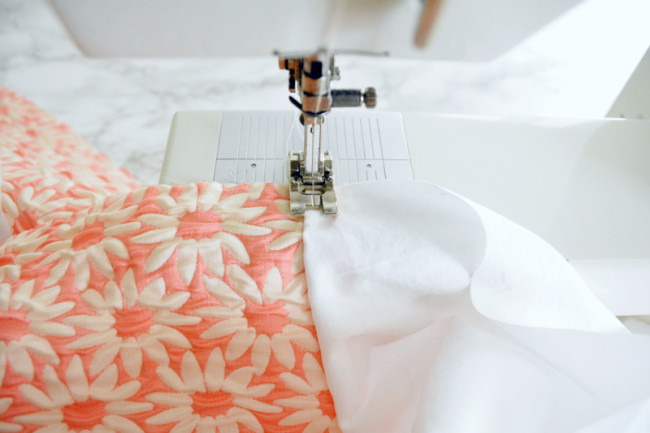
1) Pin and sew lining. Place bodice and lining right sides together, at neckline, aligning shoulder seams. Pin.

Starting at the center back, stitch around entire neckline. Make sure shoulder seams stay pressed open.
2) Grade and clip neckline seam. Trim the seam allowance of the lining only in half. This will reduce the bulk of the seam and prevent a ridge from forming on the outside of the garment.
Clip the seam allowance of the neckline curve, just as you did in the princess seams.
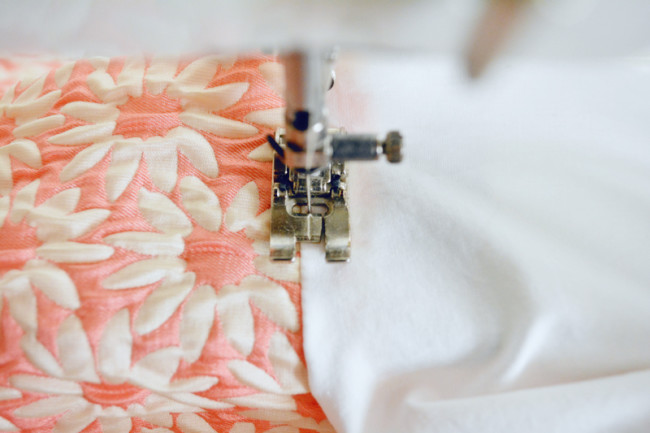
3) Understitch lining. Understitching is a very helpful technique that helps linings and facings roll to the inside of a garment. It is essentially a line of stitching that attaches the lining to the seam allowances under it. It is not visible from the outside of the finished garment.
To understitch, flip the lining away from the exterior. We’ll be stitching about 1/8″ away from the neckline seam, in the lining fabric.
Be sure that both the exterior and lining seam allowances are under the lining fabric.
Starting at center back, sew with a regular straight stitch, following the curve of the neckline and constantly spreading the fabric so that you can almost see the thread of the neckline seam stitching.
Depending on how your presser foot looks, you may find it helpful to align the neckline seam with a landmark on your presser foot, and then move your needle position to be in the correct place.
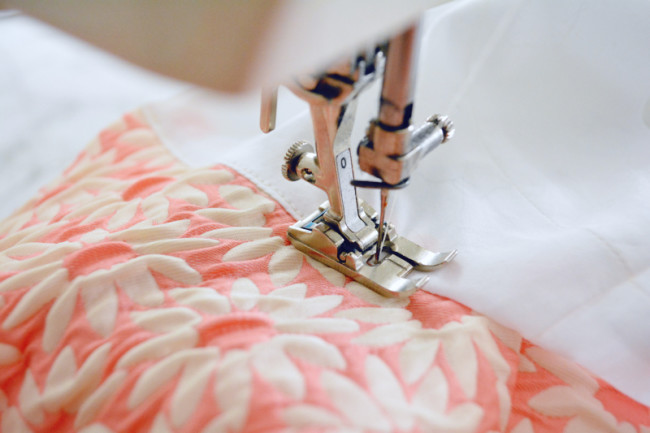
Continue around the entire neckline to the other side at center back, spreading the fabric apart as you go.
Here is what your understitching should look like.
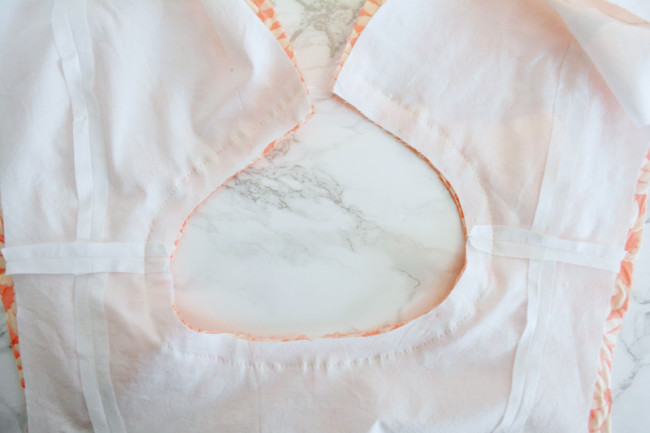
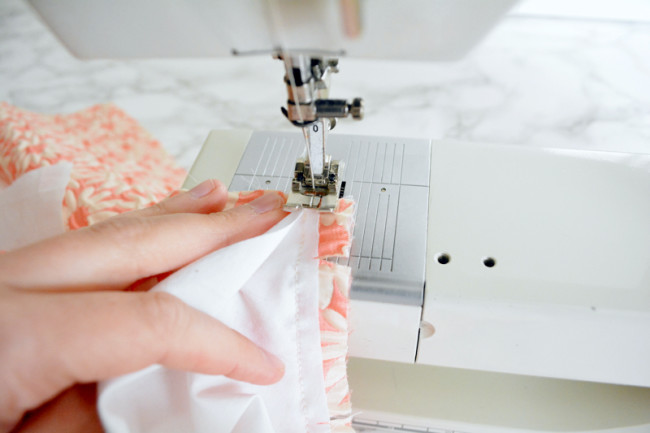
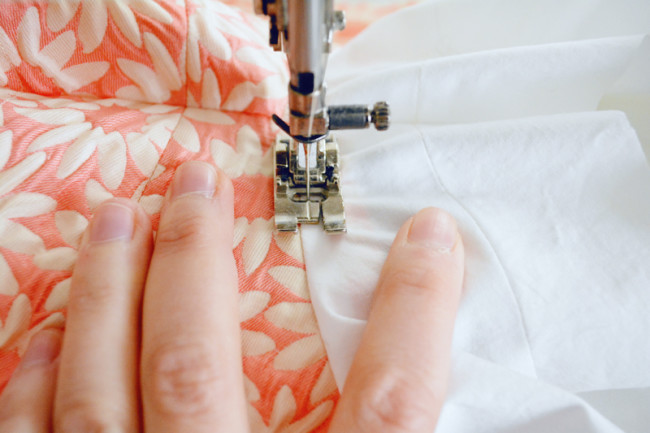
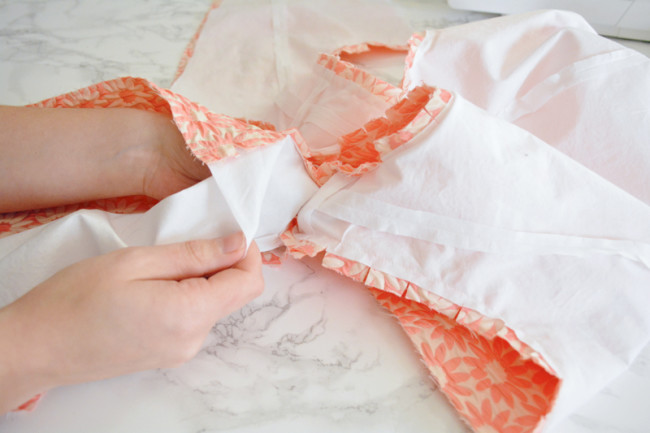
4) Pin and sew armhole. Place lining and exterior right sides together again. Bring armhole edge of lining to meet exterior armhole edge and pin. Because of the understitching, you may need to ‘encourage’ the lining fabric a little bit.
Stitch armhole edges together. Because we trimmed the lining, that edge is now slightly longer. Sewing with the lining side down will help ease the excess fabric into the seam.
Grade and clip seam as you did the neckline.
5) Repeat. Repeat step 4 with the other armhole.
Turn bodice and sew side seams
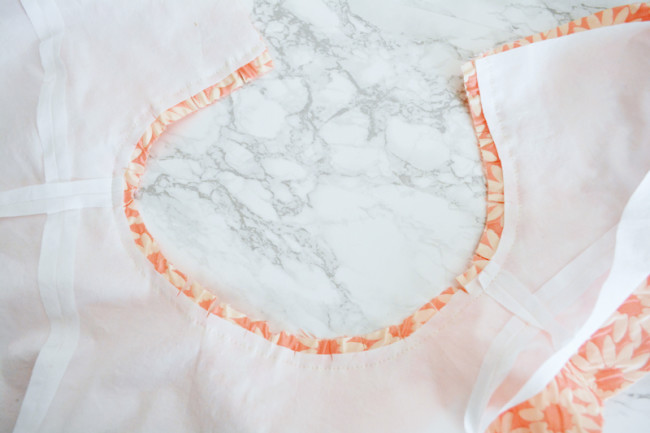
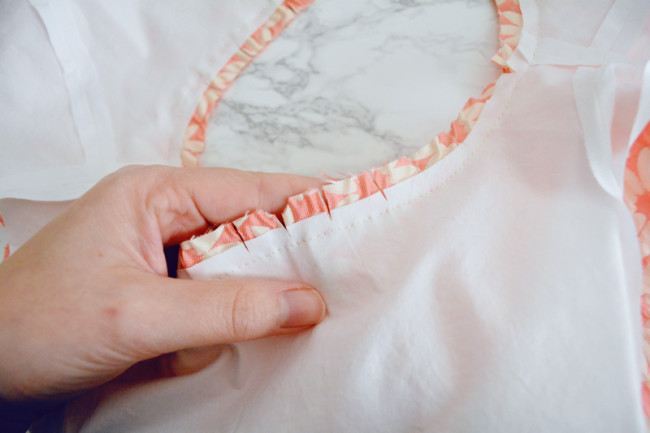
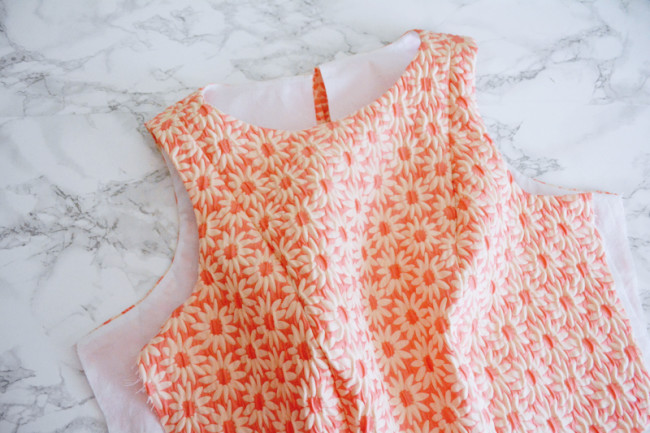
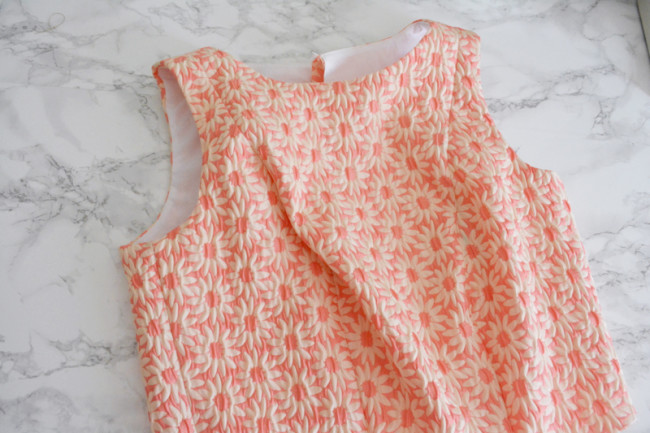
1) Turn bodice. Reach through the shoulder area and begin turning bodice.
It might feel like a tight squeeze, but keep going.

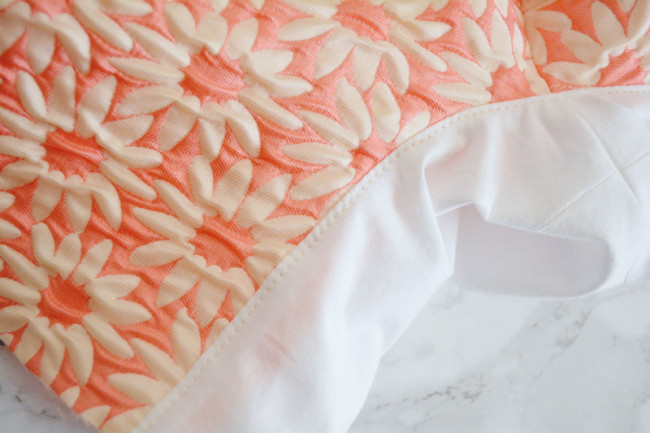
Once the whole thing is right side out, give the neckline and armhole a good press, allowing the lining to roll a little bit to the inside.
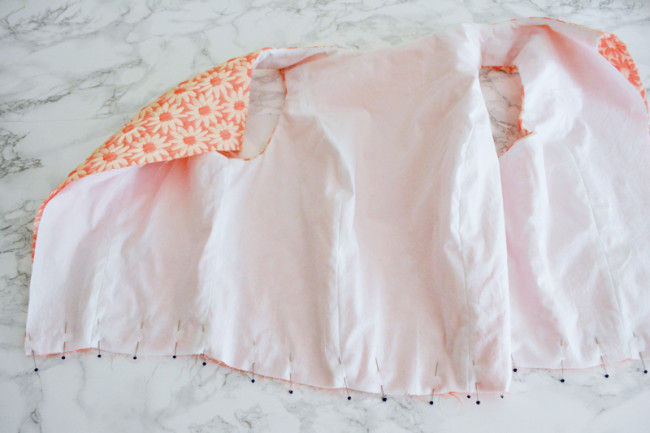
2) Pin side seam. Grab front and back lining at side seam and hold right sides together.
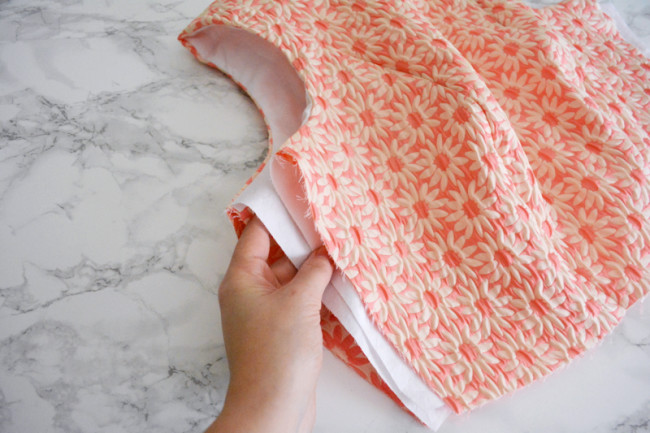
Align the front and back underarm seams and pin.
Flip the exteriors to also be right sides together. Pin entire side seam edge out from center pin.
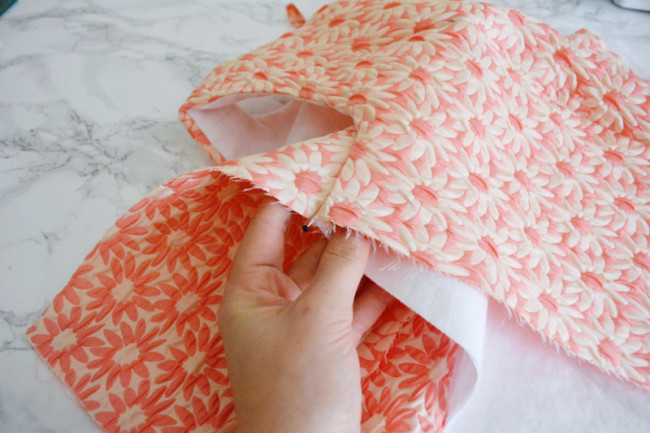
3) Sew and grade side seam. Sew side seam. Trim lining seam allowance in half to just past underarm seam.
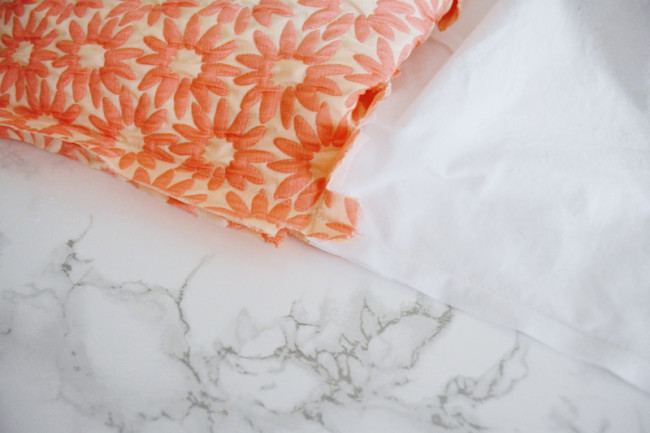
Press seam open. Bring lining and exterior wrong sides together.
4) Repeat. Repeat steps 2 and 3 with other side seam.
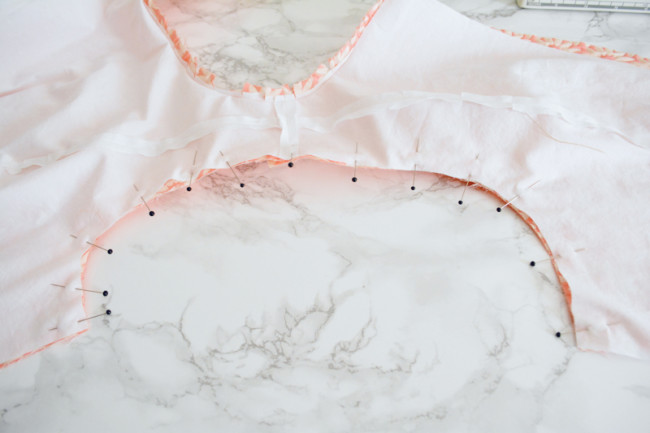
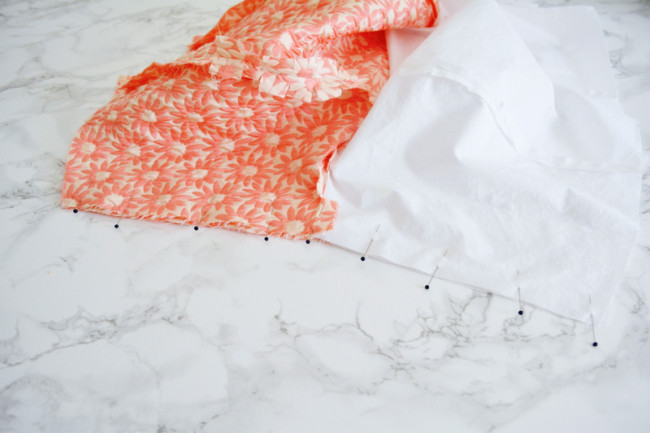
5) Baste waist. Line up the raw edges of the lining and exterior waist edges. Pin.
Lengthen your stitch length all the way (this is a basting stitch) and sew along waist edge at 3/8″.
Sew skirt
Your skirt darts should already be sewn since we covered them in the previous post. If not, refer to the instructions there and sew your skirt darts.
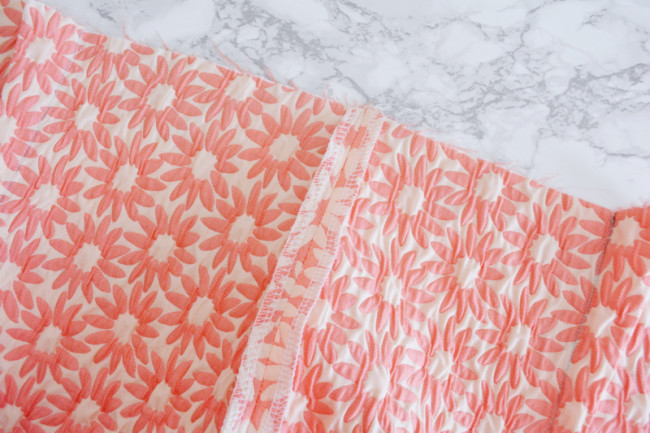
1) Pin, sew and finish skirt side seams. Pin the skirt backs to the skirt front at the side seams, right sides together.
Sew both side seams. Finish by serging or zigzagging the raw edges separately and pressing open. Alternatively, use a Hong Kong finish. Check out this tutorial on the Colette blog to learn how.
attach bodice to skirt
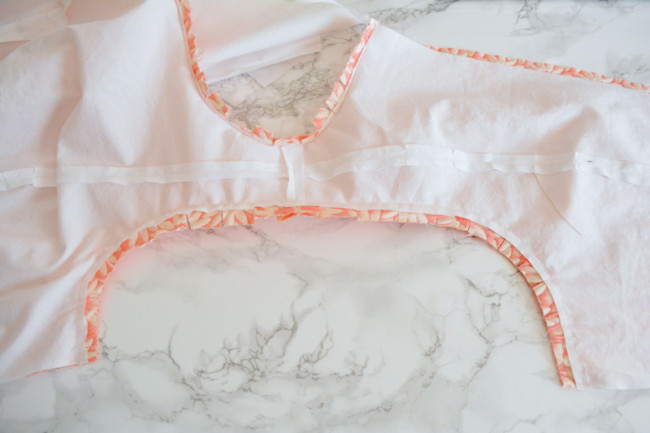
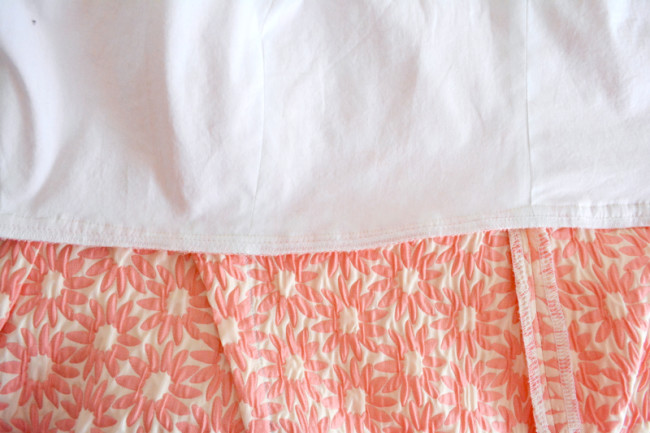
1) Pin bodice. Pin the basted waist edge of bodice to the skirt waist edge, exterior fabrics together, aligning and pinning all landmarks – princess seams/darts, center front, and side seams. Then, fill in the space between with more pins.

2) Sew waist seam. Stitch entire waist seam, going nice and slow and leaving your landmark pins in as long as possible to prevent fabric drift. Press seam down towards skirt and finish with either a serger or zig zag stitch or a Hong Kong finish.
We’re getting close! Comment below with questions, and we’ll be back next Tuesday for more.
Comments
I am loving this sewalong. So many great techniques being taught with wonderful detail. Thank-you.
Can I ask where you bought this floral fabric from? It’s beautiful.
So glad you’re enjoying it! The floral fabric is actually from a local shop in Nashville called Textile Fabrics. They don’t sell fabrics online but it you give them a call they might be able to help you over the phone!
Since there is a lining, does there need to be any seam finishes for the bodice? I may be overthinking it on the raw edges since they’ll be enclosed.
Nope, no need to finish the raw edges of the bodice seams as they will be totally sealed in!
Thanks Devon! That’s what I ended up doing. I’m working on the skirt now but finding my skirt darts don’t line up with my bodice as I added width to the center front from the FBA. Oh well.. It’ll be a wearable muslin. :)