

One of the most common pattern adjustments to do is a bust adjustment. An ill-fitting bust is often the result of the discrepancy between the pattern’s cup size and your cup size.

In patternmaking, cup size is determined by the difference between the high bust and full bust measurements. Your high bust measurement is across the flat part of your chest and under your armpits; full bust is across the fullest point. Your pattern cup size may or may not correlate with your bra cup size. A difference of 1” is an A cup, 2” is a B cup, and so on.
Colette Patterns sizes 18-26 are drafted for a DD cup, meaning they assume a 5” difference between your high bust and low bust. If you are more than an inch above or below this difference, you may benefit from doing a bust adjustment.
This post details both a full bust adjustment (FBA) and small bust adjustment (SBA) for sizes 18-26. Sizes 0-16 do not have a bust dart, so they have a separate post you can find here.
Do I need an adjustment?

Try on your muslin and examine the bust. If you see diagonal strain lines pointing at your bust apex, you probably need a FBA. Another symptom is that there is gaping in the armhole.
If you have baggy/gaping/droopy fabric across the bust, you probably need a SBA.
Determine adjustment amount
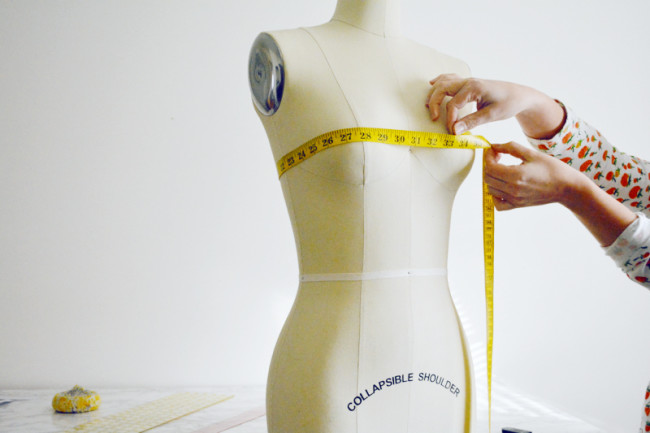
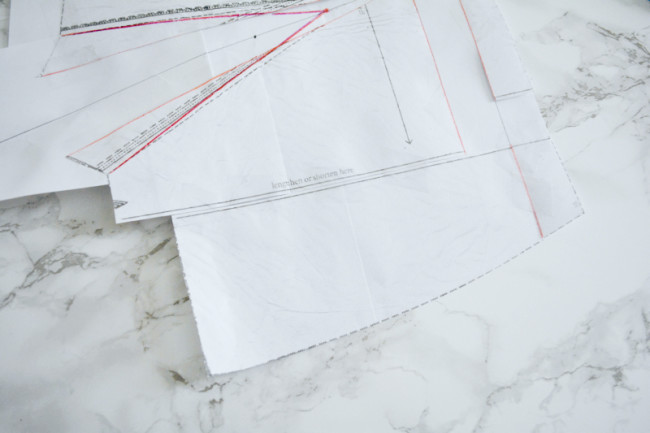
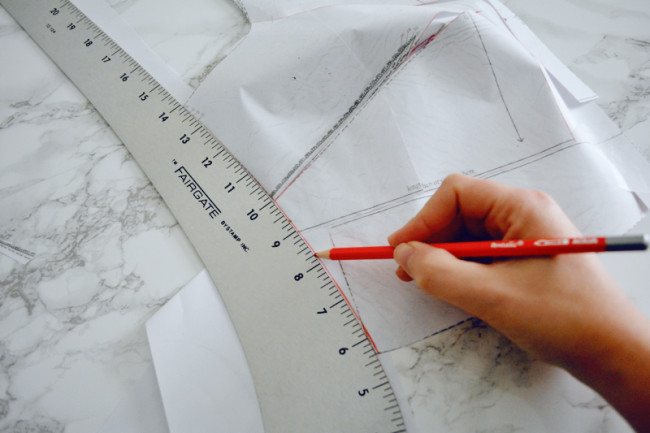
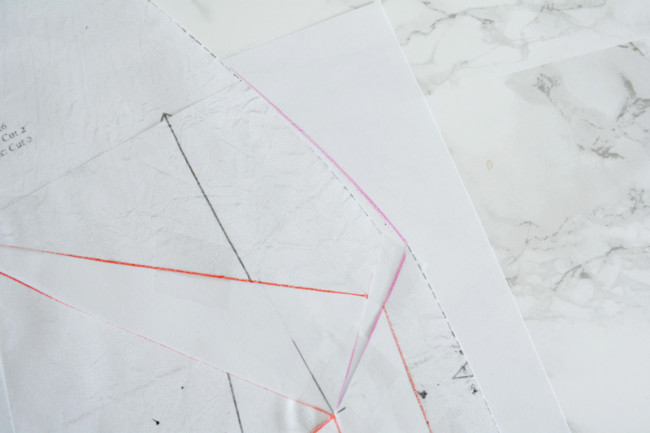
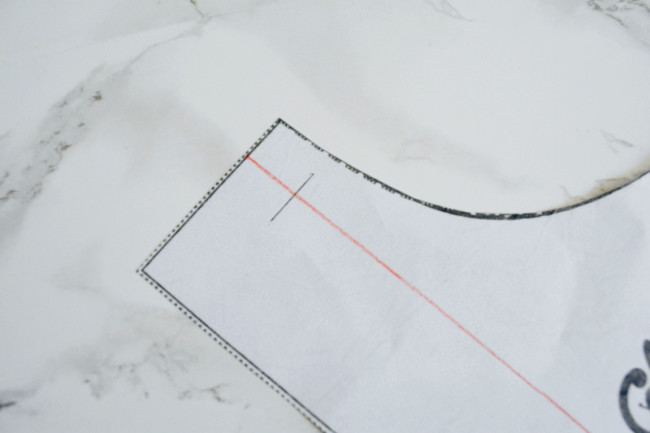
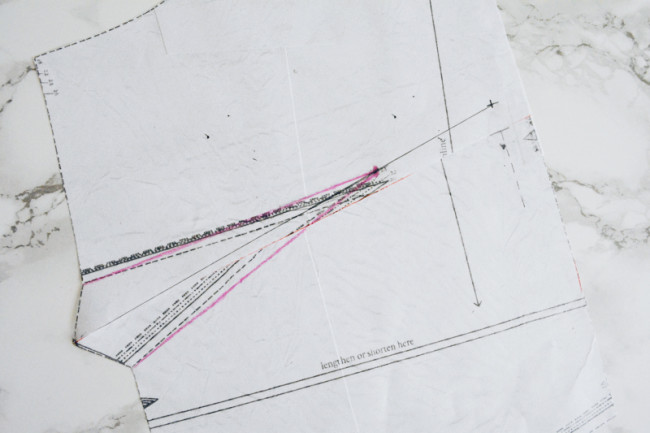
First, mark your bust apex on the muslin, making sure the mark goes on both front and side pattern pieces.
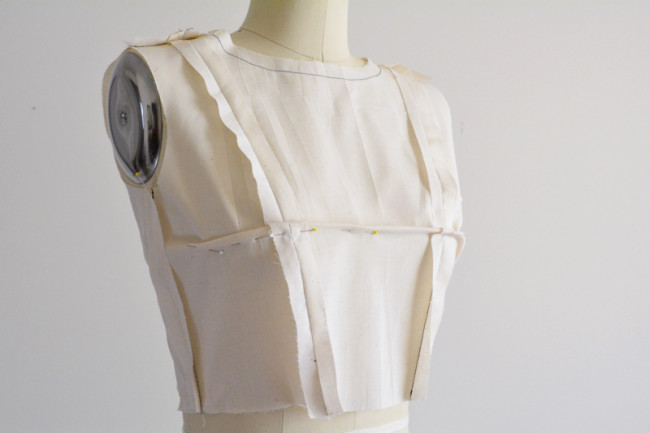
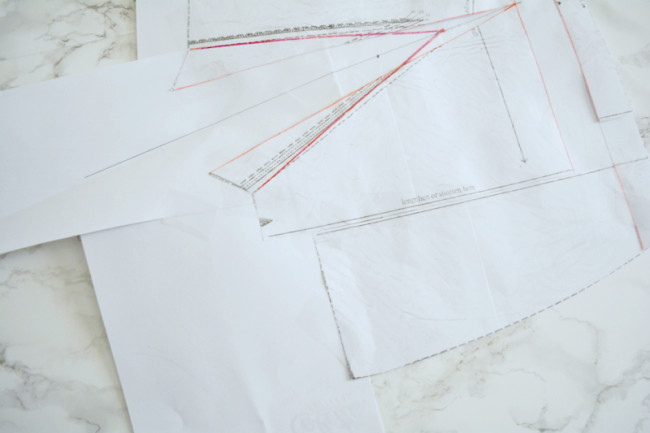
For a FBA, use a seam ripper to carefully open the seams over your bust. (Yes, this is kind of a Mean Girls moment.) Make sure you undo both sides to get an accurate measurement. Open it far enough above and below the bust so that the diagonal stress lines go away. You will also most likely find that the gape in the armhole has vanished.

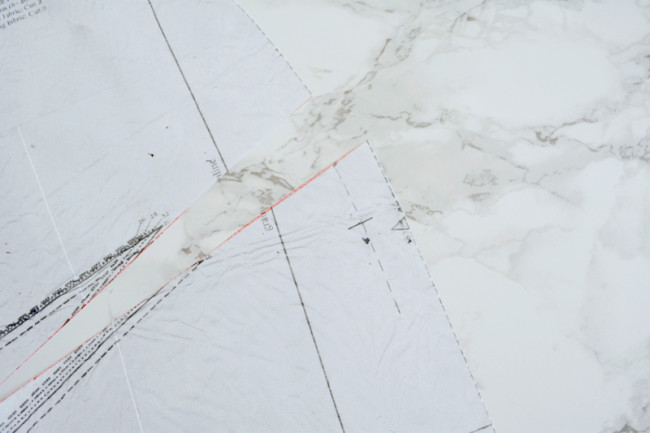
Now measure the distance across the opening from apex to apex. This is the adjustment amount for your FBA. Note where both pattern pieces are falling in relation to your apex. You want the princess seam running pretty much right over the apex. You may need to add width to just the side front, or perhaps both the side and center fronts. In the above photo, the opening is 1″ wide and the bust apex is right in the center of the opening. This means that the FBA would be to add 1/2″ to the center front and 1/2″ to the side front.
For a SBA, pinch out the excess fabric horizontally across the bust apex. This might seem counterintuitive, but a smaller bust actually requires less length to cover, so we’ll be getting rid of that length with a horizontal pinch.
Measure the width of the pinch at the princess seam and double it to account for two layers of fabric. So if you pinched ½”, your adjustment amount is 1”.
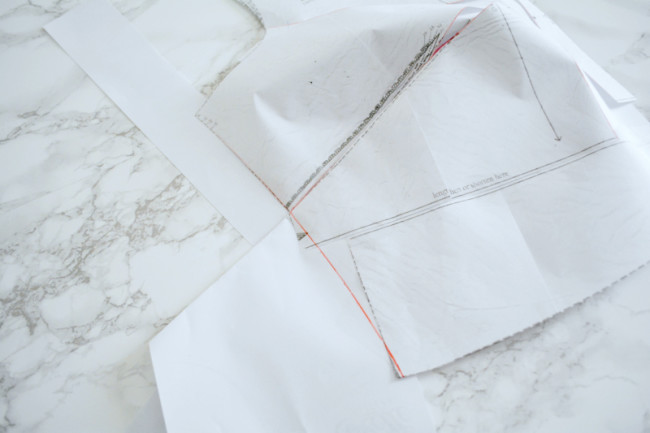
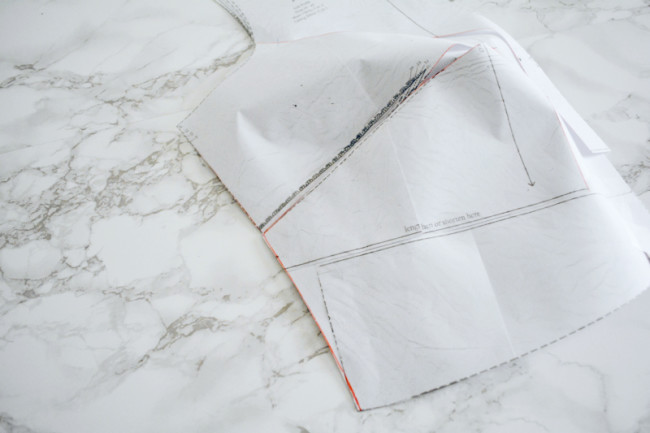
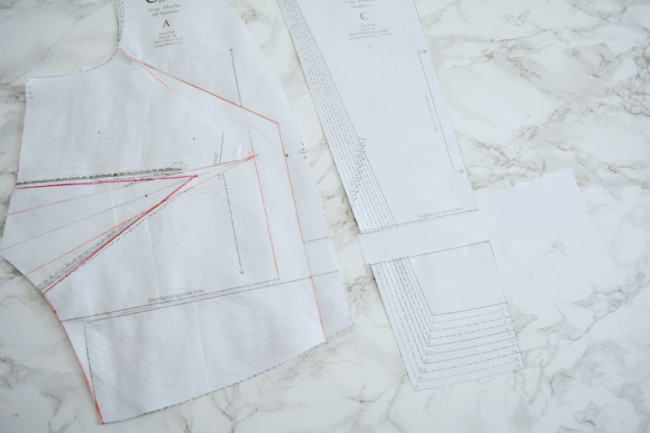
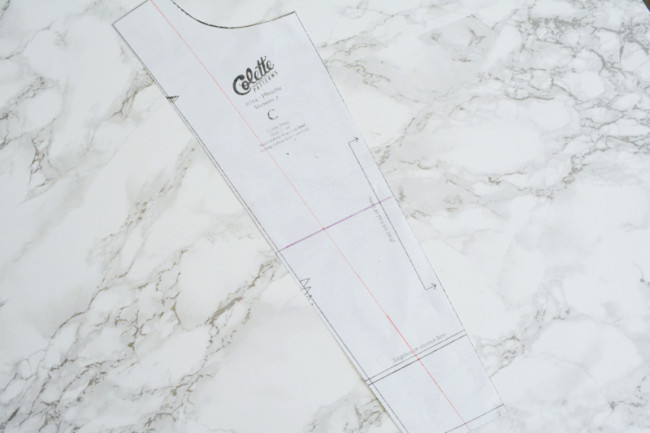
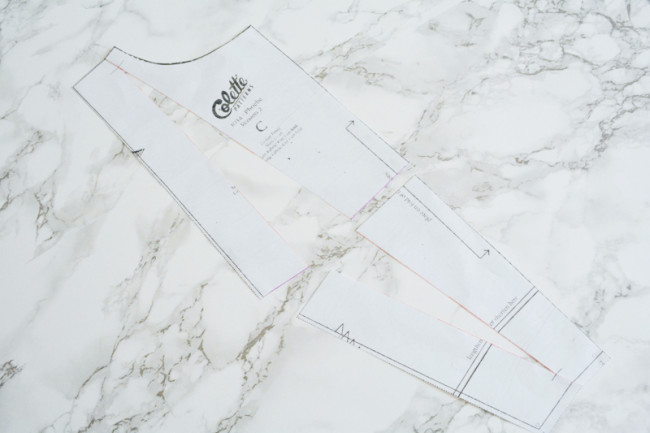
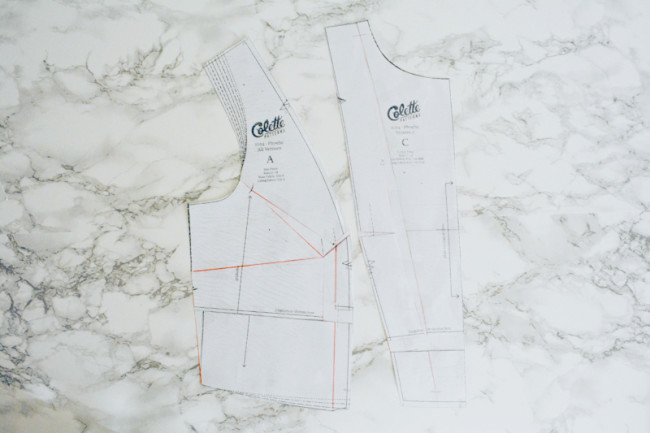
Note: all photos show Version 2 pattern pieces, but the procedure is the same for Version 1.
FBA – add width to side front
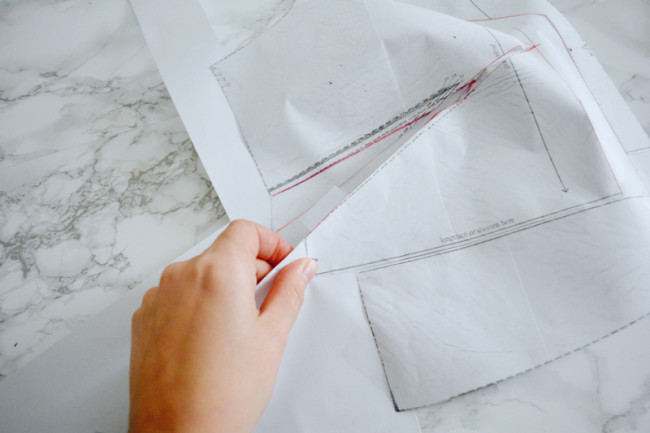
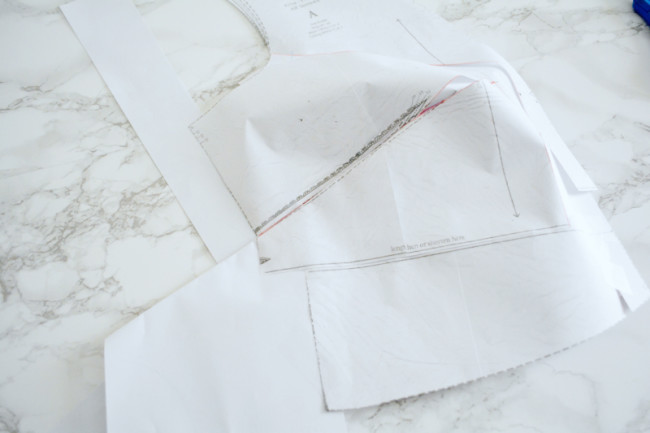
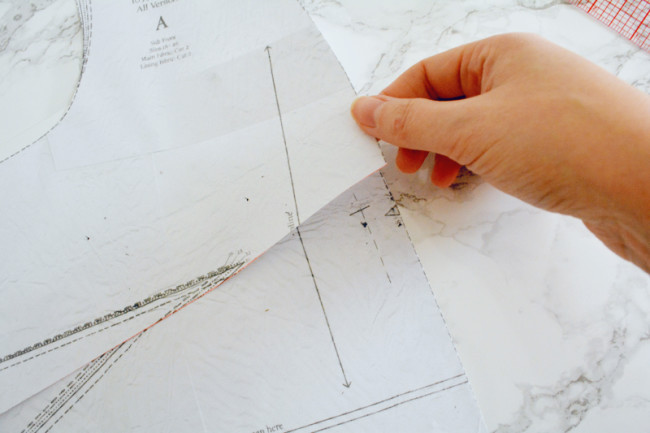
First, transfer your bust apex from your muslin to your pattern piece. An easy way to do this is to align the pieces and stick a pin through both layers.

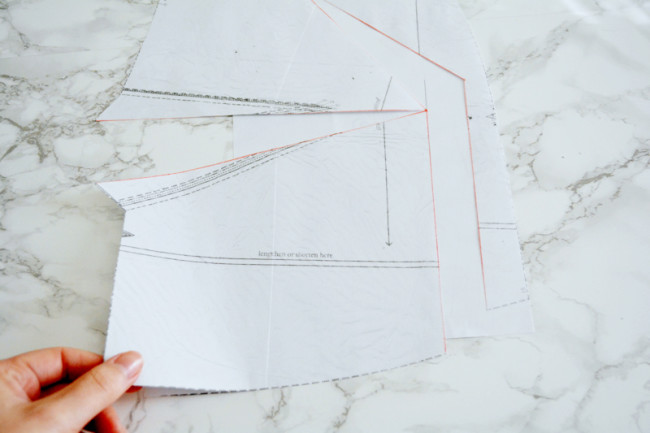
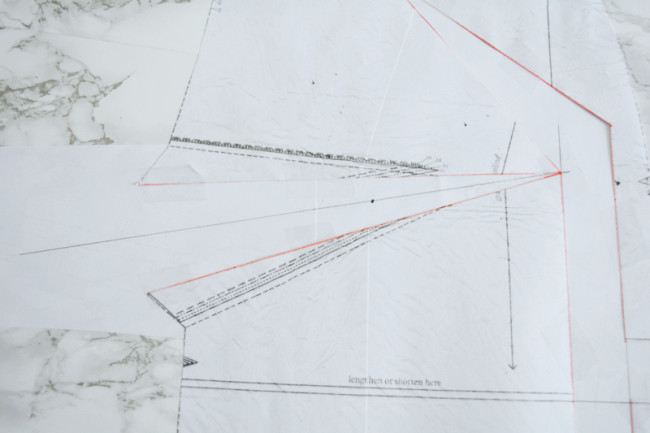
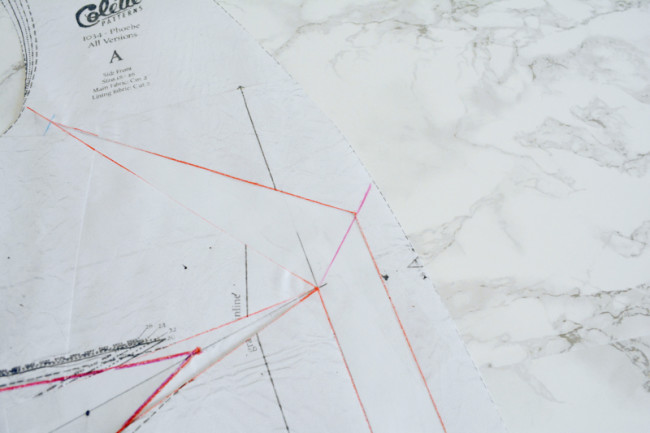
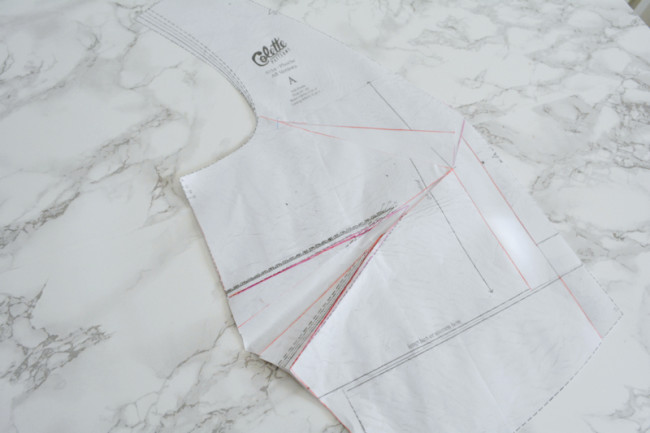
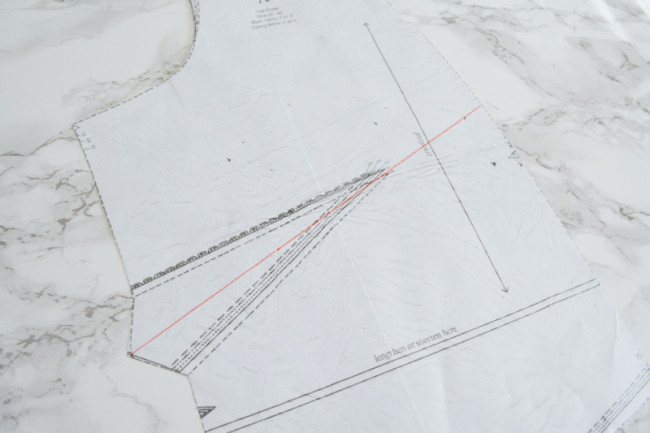
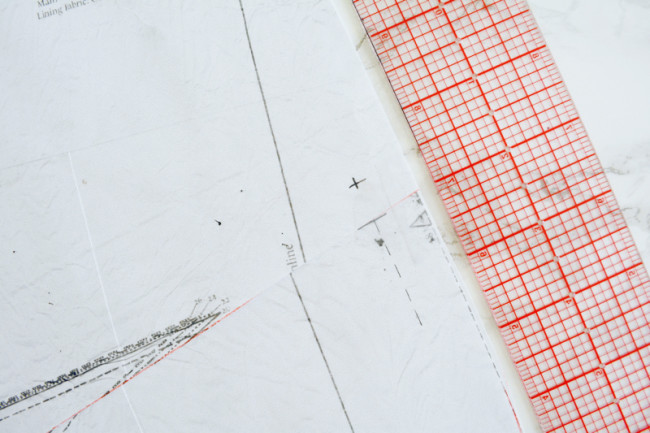
On front side bodice piece, draw line A parallel to the grainline, starting very close to the front stitching line and drawing to the apex. Then angle up to a point 1/3 of the way up the armscye.
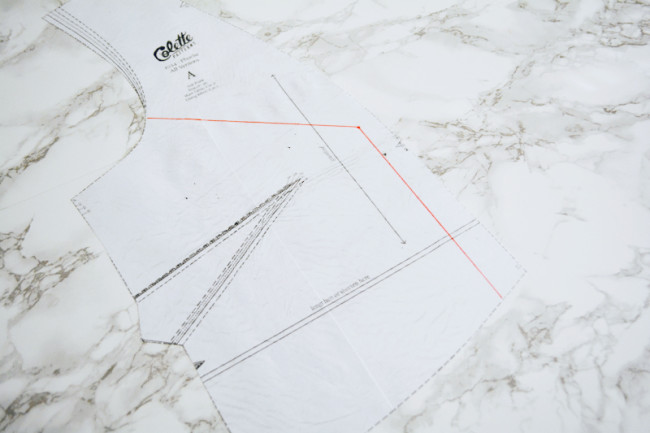
Draw stitching line (5/8” in from edge) at armscye edge over line A.
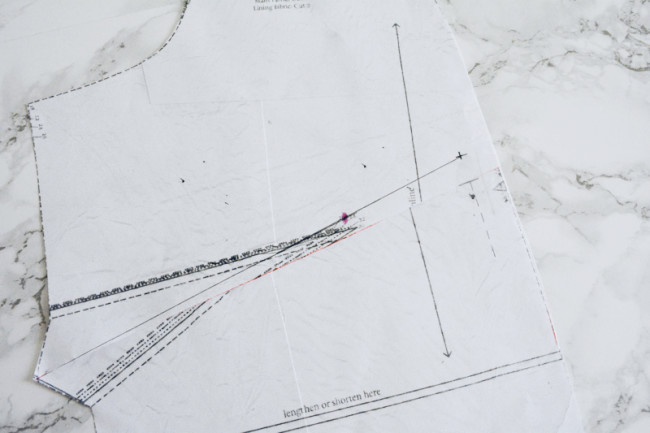
Draw line B from outside center of dart to apex. (Note: ideally, this line goes right through the dart tip. But if not, don’t worry, you’ll have a chance to redraw the dart legs in a bit.)
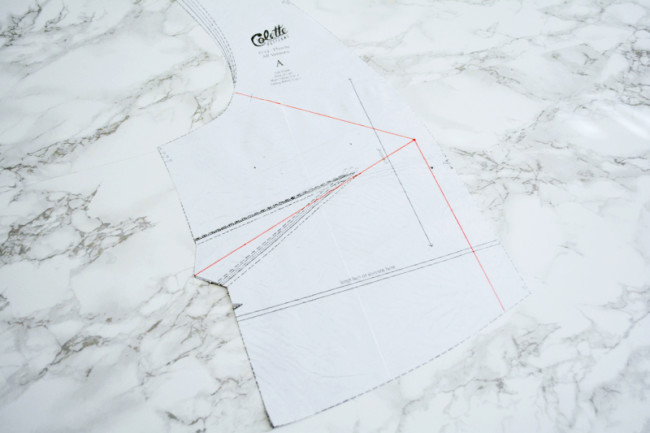
Cut along line A from the bottom up to the armscye stitching line. From the armscye edge, cut to but not through the stitching line to create a hinge.
Cut along line B to but not through apex to create a hinge.
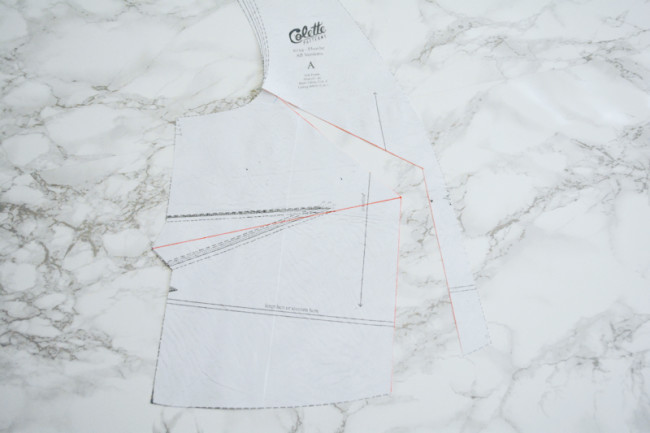
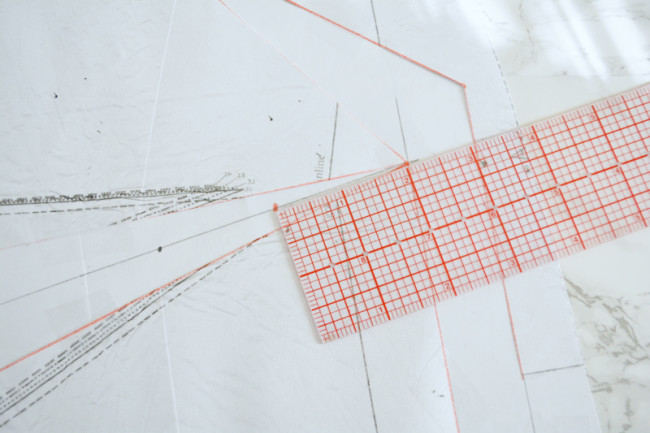
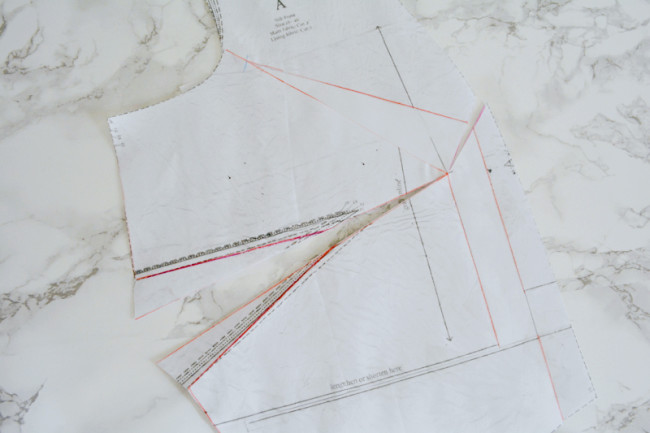
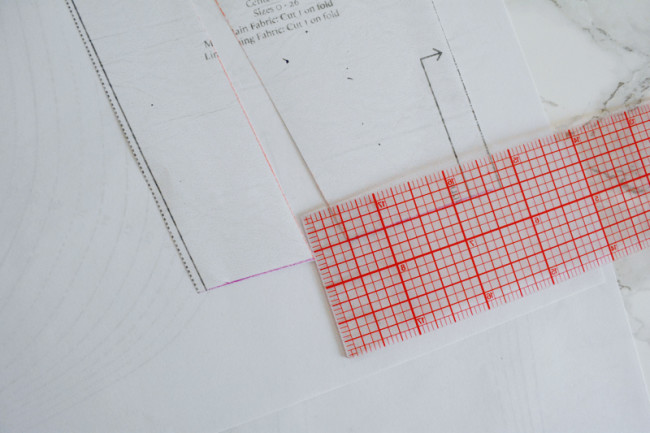
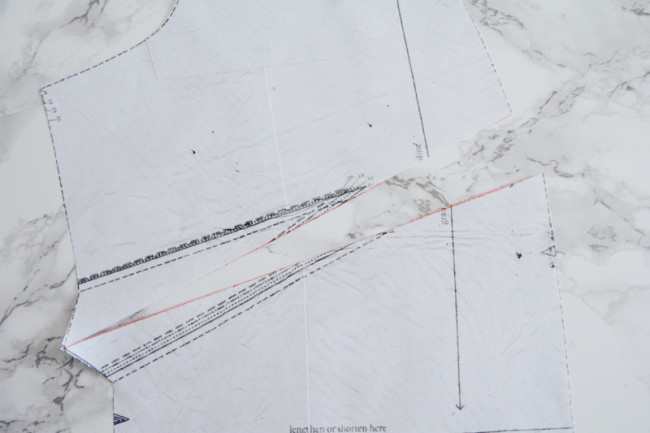
Place pattern piece over a strip of extra paper. Tape down right side above lengthen/shorten (L/S) line. Draw your adjustment line to the left of and parallel to vertical cut line A.
Position right half of pattern piece so that cut line A is against line. Tape in place above L/S line.
Cut L/S line to right of line A.
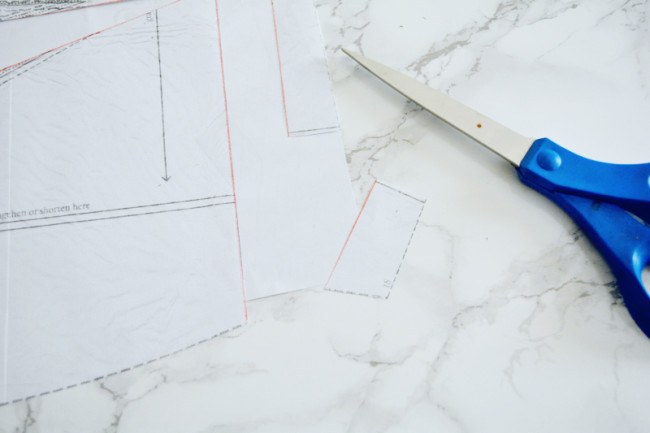
Adjust cut piece so that bottom edge is even with the other side of line A and tape in place.
Add paper to fill gap if necessary.
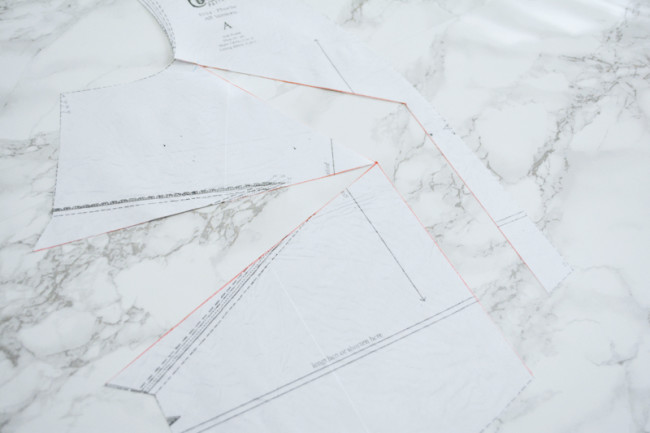
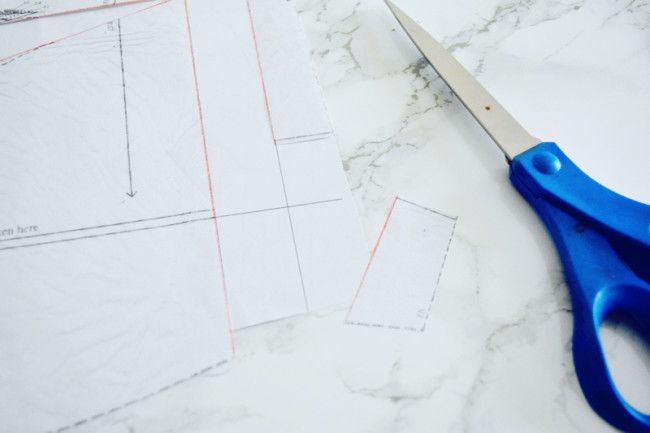
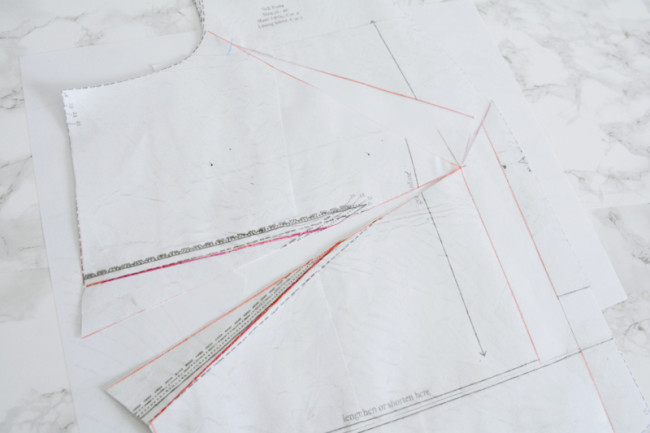
Now it’s time to redraw the dart. At any point in the opened dart area, mark the center of the open space.

Draw a line through this center and the apex.
Mark new dart point 2-2.5″ from the apex on center line.
Draw new dart legs out to original starting points at side seam.
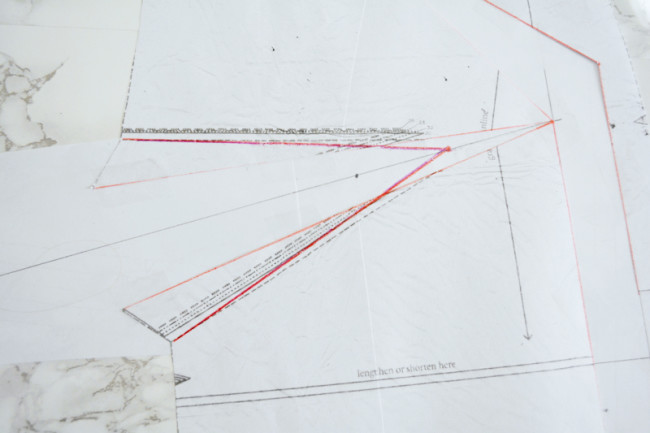
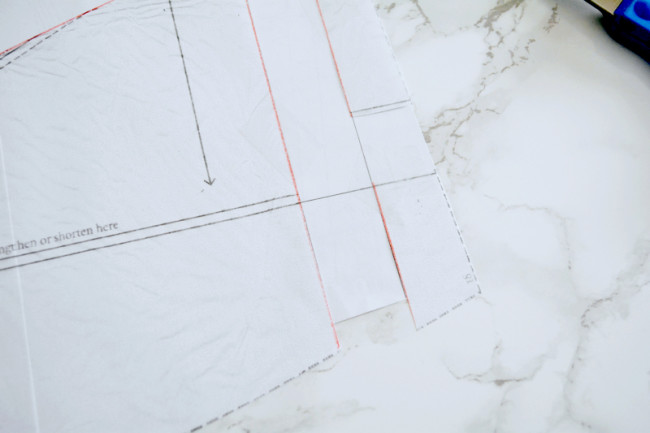
Now we have to take care of the waist seam. We’ve added width there, meaning that the bodice waist edge will no longer match the skirt. Cut along the left L/S line and slide the free piece to meet up with the right side. Tape in place.
Add some more paper under the side seam edge if needed.
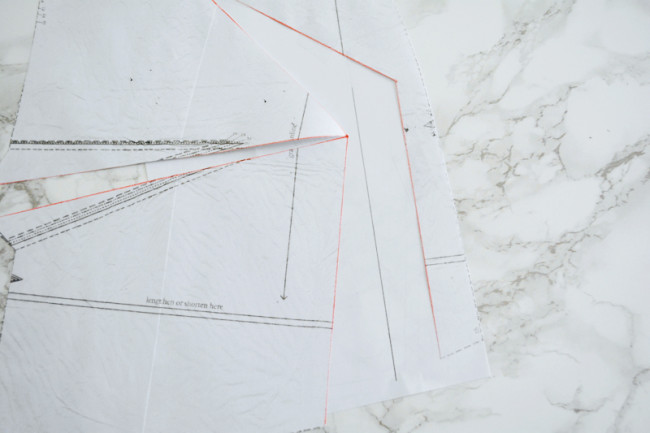
Now we are going to redraw the side seam. Fold your paper along the lower dart leg and bring it to meet the upper dart leg as if it was sewn. Tape.
Use a ruler to blend the side seam edge from underarm to waist.
Cut along line through all layers.
Reopen pattern and flatten.
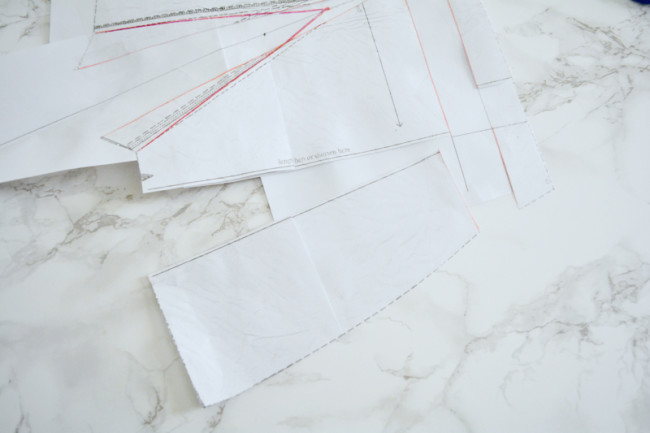
Once your side front piece is adjusted, it’s time to adjust the center front piece since we’ve changed the length of the princess seam. Measure the distance you separated the L/S line. Cut and spread the L/S line on the center front the same amount, keeping edges parallel.
Tape paper behind and trim any jagged edges.
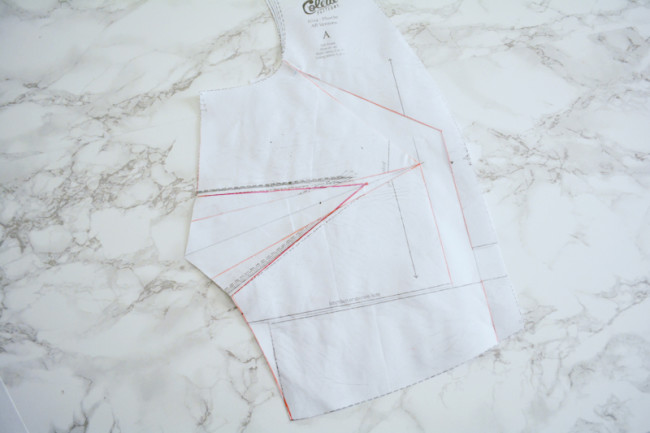
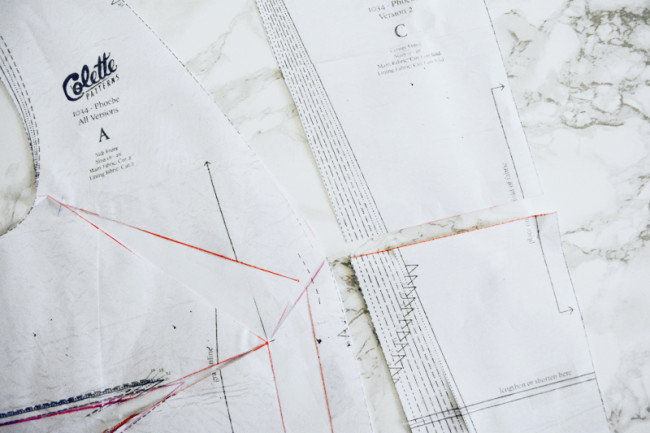
Technically, your FBA is now complete. However, depending on the amount of your adjustment, your underarm dart might now be a little too big. When dart angles become too great, there is a greater risk of having a pointy dart. One of the things you can do is rotate some of the added fullness into the princess seam.
Draw a line from the new bust apex to the fullest point of the bust. (The line in the photo is going through the original apex, but yours doesn’t have to.)
Trim out the paper in the dart opening that your FBA just added.
From the princess seam edge, cut to but not through the apex to create a hinge. Place paper underneath.
Rotate upper half of pattern piece. You can rotate it so that you close the dart space all the way, and take the dart back to its original size. Or, you can close it about halfway to split the fullness.
Tape down and redraw princess seam curve to blend edges. Trim extra.
Redraw dart and trim side seam the same way you did before.
If you rotate some of the fullness to the princess seam, you’ll need to additionally adjust the front center princess seam. Measure the amount you’ve added to the side front princess seam at the stitching line. Cut the front center apart even with the apex and spread the same amount, keeping edges parallel.
Tape paper behind and trim any jagged edges.
FBA – add width to center front
Note: photos show a size 2, but for this section, the steps are the same regardless of what size you are making.
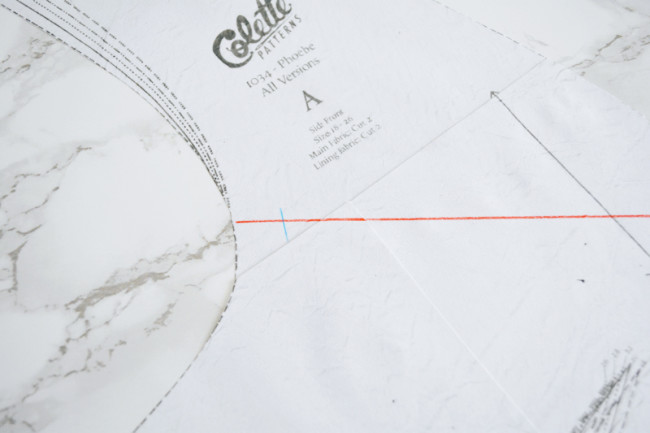
First, draw a line 1.5″ from princess seam edge (Line A). Draw a second line through apex perpendicular to fold edge.
Trace over the line at seam allowance on shoulder and waist edges.
Cut pattern piece apart at apex line. Then on each half, cut on line A to but not through stitching line from each side to make hinge.
Place paper behind upper half and tape down right side. Position hinge so that width bottom of opening measures your adjustment amount.
Next, measure side front at bust apex at stitching line to see how much length was added when you closed the dart. Now, position lower half of center front under the upper half so that fold edges are lined up, hinge is open the same amount, and the length added at bust apex stitching line is the same.
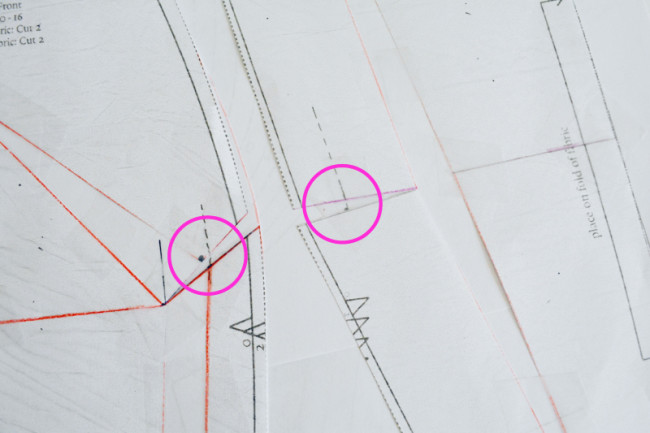
(If you didn’t adjust the dart after doing the FBA to the side front, place lower half of front center so that fold edge and cut edges are lined up. Measure the amount this adds to the princess seam (in the above photo, the right pink circle) and subtract the amount from the next step:)
Almost there! Cut center front apart on L/S line. Measure how much was added to side front at stitching line, and draw a line this amount below center front piece. Also draw in the stitching line.

Close hinge on lowest section of center front piece. Tape down so that fold edge lines up with the rest and top edge is aligned with the intersection of your marked lines.
Blend any jagged edges and trim excess paper.
sba
First, transfer bust apex from your muslin to your pattern pieces.
On side front, draw a line from the outer center of dart uptake through apex.
Cut from princess seam edge all the way across to but not through the very edge of pattern to create hinge.
Below cut line on princess seam edge, mark stitching line. Measure your adjustment amount down along stitching line.
Bring top half over bottom half and align cut edge with mark. Tape.
Place a mark 1/2 the adjustment amount above cut edge, along stitching line. This is your new apex mark.
Draw a line from apex mark to center of dart uptake on side seam edge. Mark a new dart point 2-2.5″ from apex along line.
Draw new dart legs from new dart point to original dart legs on side seam.
Draw a line across center front piece at bust apex. Cut apart. Overlap center front piece by your adjustment amount, keeping edges parallel. Tape.

Blend any jagged edges, placing paper behind if necessary.
This method of SBA keeps the dart the same original size and reduces the length of the princess seam. If you wanted to eliminate the dart, you could rotate the fullness back into the princess seam by following the steps in the second half of the first FBA section above. If you do so, remember to also adjust the center front piece accordingly.
redraw buttons
If you’re making Version 1 and you do a bust adjustment, you’ll need to redraw the button placement. To learn how, refer to the steps in the “Basic Fitting Guidelines” post.
check fit
After you’ve done any drastic bust alterations, it’s always a good idea to do a second muslin to make sure they worked before you cut into your fashion fabric.
Next week, we’ll start by talking about one more pattern adjustment you can do, and then we’ll move on to the real deal!
Feel free to comment below with questions.
Comments
I have been sewing for over 30 years but, the above diagrams and calculations were very intimidating to me. I am thinking I have bitten off more than I can chew. I know you are trying to make it as easy as possible but, I am just not getting it.
Hi Karla! I’ll help you figure things out! First of all, did you make a muslin yet? If so how does it fit?
I have not yet made one. I was waiting until the cutting out phase. But I will make it this weekend and take it from there. Who knows it might fit well without allot of adjustments. Thank you for responding and I will get back with you after I make the muslin sample.
I’m a little behind on the sewalong. I found this section to be a little confusing yesterday. I made the FBA following along on the page and when I came to the area to rotate the fullness to the princess seam I had to re-read this a few times. I understood the side front piece but got hung up on the center front and I’m not sure if I did this correctly. I followed the instructions in order but I don’t think that I should have. It feels like the only instructions that I really needed for the center front were the ones under the section to add width to the center front. Basically I did the following:
1. FBA on side front piece
2. Added length to Center front piece
3. Adjust side front piece to rotate fullness to the princess seam
4. Adjust center front piece to add same amount of fullness
5. Undo steps 2 and 4 and basically re-do them when adding width to center front.
Is this correct, I should have skipped to the end and done all adjustments to the center front at one time?
I should note this is my first time working with princess seams. Overall, I needed to add 1.5″ which split in half was .75″ to side front and center front. My center front piece has more of an angle to it now at the bottom even with smoothing out line from the fullest bust point. I’m now in the process of resewing my second muslin but wanted to confirm I’m on the right path. Thanks!
Hi! Sorry it was confusing! Part of the hard part of conveying everything is addressing different fit scenarios – depending on where a person’s bust fullness is, some may have to add width to the side front only, and some will have to add to the side AND center. But you did everything correctly! If you were to do it again, you could change the center front width and then adjust the length to match the side front, just so you’re not undoing and redoing. But there isn’t really a difference in the outcome versus the way you did it. It sounds like you’re on the right path!
Thanks for the reply Devon!