

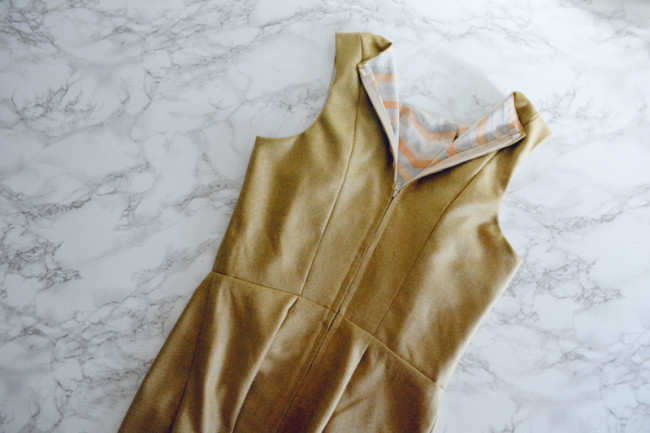
Our Phoebes are all put together, and now it’s time for closures and finishing! Today’s post will cover the installation of the zipper.
Phoebe calls for a regular coil zipper, as opposed to an invisible zipper, and the installation method we’ll be using is a centered zipper. This means that the center back edges of all pieces will be treated as one layer, seamed, pressed open, and then the zipper will be attached right down the center.
If this is your first time doing a zipper, or you’re just a little worried, you can always practice first! Do a mini-install with smaller rectangles of fabric. You can even use the same zipper – you can always seam rip it out when you’re ready for the real deal.
sew center back seam – both versions
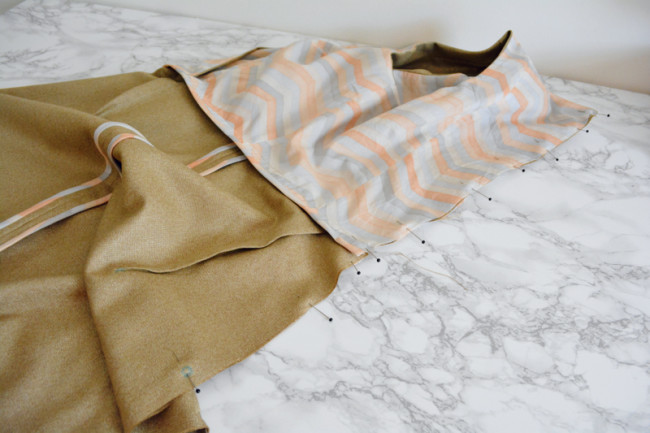
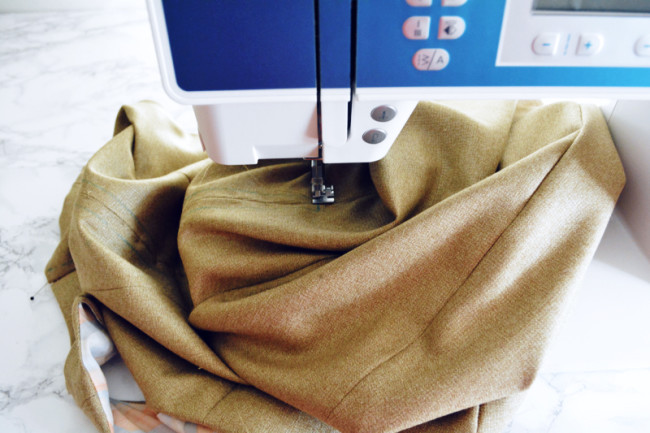
1) Pin center back. Align entire center back edge, right sides together. Be sure that the waist seams line up and the waist seam allowances are pointed down. Also be sure you can see your zipper mark.
If you feel like the lining and shell layers of the bodice are moving around too much, you can baste each set of raw edges together first at 1/4″ before you try to pin the whole edge.
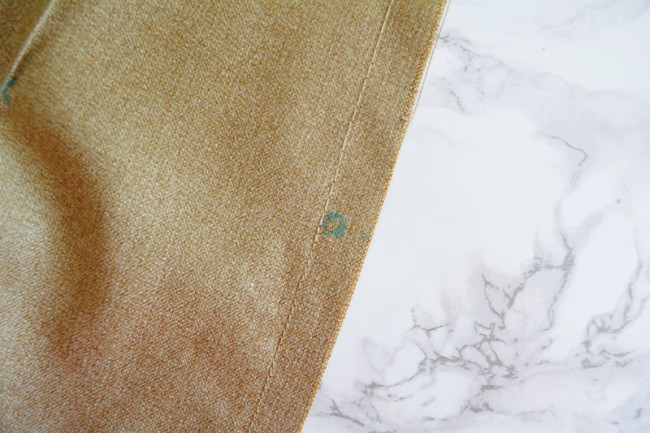
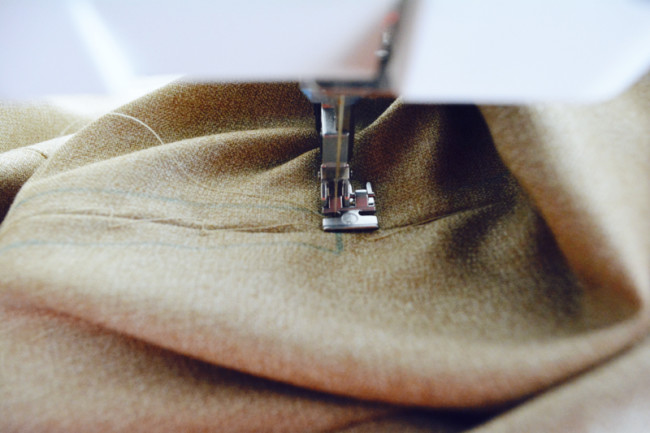
2) Sew center back. Set your machine for a basting stitch (a straight stitch with the length turned all the way up). Starting at the neckline, baste down the center back edge. When you get to your mark, stop and turn your stitch length down to 2.5. Do a backstitch, then continue on down to the hem, backstitching at the bottom.
Here’s a closeup of how the different type of stitching should look:
Finish each seam allowance separately and press open. You can zig zag, serge, use a Hong Kong finish (tutorial here).
baste zipper – both versions
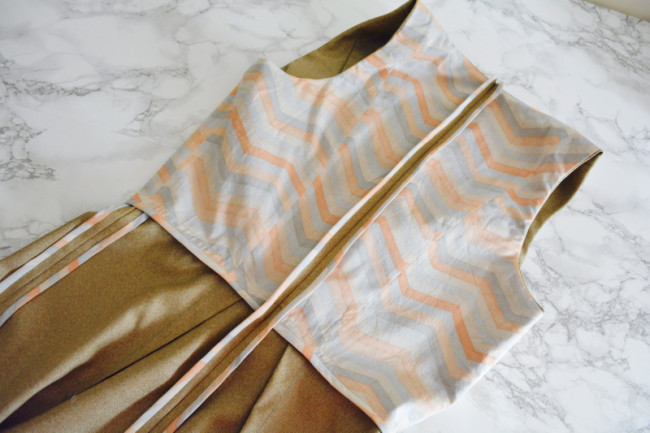
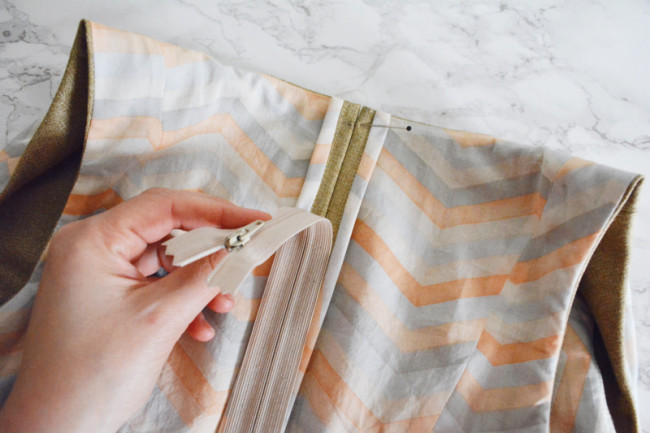
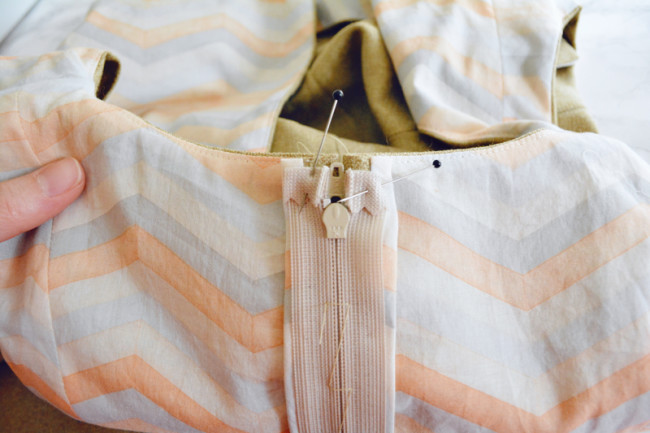
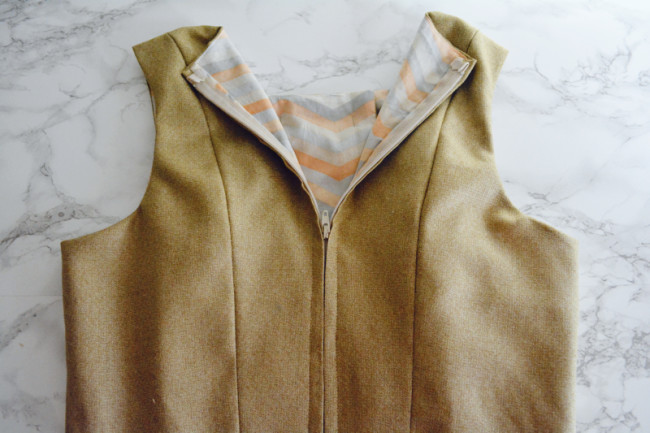
1) Position zipper. Place your zipper right side down against the inside of your center back seam. (If you aren’t sure which is the right side of the zipper, it’s the side with the pull.) The top metal stop should be 3/8″ down from the top edge of the dress, which is marked by the pin in the photo. The zipper teeth should be centered on the seam.
2) Baste zipper. At this point, we need to temporarily attach the zipper to the dress from the inside so that it doesn’t move when we topstitch it down from the outside. There are a few different options for this:
- Pin: Pin it in place. This works, but then you have to take the pins out from the outside, which is a little hard.
- Hand baste: After pinning, use a hand sewing needle to whipstitch each side of the zipper tape to the seam allowance, and remove pins.
- Water soluble adhesive: Use a special glue stick or Wonder Tape to just stick it on.
- Scotch tape: Stick a big piece of Scotch tape across the zipper every few inches; it’ll easily come off after sewing. This is fast and simple, but the zipper might wiggle a bit.
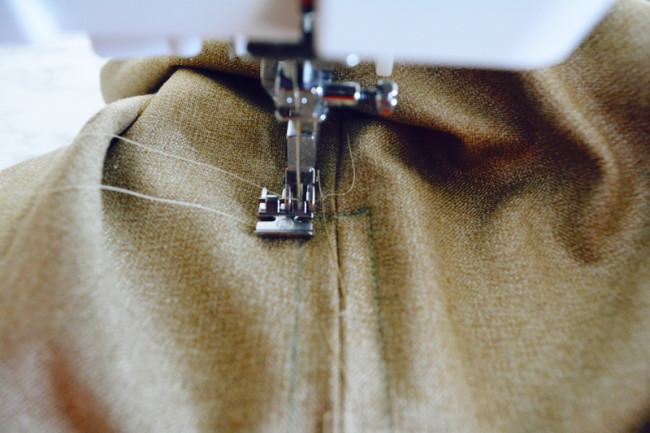
- Zig zag baste: This is one of my favorites. Set your machine for a zigzag stitch with the maximum width and minimum length. Start just below the pull with the presser foot centered over the teeth. Stitch one left and right stitch with the hand wheel, raise the presser foot, scoot everything forward an inch, lower the presser foot and repeat. It will look like this:
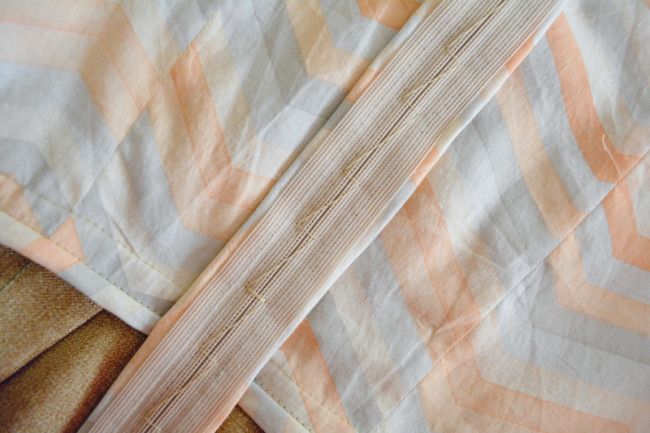
The two stitches wrap around the zipper teeth, holding it very snug against the seam, and you are able to place the zipper very precisely as you go.
Once the zipper is basted, either trim or fold down and pin the top ends of the tape.
topstitch zipper – both versions
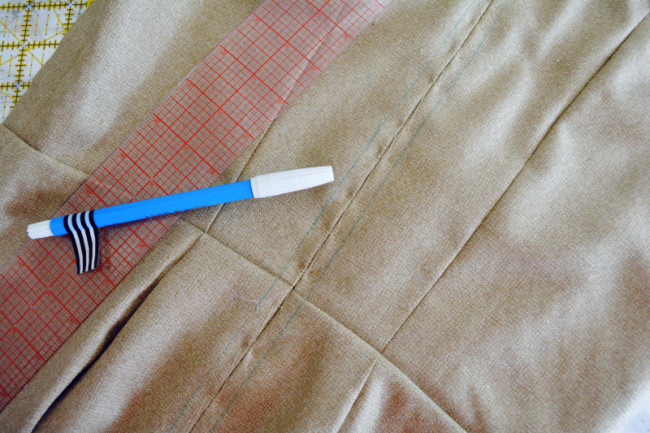
1) Mark stitching lines. Using a ruler and a water soluble marking tool, mark a line 3/8″ to either side of the center back seam. Draw a line across the seam at your zipper mark where your basting stitches end. This line should not be over the lower zipper stop; if it is, move it up a little.
2) Topstitch zipper. Attach your zipper foot on the left side of the foot. Double check that you are on a straight stitch, and increase your length to 3.0. This will help your topstitching look nicer and straighter.
Sew along your lines in one continuous “U” shape, starting at the neckline with the zipper to the left of the foot, sewing across the zipper at the bottom, and up the other side.
To position your fabric best on your machine, take off the accessories box, turn your dress right side out and just work on isolating the part you’re sewing at any given moment. Sew slowly, stop and readjust often.
My fabric is a silk blend, and it is very wiggly. I was worried about the fabric drifting, so to be sure that at least it drifted in the same way on each side, I topstitched my zipper slightly differently. I started at the bottom and sewed across the teeth first without backstitching, pivoted, and sewed up the first side.
Then I took the zipper foot off and reattached it on the other side. I started again at the bottom, this time with a backstitch, being sure to backstitch over where my first topstitching started. Then I sewed up the second side.
Either way – continuous U or switching sides – will get you a nice topstitched zipper!
Once topstitched, run a seam ripper very carefully down the center seam to remove your initial basting stitches. Also remove the basting method you used to position the zipper.
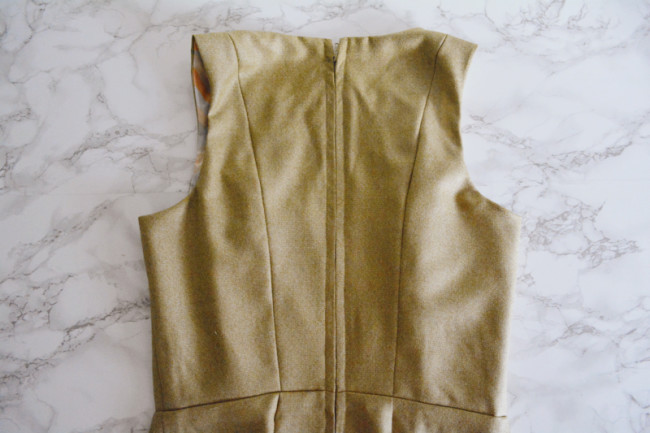
Press everything and admire!
Comment below with any zipper questions. We’ll be back Thursday for our last sewing post!
Comments
Your tutorial and accompanying photos are amazing. Keep up the terrific blogging!! I will keep looking out for your posts. Cheers, Michele
Thank you so much for your kind words Michele, they really mean a lot! I’m glad you’re enjoying the sewalong! :)
Hi! I am finding that the 22″ zipper is below my mark (“Starting at the neckline, baste down the center back edge. When you get to your mark,”) by just over 2″. I made a muslin for fit, then a second one out of Amazon gift bags for practice, and just finished my 3rd out of corduroy. I used a 22″ zipper for my 2nd attempt and stopped at the mark but find it a bit tight pulling it over my hips but the fit is fine once it is on. With my 3rd attempt, I used a 22″ zipper but I moved my mark down 2″ and find it a much better fit. So I am wondering if I did something wrong or missed something? Thanks!
Hi Charlotte! That’s totally fine to move the mark down. It could just be a better fit for you, nothing more to it than that.