

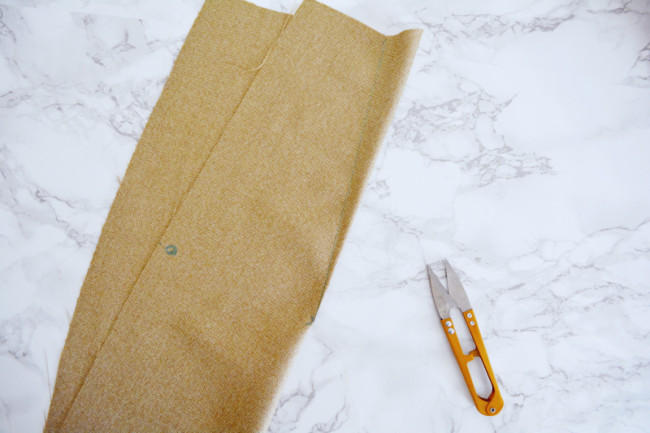
Now it’s time to tackle sewing darts, constructing our princess seams, and attaching the front and backs at the shoulders.
All seam allowances are 5/8″ unless otherwise specified.
how to sew a dart
Let’s discuss the general procedure for sewing a dart.
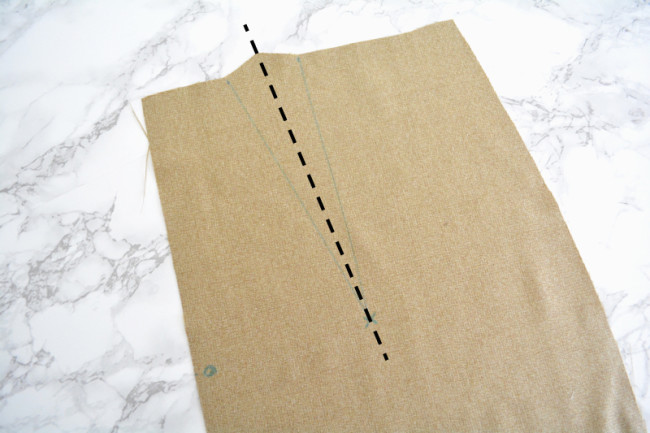
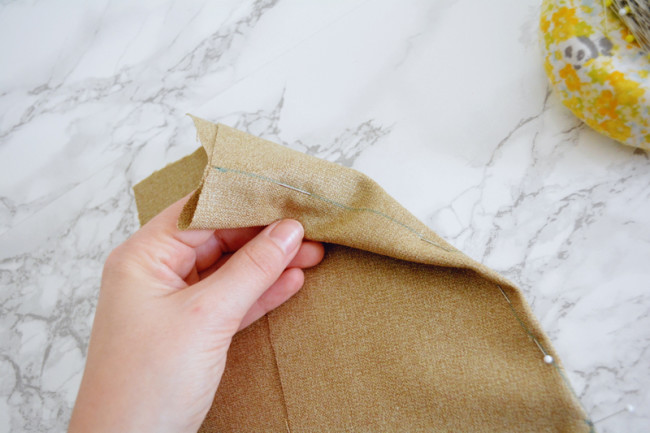
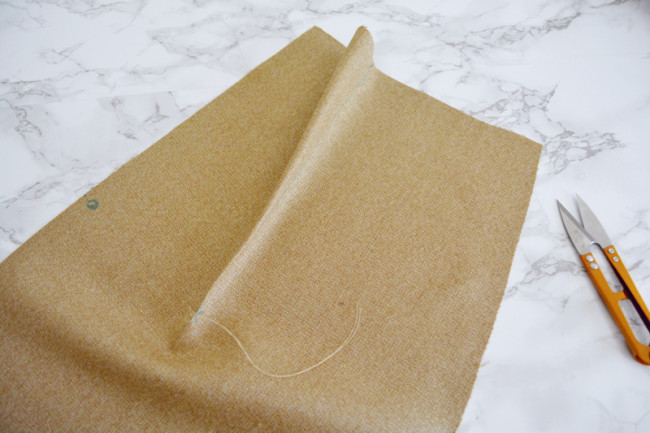
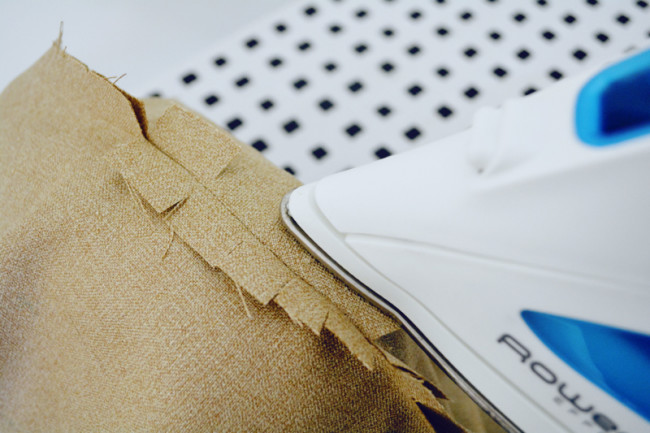
The initial step is folding and pinning. You’ll essentially be bringing together and pinning the dart legs. First, imagine a line drawn directly down the center of your dart. This will be your fold line.
Bring the fabric right sides together and line up the snips in the edge of your fabric at the ends of your dart legs.
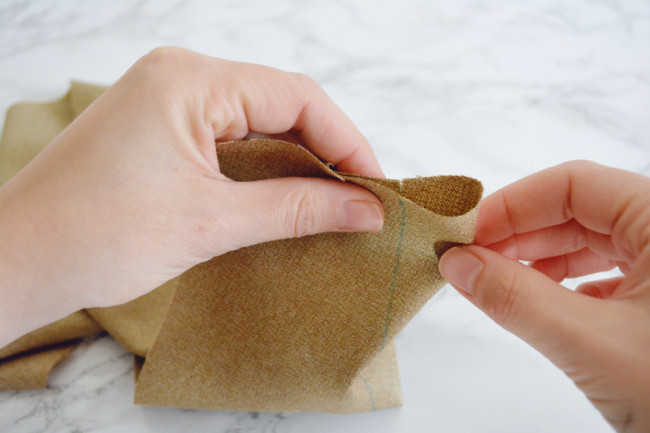
Pinching at the apex will help create the fold.

Set down your folded dart and pin on the dart leg with the pin heads pointed at the apex. It’s helpful to place the final pin perpendicular to the apex so it’s easy to see where the dart should end.
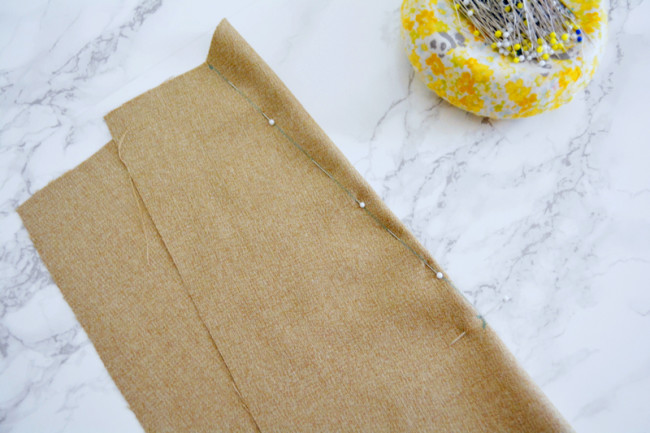
Use the pins to make sure the dart legs are aligned – on the other side, the pins should be going through the other dart leg. Repin if necessary.
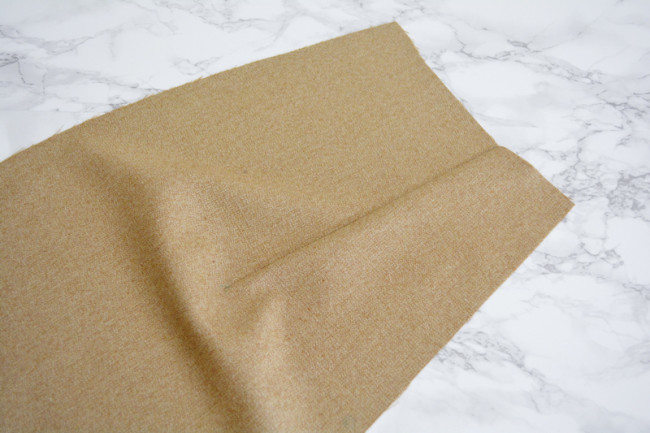
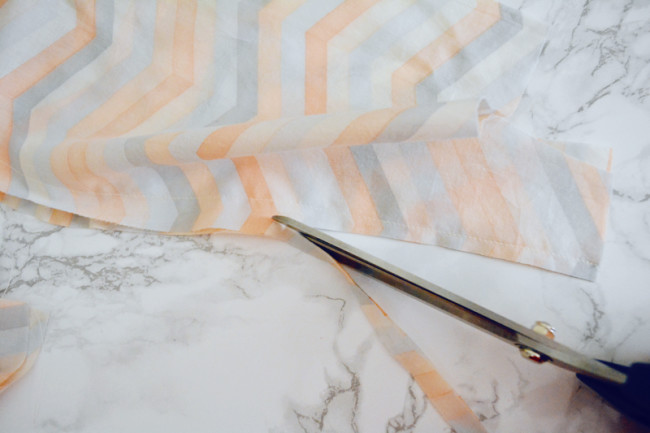
To sew, set your machine for a regular straight stitch. Start at the end of the fabric, backstitch, and sew along the dart leg.
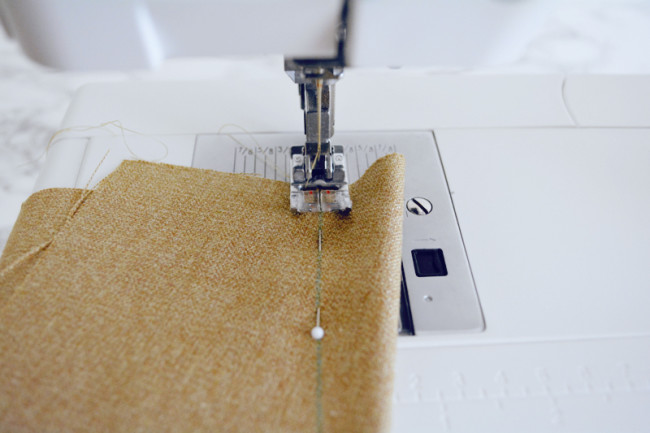
Keep sewing, following the drawn line.
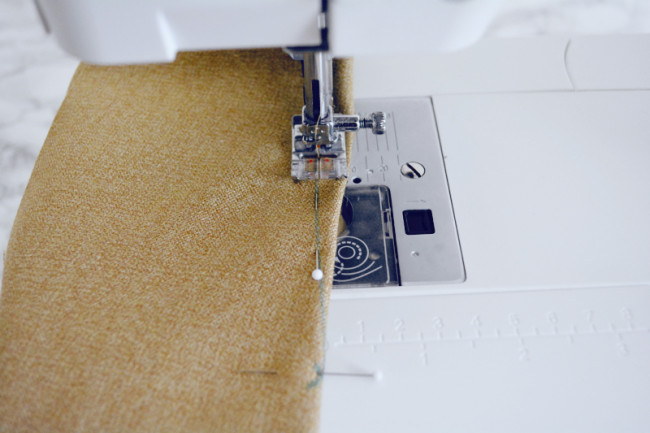
When you get to the end, stop right at the edge of the fabric at the apex. You almost want to just barely fade off the edge of the fabric.
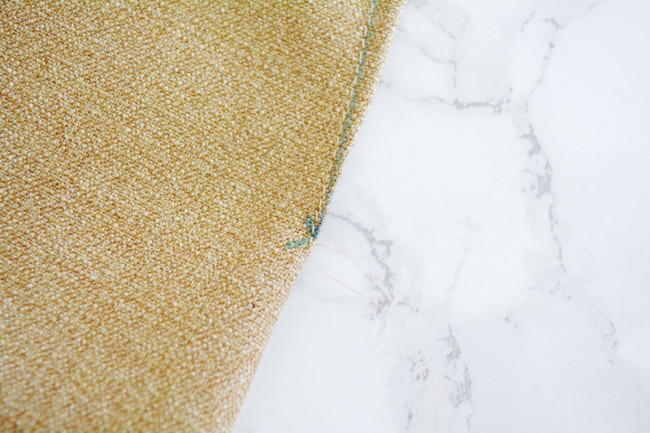
Leave long thread tails when you pull it out of your machine. Tie the threads into a knot (a square knot is a good option) and trim.
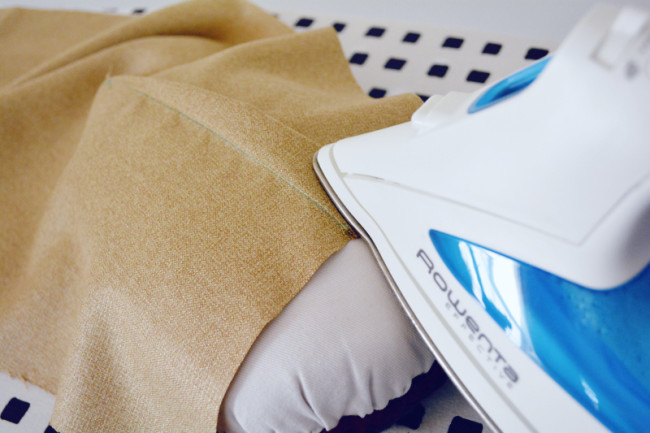
When pressing the dart, it’s helpful to use a pressing ham, which will help maintain the curved shape that the dart creates.

Press the dart in the direction indicated in the pattern instructions.
Sew the darts – both versions
1) Sew skirt darts. On skirt front, pin and sew darts following above instructions and press towards center. On skirt backs, pin and sew darts following above instructions and press towards center (edge with zipper mark).
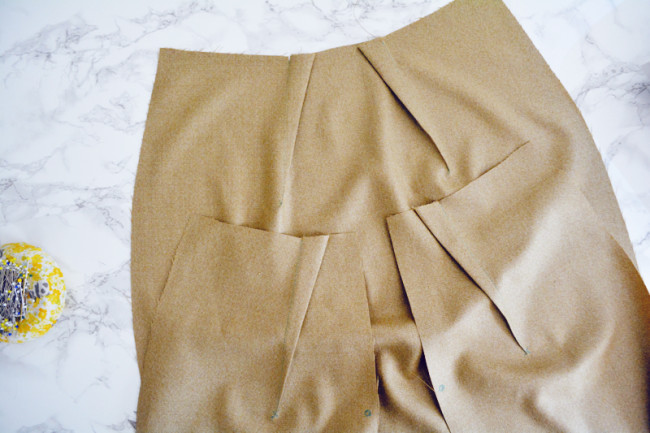
2) Sew bust darts (if applicable). If you’re making size 18-26, you also have a bust dart on each side front piece. Pin and sew in the same way and press down towards the waist.
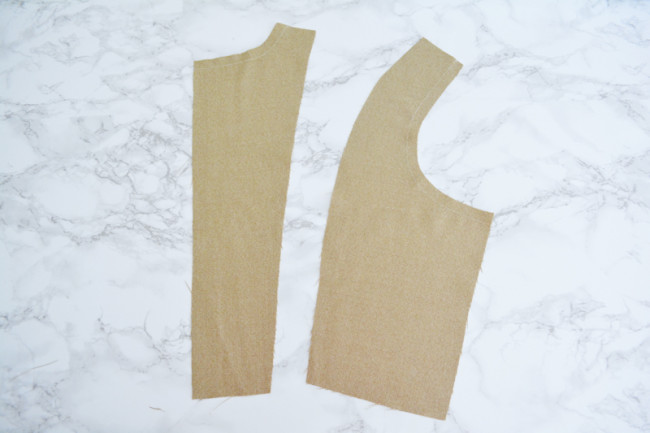
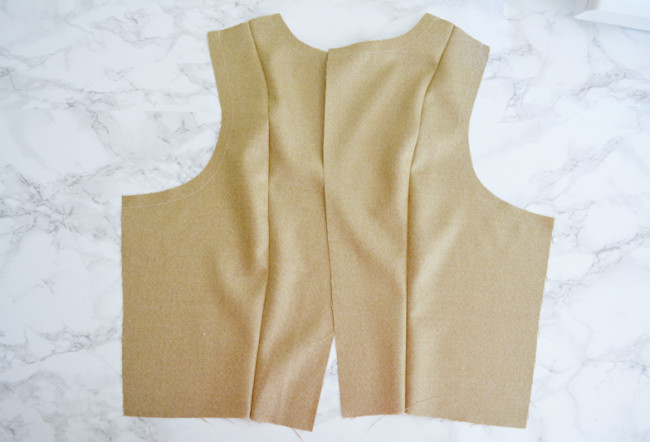
Sew front princess seams – both versions
We’ll be joining the center front and side front at the front princess seams.
Note: Pictures show Version 1, but the procedure is the same for Version 2. Also, if your pieces look slightly different, don’t worry, I did a few fit adjustments to mine!
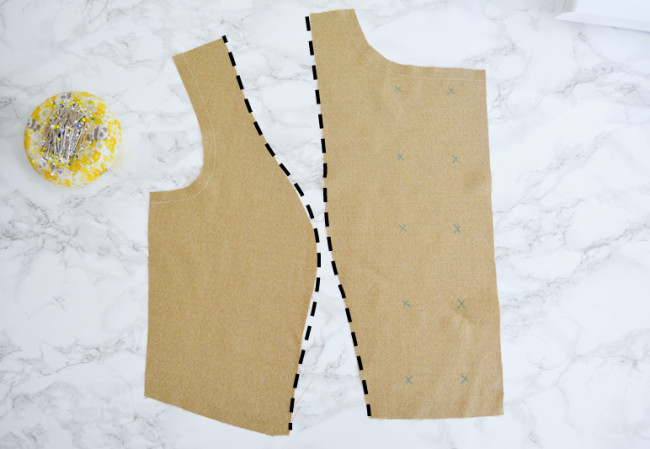
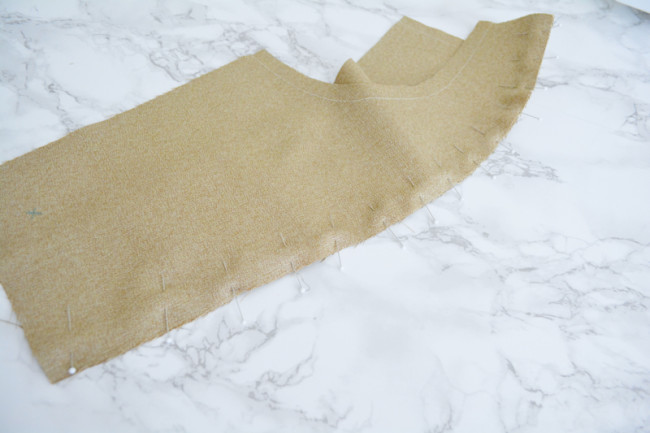
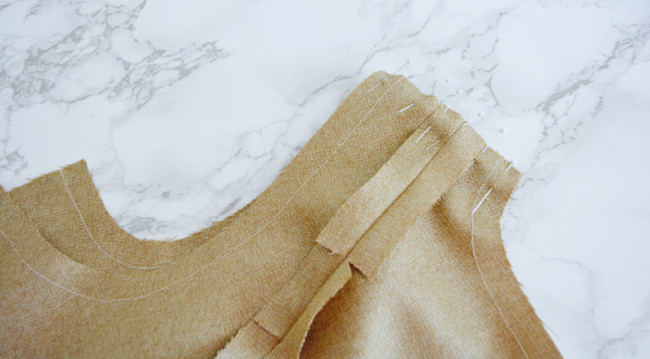
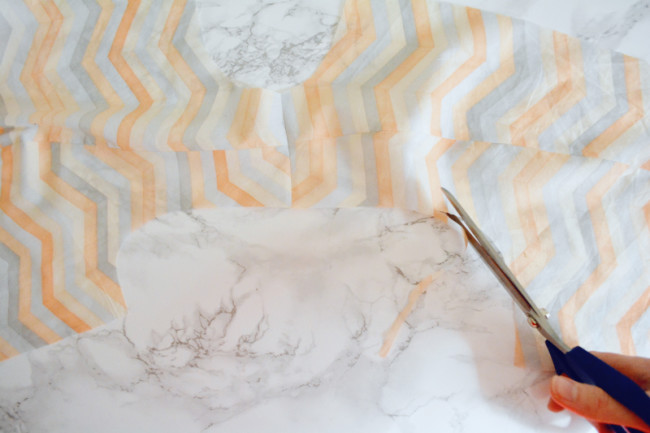
1) Pin princess seam. Place pieces right sides together. Pin together, aligning edges, from top and bottom ends in to notches.

At this point, it’s helpful to prop the fabric up in a curve shape to help ease the side front into the center front. Pin the rest of the edge, making sure that the edges are lined up.
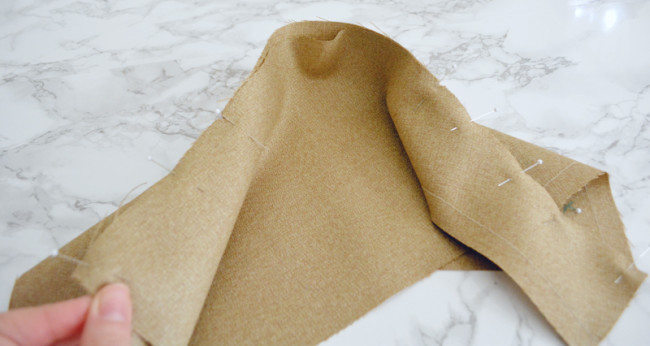
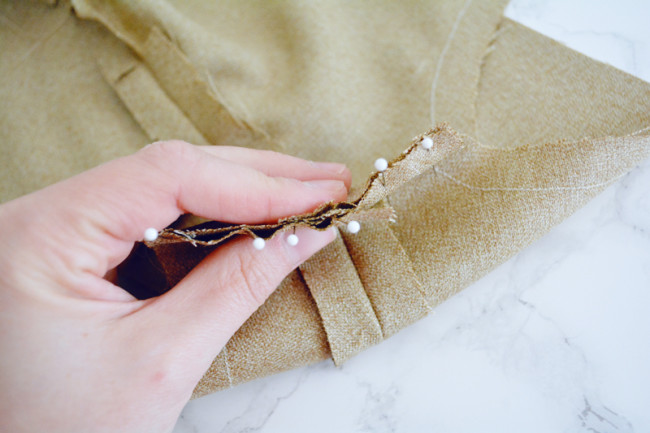
2) Sew princess seams. Stitch entire princess seam edge, carefully managing fabric layers. Once sewn, clip seam allowance around curves, stopping about 1/8″ from stitching. This will help curves spread when pressed.
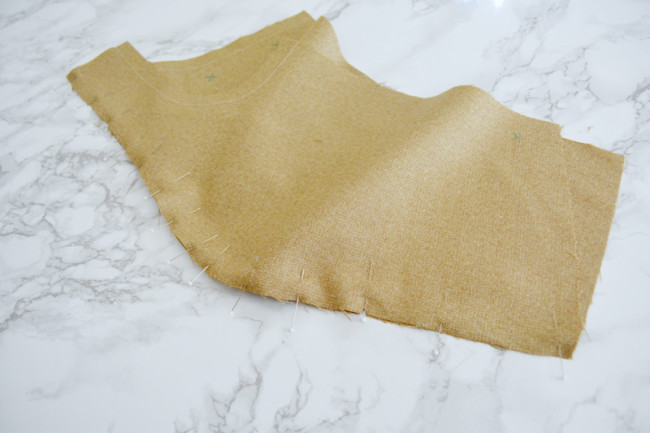
3) Press princess seam. Press seam open on top of pressing ham. If you don’t have a pressing ham, a rolled up towel can make a good stand in.
4) Repeat. Repeat process with other front princess seam. Version 1 will be two separate front units:
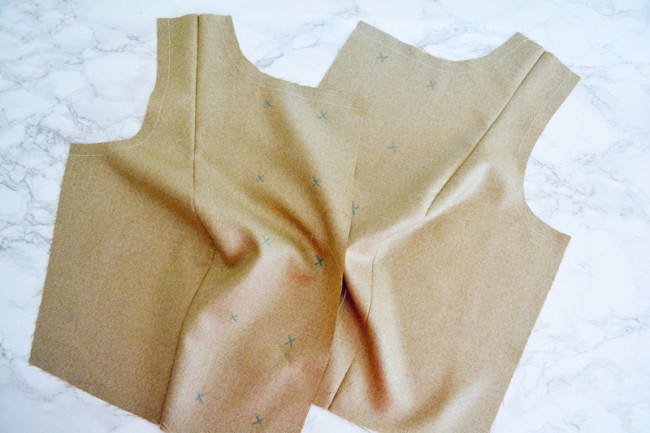
And version 2 will be one front unit:

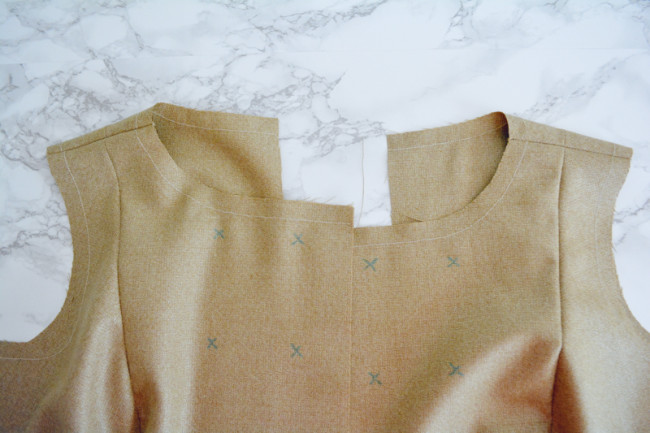
Sew back princess seams – both versions
Using the same procedure, we’ll sew the back princess seams.
1) Pin princess seams. Pin back princess seam, right sides together.
2) Sew princess seams. Following the steps above, sew, clip and press back princess seams.
Sew shoulder seams – both versions
1) Pin shoulder seams. At right and left shoulder seams, pin backs to fronts. The back is slightly longer than the front, so you will have to ease the edges together, which means gently stretching the front to fit the back.
Make sure that the front and back princess seams are lined up with each other.
2) Sew shoulder seams. Sew right and left shoulder seams. Press open.

Again, Version 1 will have two separate right and left units, while Version 2 will have one connected bodice unit.
Sew lining – both versions
1) Construct lining. Repeat all above sewing steps with corresponding lining pieces.
2) Grade lining. When sewing lining, trim each seam allowance in half. This is called grading, and it will reduce bulk in the seams and lessen the chance of your seam allowances showing as a ridge through the right side of the garment.
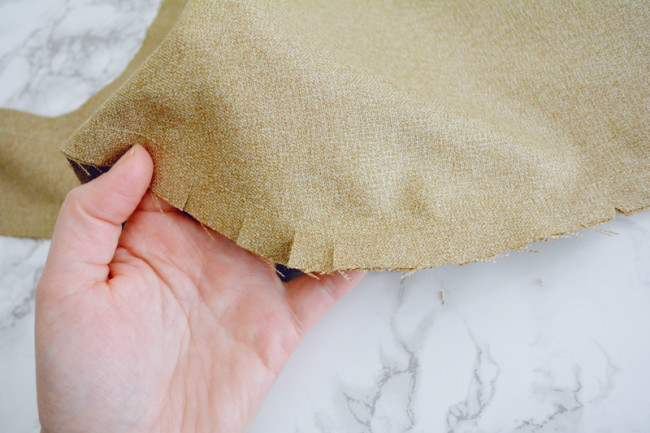
3) Trim lining armscyes. When lining is complete, trim 1/8″ from each armscye. This will help the lining at the armscye to roll to the inside of the garment.
We’ll be back Thursday with more sewing. Comment below with questions!
Comments
My main (corduroy) & lining fabric has 3% lycra. Would you recommend stay tape for bodice seams?
No, you should be fine, they won’t be too stretchy.
I’m hoping to add a skirt lining too. I notice that the bodice forms a completely enclosed lining with the seam at the waist, and no seam finishing within the bodice (hurrah!). So do I simply do a skirt lining, finishing all seams, and add that at the waist. Or should it be a whole dress lining just tacked at the waist. I suspect would need to finish more seams though…
You can add a skirt lining by just leaving the lining waist free when you attach the waist to the outside, and then attach a skirt lining to the bodice lining at the waist. So yes, basically a dress within a dress, wrong sides to each other. You can still get away with not finished the bodice seams in that scenario, but I would finish the skirt seams on the lining and exterior just because they’ll be a little freer/looser.
You could then just baste the lining and shell together at the center back and install the zipper like the pattern says, OR, if you wanted to be extra slick, you could undo a little understitching at the center back neckline and pull the shell totally away from the lining, and install the zipper on the shell only. Then you would sew the lining skirt seam from the zipper mark down, and turn under the seam allowance of the lining above the zipper mark and hand stitch it to the back of the zipper. Then you would have no seams showing anywhere!
Thanks Devon – I shall try to get my head around that. I am going quite slowly as the sheath style was a bit too slim fitting for me, so trying to adjust the skirt.
I’ve done a full lining before – so hopefully can remember. The first time I tried it was on the Peony at a sewing class. The first attempt was hilarious with the sleeve lining emerging from the cuff like a straitjacket…
Do you trim the armscyes without sewing that seam? Where do you stop? This makes me nervous that I will trim too much.
Yes, you trim the lining armscyes only, before you sew the armscye seam. If you are nervous about how much to cut off, use a ruler to mark a line 1/8″ in from the entire armscye edge before you cut.