

One of the most common pattern adjustments to do is a bust adjustment. An ill-fitting bust is often the result of the discrepancy between the pattern’s cup size and your cup size.

In patternmaking, cup size is determined by the difference between the high bust and full bust measurements. Your high bust measurement is across the flat part of your chest and under your armpits; full bust is across the fullest point. Your pattern cup size may or may not correlate with your bra cup size. A difference of 1” is an A cup, 2” is a B cup, and so on.
Colette Patterns sizes 0-16 are drafted for a C cup, meaning they assume a 3” difference between your high bust and low bust. If you are more than an inch above or below this difference, you may benefit from doing a bust adjustment.
This post details both a full bust adjustment (FBA) and small bust adjustment (SBA) for sizes 0-16. Sizes 18-26 have a bust dart in addition to the princess seam, so they have a separate post you can find here.
Do I need an adjustment?

Try on your muslin and examine the bust. If you see diagonal strain lines pointing at your bust apex, you probably need a FBA. Another symptom is that there is gaping in the armhole.
If you have baggy/gaping/droopy fabric across the bust, you probably need a SBA.
Determine adjustment amount
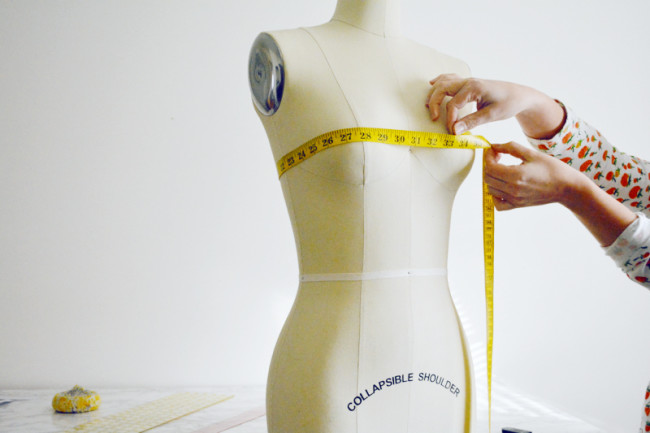
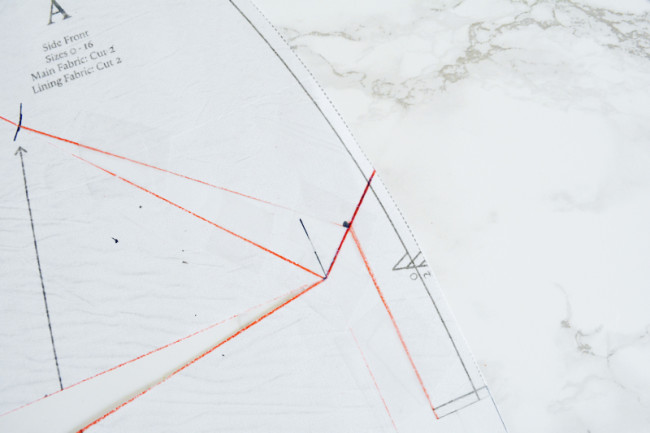
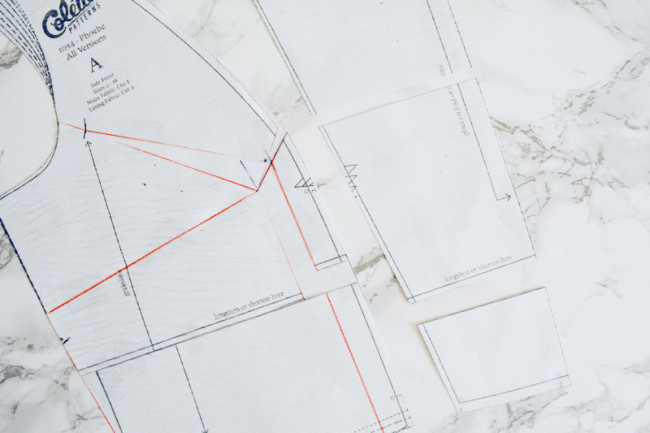
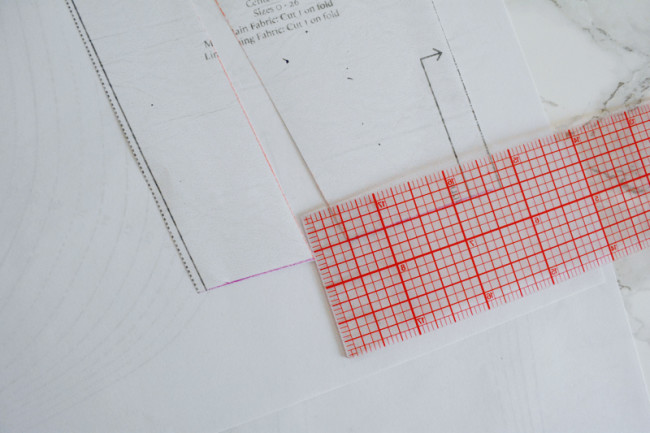
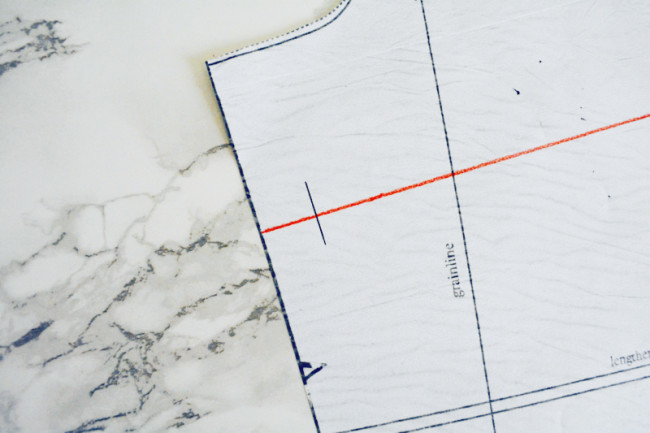
First, mark your bust apex on the muslin, making sure the mark goes on both front and side pattern pieces.
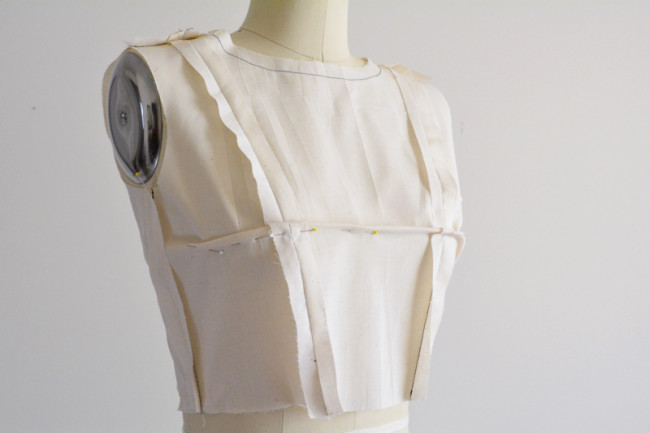
For a FBA, use a seam ripper to carefully open the seams over your bust. (Yes, this is kind of a Mean Girls moment.) Make sure you undo both sides to get an accurate measurement. Open it far enough above and below the bust so that the diagonal stress lines go away. You will also most likely find that the gape in the armhole has vanished.

Now measure the distance across the opening from apex to apex. This is the adjustment amount for your FBA. Note where both pattern pieces are falling in relation to your apex. You want the princess seam running pretty much right over the apex. You may need to add width to just the side front, or perhaps both the side and center fronts. In the above photo, the opening is 1″ wide and the bust apex is right in the center of the opening. This means that the FBA will be to add 1/2″ to the center front and 1/2″ to the side front.
For a SBA, pinch out the excess fabric horizontally across the bust apex. This might seem counterintuitive, but a smaller bust actually requires less length to cover, so we’ll be getting rid of that length with a horizontal pinch.
Measure the width of the pinch at the princess seam and double it to account for two layers of fabric. So if you pinched ½”, your adjustment amount is 1”.
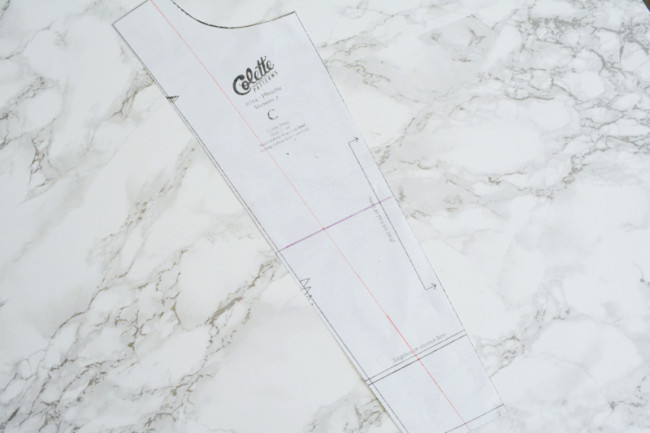
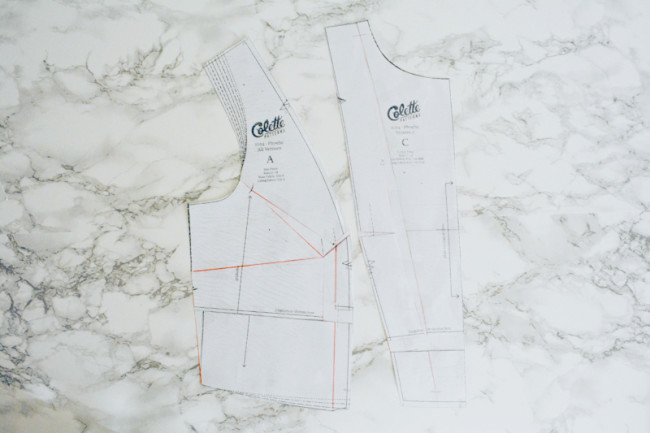
Note: all photos show Version 2 pattern pieces, but the procedure is the same for Version 1.
FBA – add width to side front
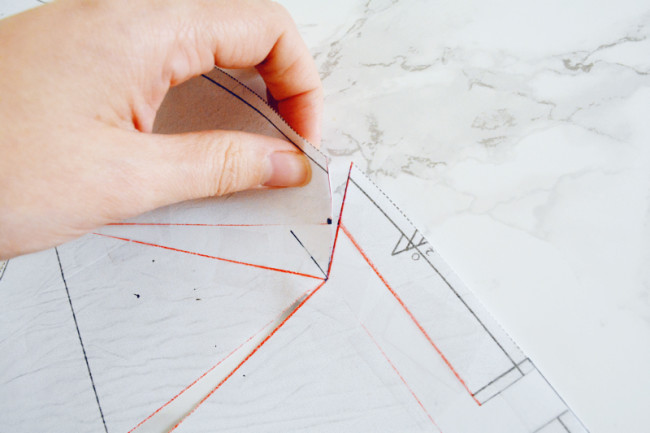
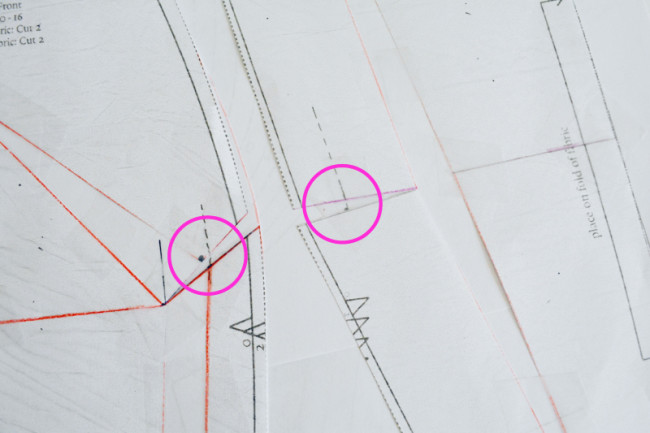
First, transfer your bust apex from your muslin to your pattern piece. An easy way to do this is to align the pieces and stick a pin through both layers.

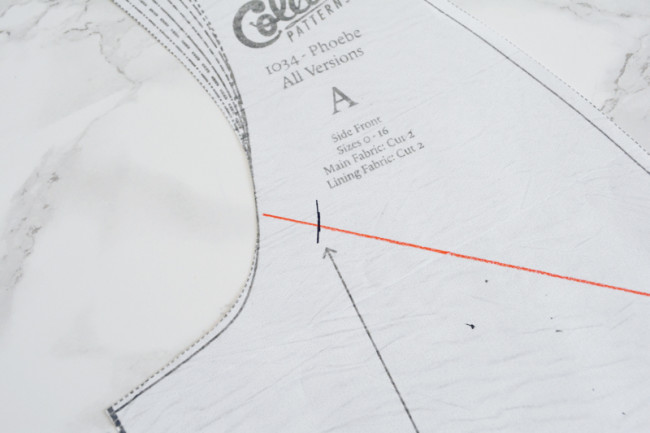
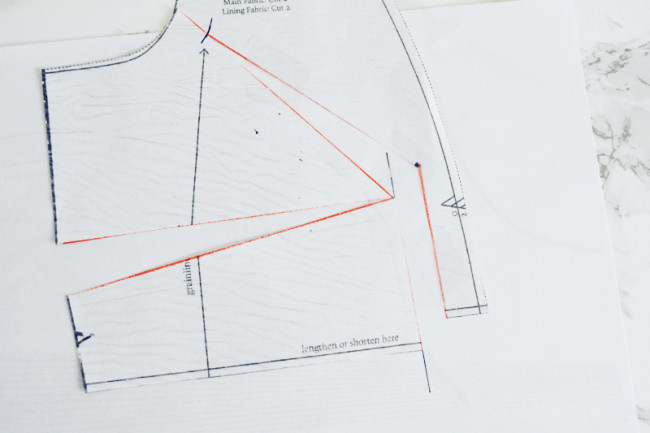
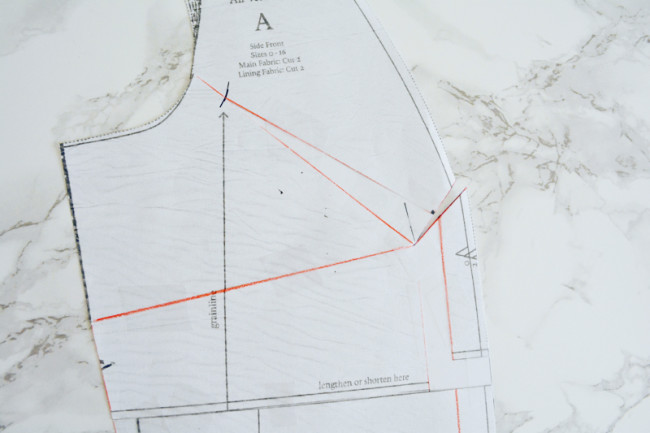
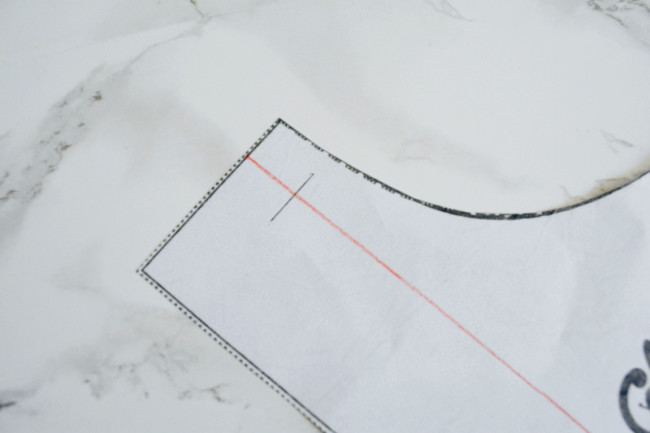
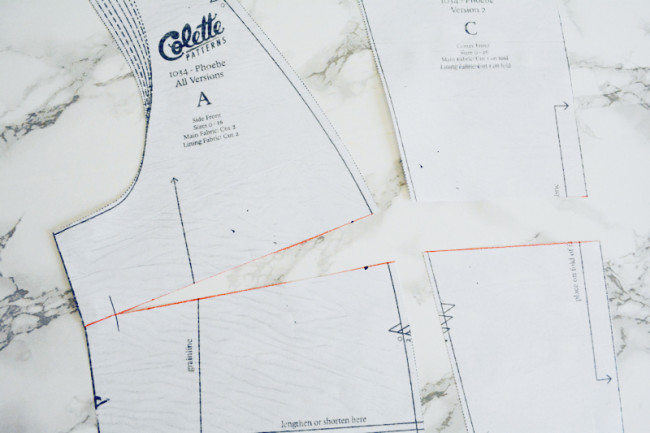
On front side bodice piece, draw line A parallel to the grainline, starting very close to the front stitching line and drawing to the apex. Then angle up to a point 1/3 of the way up the armscye.
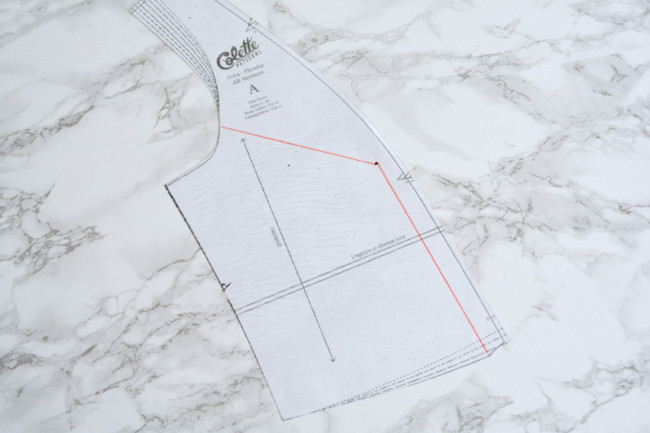
Draw stitching line (5/8” in from edge) at armscye edge over line A.
Draw line B from the side seam to the apex, about where a bust dart would go.

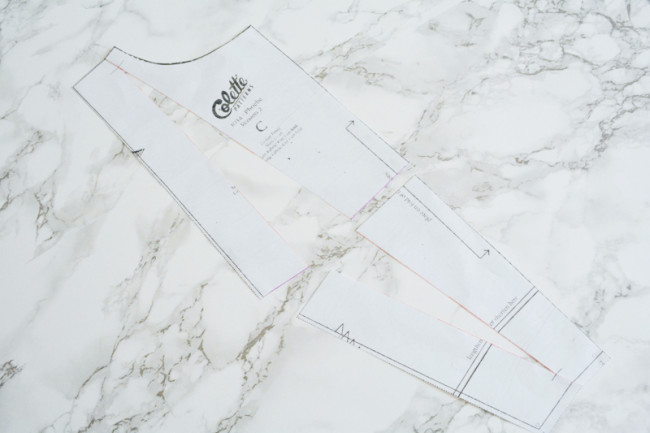
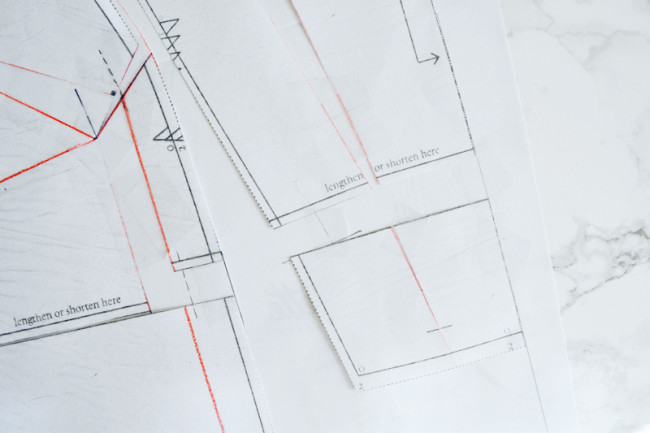
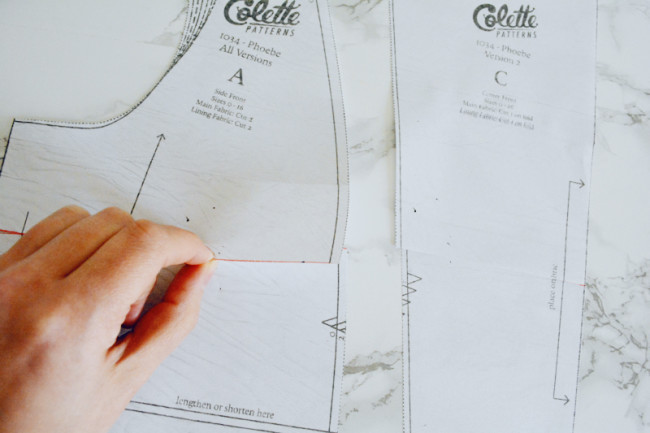
Cut apart along the lengthen/shorten line. Set the lower half aside for now.

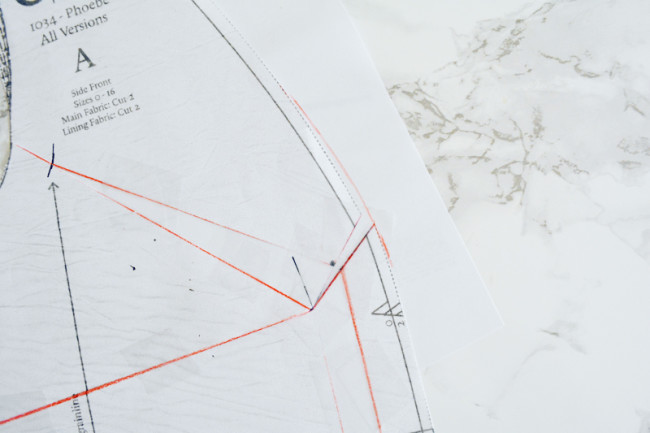
Cut along line A from the bottom up to the armscye stitching line. From the armscye edge, cut __ to but not through__ the stitching line to create a hinge.
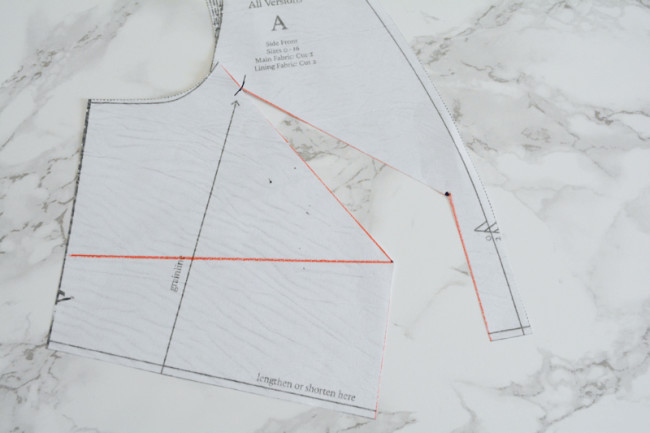
Cut along line B to but not through apex to create a hinge.
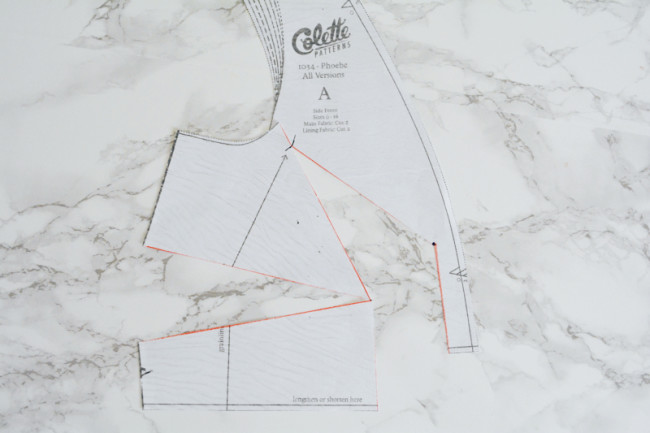
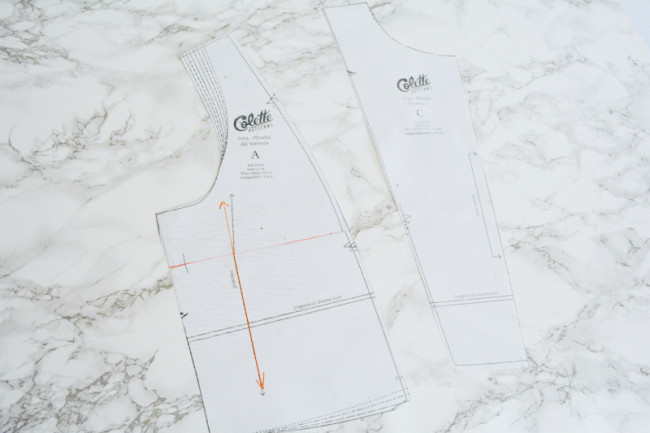
Place pattern piece over a piece of extra paper. Tape down right side. Draw your adjustment line to the left of and parallel to cut line A. (This is the amount of width you’re adding to the side front piece.)
Position right half of pattern piece so that cut line A is against line. A dart shape will open up. Tape in place.
Draw a line extending right edge of pattern piece downwards. Take the lower half of the pattern piece that you cut off and position it under the upper half with the right edge aligned with the drawn line. Tape in place.
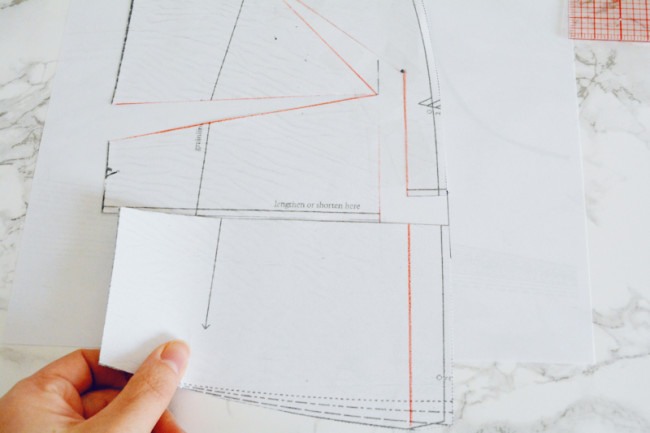
Redraw side seam, blending edges. This ensures that the waist seam stays the same length and will line up with the skirt.
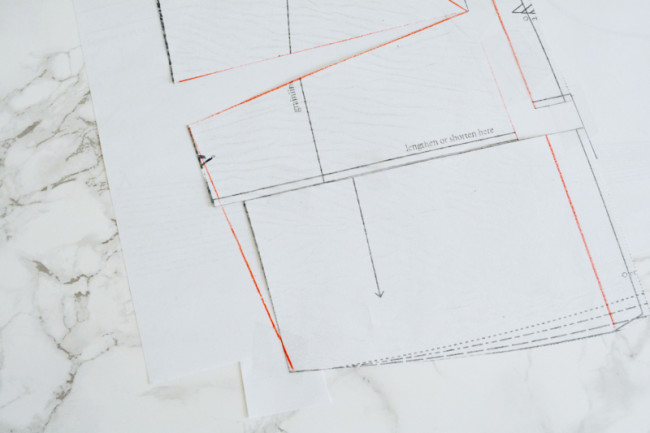
Trim all excess paper. Also trim any paper out of the opened dart.
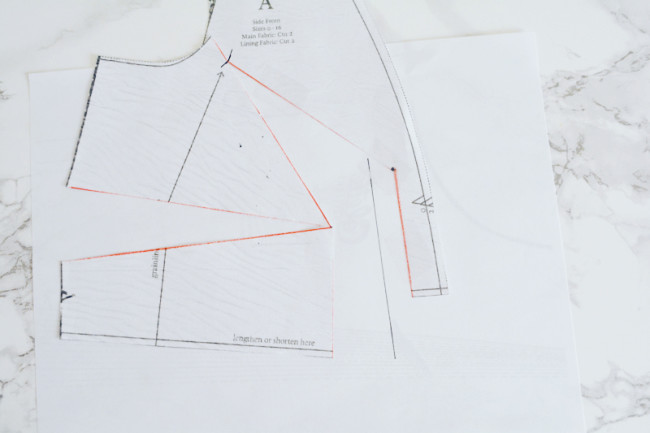
The fullness we’ve added is now appearing as a dart, but we want to get rid of that dart. Draw a line from the new bust apex to the fullest point of the bust. (The line in the photo is going through the original apex, but yours doesn’t necessarily have to.)
Cut along line to but not through dart point to create hinge.
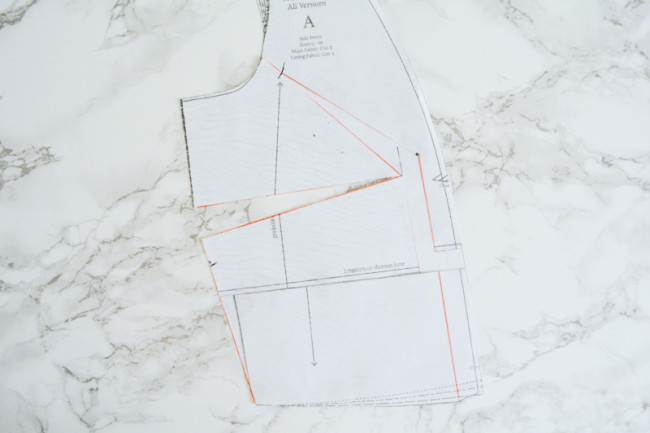
Rotate the upper part of the pattern piece to close the dart and tape in place.
Place extra paper under the new gap that opened and tape. Draw a curved line blending the jagged edges together.
Trim excess paper.
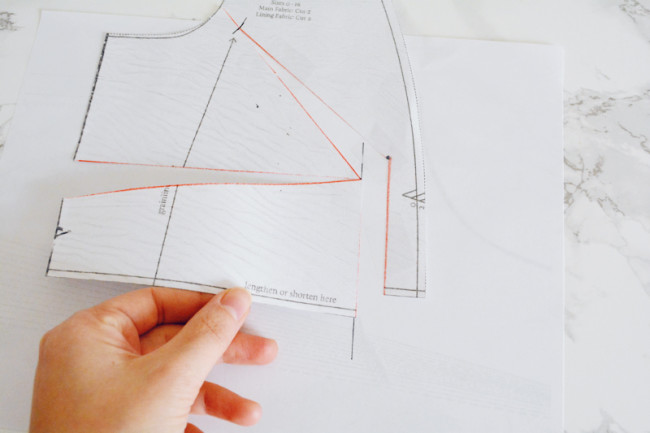
If you’re also adding width to the center front piece, jump to the next section. If you’re only adding width to the side front, keep going.
Because we’ve changed the length of the princess seam on the side front piece, we need to adjust the center front piece to match. Measure the distance the pattern piece opened at the bust apex at the stitching line. Also measure the distance you separated the L/S line.
On the center front bodice, draw a line through the bust apex perpendicular to fold edge. Cut apart on this line and the L/S line. Spread both to correspond with the measurements of the side bodice piece, keeping cut edges parallel.
Tape paper behind and trim any jagged edges.
FBA – add width to center front
First, draw a line 1.5″ from princess seam edge (Line A). Draw a second line through apex perpendicular to fold edge.
Trace over the line at seam allowance on shoulder and waist edges.
Cut pattern piece apart at apex line. Then on each half, cut on line A to but not through stitching line from each side to make hinge.
Place paper behind upper half and tape down right side. Position hinge so that width bottom of opening measures your adjustment amount.
Next, measure side front at bust apex at stitching line to see how much length was added when you closed the dart. Now, position lower half of center front under the upper half so that fold edges are lined up, hinge is open the same amount, and the length added at bust apex stitching line is the same.
Almost there! Cut center front apart on L/S line. Measure how much was added to side front at stitching line, and draw a line this amount below center front piece. Also draw in the stitching line.

Close hinge on lowest section of center front piece. Tape down so that fold edge lines up with the rest and top edge is aligned with the intersection of your marked lines.
Blend any jagged edges and trim excess paper.
SBA
In this case, a SBA is a little more straightforward than a FBA.
First, transfer bust apex from your muslin to your pattern pieces.
On the side front, draw a line through the apex to the side seam, about where a bust dart would go. On the center front, draw a line through bust apex perpendicular to fold.

On the side front, mark the stitching line at the side seam.
On the side front, cut to but not through the stitching line from both sides to create hinge. On center front, cut all the way across line.
On side front, overlap hinged edges so that they overlap by your adjustment amount at the stitching line. Draw in the stitching line if necessary. Tape in place.
On center front, overlap edges equally by your adjustment amount, keeping edges parallel.
Redraw/trim any jagged edges, placing paper behind if necessary. Redraw grain line on side front based on lower half.
redraw buttons
If you’re making Version 1 and you do a bust adjustment, you’ll need to redraw the button placement. To learn how, refer to the steps in the “Basic Fitting Guidelines” post.
check fit
After you’ve done any drastic bust alterations, it’s always a good idea to do a second muslin to make sure they worked before you cut into your fashion fabric.
Next week, we’ll start by talking about one more pattern adjustment you can do, and then we’ll move on to the real deal!
Feel free to comment below with questions.
Comments
Thank you!! I’ve been wondering how to do a SBA for a princess seam. My phoebe came out a little gappy. This seems a bit more accurate than just sewing the princess seem down in a trial by error fashion.
Yes, it’s a little different since it’s not just the opposite of a FBA like is often the case! Hope this works better for you!
Love the sewalongs! The fit of my Phoebe’s bust princess seam is OK but the armhole is too big at the side seam.
Will we look correcting that on the next edition?
Hi Jan! That one won’t be covered specifically in the next post. Do you mean that it’s gaping under your arm? You can just pin it until the fit is good, measure how much you took it in, and remove a wedge of that width from the side front and side back pattern pieces at the side seam.
Hi, I just had a question about a SBA. If I know that I need to make a SBA to the pattern, can I alter the paper pattern for a SBA without making a muslin first? If I did that, how would I know where to put the bust apex points?
Do you have the hard copy pattern tissue version? If so, I would do a tissue fitting – pin the princess seam of the tissue pieces together at the stitching line, then pin the center front, shoulder and side seam in place to yourself (wear a form fitting shirt). Then you can make the tuck in the tissue and see right where it needs to go.
If you have the PDF, regular printer paper is probably too stiff for this, so I’d trace it off onto something thinner, like tracing paper or maybe even newspaper.