

Today we are forging ahead with our bodice and yoke construction.
Remember that all seam allowances are 5/8″ unless otherwise noted.
Also, there are a few terms in today’s post that can get muddy and confusing when mentioned together, so to clarify:
Right side seam: This is the side seam that will be on the right side of your body when wearing the finished garment.
Right side (or right sides together): This is the side of your fabric that will be on the outside of your finished garment. So if you’re using a printed fabric, it’s the side with a print. If you’re using a fabric that has no right or wrong side (like both of mine), it is helpful to mark all the wrong sides with a small ‘x’ as you cut out so that things are a bit less confusing.
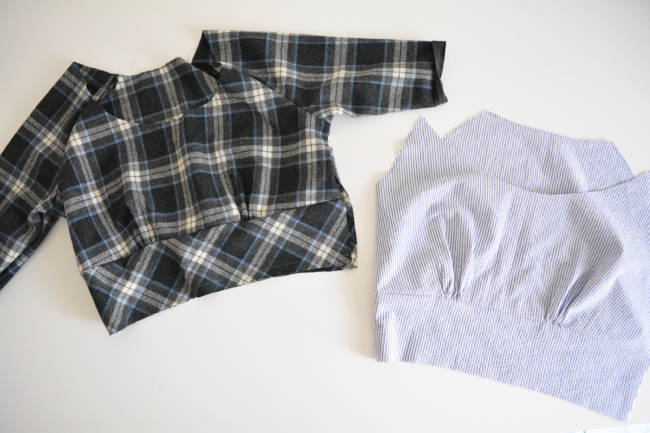
Version 1: Sleeves, Shoulders and Side Seams
1) Attach bias tape to sleeve. Cut a length of bias tape slightly longer than bottom edge of sleeve.
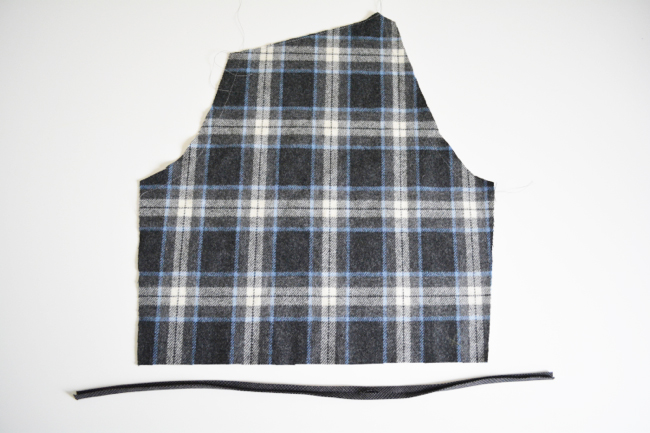
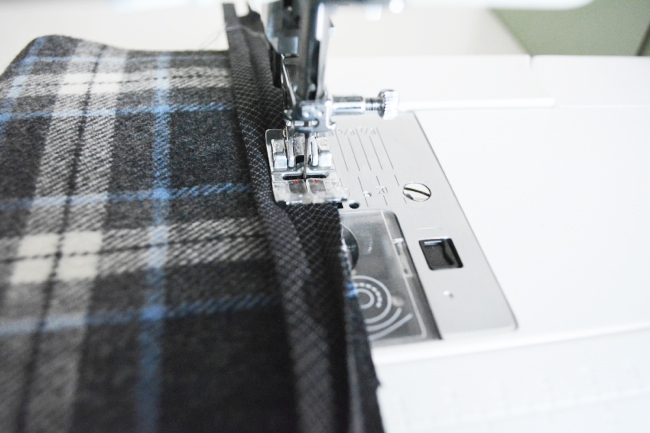
Unfold bias tape and align raw edge with raw bottom edge of sleeve, right sides together. Stitch bias tape to sleeve, stitching in fold closest to edge (it should be approximately a 1/4″ seam allowance).
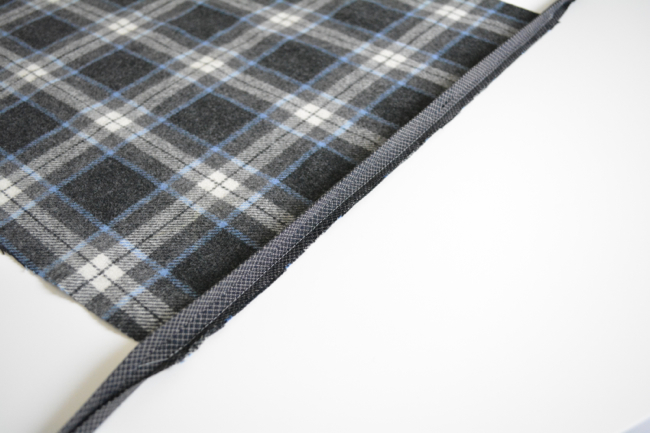
Repeat with other sleeve.
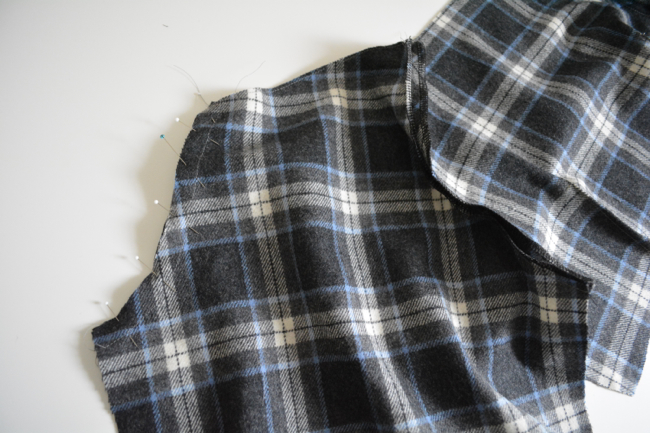
2) Pin back raglan seam. Find the double notch on a sleeve piece. Match it with the corresponding double notch one of the back bodice raglan edges, right sides together. There is a right and left sleeve, so if the edges don’t look right when you place them right sides together, try switching the sleeve to the other side of the bodice.
Pin together at double notch and at each end.
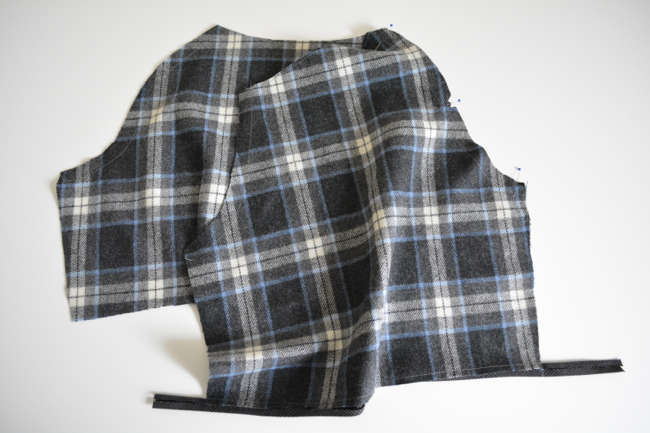
Pin the rest of the edge, easing in the different curves and making sure the edges are aligned.
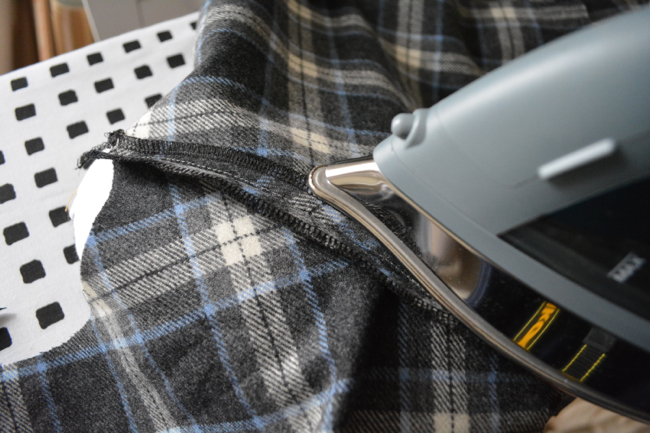
3) Sew back raglan seam. Stitch edge together. Finish raw edges with a zig zag stitch or serger, trim and press open.
When pressing, it’s helpful to put a pressing ham or rolled up towel under the seam to preserve the curved shape.
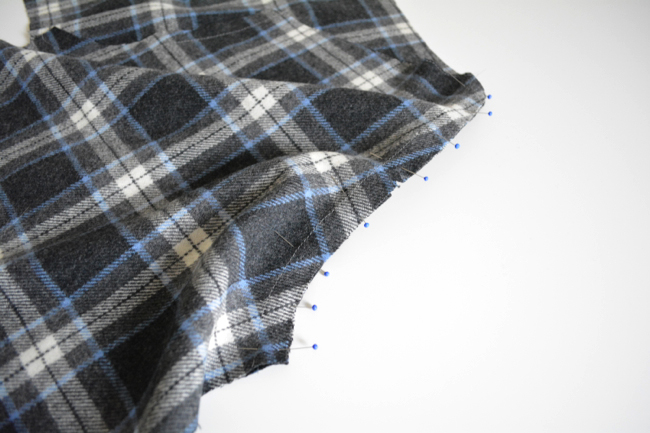
4) Pin front raglan seam. Find the front raglan edge of the sleeve piece – it’s the edge with the single notch. Pin it to the corresponding raglan edge of the front bodice, right sides together, matching notches and easing curves together.
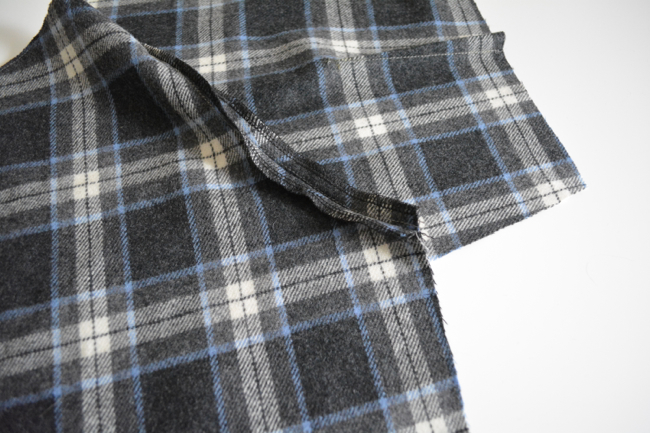
5) Sew front raglan seam. Stitch the front raglan edge. Finish and press open.
6) Repeat with other sleeve. Repeat the above steps to attach the other sleeve to both the front and back bodice.
7) Pin side seam. Find the right side seam. If you need to, turn the bodice right side out and visualize wearing it, and mark the right side with a pin. Pin the right side seam, right sides together, starting by aligning and pinning underarm seam. Then pin down to the waist and up to the sleeve edge.
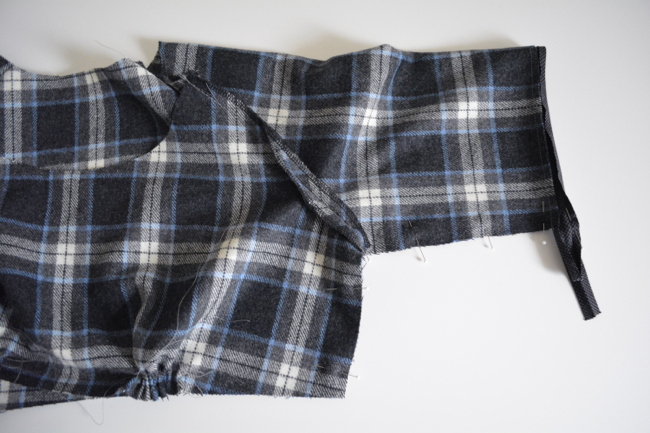
Unfold the bias tape all the way and pin together.
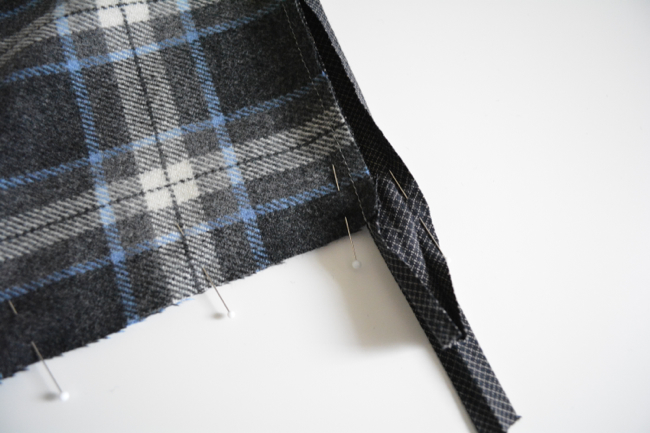
8) Sew side seam. With bias tape still unfolded, sew from edge of sleeve all the way down to waist, pivoting slightly at the underarm. Finish seam and press open. Trim extra bias tape down to 1/4″. There is no need to finish the raw edges of the bias tape, since it will be folded up and eventually covered.
Version 2: Side seam
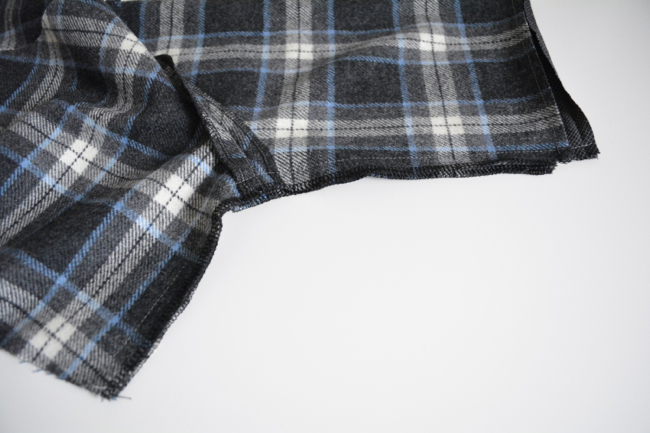
1) Pin side seam. Find the right side seam. If you need to, place the bodice pieces right side out and visualize wearing them, and mark the right side with a pin. Pin the right side seam together, right sides together.
2) Sew side seam. Stitch side seam. Finish seam and press open.
Both versions: Yoke and Yoke lining
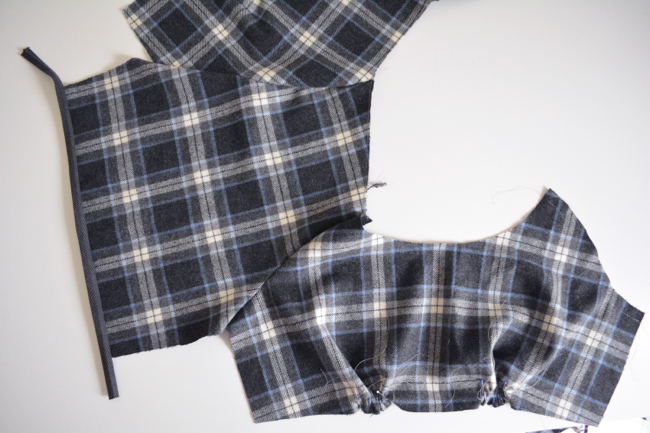
1) Assemble yoke and yoke lining. Place your yoke pieces in pairs with a front and back in each, right sides together. On one pair, align and stitch the right side seam. Again, visualize if necessary. This will be the outer yoke.
For the other pair, align and stitch the left side seam. This will be the yoke lining.
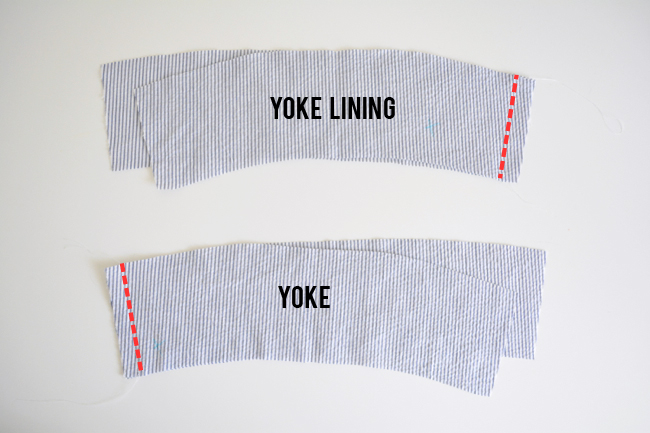
They need to be opposites because the lining is, in effect, worn inside out, as it will end up on the inside of the garment with the right side facing you.
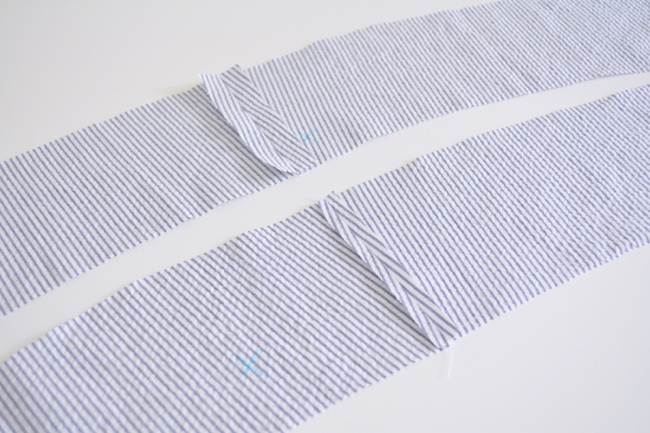
2) Press and grade yokes. Press both seams open. On lining, trim seam allowance in half. This is called grading, and it will help reduce visual bulk in your seams.
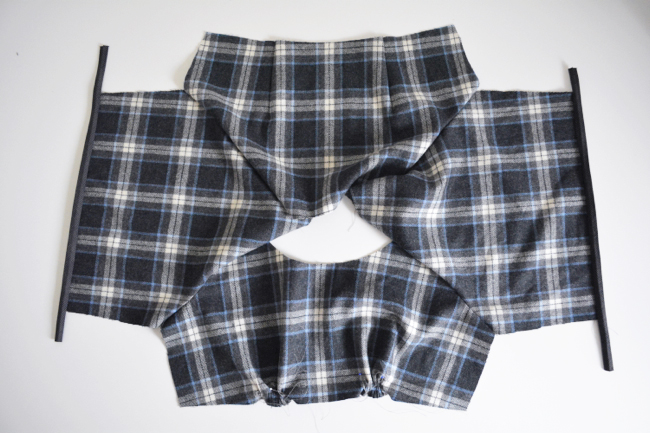
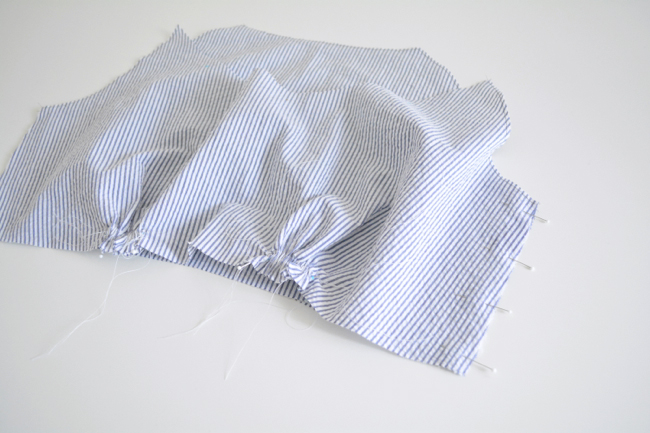
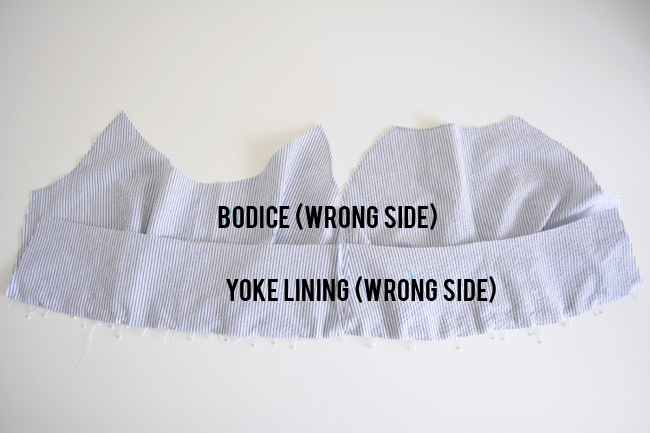
2) Pin outer yoke. Find upper edge of the outer yoke. This is the edge that is convex (the top of the rainbow!). Align that edge with the bottom edge of the bodice, right sides together. Start by pinning at the ends, the side seam, and the centers of front and back (which should be snipped).
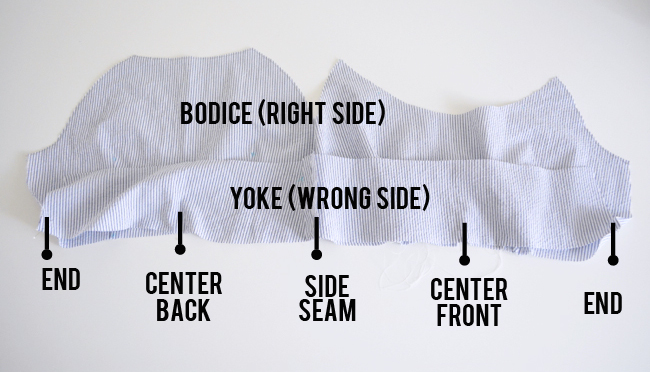
Now work section by section, pinning the rest of the edge together. At this point you can adjust the gathers if you need to to make sure they are the same size as the yoke. Also make sure they are evenly and neatly distributed.
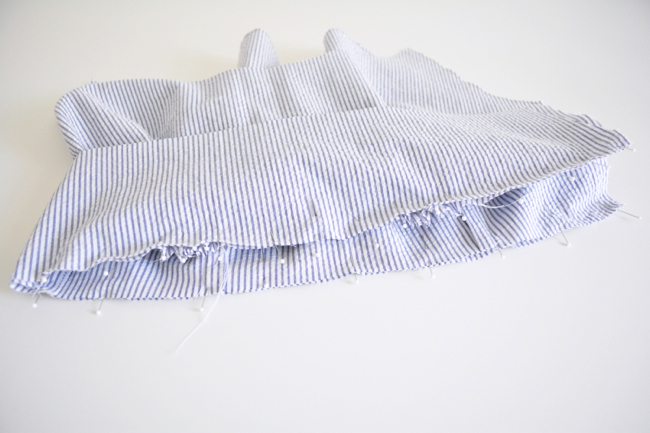
3) Pin yoke lining. Flip the whole thing over. Find the same upper curved edge of the yoke lining and line it up with the bottom edge of the bodice, with the right side of the yoke lining touching the wrong side of the bodice. The bodice should be sandwiched in between the two yokes. Pin along the edge in the same way you pinned the outer yoke, making sure all three layers are lined up.
4) Sew yoke. Sew entire edge from end to end through all three layers. Go nice and slow and make sure things stay lined up as you sew.
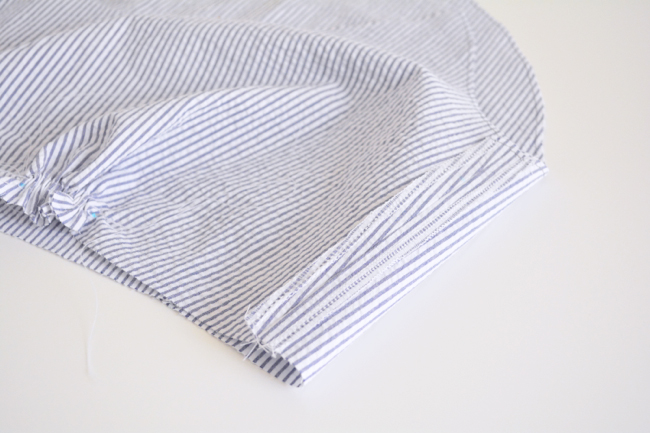
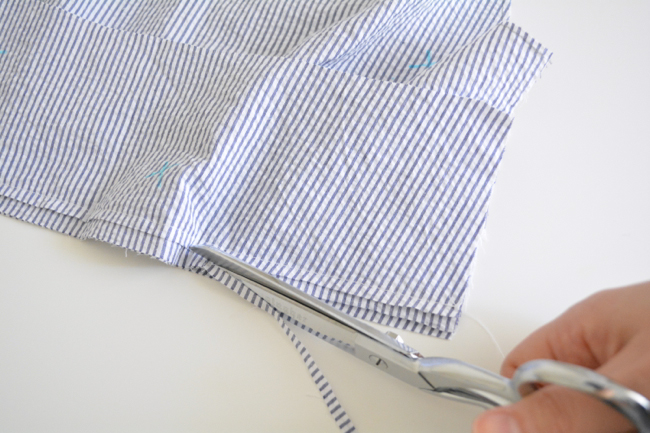
5) Grade and press yoke. Since we have three layers, trimming some of them will help prevent a bulky line showing through on the front of the dress. Trim the yoke lining and bodice seam allowances by slightly varied amounts as shown. Don’t trim the outer yoke. Trim very carefully!
Press both outer yoke and yoke lining down.
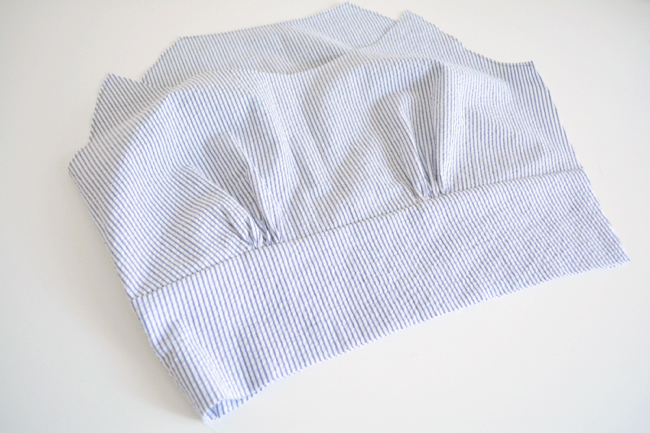
Now all your waist seam raw edges are neatly enclosed inside the yoke!
ETA: If you are planning on lining your Dahlia, you can leave the yoke lining off for now. Just attach the outer yoke to the bottom of your bodice. The yoke will then be covered by the lining in a future step. There will be more info and photos about the lining in the zipper post.
Spend the next two days admiring your bodice, and then check back in on Friday when we get started on our skirts!
Comments
Hi, I’m adding a lining to mine. Thinking along the lines of adding the sleeve bias binding after construction and sandwiching the lining in? Same for neckline. Was going to use this for yoke lining also, so I added some lightweight interfacing to the bias cut outer yoke but will cut lining on the grain.
For the yoke – would you advise layering it all together at the waist, leaving a gap for zipper? Or would it be better to construct it separately through to the hem, with attachment only at neckline and cuffs? Maybe with either tacks or stitch in ditch at yoke afterwards? Thanks!
This was my question too! You asked it much more coherently than I would. I was going to leave the yoke unlined, though, so thanks for the inspiration to cut the inner yoke from lining fabric – not sure why that didn’t occur to me…
If you are going to fully line it or line the bodice including the yoke, then you can leave off the yoke lining for now, since it will get covered by the lining. So just ignore it and attach only the outer yoke. And yes, you’re right in thinking about how to connect it to the sleeves/neckline. I’ll actually have a few pictures of attaching the lining to the zipper in the zipper post, so maybe that will help you! And thanks for asking now, I will edit the post to add the bit about the yoke lining. :]
Thank you, that’s really helpful and I can get on and ignore lining for the moment.
Hi, is the yoke front and yoke back the same length? My pattern pieces are not and I would like to know before cutting my fabric.
Toni
The front yoke is slightly longer and straighter than the back.
should i have said width? the way it goes around me hows that?
Toni, The widest part gets attached to the top, and the narrow edge will get attached to the skirt. I made the mistake of doing it upside down. lol You’re usually wider right under your bust than right above or at your waist.
I’m doing a muslin first and I managed to sew the yoke on upside down. I wasn’t thinking correctly when I put it in. It goes widest part closest to the bodice, narrow part closest to the waist. lol It’s all pinned properly now and I’ll re-sew it tonight.
I know, it does seem a little counter intuitive! At least you caught it before you kept going!! :]
So I sewed up the muslin last night and I can see that I definitely need to make adjustments. The neckline is really big on me. I could probably take out about 3-4″ all the way around. I’ll have to re-read your post about making adjustments. The bust feels okay, but I feel like the dress will fall off my shoulders if I leave it the way it is and there’s gaping in front and in back. I’m thinking I’ll also add in some length to the bodice.
Yes, check out that post, as well as the comments – they may be helpful too! You probably need to pinch some out of the front and back raglan seams.
Hi Carol,
I felt exactly the same when I tried on the top without the gathering, like the whole thing fell off my shoulders. But I decided to just go with it and see how the gathering would turn out in the end (sorry I got too excited and went ahead and finished the dress). When it was time to gather the neckline, I gathered up to 5 inches instead of 6 (as suggested) because I was feeling insecure that it would be too wide. I also took in a wee bit (3/8″) in the raglan back seams because I thought there was a slight gaping when I finished the dress with binding and all. Now I wish I didn’t gather up to 5″ but obeyed the 6″ so that it would look a little less constricted in the bust area. Otherwise, the dress is perfect!
I forgot to do the gathering at the neck edge. When I finally did it, it was still too big, so I’m doing a new muslin with narrow shoulder adjustments. Hopefully that will help. About another hour and I’ll know.
Hi,
I’m a fairly new sewist and was doing okay up until this step, but I’m having issues with the yoke attachment. The back of the bodice and the back of the yoke match up well, but then there’s a 3 inch gap on the right side where the yoke piece ends, before the bodice side. It seems like too much to adjust with the gathering (which is already pretty tight–an inch as suggested). Any thoughts on what I might be doing wrong or how to fix this?
Hi Malena!
Your back bodice should have darts, not gathers. Perhaps you forgot to sew the darts? Or, perhaps you are accidentally matching the back yoke to the front bodice? The front bodice/yoke edge is longer than the back.
I have one more question. I’m making both versions of the dress, and weirdly the one with sleeves doesn’t have the yoke issue so that’s not my problem. There I was just wondering–I can see the stitching across my gathers over the top of the yoke. Now that it’s sewing into the bodice, can I remove those gather stitches (the visible ones) since the gathers will be held in place by the yoke? Also, is it correct that one sleeve is stitched up but the other is still open?
Yes, you can remove the visible basting stitches after the yoke is attached. And yes, the right side seam/sleeve should be sewn, and the left one open. So that is the right side seam when you’re wearing the dress.
Argh. Realization dawns late – I am making my lining as my muslin, so really I should have sewn up the left hand side of my muslin bodice and sleeve (rather than the right hand side as for the dress) so that when I turn the lining inside out in to insert in my dress proper, the open sides for the zipper align, right? Get out the stitch ripper…
Yes, that would be correct. That’s what our friend the seam ripper is for! :]
Hi. The instructions in your post are the opposite of those in the pattern. For the yoke the pattern says stitching the left side seam makes the outer yoke and the right side seam makes the lining yoke but the sew along says left side seam is the outer yoke. Which is correct? Thanks
You’ll want to stitch the outer yoke at the right side seam so that it lines up with the stitched side seam on the bodice. The yoke lining will be at the left side seam.
I think that the printed instruction got it wrong. Didn’t noticed the first time, but now (second dress) I did, and Devon’s instructions are correct.
hi Devon!
first off, thanks for this sewalong, it’s super helpful since I don’t sew woven garments much. (knits are so much more forgiving ;))
I’m still in the process of making my bodice muslin (version 1), and I have some weird fit things going on. based on my measurements (35-28-39, with a 32″ high bust), I cut a size 4 bodice graded to a 6 yoke. the shoulders are falling off but the sleeves and back seem to be too tight. it’s also pretty difficult to get in and out of! however, the bust area fits well. I was thinking of recutting everything in a size 6, doing the narrow shoulder adjustment, and possibly doing a SBA since I prefer a small amount of bust ease. I’m still pretty new at adjusting patterns, though, so in your professional opinion does this sound good?
thanks again!
That sounds good! You may be able to fix the shoulder by just pinching out (taking in) the front and back raglan seams a bit. In flat form, this would be essentially trimming a bit off the raglan edges of the sleeve and bodices at the neckline.
Hello! I finished and am wearing my new Dahlia, but I have a few questions/comments. First, I do need to fix the neckline because it’s way too big on me, and I don’t consider myself narrow shouldered. Secondly, is it totally necessary to put the yoke lining in? I had a lot of trouble with this part (I am an experienced sewist) and I feel like it doesn’t need to be doubled-up. It caused bunching issues when sewing in the ditch and also when installing the invisible zipper. Would it be totally bad to skip the lining if my fabric is opaque enough? Thanks!
I’m doing the muslin and my yokes are too short on both sides. I thought maybe I’d done the wrong size for the yoke so I re-patterned it and it’s still too short on both sides. Is there something I’m doing wrong? Can I just extend the yoke pattern so it’s reaches the sides?