

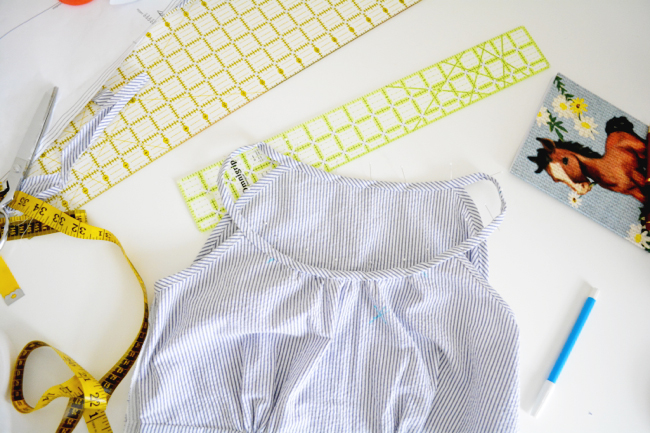
This post covers finishing the neckline and creating the straps for Version 2. We’re getting closer!
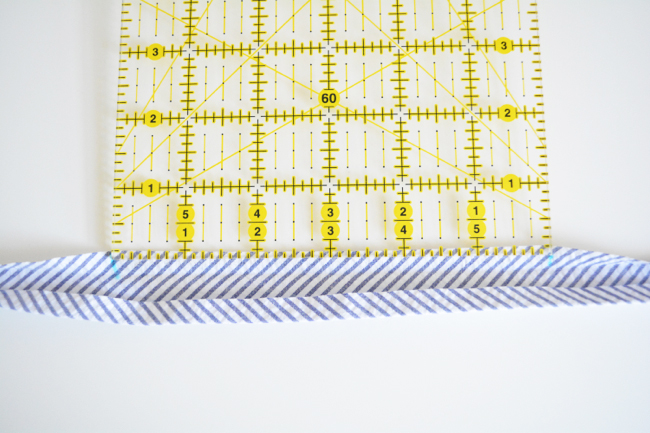
Before we get started, a quick note: The pattern calls for 1/4″ double fold bias tape, meaning the finished width is 1/4″. I wanted my straps to be just a touch wider, so I made 3/8″ double fold bias tape, meaning I cut my original bias strips 1.5″. Feel free to do that if you’d like a wider binding, although you don’t want to go any wider than that because it won’t lay flat around the sharper curves.
So that’s why the bias tape in the photos might look wider than yours, in case you are wondering!
Finish the underarms
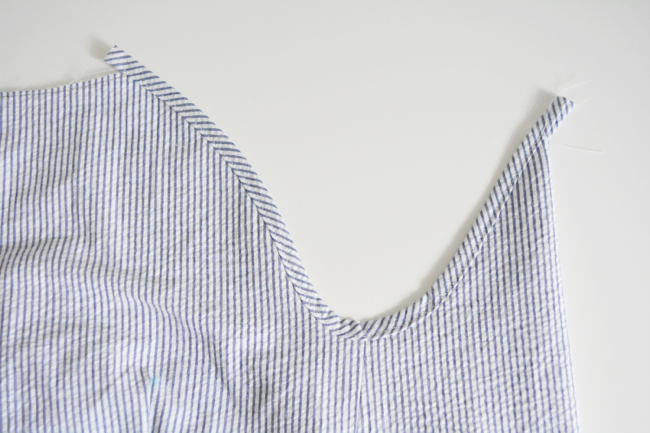
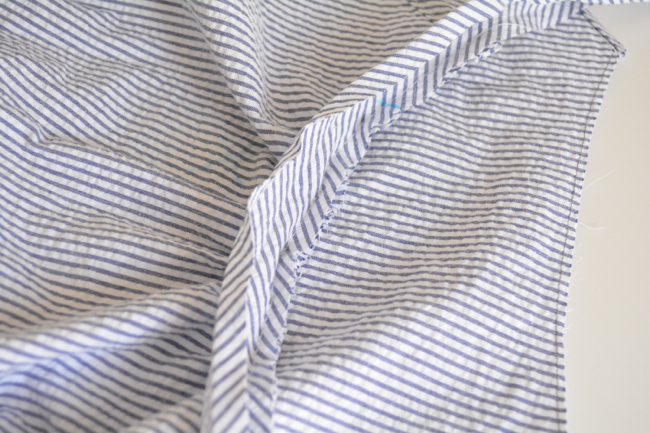
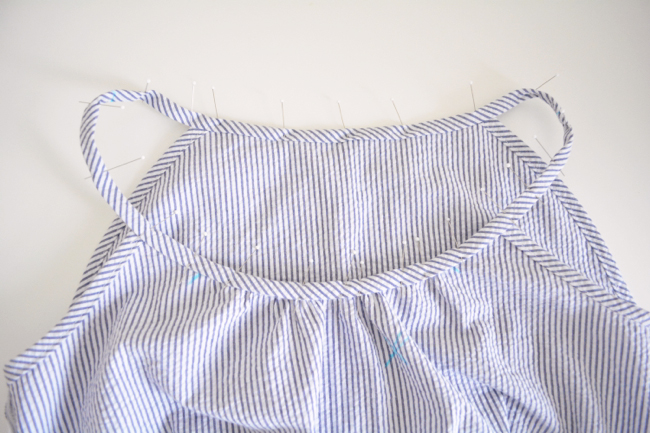
1) Pin bias tape. Cut a piece of bias tape just a bit longer than your underarm seam. Unfold it and align one edge with the edge of the underarm, right sides together. Pin.
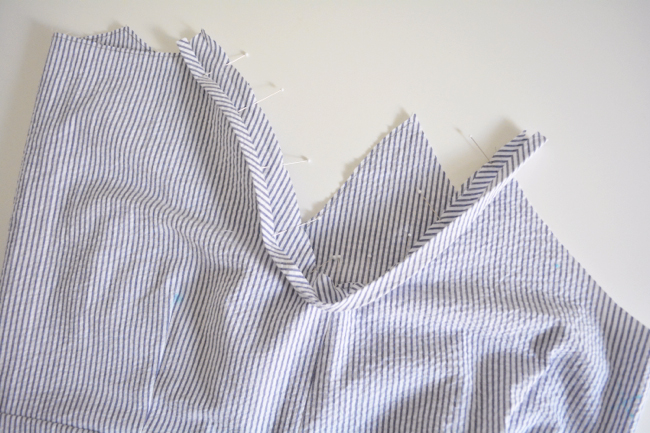
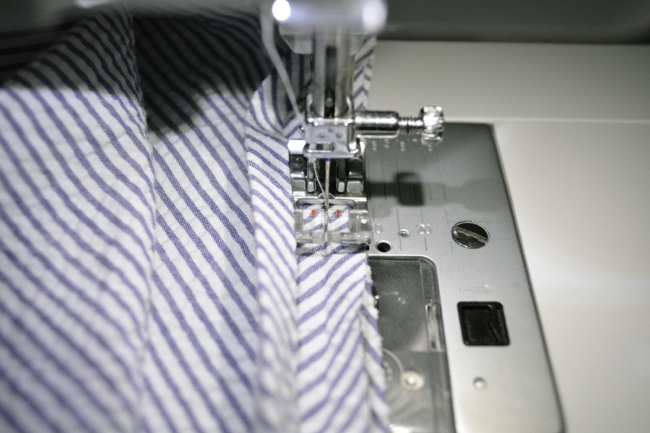
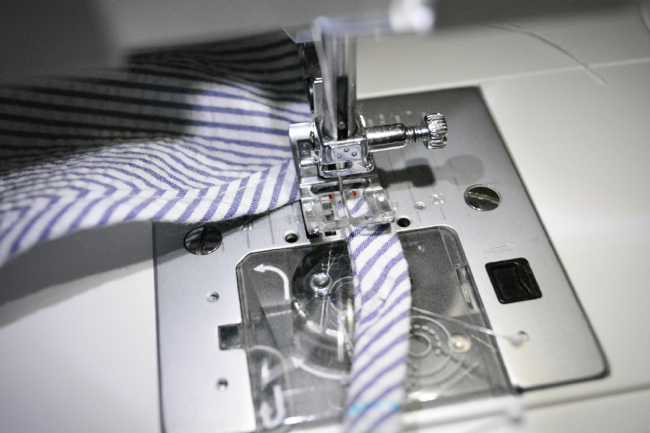
2) Sew bias tape. Stitch bias tape to dress following crease closest to the edge.
3) Topstitch bias tape. Refold bias tape on creases around the raw edge of the fabric and pin.
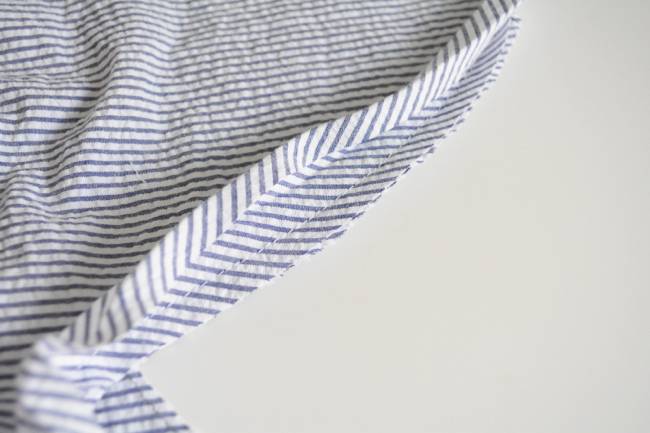
From right side, edgestitch along bias tape through all layers. This should catch and secure the bias tape on the inside.
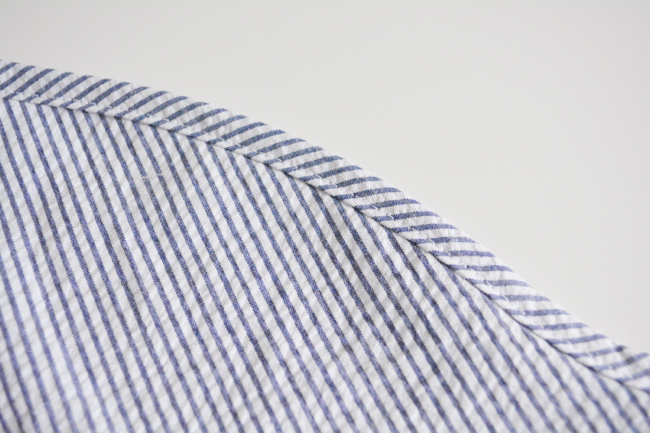
Repeat with other underarm seam. Trim bias tape even with bodice edges.
ATTACH FRONT AND BACK BIAS TAPE
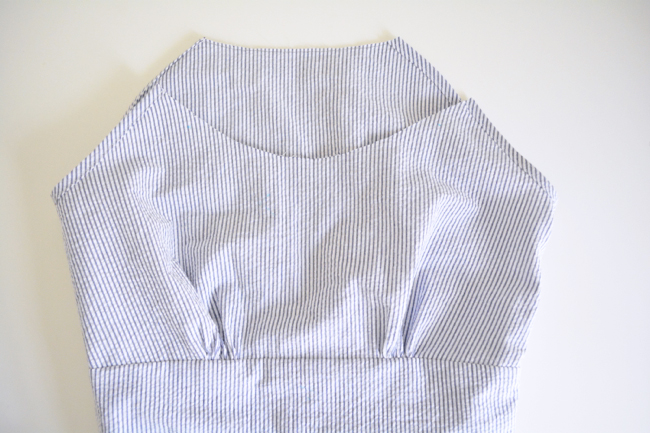
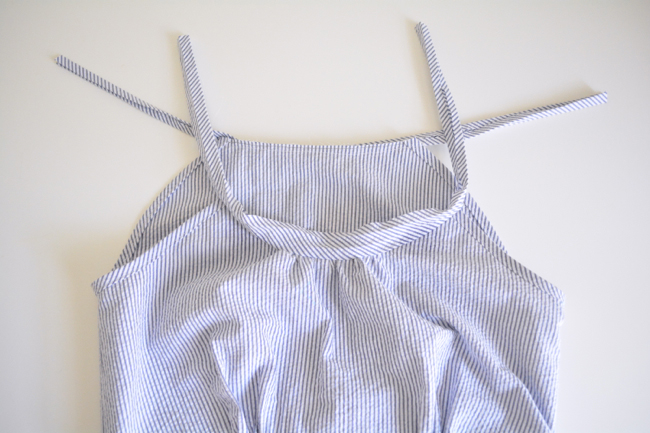
1) Sew basting stitches. Sew two rows of basting stitches between dots on bodice front at 1/8″ and 3/8″.
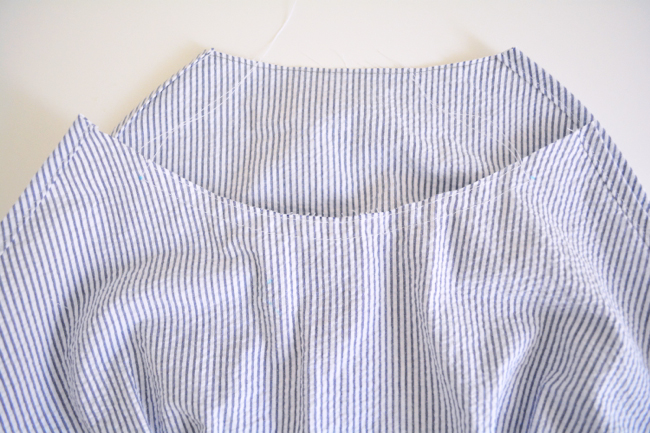
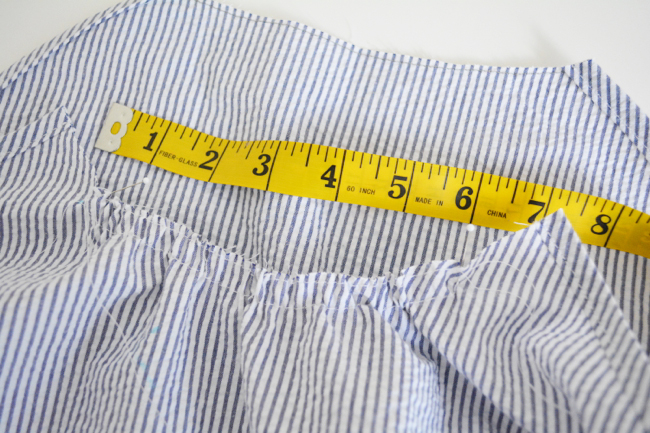
2) Gather bodice. Pull threads to gather fabric down so that it measures 6” between the dots. Anchor threads.
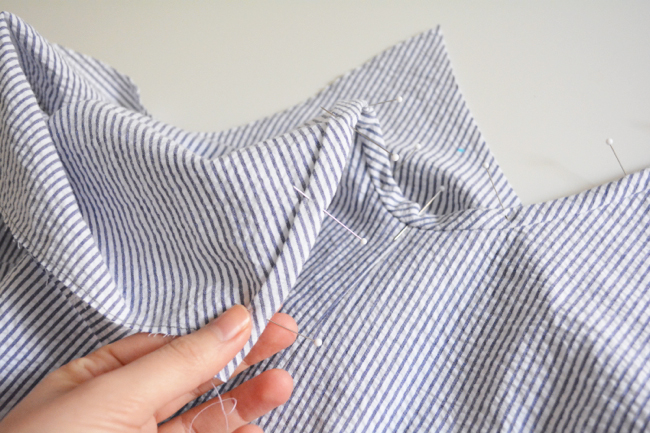
3) Pin bias tape. Cut a piece of bias tape that is 5” longer than the front neckline edge on each end.
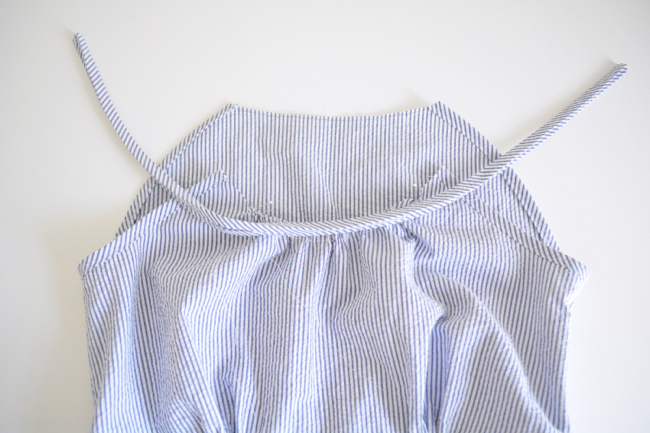
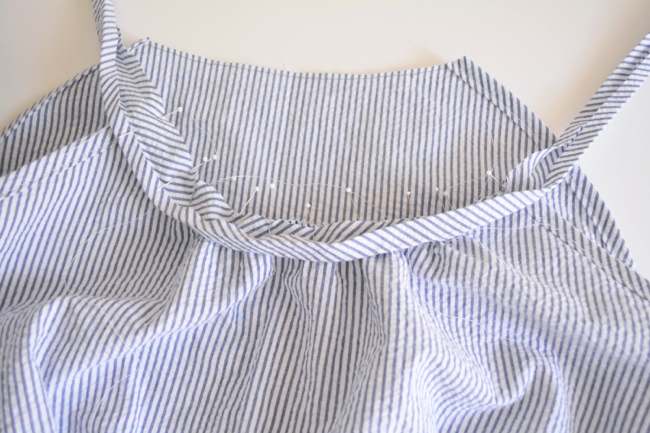
Find the center of the bias tape and front bodice. Open bias tape and pin centers together, raw edges aligned. Pin rest of edge.
Tip: Mark a 6″ distance in the center your bias tape so that you can be sure your gathers aren’t moving around and changing size while you’re pinning.
4) Attach bias tape. Stitch in first crease to attach bias tape to bodice just like you did on the underarms. Stop there – we’ll be refolding the topstitching the bias tape later.
Repeat to attach bias tape to the back in the same manner. Again, don’t topstitch yet.
join and finish straps
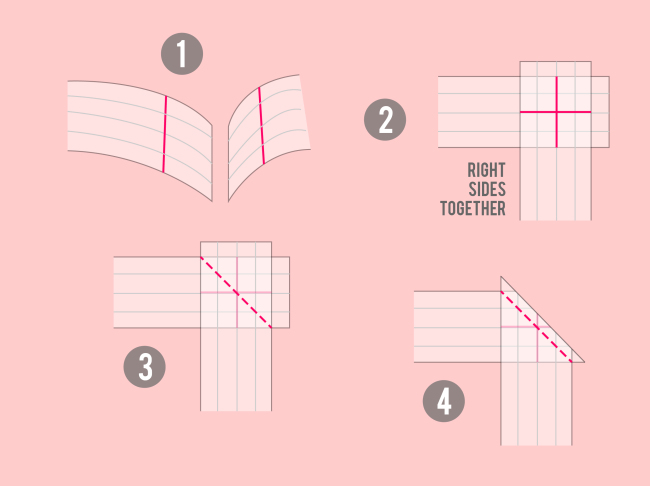
One option to join the straps is to simply sew straight across them. When you refold the bias tape, however, this will pile all of the seam allowance in one place, and it will be very bulky. To prevent this, you can do a diagonal join instead.
Due to the nature of this process, you might find it a bit hard to see what’s going on in the pictures (unless you have x-ray vision!), so at the end of this section is an illustration of all the steps.
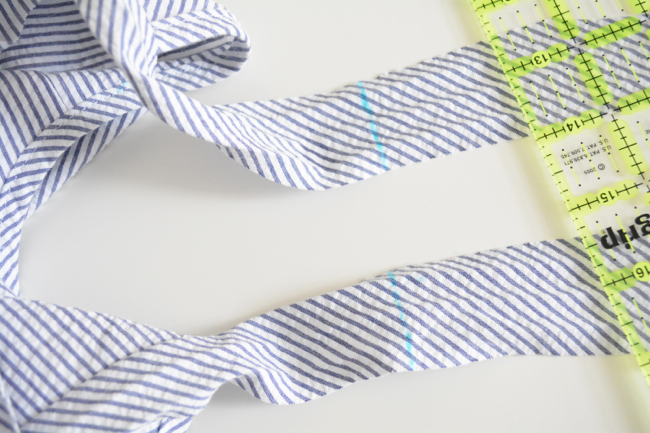
1) Mark straps. Mark 3” down from end of each strap. Open bias tape all the way and pin together, being careful not to twist straps.
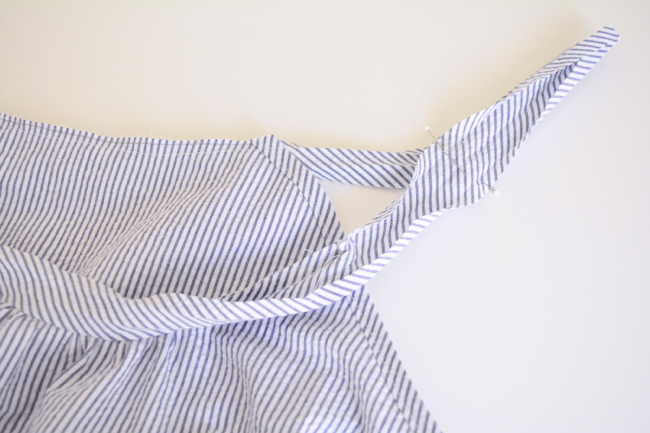
Try on dress and adjust straps if necessary. Mark a line straight across each strap at the point they should be joined.
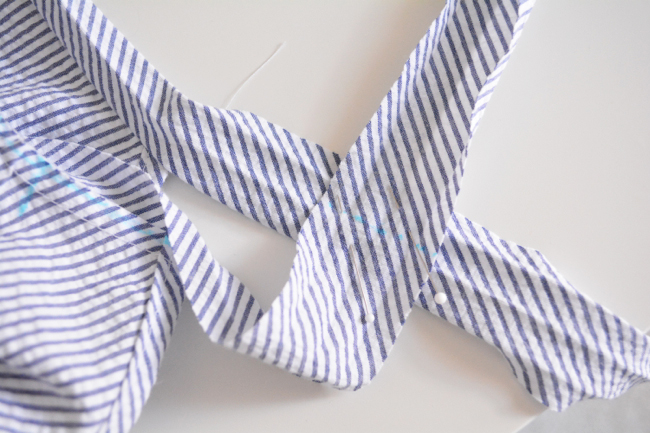
2) Pin binding. Open bias tape all the way and bring them right sides together, being careful not to twist. Rotate them so that they are at a 90 degree angle and the two straight lines intersect in an even “X”. Again, refer to the graphic at the end to see a transparent view of this step.
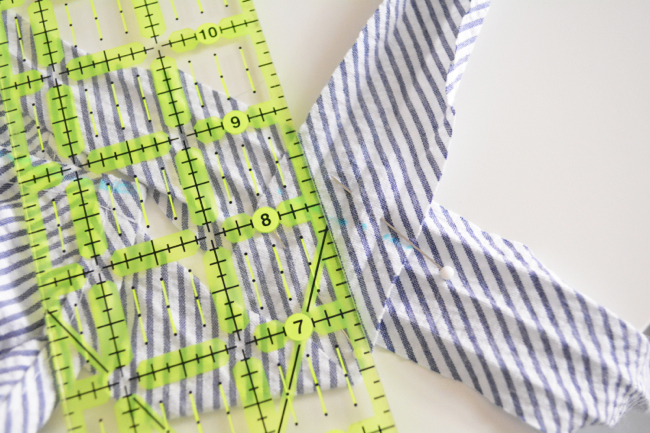
3) Stitch binding. Draw a diagonal line across the binding from corner to corner as shown. Stitch along line to join tails.
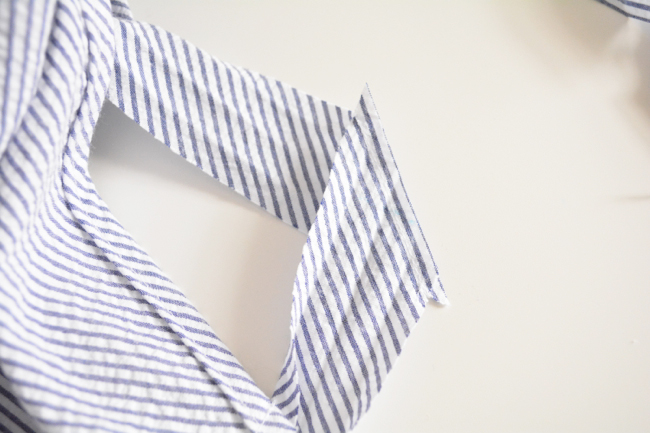
4) Trim binding. Before you trim, check and make sure that you’ve joined the tails properly and without any twists. Once you’ve checked, trim the seam allowances down to 1/4″ and press open.
Here are all the steps:
Remember, if you find the diagonal join to be too tricky, you can always just sew straight across your bias tape.
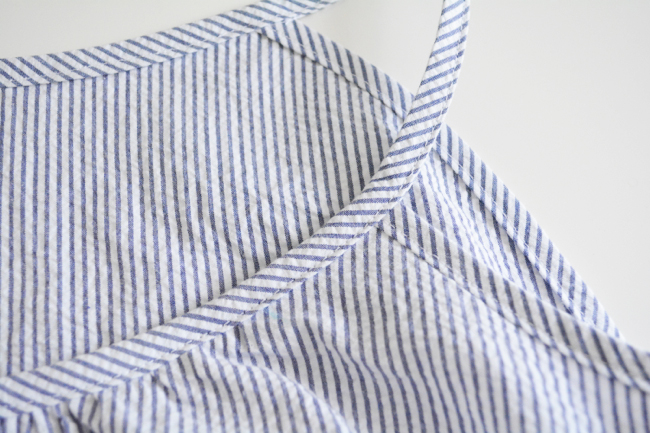
5) Pin straps. Fold bias tape to inside all the way around neckline. For strap portions, refold bias tape along creases.
6) Topstitch neckline. Starting on the back bodice, edgestitch along bias tape all the way around the dress, stitching along back bodice, first strap, front bodice and second strap.
Almost there! We’ll be taking the rest of the week off for Thanksgiving here in the U.S., so see you back on Monday to finish everything up!
Comments
The binding tape that I got is 1/2 inch. Will this make it not lay down on curves? They didn’t have the color I wanted in 1/4 inch.
If you’re making version 1 you should be ok, but for version 2 the 1/2″ tape might not lay totally flat in the underarm. Maybe just pin along the seam line first to mimic sewing it down to see how it looks!
A cute variation on this to make it really sundress-y might be to not join the straps, but instead tie them in a bow with maybe a couple tacking stitches to avoid any wardrobe malfunctions :) Or better yet, join them, but leave enough left over to tie so it for sure wouldn’t come undone.
Oh cute idea!! Thanks!