

Alright, it’s time to start sewing! Today we are going to go over staystitching, sewing the darts on the back bodice, and sewing the gathers on the front bodice.
From this point forward, steps that are different for each version will be given separate sections. Steps that are the same for both versions will be described together, using either the Version 1 or Version 2 garment in the photos.
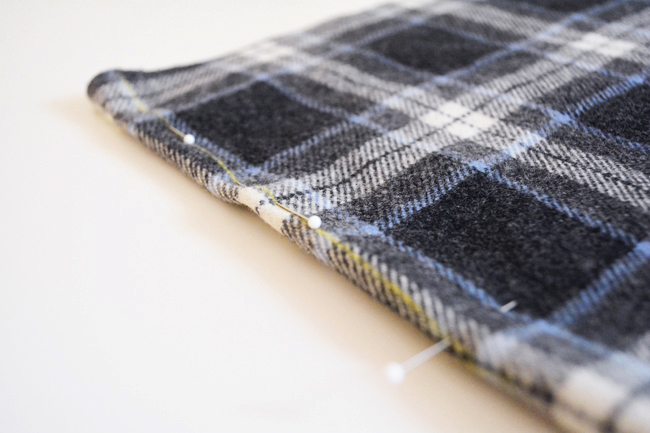
Before we begin, let’s talk briefly about staystitching. What is staystitching? Staystitching is a line of stitching that reinforces a curved edge and prevents it from stretching out. It will not be visible on the finished garment. To staystitch, simply sew through a single layer of fabric at the scant seam allowance indicated (scant means slightly less than).
Ok, let’s get to it!
Version 1: Staystitching
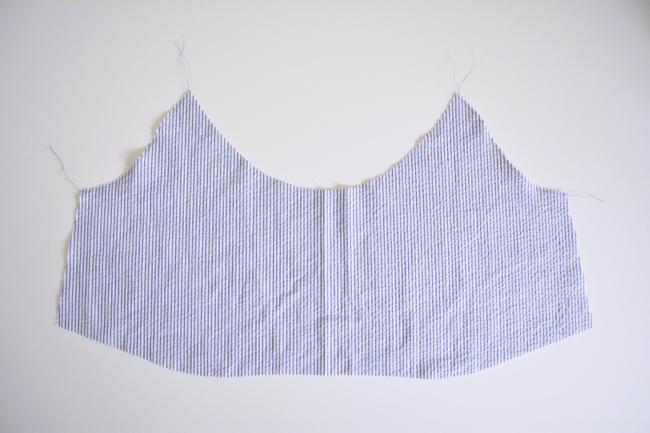
1) Staystitch front bodice. On front bodice, staystitch at a scant 5/8” seam allowance along the raglan edges.

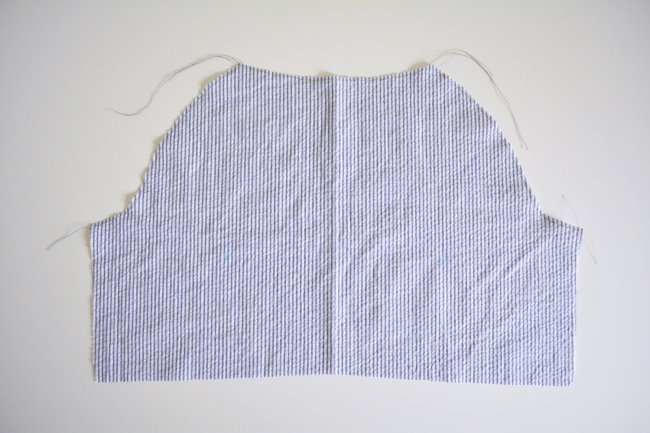
2) Staystitch back bodice. On back bodice, staystitch at a scant 5/8” seam allowance along the raglan seam edges, and at a scant ¼” seam allowance along the neckline (top edge).
3) Staystitch sleeves. On both sleeves, staystitch at a scant 5/8” seam allowance along the raglan seam edges, and at a scant ¼” seam allowance along the neckline (top edge).
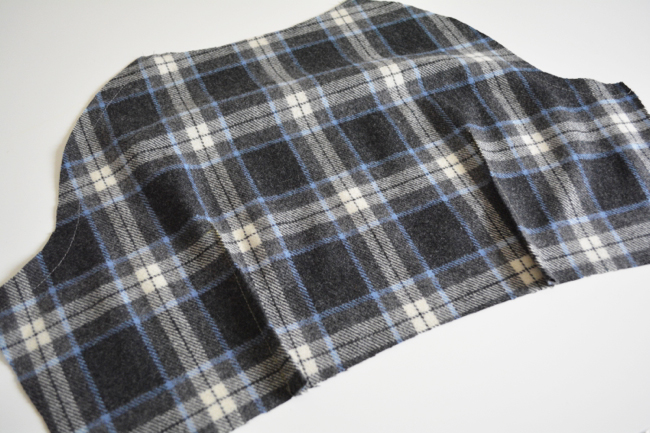
4) Staystitch yoke (optional). If you are working with plaids or stripes and have cut your yoke on the bias for visual interest, it’s a good idea to staystitch the top and bottom edges of each piece, since the bias edges will stretch out much more easily.
Version 2: Staystitching
1) Staystitch front bodice. On front bodice, staystitch at a scant 1/4” seam allowance along the raglan edges.
2) Staystitch back bodice. On back bodice, staystitch at a scant 1/4” seam allowance along the raglan seam edges and along the neckline (top edge).
3) Staystitch yoke (optional). If you are working with plaids or stripes and have cut your yoke on the bias for visual interest, it’s a good idea to staystitch the top and bottom edges of each piece, since the bias edges will stretch out much more easily.
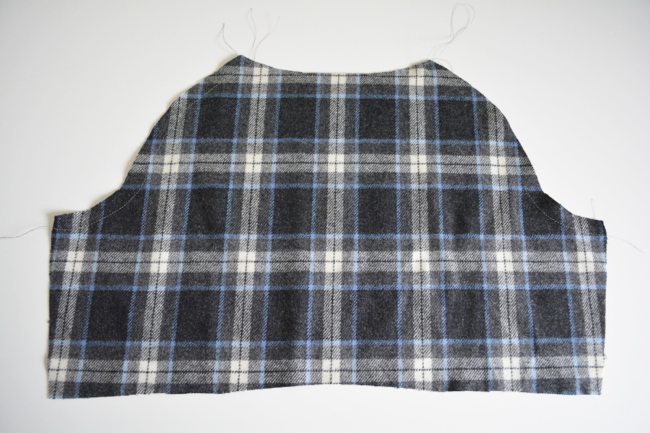
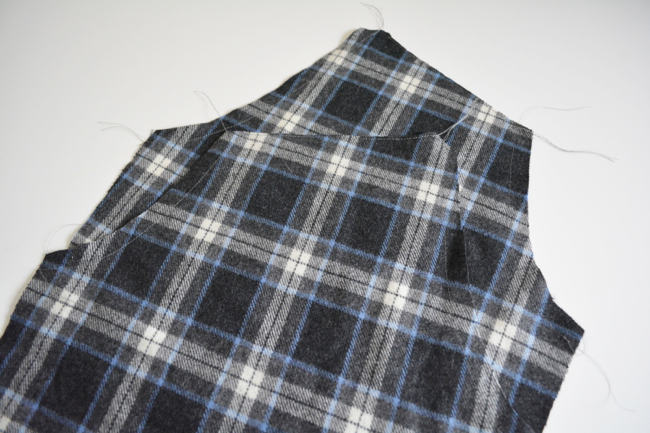
Both Versions: Back Bodice Darts
1) Sew darts. Fold, pin and stitch darts in back bodice from edge of fabric to dart point. Press darts towards center.
For more help on sewing darts, check out this tutorial on The Coletterie.
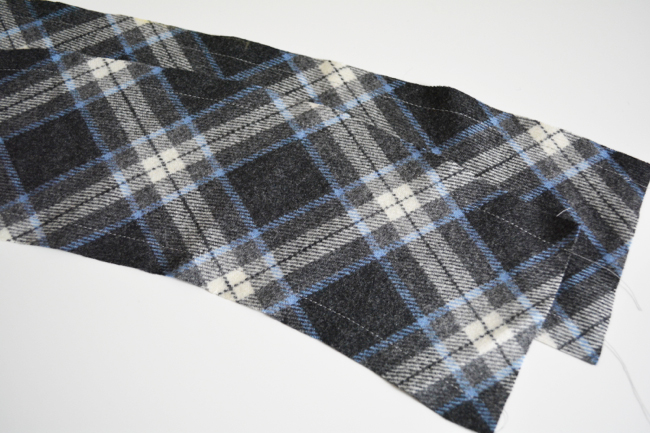
Both Versions: Gather Front Bodice
1) Sew basting stitches. Turn your stitch length up to 4.0-4.5. With right side up, stitch three rows of gathering stitches between each set of dots on waist edge. Sew one at ½”, one at 5/8”, and one at ¾”. Do not backstitch, and leave long tails.
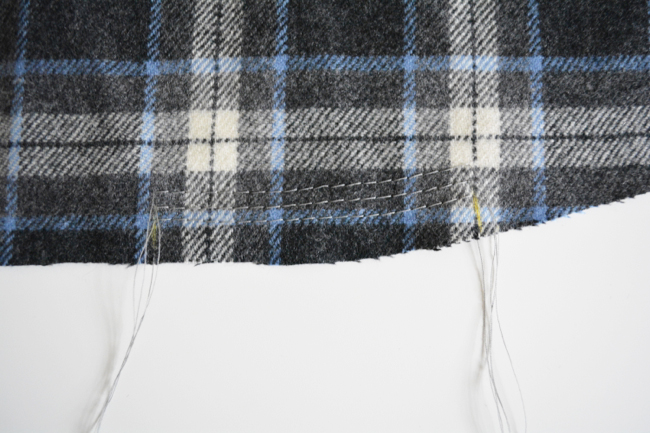
2) Gather fabric. On wrong side of fabric, pull basting threads to scrunch up fabric. It will help to wrap one side of the thread tails in a figure 8 around a pin. Pull on the other side until the gathers measure 1”. Wrap the other thread tails around a pin.
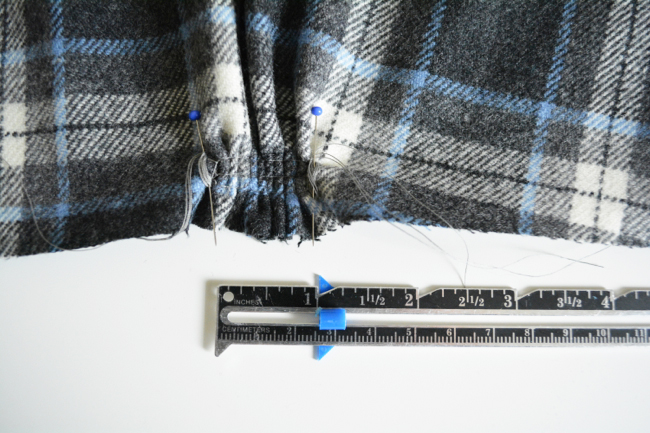
Don’t worry too much about the gathers measuring exactly 1”. You’ll have a chance to adjust them when we pin and stitch the bodice to the yoke.
That will do it for today! We’ll be back on Wednesday to finish putting together our bodices. Please comment below with any questions!
Comments
I would like to make this dress with medium weight interlock knit with very little stretch. In your first sewalong post you mentioned that it is possible to reduce or get rid of the gathers, since this fabric already has some stretch. Could you please show how to do this? I have little experience in garment sewing, so your tips would be very helpful.
Thanks!
Hi Tatiana! The sewalong schedule doesn’t allow time for that kind of pattern alteration post, unfortunately. But you’d basically want to fold the edge down to the length it will be once gathered, trace the edge, and then blend it with the other edges.
If your knit has very little stretch, as you say, then you might just want to make it with no alterations for the first time and see how it goes.
Bodice gathers: my gathers with flannel would not draw to 1 inch and it leaves a rather thick bulky place on the seam line. Is this supposed to look this way? How is the yoke front going on?
If your fabric is too thick to gather down to 1″, try pulling out the gathering stitches, moving the dots a little further apart and then re basting. Then just wait until we attach the yoke to gather them down to match the yoke.
The yoke will be sewn to the bottom edge at 5/8″.
Hi Devon,
Would you mind commenting on my question on the busy adjustment page again so I can get started? It’s at the very bottom of the page. Thank you so much :-)
So sorry that I missed it earlier!! Just replied.
That is no problem. Thank you for everything you are teaching us!