

This post covers assembling and attaching the skirt for Version 1. Our Dahlias are starting to look like dresses!
Assemble Skirt
1) Pin back center seam. With right sides together, pin center back seam, including kick pleat shape.

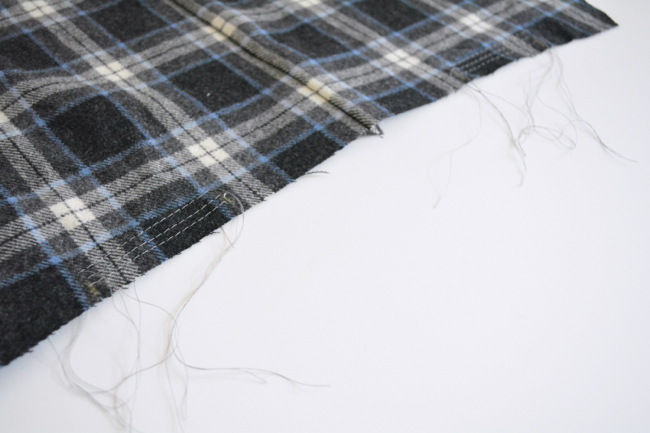
2) Sew center back seam. Stitch along edge. When you get to the kick pleat, pivot at each mark. Sew all the way to the bottom.
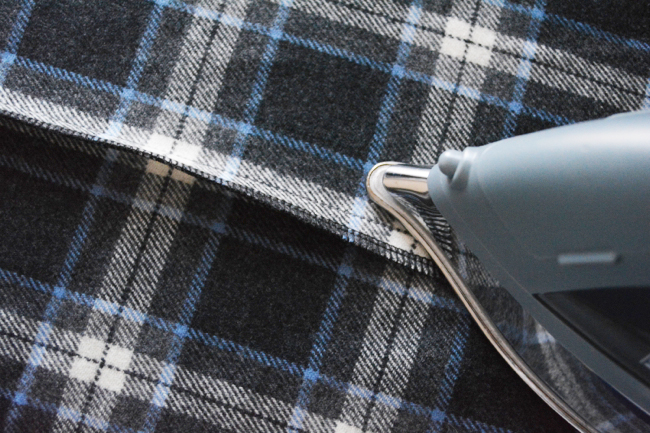
3) Finish seam. Finish seam allowance together and press to one side.
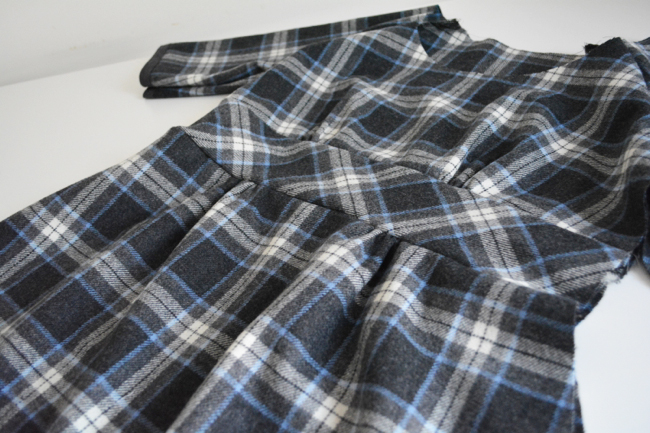
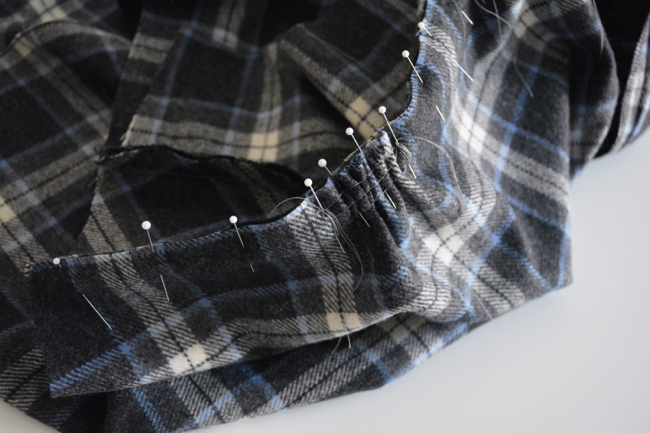
4) Pin kick pleat. Fold kick pleat to one side so that everything is nice and flat. Pin the top slanted edge in place.
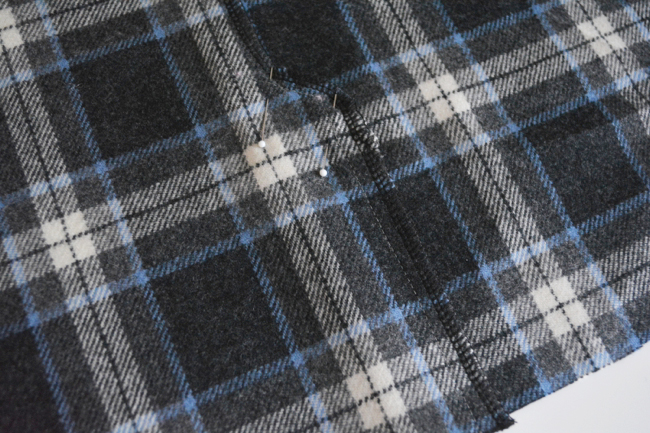
From the inside, stick a pin through each dot. Mark their placement on the outside. Repin kick pleat from the outside, then remove pins on inside.
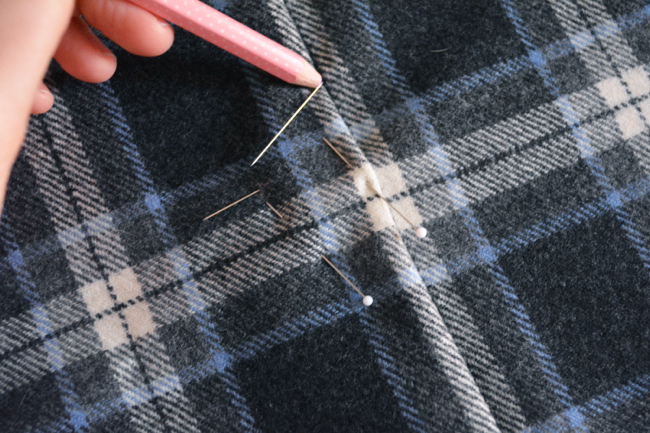
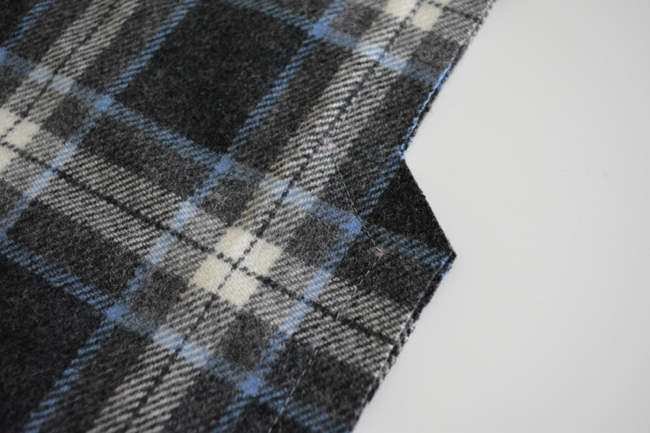
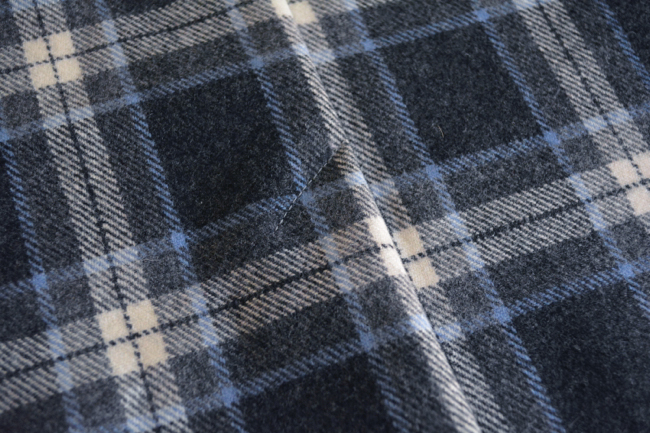
5) Sew kick pleat. From right side, stitch between dots, backstitching at beginning and end. This should secure the kick pleat in place on the inside.
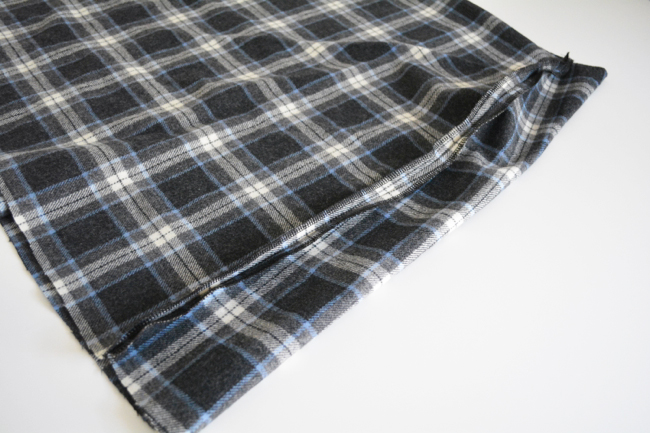
6) Pin and sew side seam. Find the right side seam on both skirt pieces. If you need to, hold the pieces up to your body to visualize wearing them and mark the right edge with a pin. Pin this edge together, stitch, finish and press open.
7) Sew skirt gathers. On front skirt and with right side up, sew three lines of basting stitches between both sets of dots at 1/2″, 5/8″ and 3/4″.
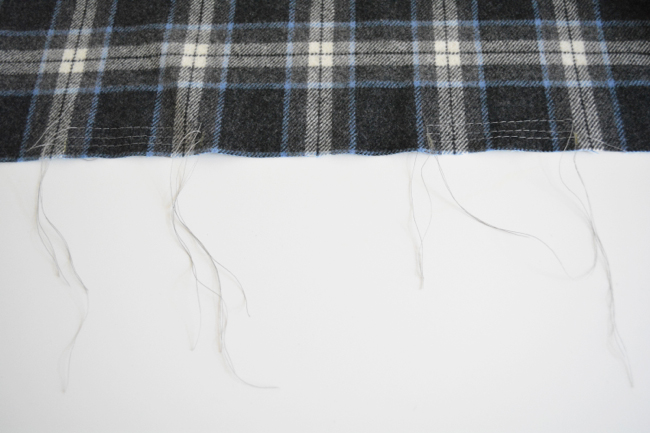
Repeat with back skirt.
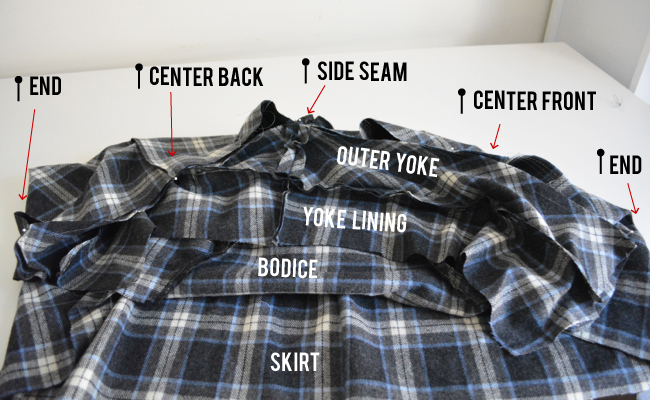
Attach skirt to bodice
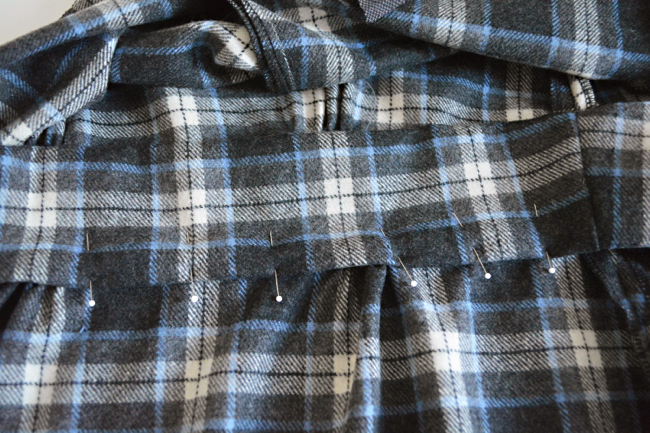
1) Pin together. Flip the yoke lining up and out of the way. Align the lower raw edge of the outer yoke with the upper raw edge of the skirt, right sides together. Start by aligning and pinning the ends, centers, and side seam.
Then work section by section, pinning the rest of the edge in place, except for the basted sections of the skirt.
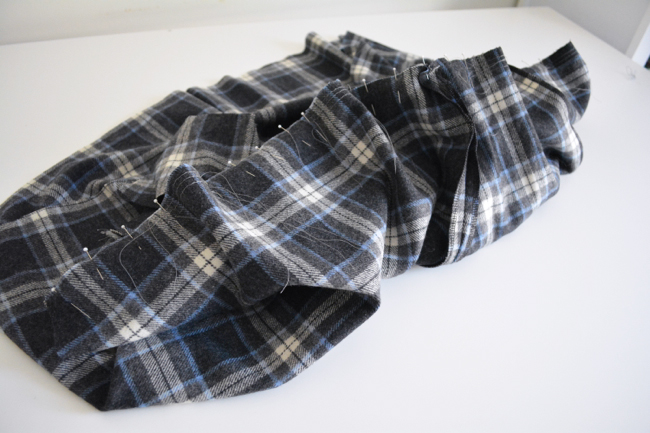
2) Gather skirt. The basted sections of the skirt should be bigger than the same portion of the yoke, as shown:
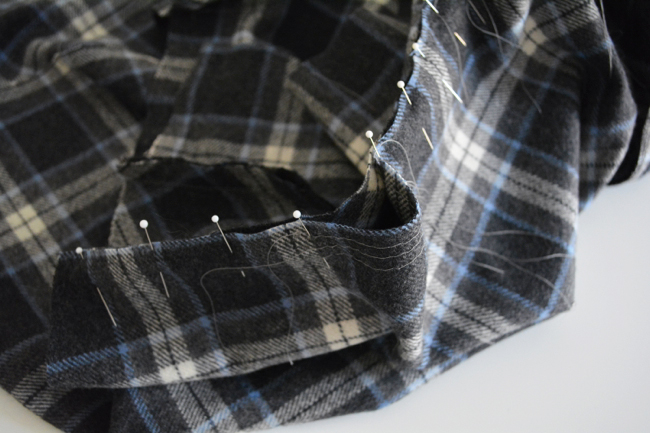
Place a pin at each end of the basting stitches. Pull on the threads to gather the fabric down until it is the same size as the yoke. Wrap the threads in figure 8’s around the pins to secure, adjust the gathers to make them even, and pin.
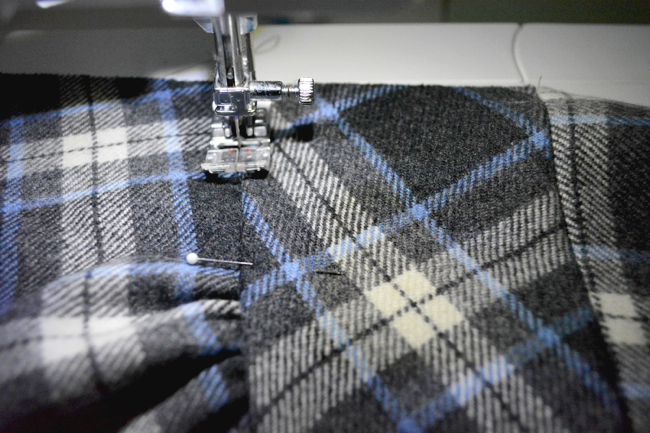
3) Sew skirt. Stitch along entire edge. Make sure that the yoke lining stays out of the way and does not get caught in the seam. Go nice and slow and take care that the open seams all stay open as you sew over them.
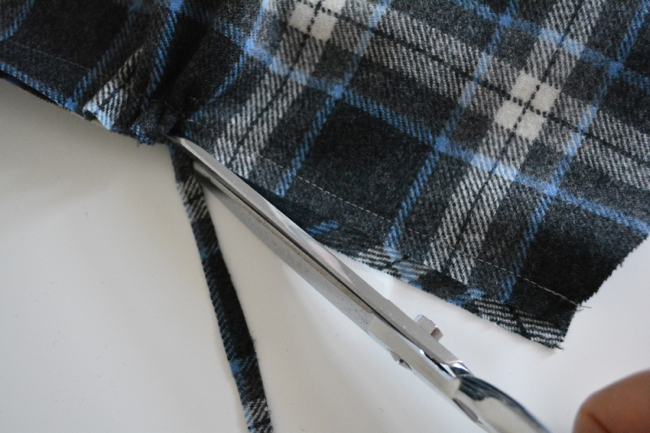
4) Grade seam. Very carefully trim the seam allowance of the skirt in half. Don’t trim the yoke seam allowance. Then press both seam allowances towards yoke.
Finish waist seam
1) Press yoke lining. Fold the free lower edge of the yoke lining a scant 5/8″ to the wrong side and press. The scant ensures that the yoke lining will cover the waist seam in the next step.
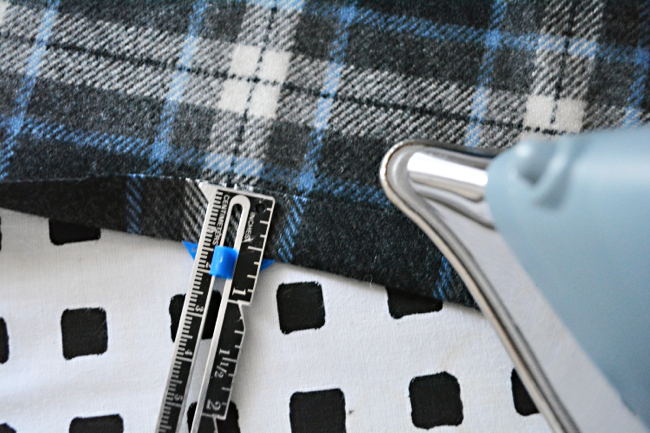
2) Pin yoke lining. Fold the yoke lining down so that the pressed edge covers the skirt seam and pin in place on the inside.
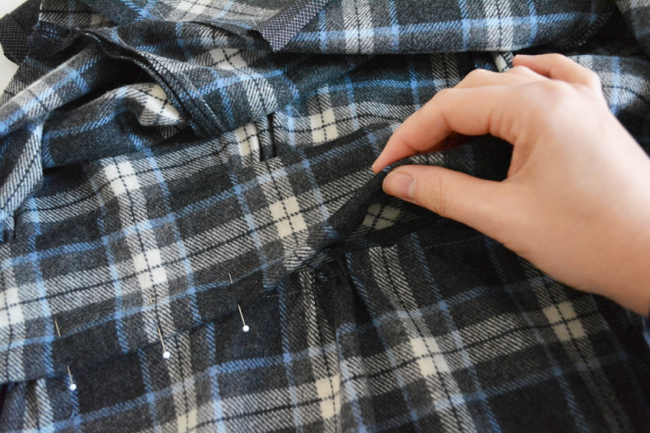
3) Stitch in the ditch. Pin along the lower edge of the yoke on the outside, then remove the inner pins.

Starting at one end, stitch in the ditch along the lower edge of the yoke. (Stitching in the ditch is stitching right along a previous seam).
This lining of stitching will be nearly invisible on the outside, and should catch the lower pressed edge of the yoke on the inside.
LINING NOTE
I added it to Wednesday’s post, but wanted to make sure to mention again that if you are going to line your Dahlia, you can omit the yoke lining for now (as in, don’t even attach it to the bodice), as the lining will cover the yoke later.
That will do it for today! Now is a good time to pin yourself into your dress to do a fit check. The other side seam will be sewn at 5/8″ as well, so pin there. Remember also that we still need to gather the neckline, so don’t worry if it seems big. See you back on Monday for some zipper fun!
Comments
Hi Devon, I am looking back at this step. The plaid on my skirt side seams are not lined up and i thought i could just forget about it and just carry on. I’m done and about to finish mu dress and I realize i can’t take it! I’m doing the size 0 and, looking at the pattern, the back skirt slopes way higher at the waist edge as compared to the front piece, which i think causes the misalignment. So now i ripped the front skirt and am deciding to cut a new piece to align it with the back and do it over from this step.
Sorry if this aounds rather dumb, but was i supposed to do apply the same line-up technique on the skirt side seams as i did on the raglan sleeves (for plaid fabric)? Please help. Thank you.
Sorry for the typos. Commenting from my phone and my eyes are failing me. :)
Yes, you do want to do the same thing to the skirt side seams that you did for the raglan edges. You’ll be glad you fixed it!
Okay thank you for your reply. I am learning so much just from this pattern, and much of it is about patience and perseverance!