

We’ve made it through all our fit adjustments and it’s time to get into the fun stuff. This post will cover cutting out your Rue, transferring pattern marks, and staystitching.
Be sure that you’re happy with the fit of your muslin before you slice into your fashion fabric. Also, don’t forget to pre-treat both your main and lining fabrics!
Cut it Out
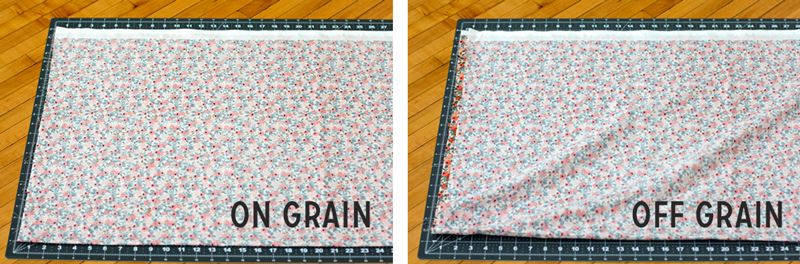
First, fold your fabric in half selvage to selvage. It’s very important that you fold your fabric on grain, meaning the threads aren’t crooked across the fold. If you fold fabric off grain, the bottom edge will look funky and there will be diagonal lines in the fabric.
Slide the layers back and forth until the fabric relaxes and the bottom fold is nice and flat.
In the instructions, find the cutting layout for your size, fabric width, and version, and lay out the pieces as shown. Keep in the mind that the cutting layouts are for non-directional fabrics. If you are using a fabric that has nap or a directional print, make sure all the pieces are running the same way as you lay them out.
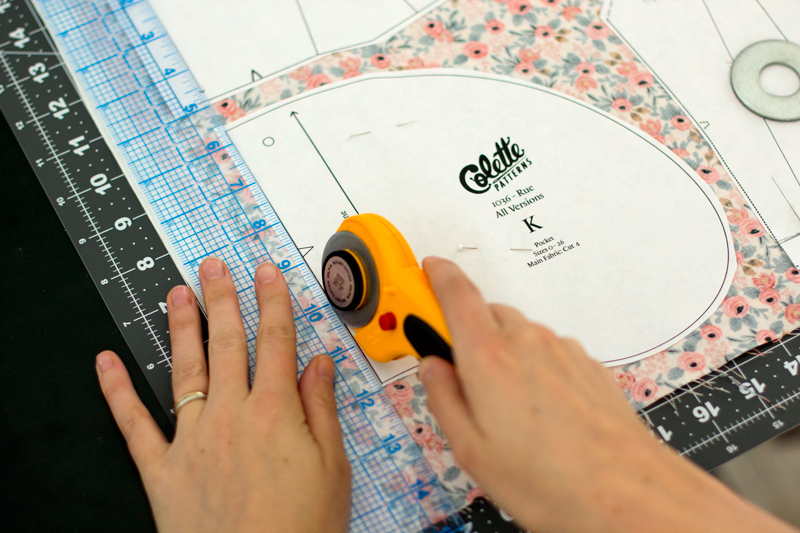
As you lay pattern pieces on your fabric, remember that the grainline should be running parallel to the fold and selvage. Use a ruler to make sure it’s as parallel as possible, and not at a slight angle.
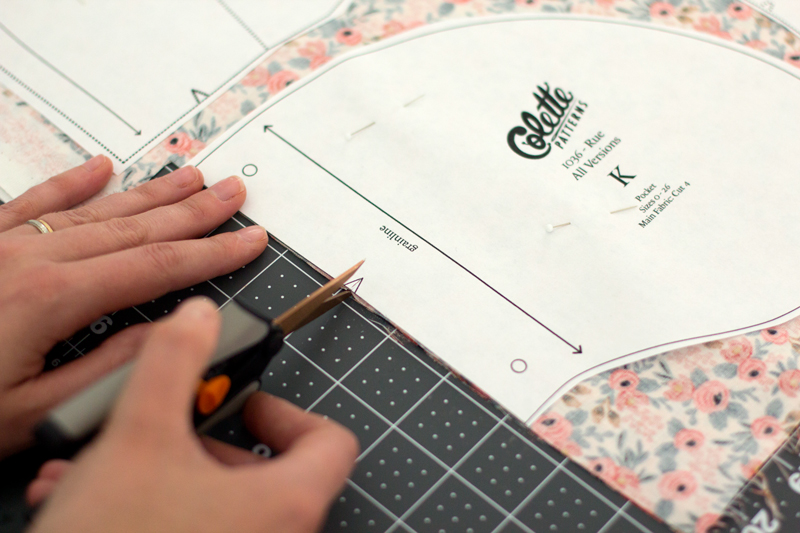
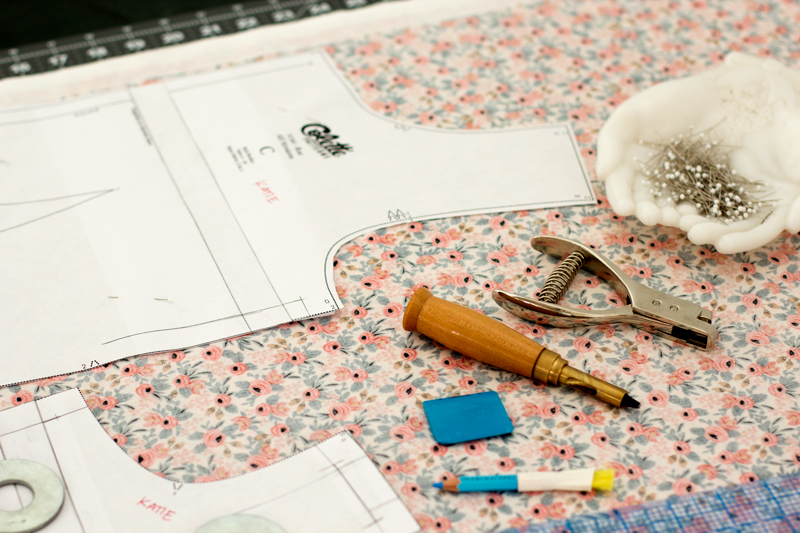
Once your pieces are cut, carefully snip any notches along the pattern edges using only the tips of your scissors. It will also be helpful to put a tiny snip on the center front fold edge of the center front neckline and skirt.
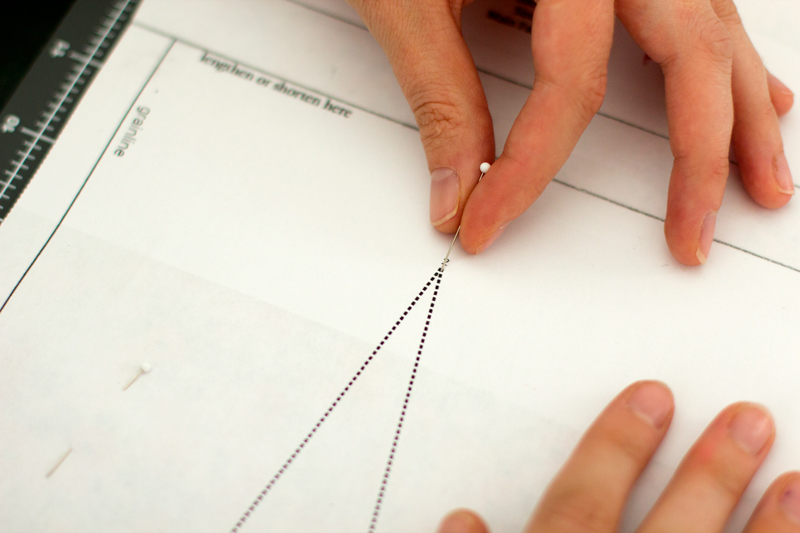
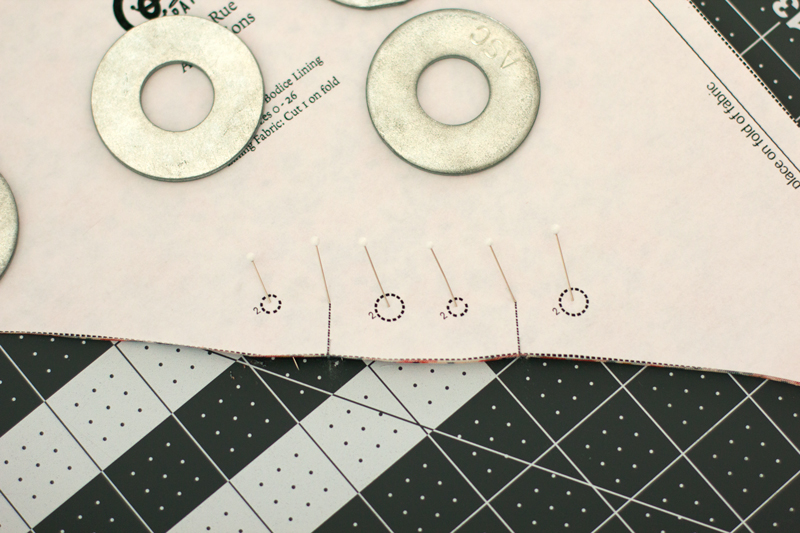
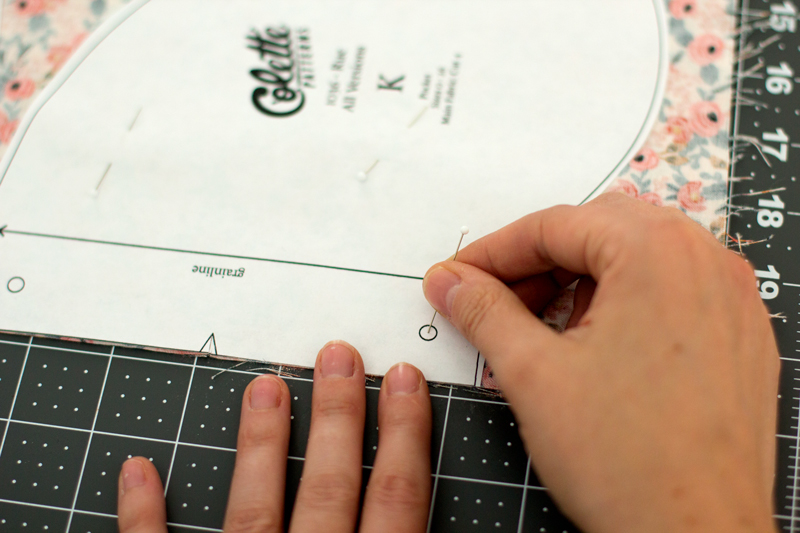 To transfer dots, stick a pin through the center of the circle through all layers.
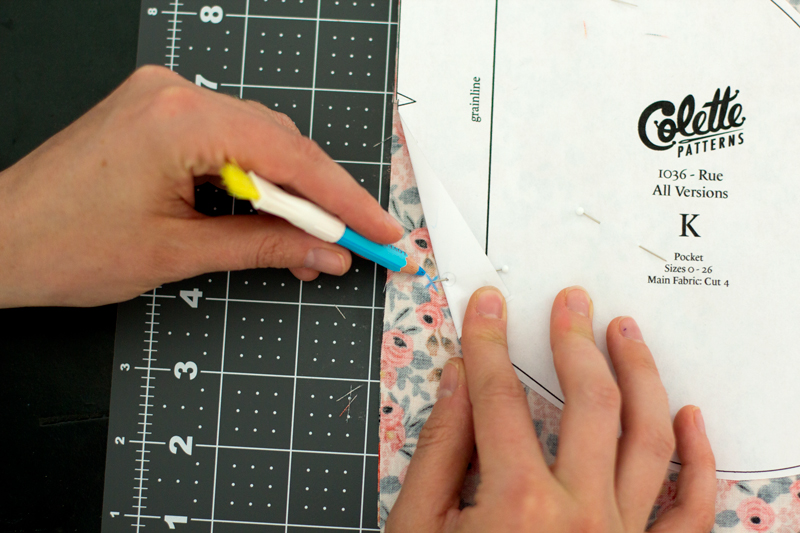
 Then use the pin placement to transfer the mark to both fabrics. An “x” is more accurate than a dot, and will help prevent future “where-is-the-center-of-this-blob” moments.
If you want to get fancy with it, you may opt for tailor’s tacks instead.
Transfer Darts
There are many different ways to mark darts. If you have a fail-proof way to transfer your darts that is different than mine, that’s awesome! Here is my favorite way to transfer dart markings.
 Stick a pin through the point of the dart and transfer the markings, the same way you would for a dot.
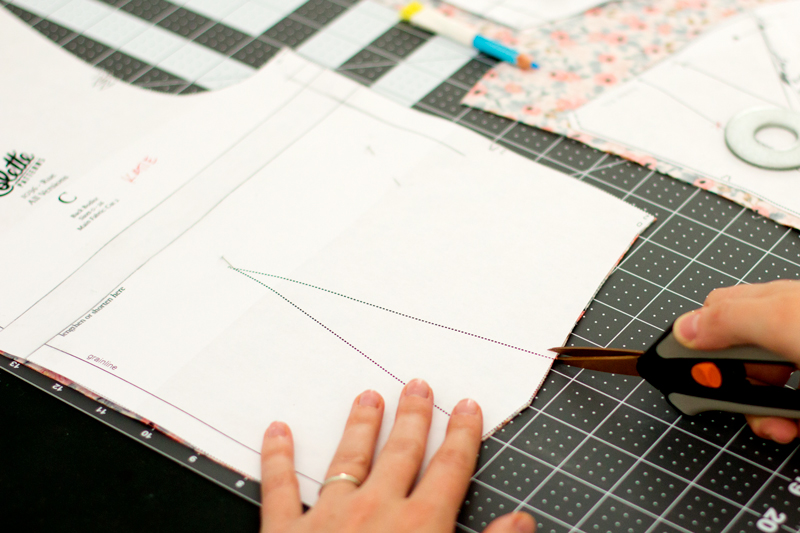 Snip into the bottom portion of each leg of the dart, creating a notch.
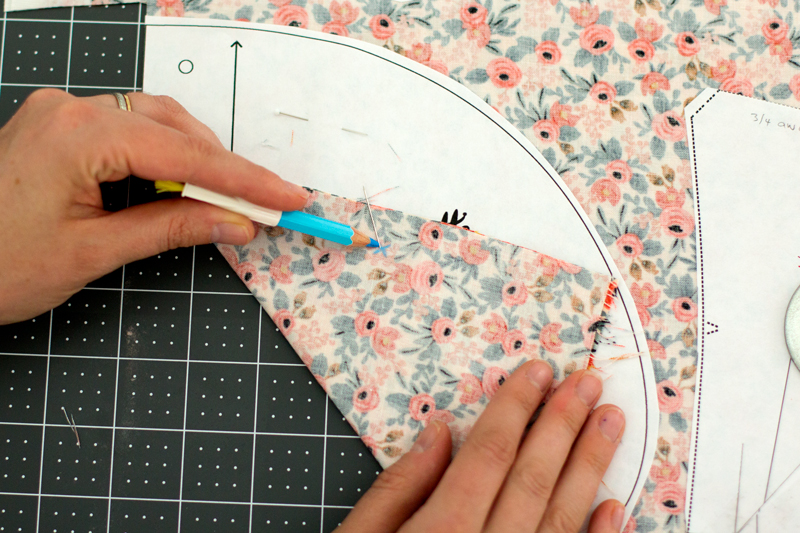
 With a ruler, draw a line from the dart point to each leg notch on the wrong side of your fabric.
Transfer Tuck Markings
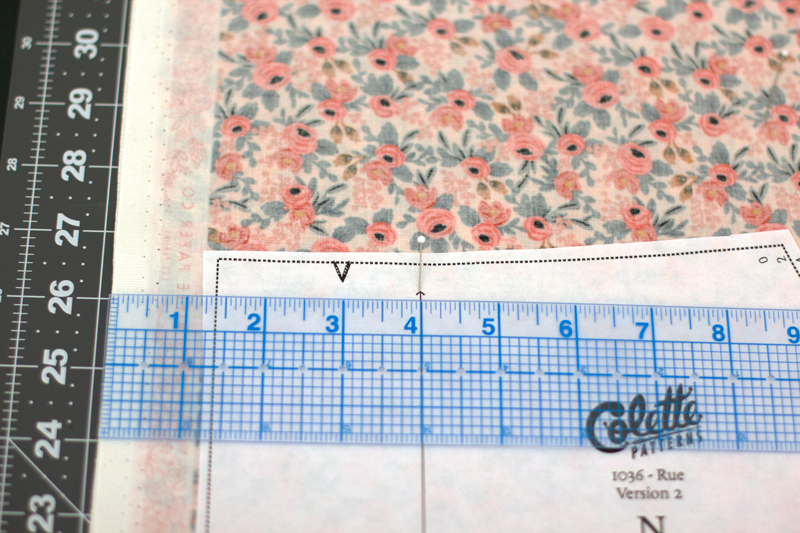
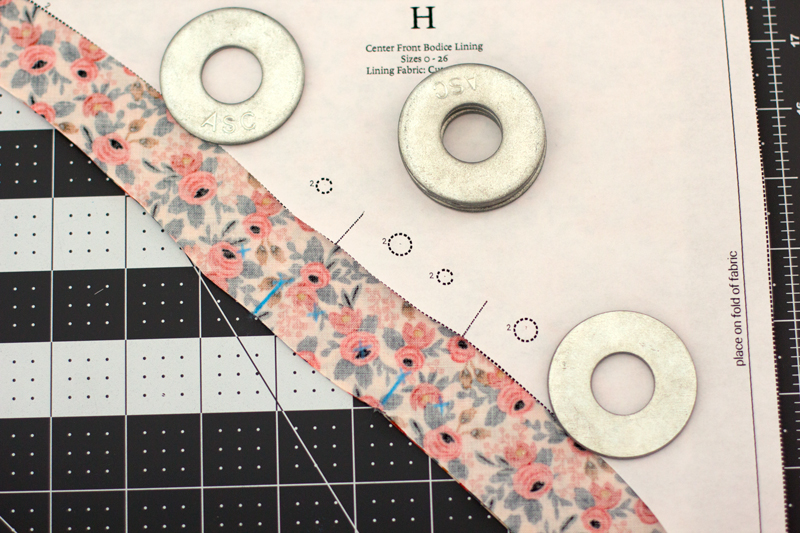
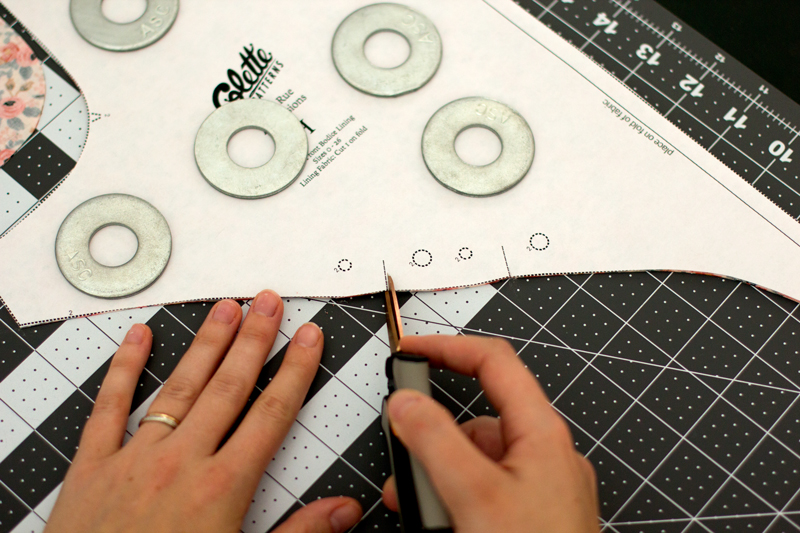 To transfer all of the markings on the Front Bodice piece, first, snip into the two tuck lines on the style line.
 Insert a pin into each dot and each end of the tuck lines and transfer the marking with an X.
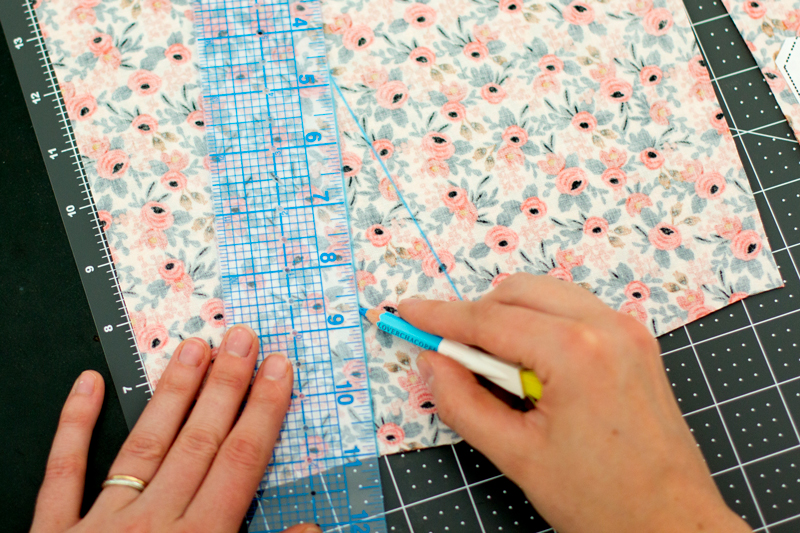
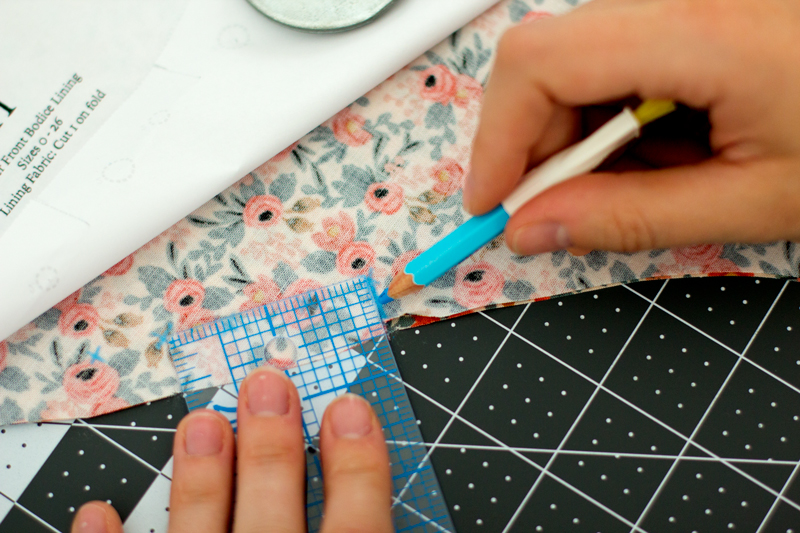 With a ruler, draw a line from the X to the notch on the wrong side.
Staystitching
Staystitching is a straight stitch sewn through one layer of fabric. It’s most often used around a curve to prevent distortion.
This is because the curve cuts across the bias, the stretchiest part of fabric. To really see this in action, cut a curve out of some scrap fabric and then pull on it. You’ll see how that curve completely changes. That’s much more extreme than what would happen to your garment, but you get the idea!
While staystitching is most often used around necklines, you can use it anywhere there are curves or diagonal seams that you think may become stretched out.
To staystitch a curve, set your stitch length to 1.5. Smaller stitches like this create a stronger hold.
The standard is to sew 1/8″ away from the sewing line, so if your seam allowance is 5/8″, then stitch 1/2″ away from the raw edge.
It’s important to staystitch soon after cutting out your fabric. Simply moving your fabric around a few times, depending upon the fabric, can stretch out curves.
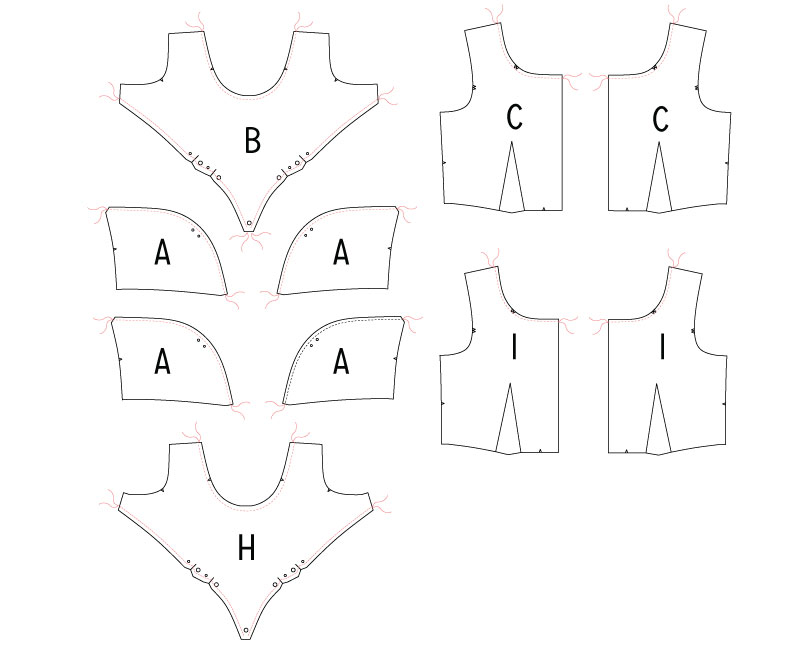
For curved areas such as necklines, stitch from the edges toward the center. In other words, begin at one shoulder and stitch to the center front. Cut the thread, then sew from the second shoulder to the center front. This keeps the staystitching even on both sides of the garment.
Use the below diagram as a guide for staystitching your rue pieces.
In the next post, we get to start sewing the bodice!
Comments
Excellent dart-drawing tip!! It looks much less frustrating than how I do it :)
Yay!!! I love it too!
I’m so excited to begin sewing! These marking techniques are definitely better than my usual “make a big dot and hope it’s accurate” way of doing things…
I had a question about eventually washing the finished dress. Do you think it’d be ok to put these through the wash? I know my fabrics would be ok, but with the amount of hand stitching and especially the thread chains at the end I’m a little nervous about just chucking it into my aggressive washing machine.