

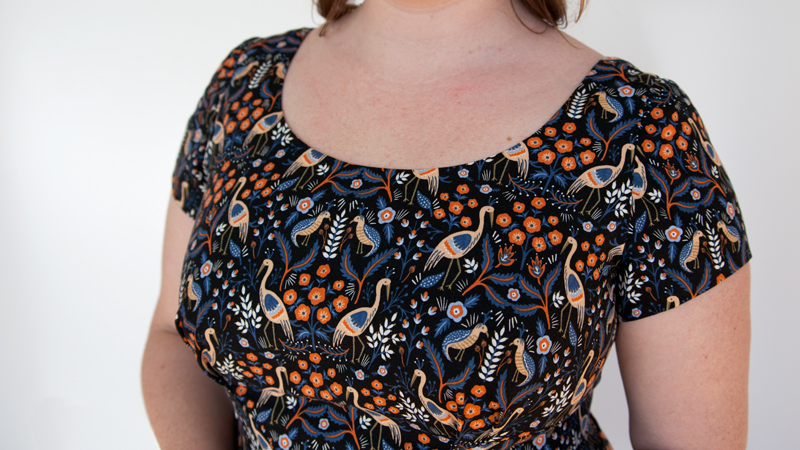
 In this lesson, we will assemble the sleeves for both versions, attach the sleeves, and finish the armhole. We are so close, I can taste it!
The process of finishing the armhole with a lining can get a bit tricky. Sometimes sewing techniques are counterintuitive and take a bit of practice. I am here to help. Make sure to comment with any questions and votes of confidence for your fellow Rue sewists!
Let’s get started!
Assemble Sleeves – Version 1
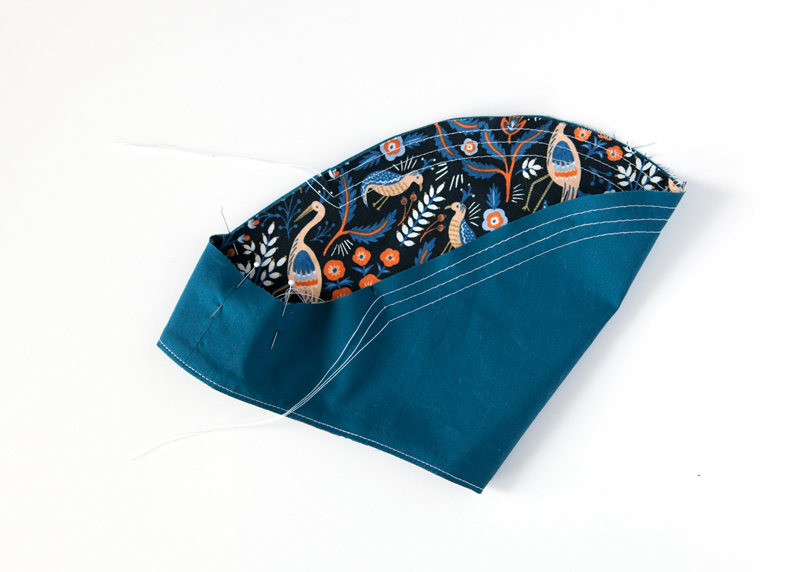
With right sides together, match the underarms of each sleeve together. Two sleeve pieces will be the shell, the other two will be the lining. Pin and stitch at a 5/8″ seam allowance. Press the seam allowance open.
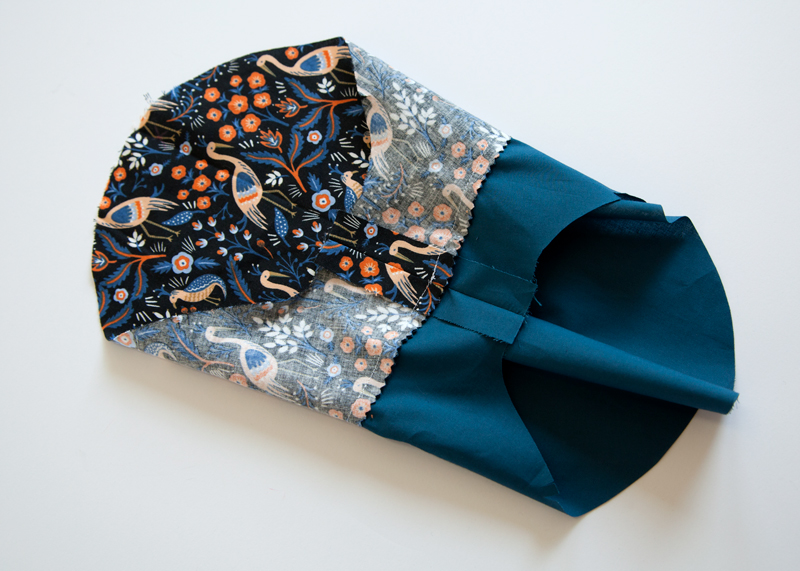
With right sides together, match one sleeve shell to one sleeve lining along the hem. Make sure that you are matching the correct sleeves by double checking the notches at the sleeve cap. Pin.
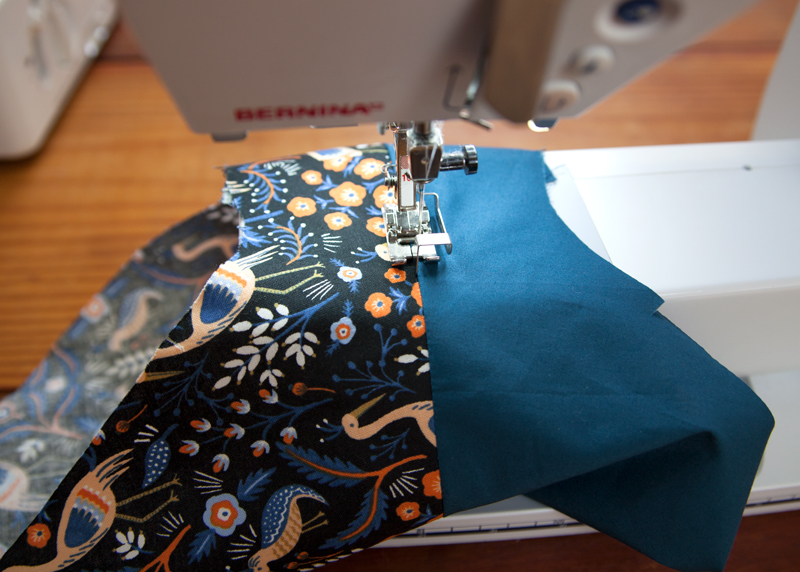
Stitch the shell sleeve and lining sleeve hem together at 5/8″ seam allowance. Trim and grade seam allowance.
Press the seam allowances toward the lining.
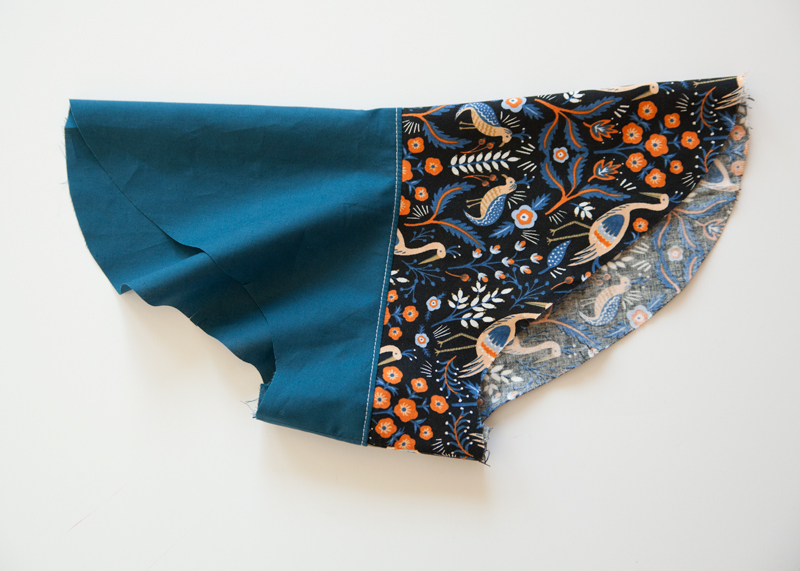
Understitch along the hem of the sleeve lining, catching the seam allowance underneath.
Align the curved edges of the sleeve lining and sleeve shell together and pin.
Sew three rows of gathering stitches along the sleeve cap, between the notches. One row of stitching should be 1/4″ down from the raw edge, another 1/2″ away, and the final row should be 3/4″ down from the edge.
We will come back to these basting stitches when setting in the sleeves.
Assemble sleeves – Verison 2
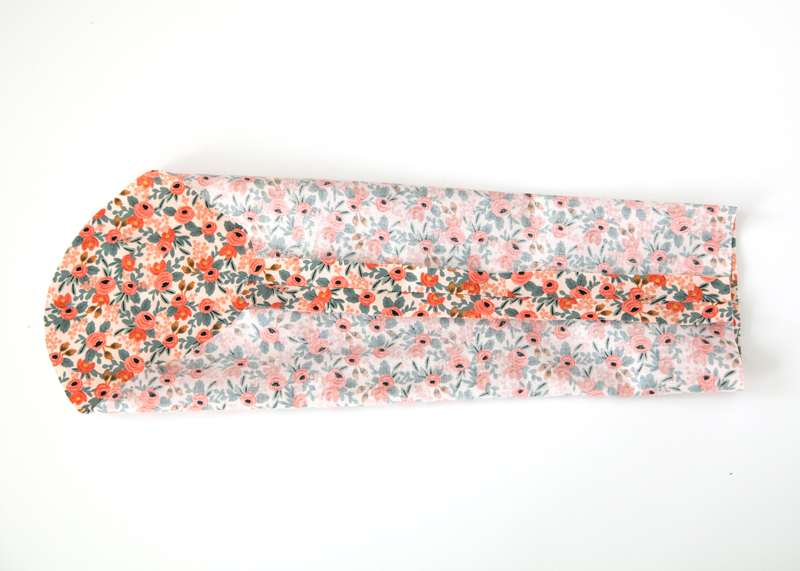
With right sides together, match the underarm edges of one sleeve together. Pin and stitch at a 5/8″ seam allowance. Press the seam allowance open.
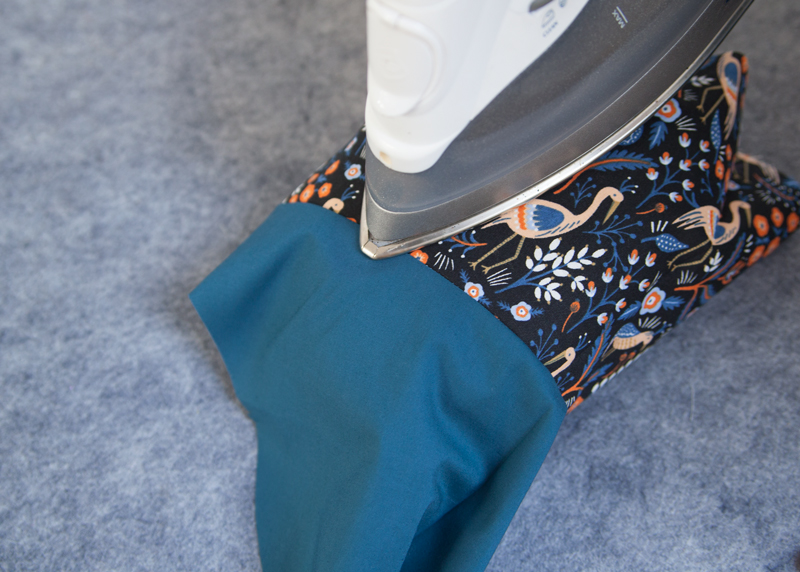
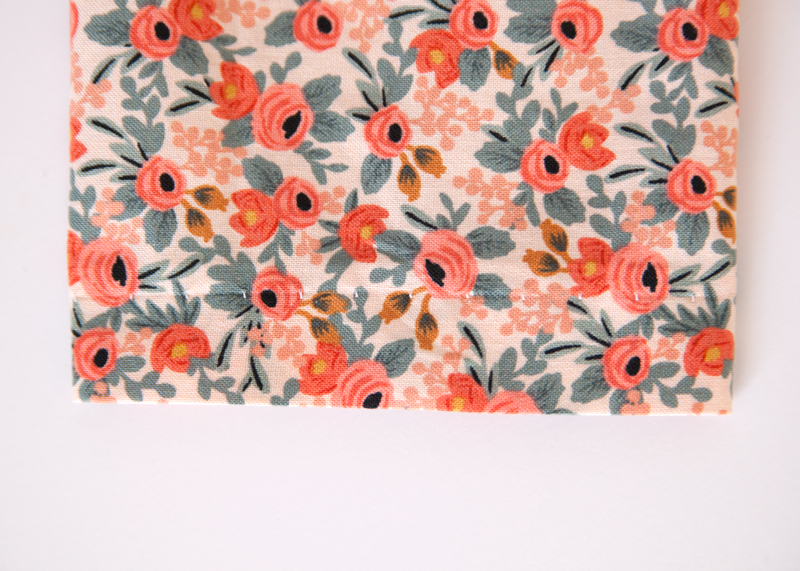
Turn the hem of the sleeve to the wrong side 1/4″. Press.
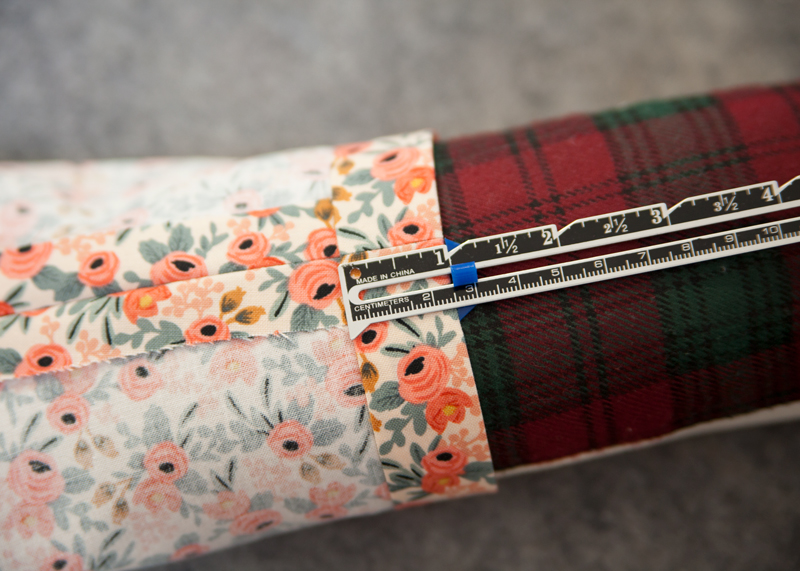
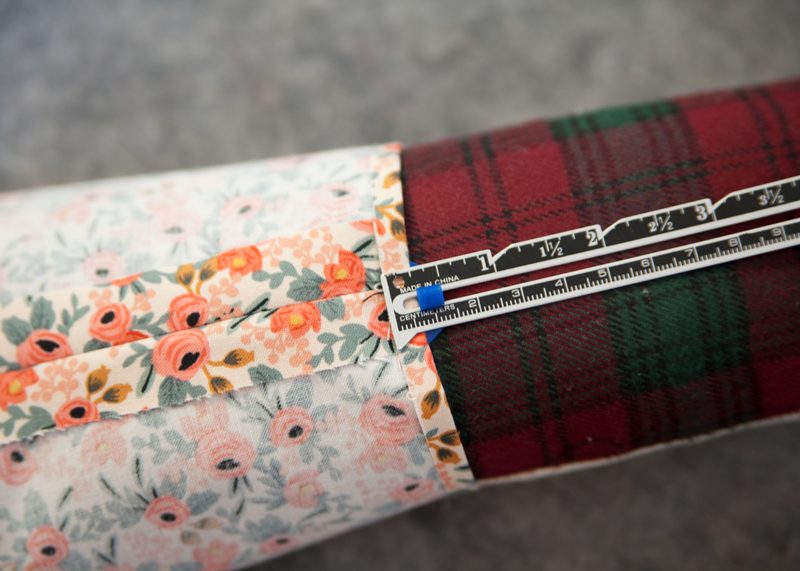
Turn the hem to the wrong side 1″, creating a double fold hem.
The Rue instructions simply call for a hand-sewn blind stitch. But, I’m all about quick sewing techniques and I chose to use the blind stitch on my machine.
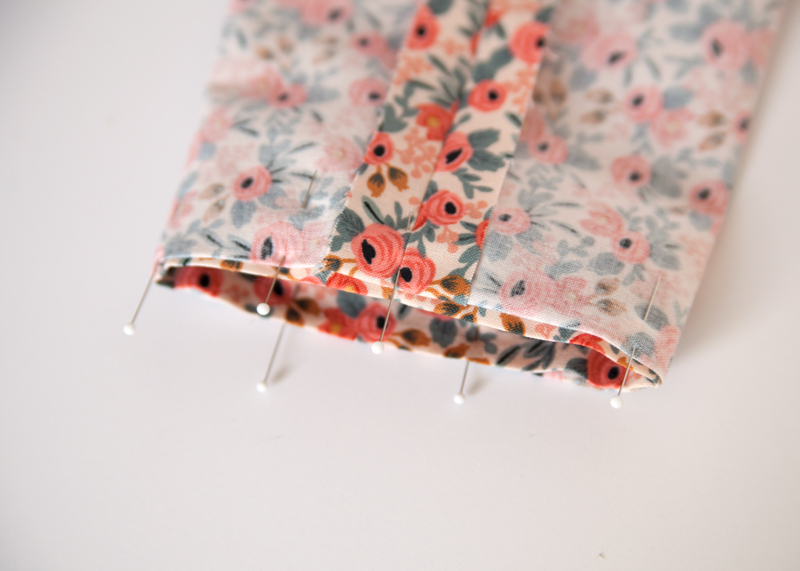
With the wrong side out, tuck the hem under the wrong side of your shell fabric, leaving about 1/8″ of the hem’s edge peeking out.
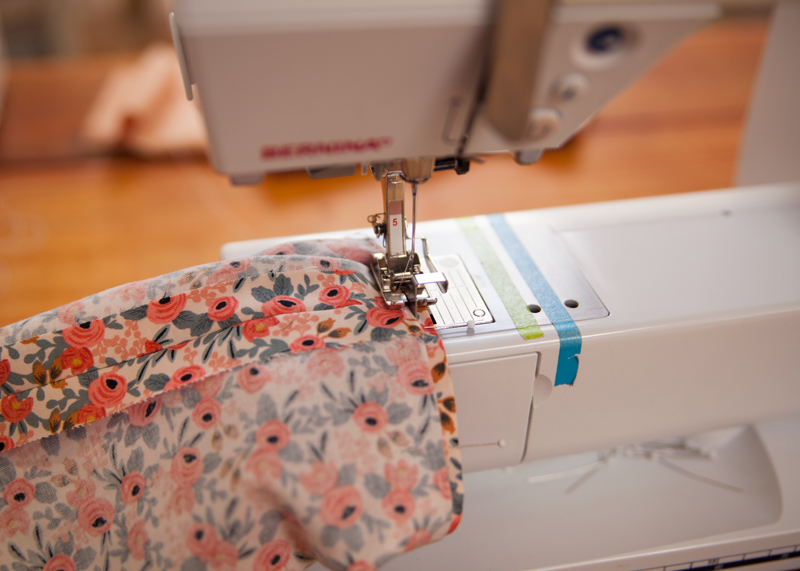
Set your machine to a blind hem stitch and attach the blind hem foot. Reference your machine’s instruction manual for your specific foot and stitch number selection. Place the little bit of fabric peeking out from the shell to the right of the “bumper” on your blind stitch foot. In one continuous stitch, sew around the circumference of the sleeve hem, catching the shell with the zig-zag stitch.
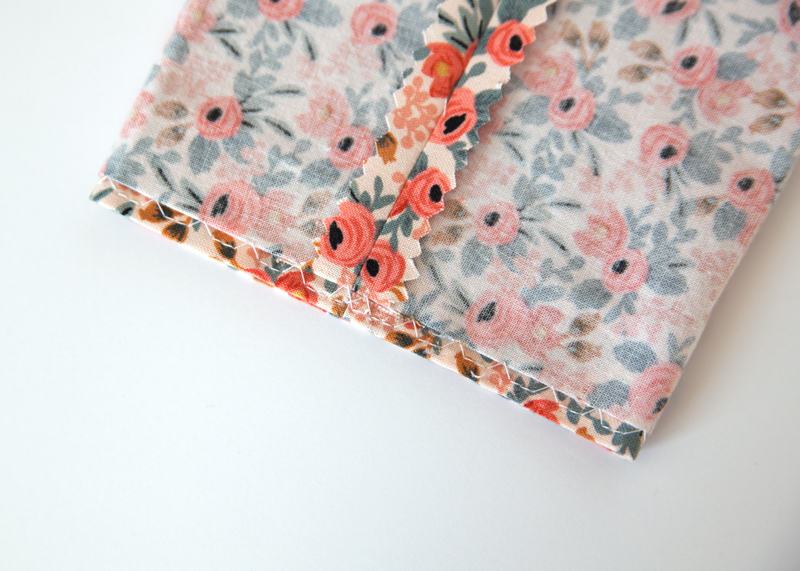

When complete, the bulk of the stitches will fall along the hem’s edge and in every few stitches, the zig-zag will have caught the shell fabric.
Turn the hem right side out and press the hem flat. You’ll see that every once in a while, a small stitch has caught the shell fabric. I used white thread in order for you to see the stitches, but in a matching thread this stitch is virtually invisible.
Attach sleeves – both versions
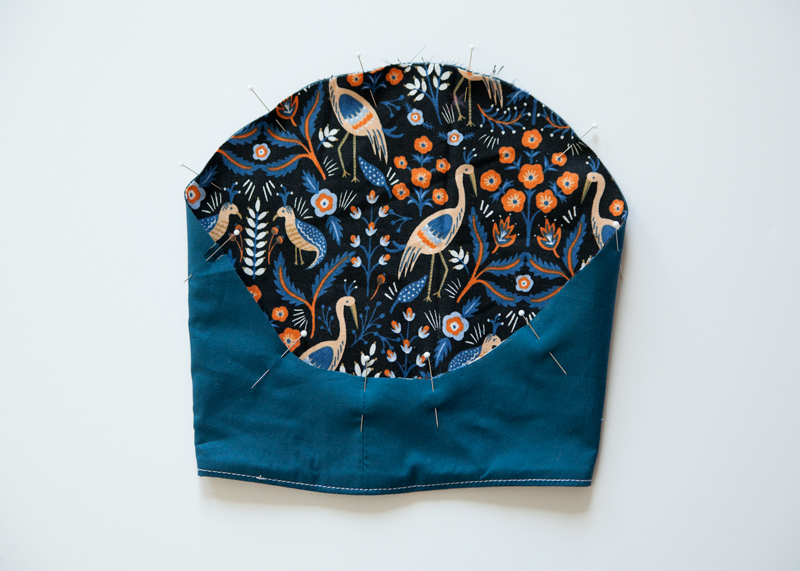
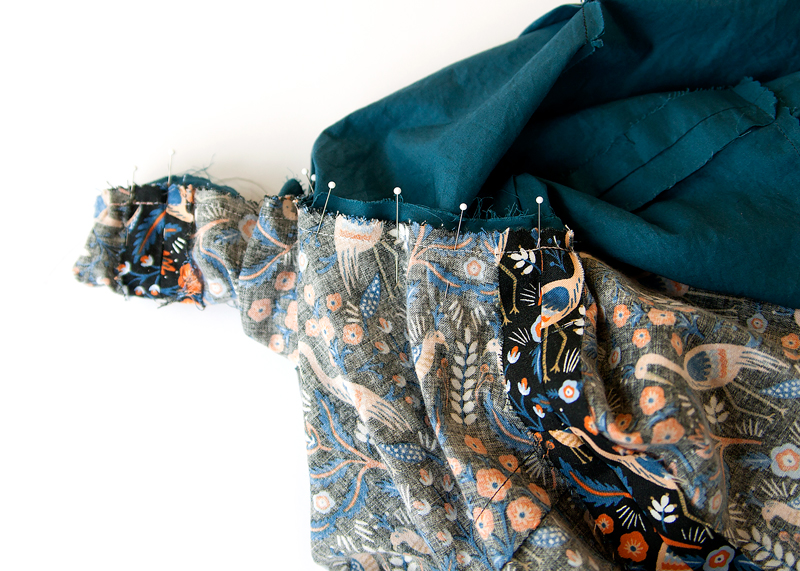
Move the lining away from the armhole on the bodice. With right sides of the shell fabric together, insert one sleeve into the armhole, aligning notches and seams. Pin in place between the notches, at the underarm.

Pull the tails of the basting stitches on the sleeve‘s armhole to match the shell’s armhole. Align the circle of the sleeve cap with the shoulder seam. Pin.
Hand or machine baste the sleeve into the armhole at 5/8″, stitching with the sleeve up. This will help you watch the easing and make sure no large folds or puckers form as you stitch.
Once basted, permanently stitch the sleeve into the armhole at 5/8″ seam allowance. Remove all basting stitches.
Finish the seam allowances together, clipping the inner curves of the underarm seam allowance. Press the seam allowance toward the sleeve.
I opted to finish with pinking shears throughout this dress, therefore when finishing this seam I lost some width in the seam allowance. To help me match this armhole to the lining armhole later on, I basted a row of stitching at 5/8″ around the circumference of the lining armhole to use as a reference in later steps.
Finish Armhole
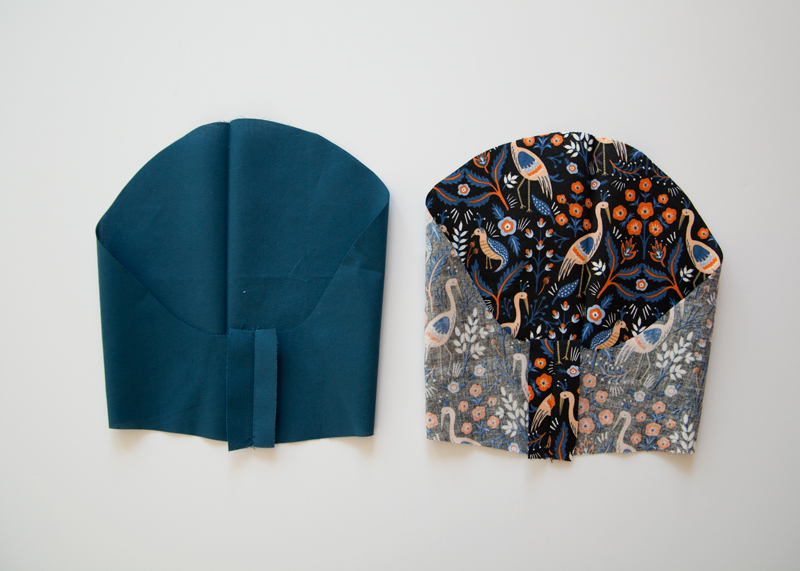
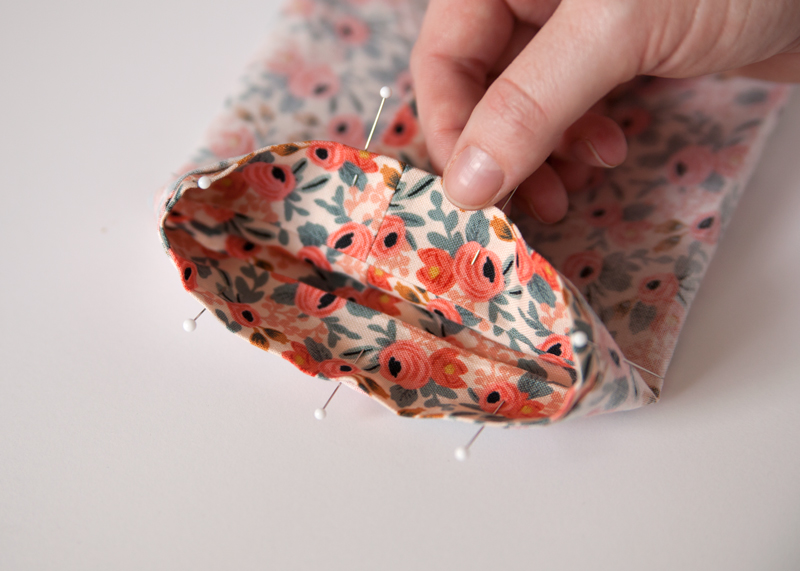
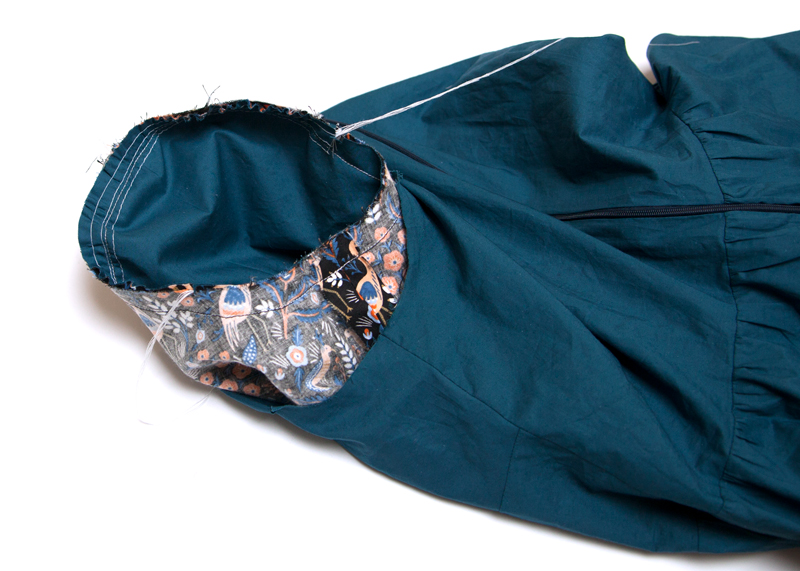
With right sides of the lining out, match the underarm seam of the sleeve to the bodice lining‘s side seam.
Turn the seam allowance of the bodice armhole under.
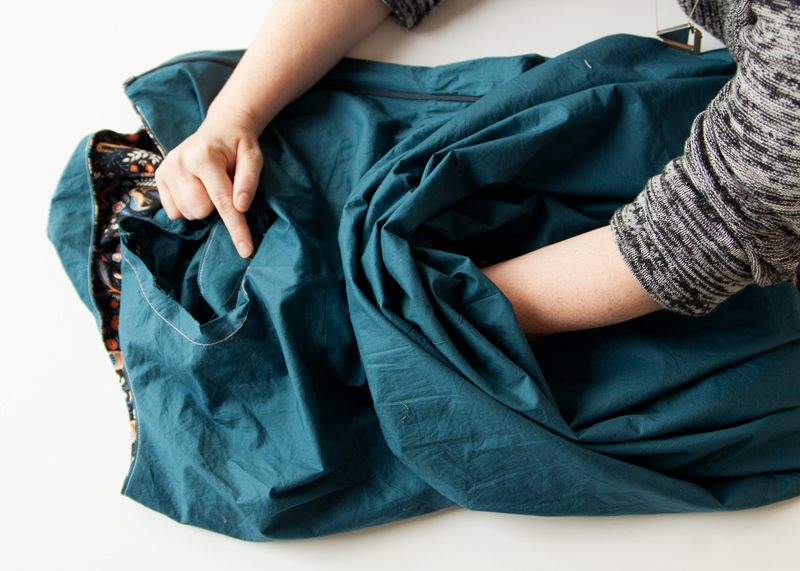
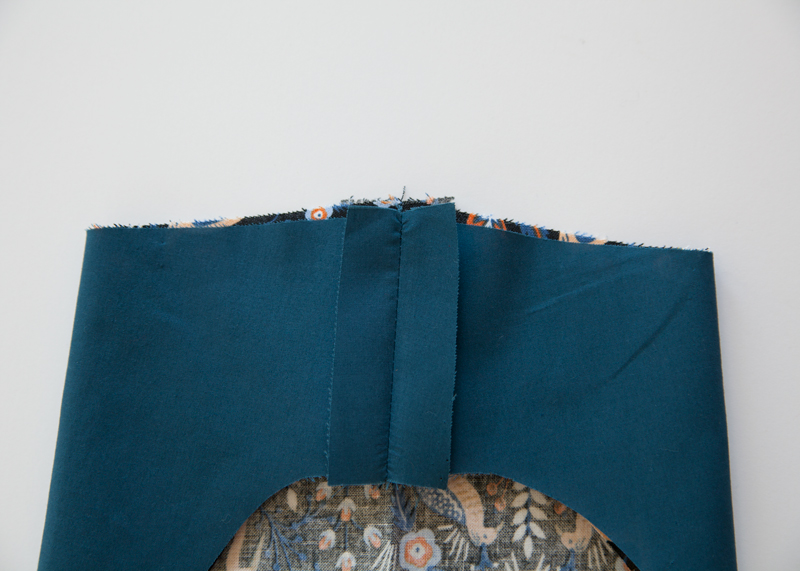
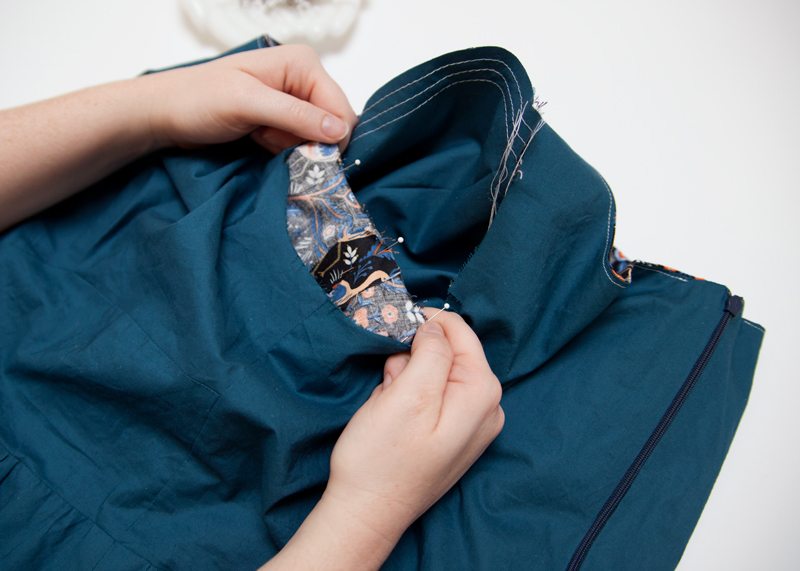
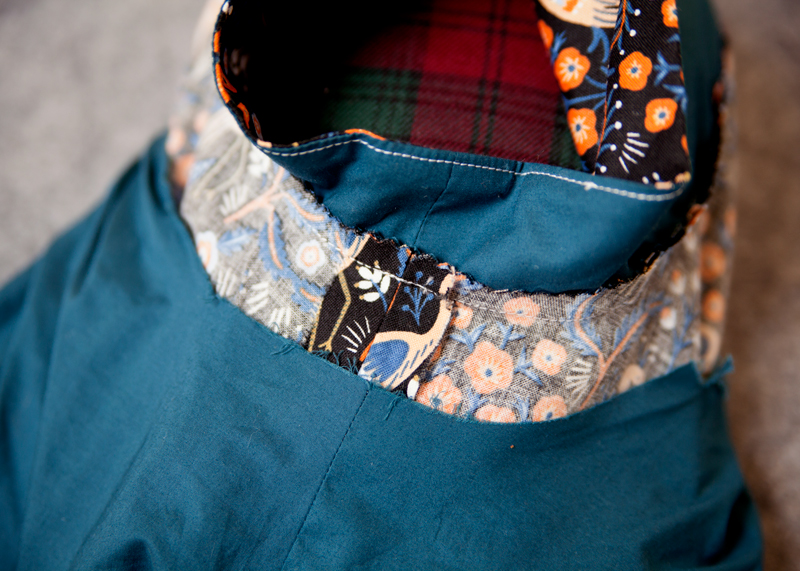
Reach between the shell and lining. Pinch the armhole seam allowances of the bodice lining and sleeves.

With the seam allowances pinched together, pull the underarm of the armhole out. Pin the underarm of the bodice lining and sleeve together.
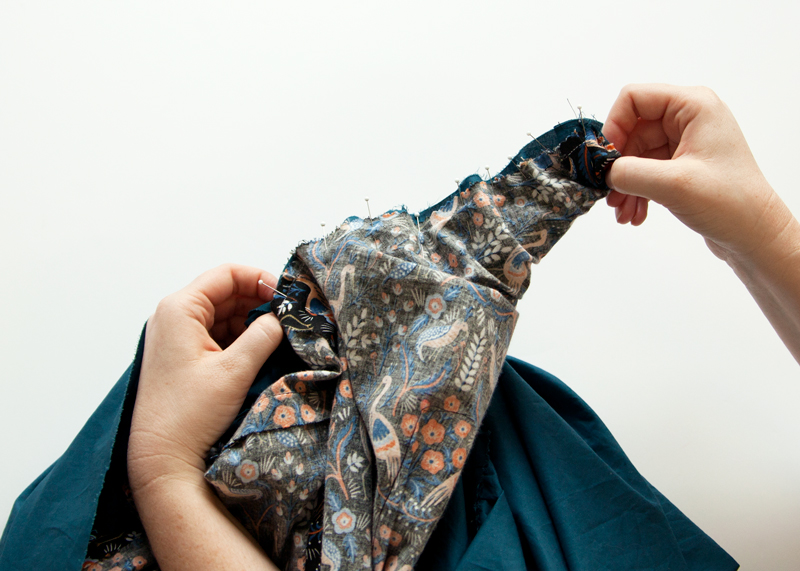
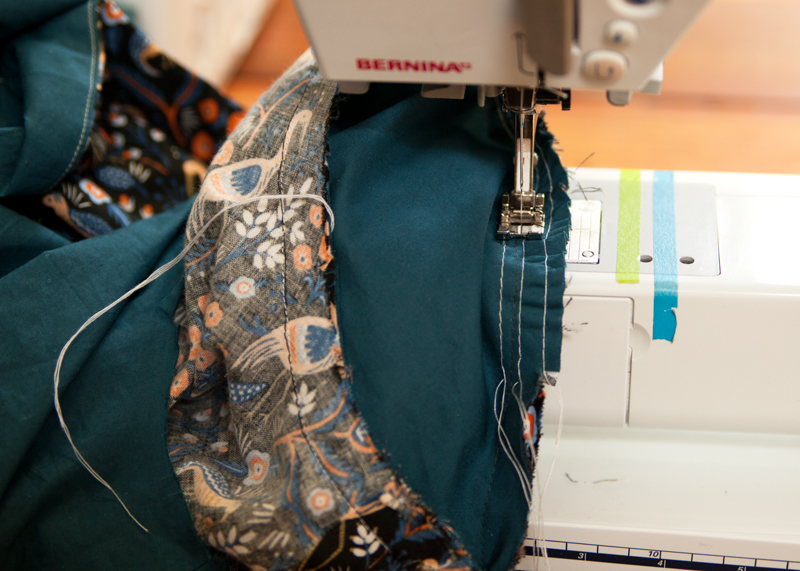
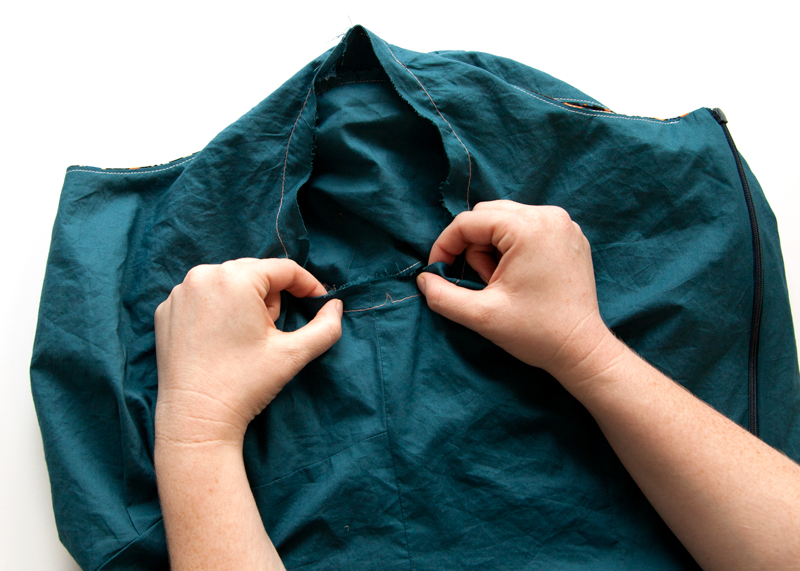
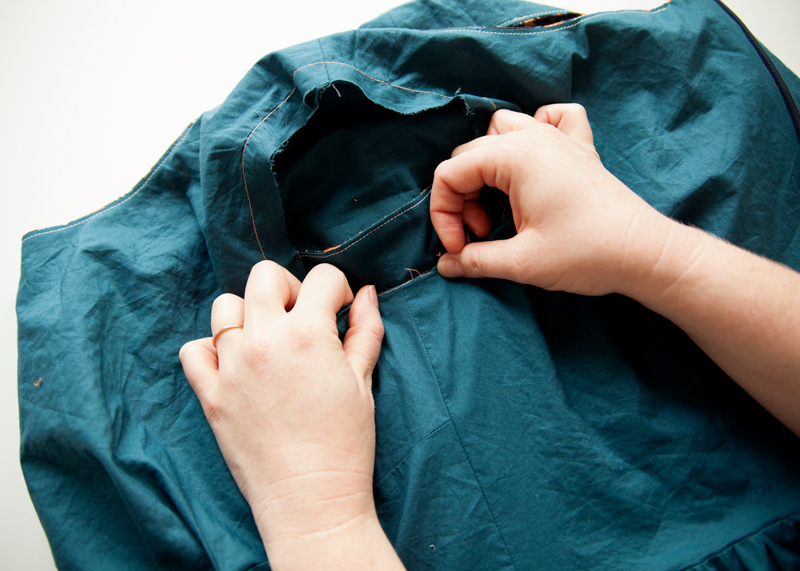
This process of clean finishing the armhole is quite restrictive and must be done in two sections. Pin along the front armhole seam allowance of the shell and lining, aligning notches, to the shoulder seam.
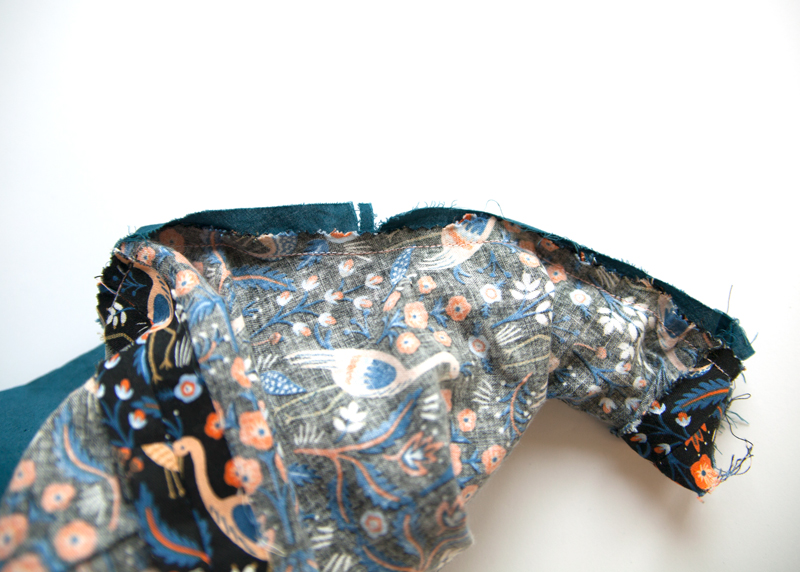
Stitch the bodice front shell to the bodice lining at the front armhole, stitching from the underarm seam to the shoulder seam. Backstitch at the beginning and end of your stitching.
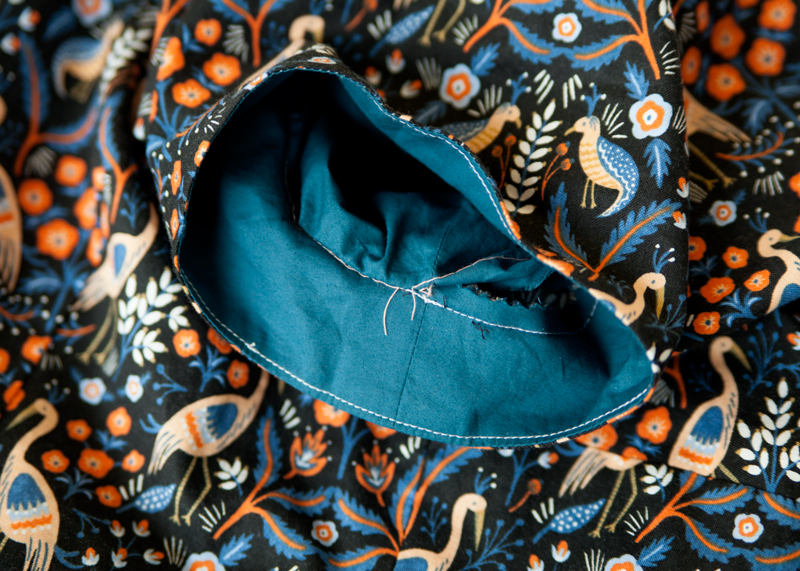
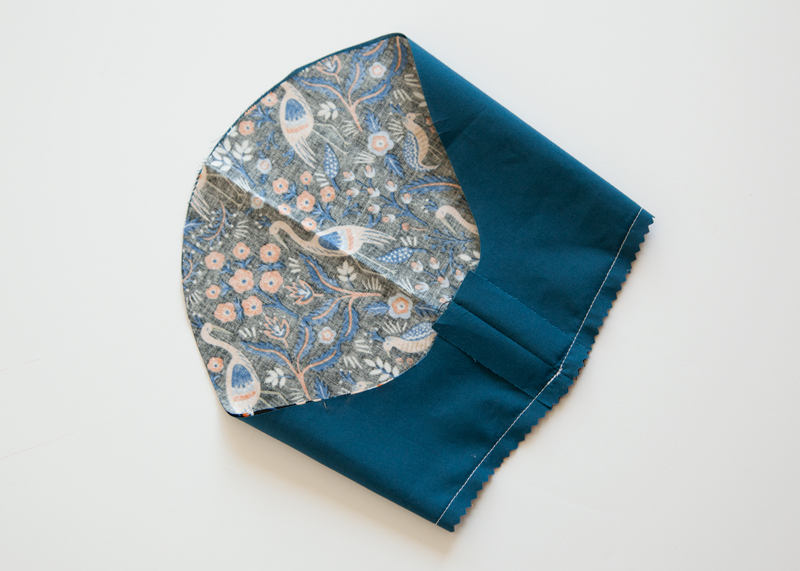
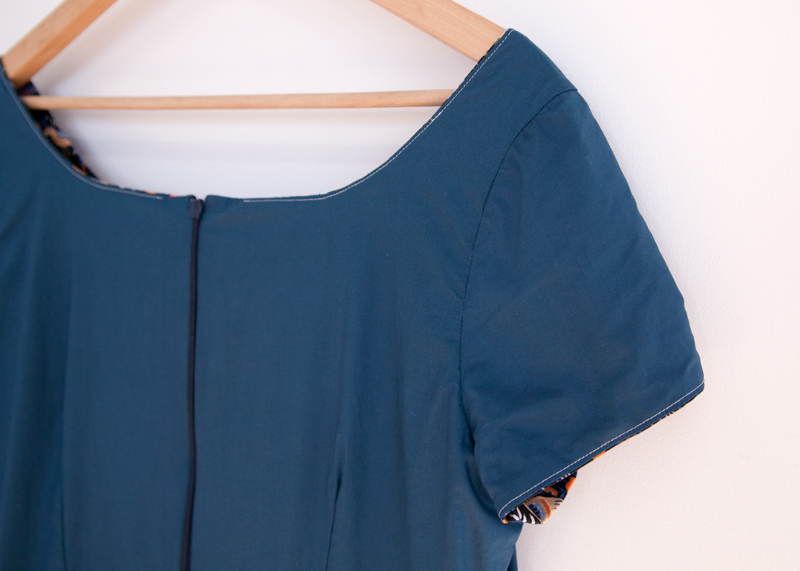
Pull the entire dress right side out. You’ll see that the front section of the armhole’s lining is completely turned under and clean finished.
Repeat the same steps for the back armhole. Make sure to turn the entire dress right side out before repeating steps, it is imperative to avoid twisting.
Repeat these steps to clean finish the second armhole.
We are so close! On Thursday, I will cover finishing Rue, including creating and installing thread chains, as well as hemming.
Comments
Wow. I am so grateful for the clear photos and instructions here. I had paused on my Version 2 Rue at the finishing of the armhole step because I couldn’t figure it out this weekend. I now have a bit of courage and will try it out! Thanks!
I’m glad that the photos and instructions are helpful! Let me know if you have any questions, I’m here to help ;)