

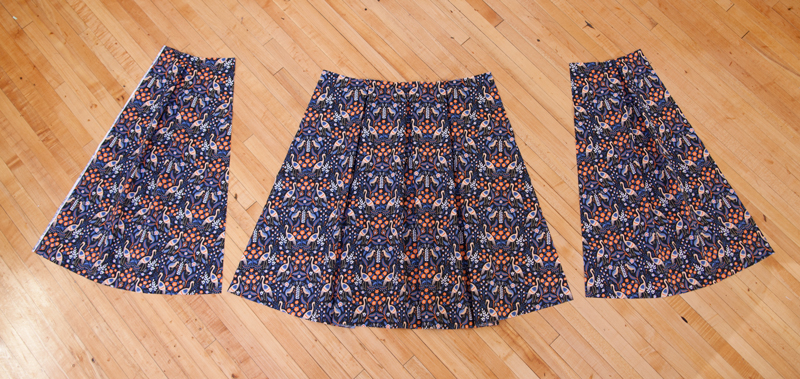
In today’s lesson, you’ll begin to see Rue take her shape! We will assemble the front skirt, make pleats for version 1), gather for version 2, attach pockets, and attach the bodice to the skirt. Let’s get started!
Assemble front skirt
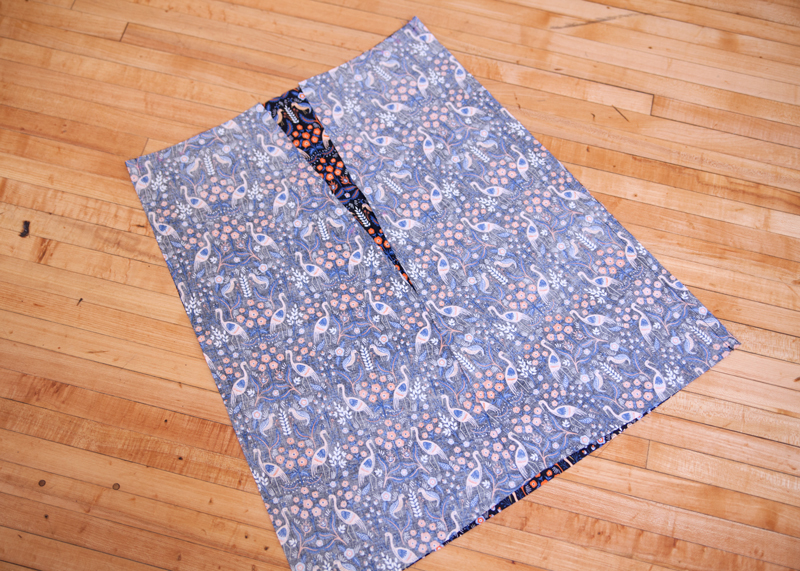
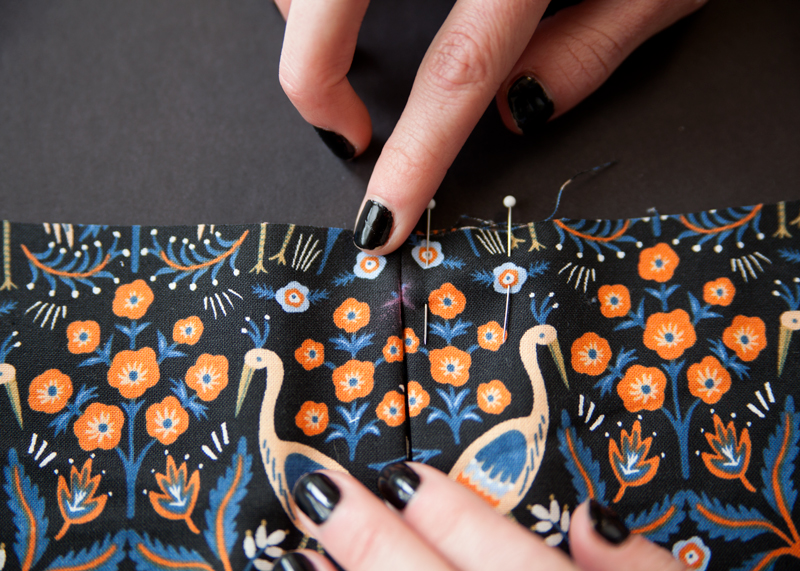
With right sides together and notches aligned, match one side front skirt to the center front skirt. Repeat for the second side of the center front skirt.
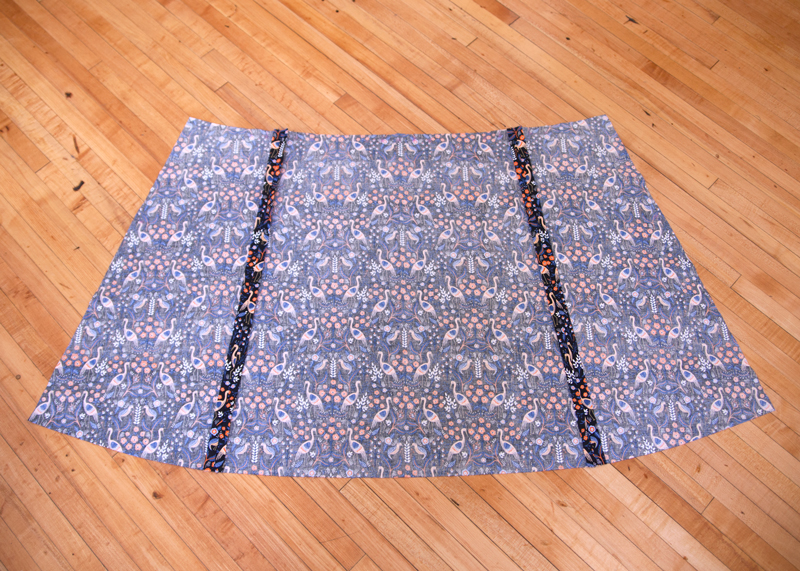
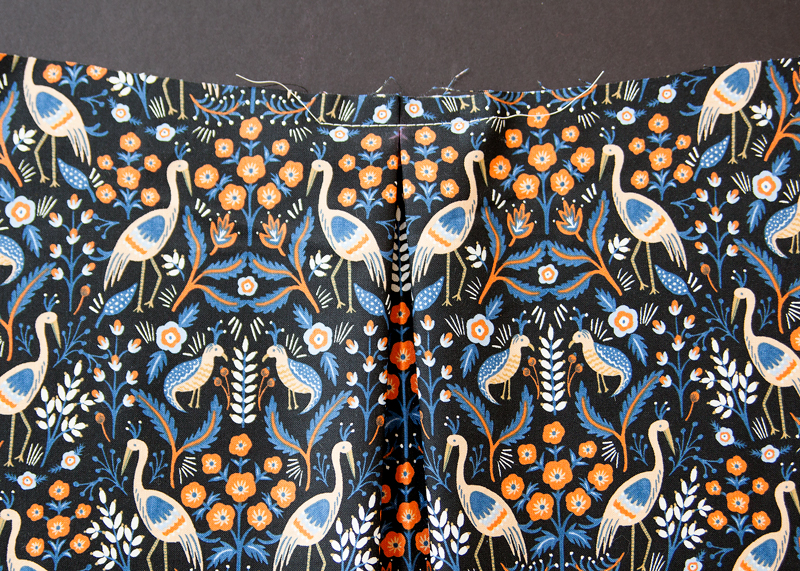
Press seam allowances open.
Make Front and Back Skirt Pleats – Version 1
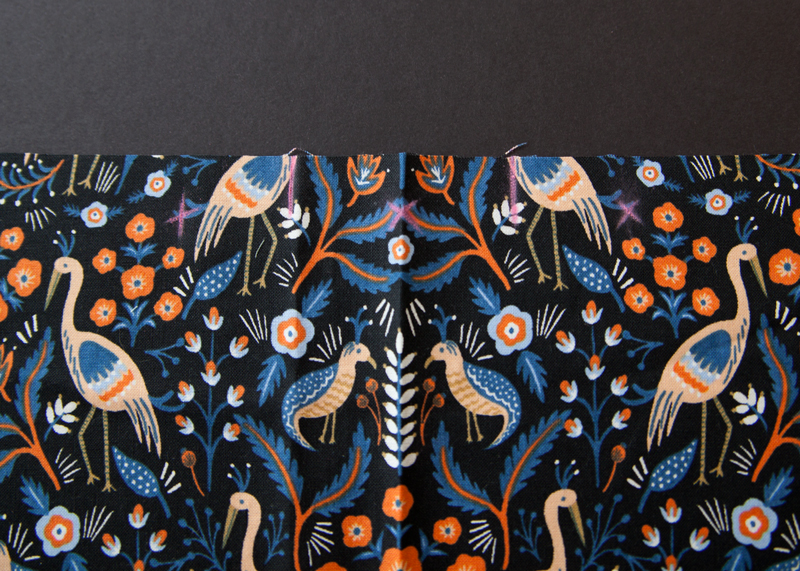
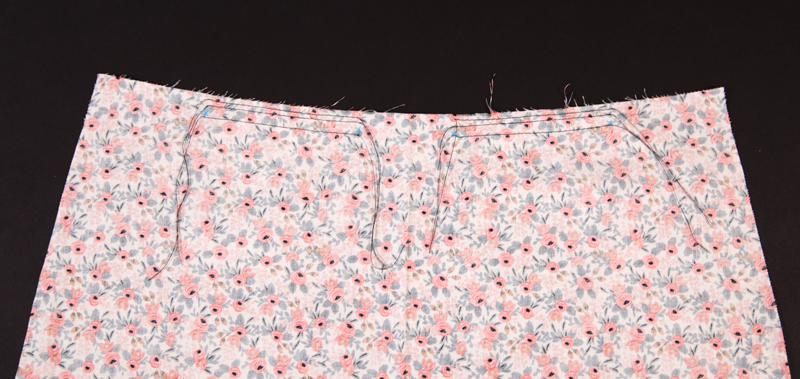
Start by creating the box pleat at center front. I transferred my markings to the right side of the fabric for the pleats. For me, it’s easier to make a perfect box pleat when working from the right side of the fabric.
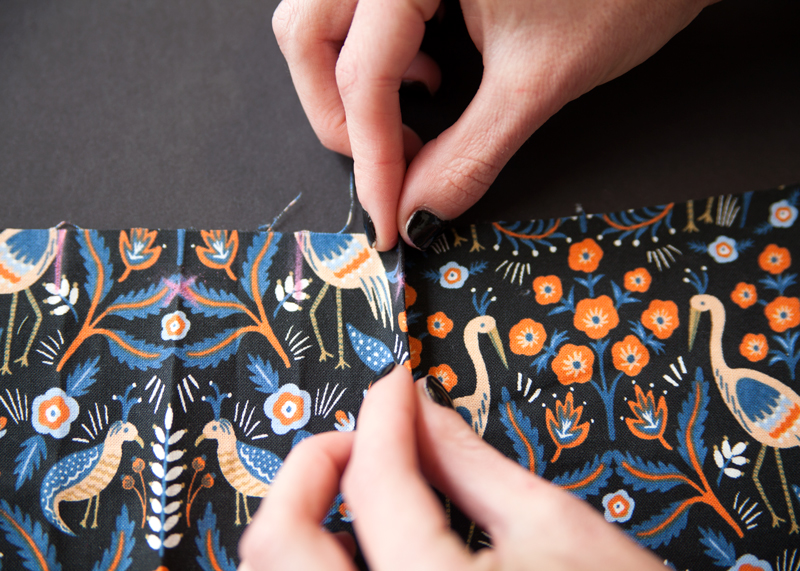
Create a fold at the right-most X marking and bring it to the X marking at center front.
Pin in place.
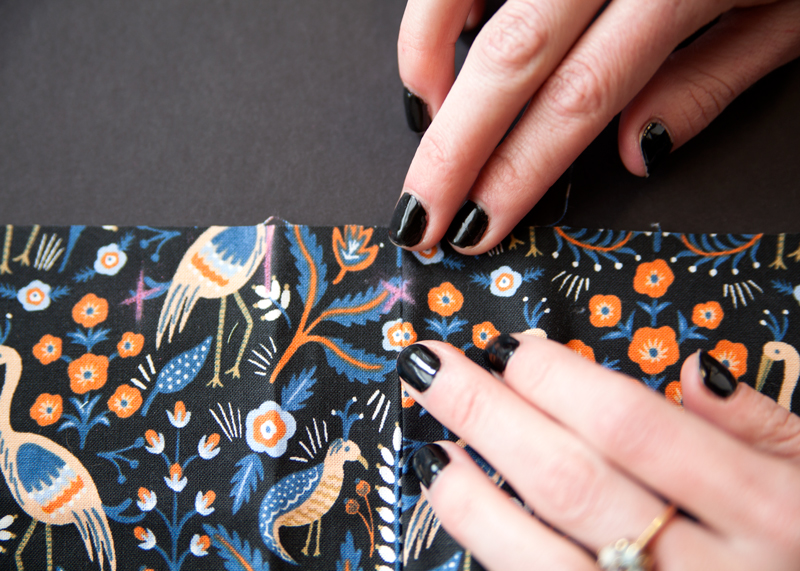
Create a fold at the left-most X and bring it to the X at center front.
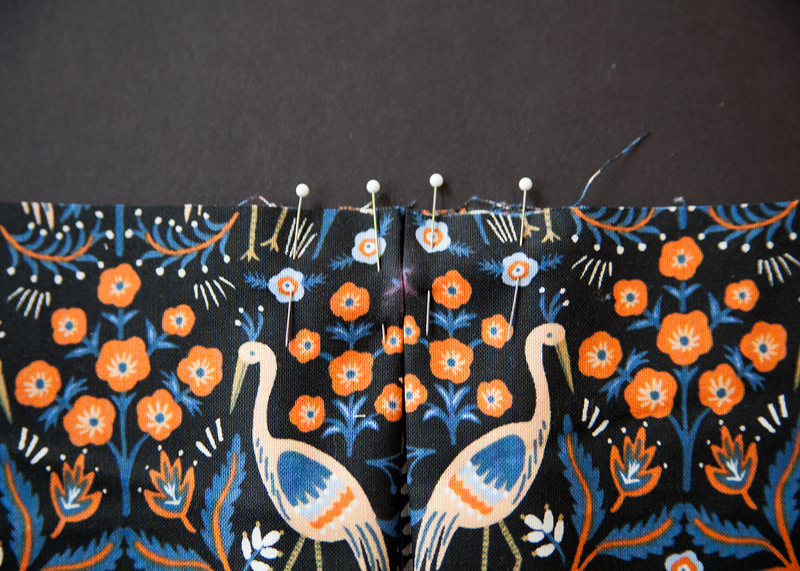
Pin in place. You have now created a box pleat.
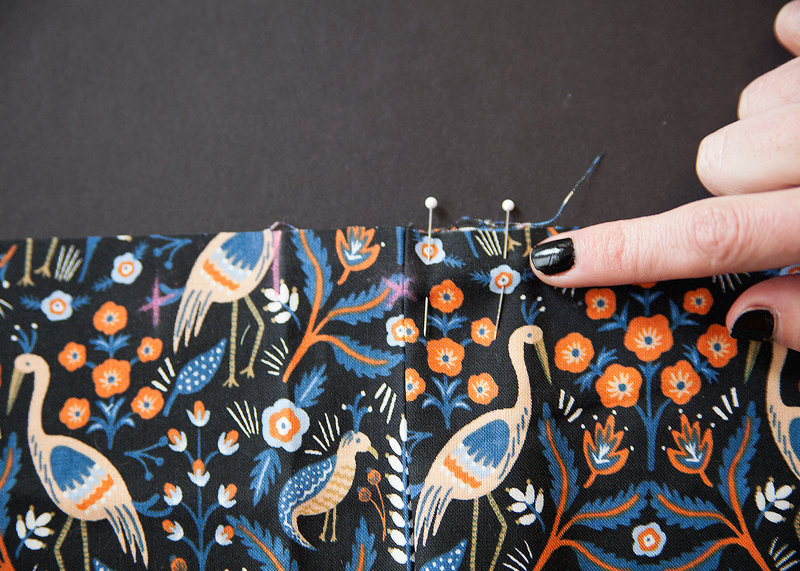
Baste the box pleat down 3/4″ away from the cut edge.
Continue this same technique to create the two side front pleats and two back skirt pleats.
Start front skirt gathers – Version 2
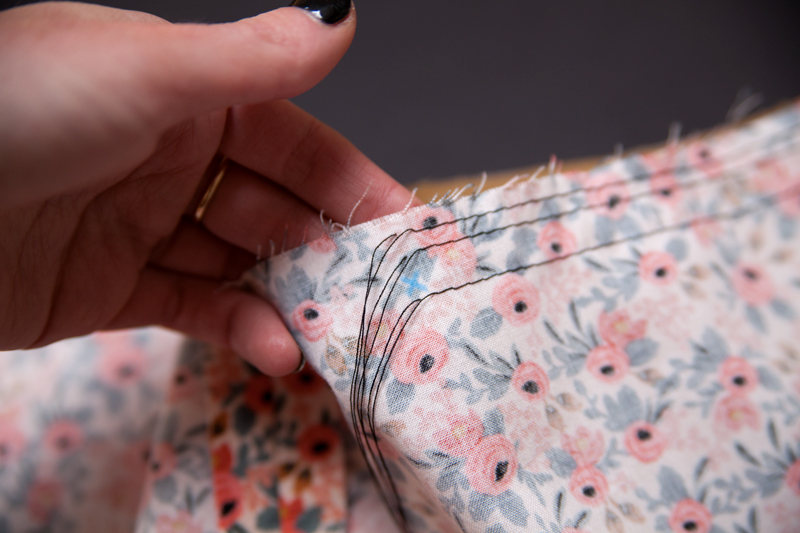
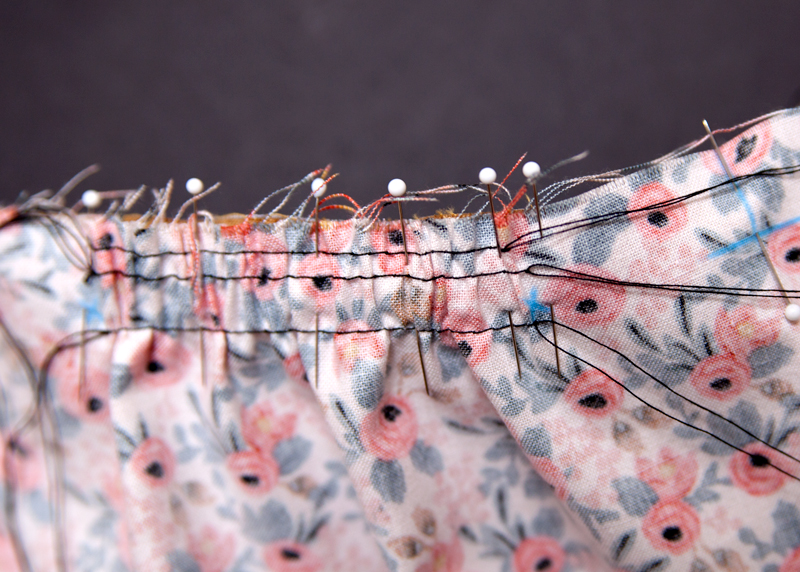
Baste 3 rows of gathering stitches between each set of circles on either side of center front on the skirt front. One row of stitching should be 1/4″ down from the raw edge, another 1/2″ away, and the final rows 3/4″ down from the edge.
These multiple rows of stitches will help make consistent gathers. We will come back to these basting stitches when attaching the skirt to the bodice.
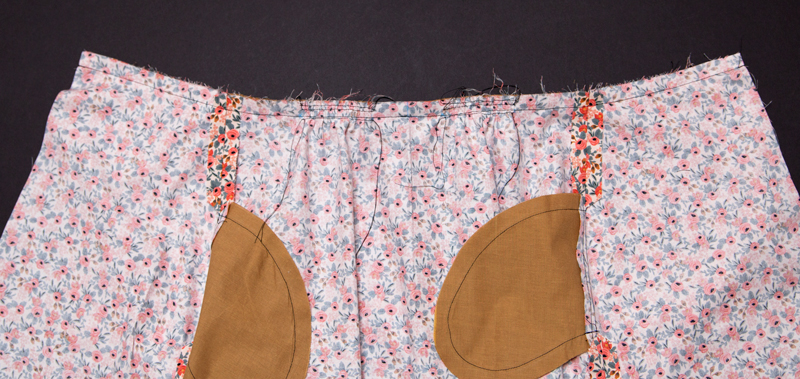
Attach Skirt Pockets – both versions
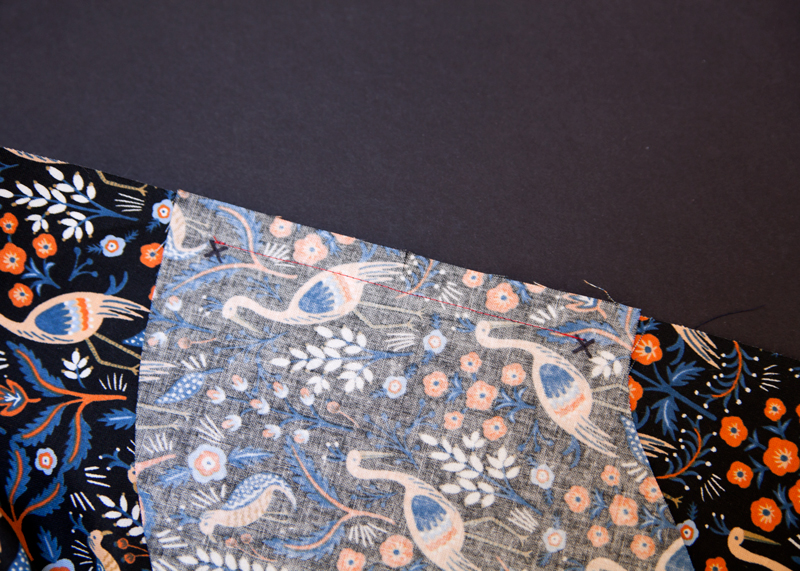
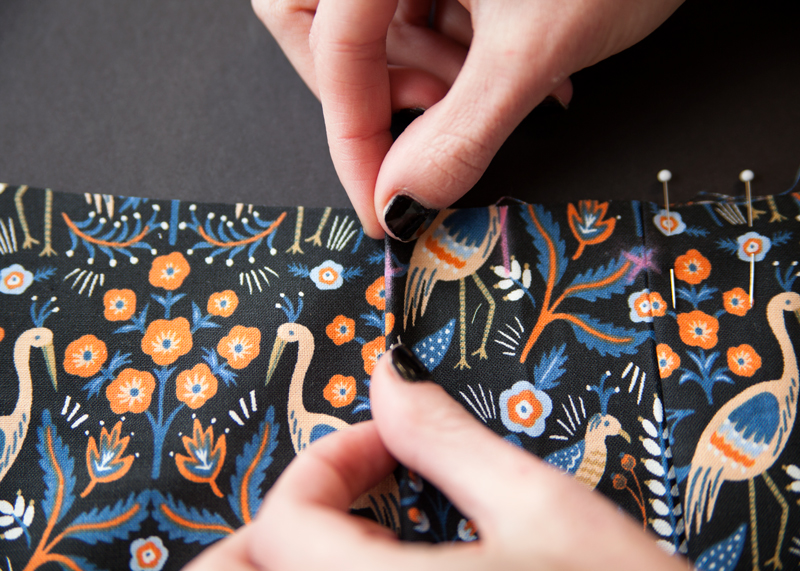
With right sides together, notches aligned, X markings matched, and the pocket bag toward the inside of the skirt, match one pocket to one side front skirt at the side seam. Pin and stitch from one X to the other, backstitching at either end at a 1/2″ seam allowance.
The pocket is stitched at 1/2″ seam allowance rather than 5/8″ in order for the pocket to “hide” inside of your side seam and not peek out.
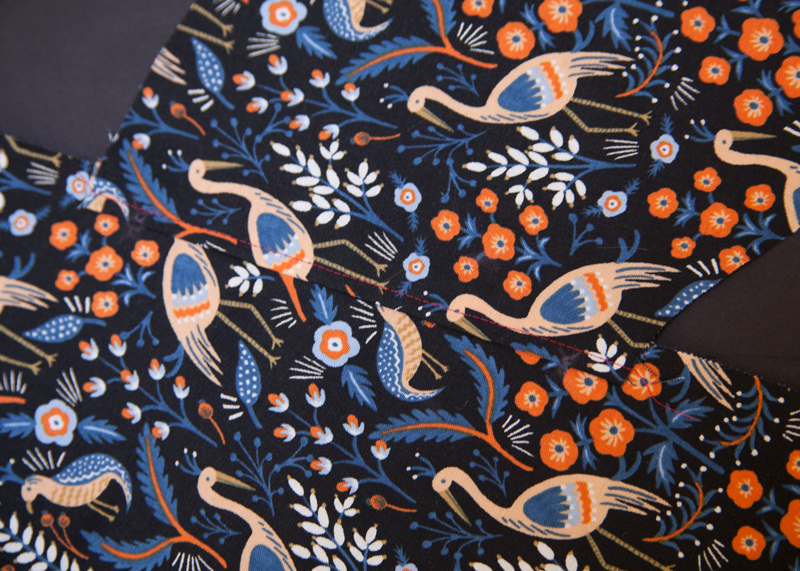
Press the pocket and seam allowances away from the side front skirt. Edgestitch/understitch the pocket piece to the seam allowance. This will keep the pocket from shifting and peeking out of the side seam as well!
Repeat these steps for the second pocket on the other side of the skirt. The process for attaching the pocket is identical for version 1 and version 2.
Sew Skirt Side Seams

With right sides together, notches and pocket X marks aligned, match the skirt front shell to the skirt back shell at on side seam. Pin
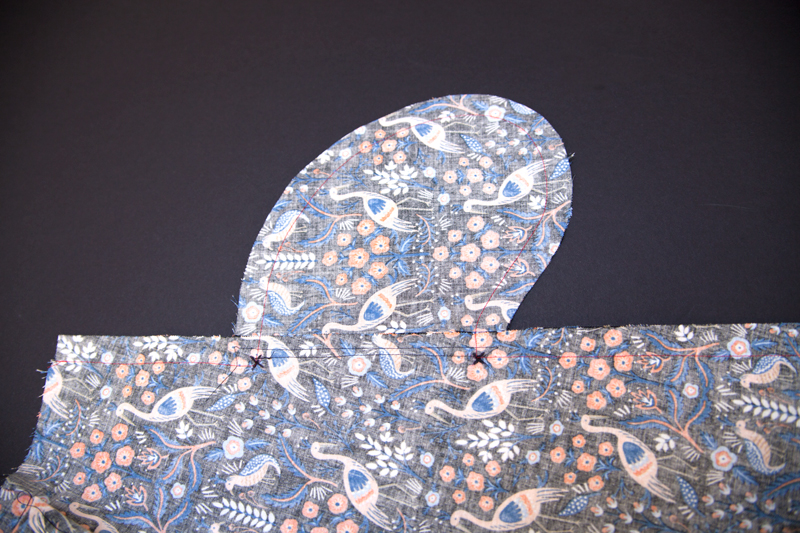
In one continuous stitch, sew from the waistline to the first X marking. Pivot your stitching and sew around the pocket to the second X. Pivot once more and stitch down the remainder of the side seam to the hem.
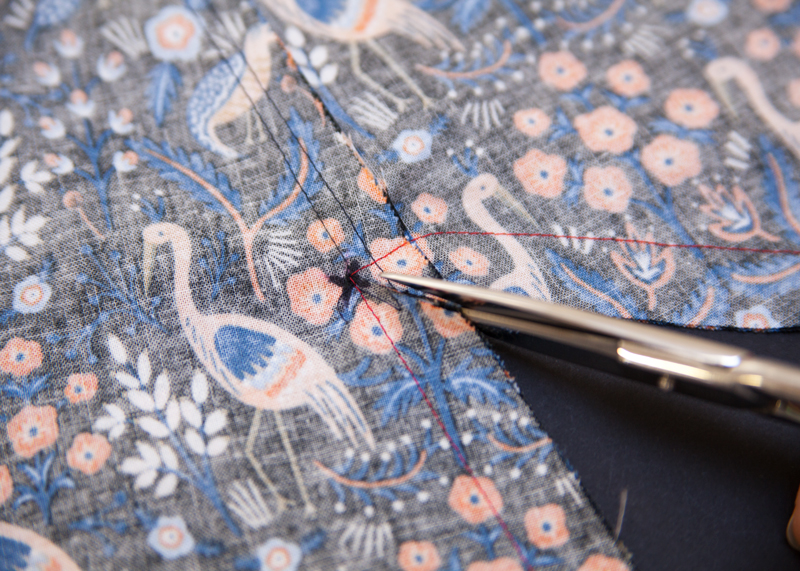
Clip the seam allowances at each X mark.
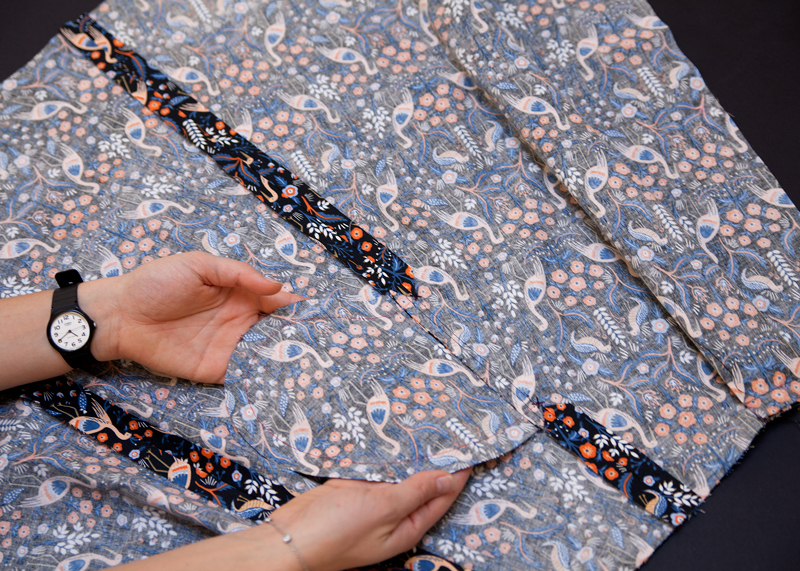
Press the pocket pieces towards the center front. Press the side seam allowances above and below the pocket open.
Repeat these steps for the second side seam.
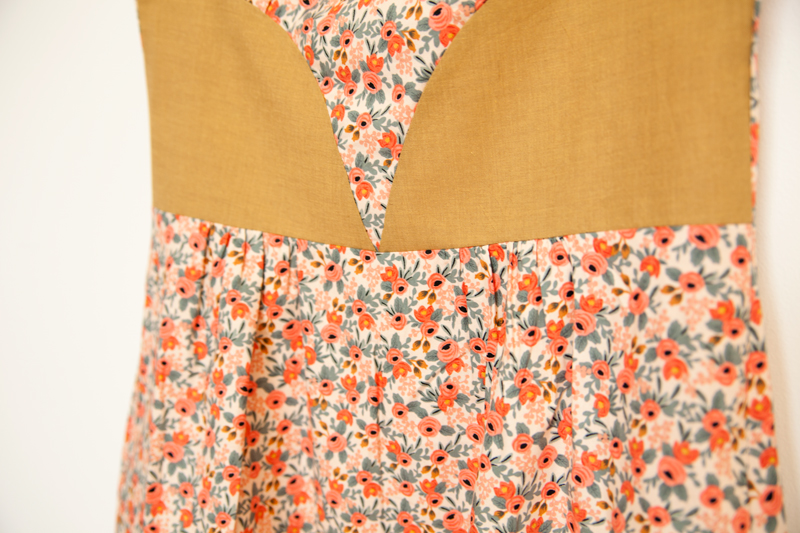
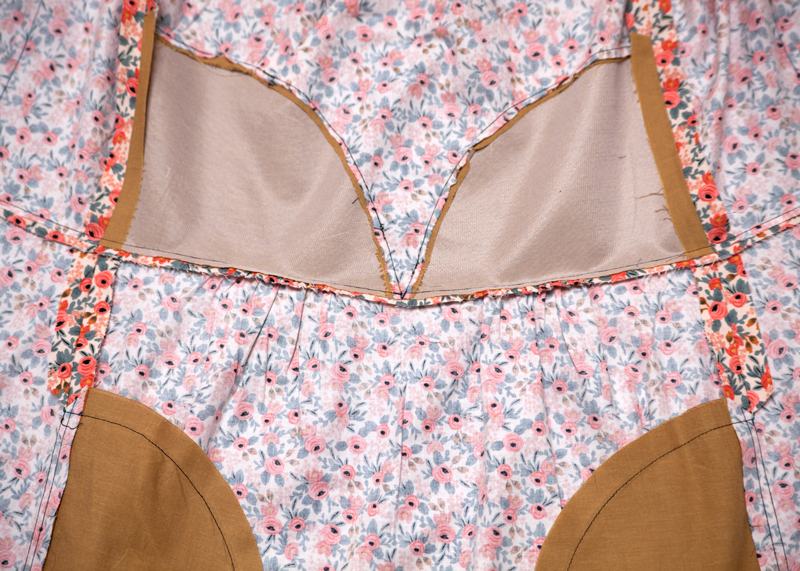
Attach Bodice to Skirt – Version 2
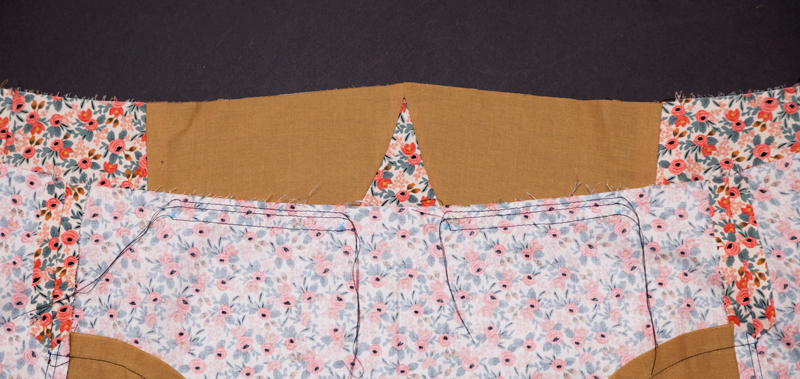
With right sides together, match the bodice and skirt at the waistline.
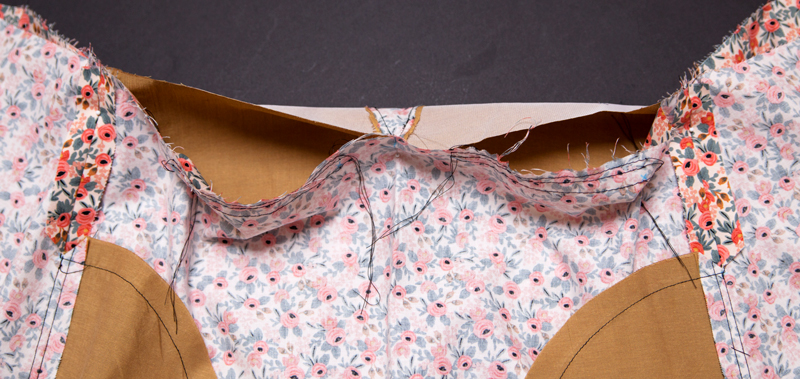
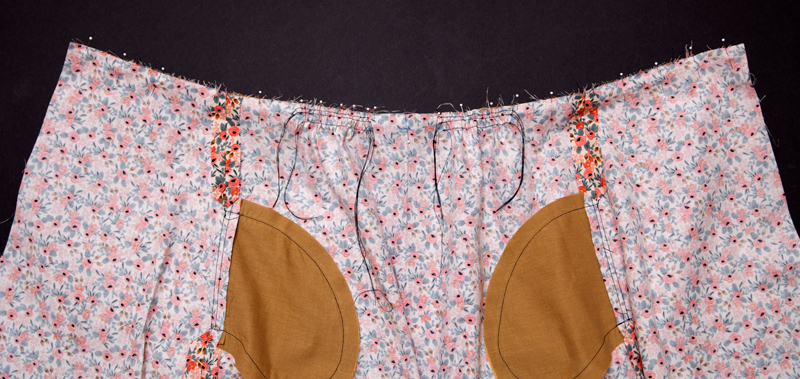
Align the side seams and center front of the bodice and skirt. Pin. Continue to pin the entire waistline except for the space between the two sets of X markings. You’ll see that the skirt does not match the bodice. Now it’s time to gather those basting stitches we made previously.
Gathering
Everyone has their own ways of gathering. This was the first technique for gathering I learned and it has stuck with me. If you have other ways of gathering you are more than welcome to do whatever you’d like. You could even share them in the comments to help other Rue sewists!
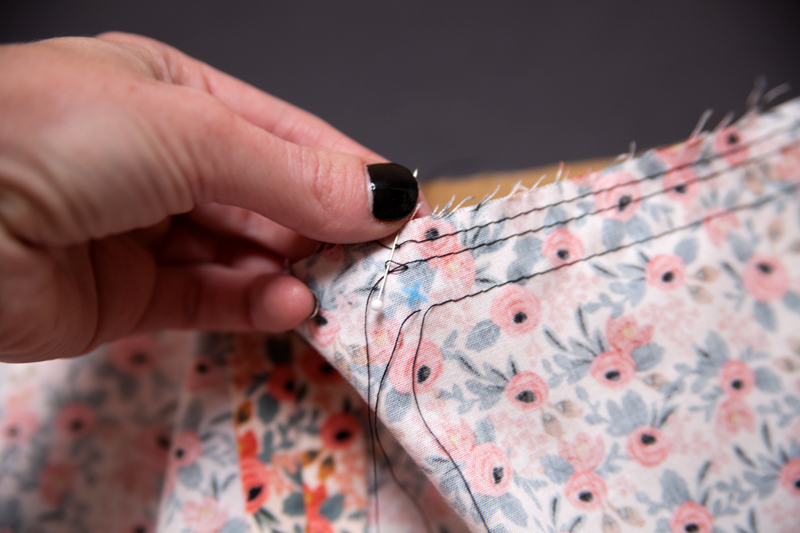
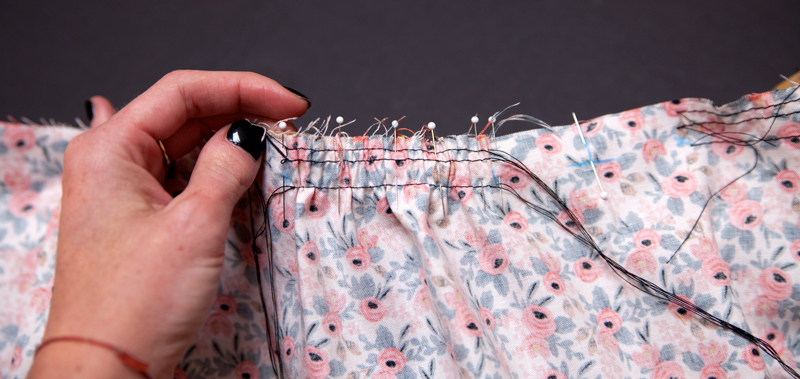
Begin by pulling the thread on the backside of the fabric to the right side. To do this, pull the first stitch up with a pin while also pulling the tail. This will pull up the loop of your back thread. Repeat for all 3 basting stitches.
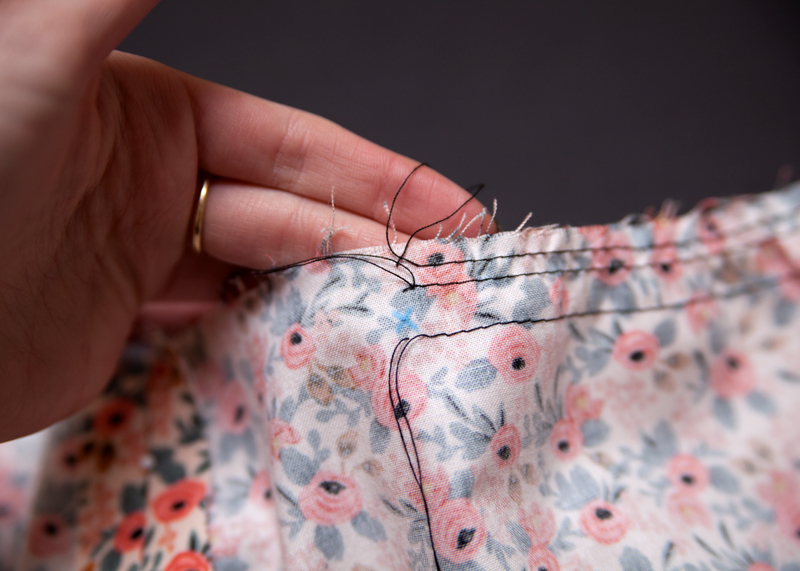
Tie a square knot with each pair of threads at this end.
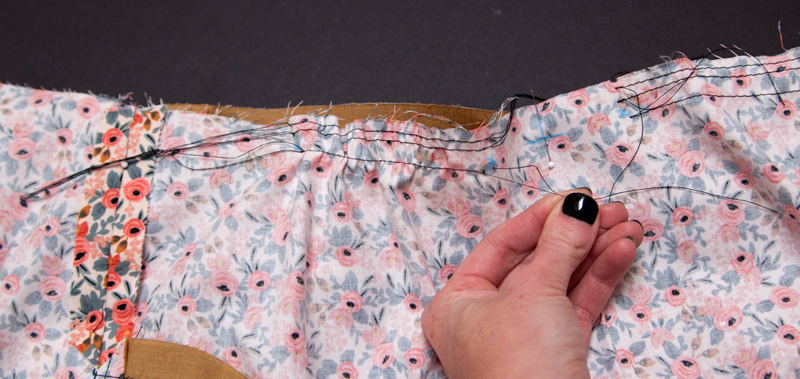
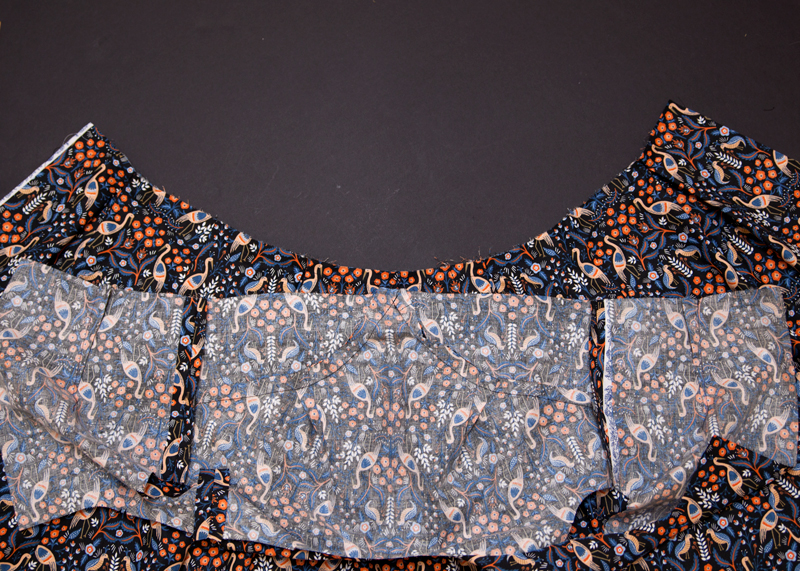
At the opposite end, pull the thread tails of each basting stitch line until the length of the skirt front matches the bodice.
Pin in place.
To keep the gathers from shifting while sewing, tie square knots at the other end of the basting stitches.
After the gathers have been secured, the bodice and skirt should match perfectly at the waistline.
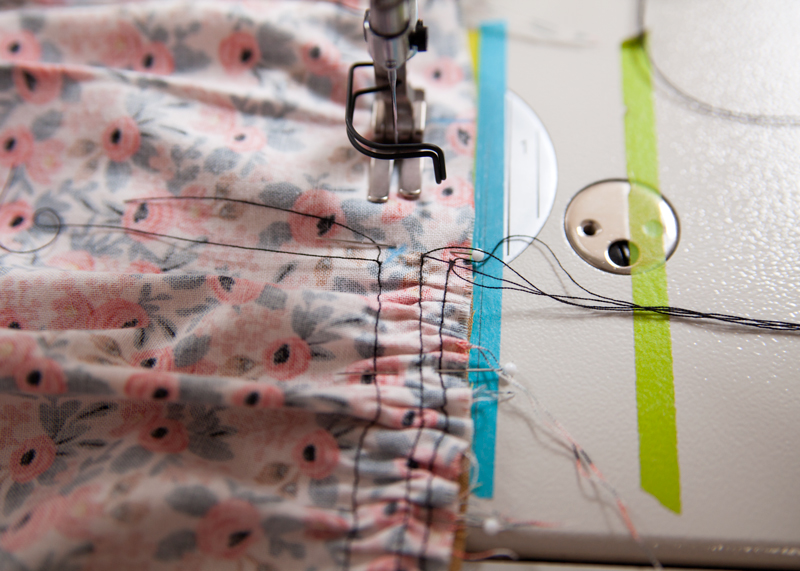
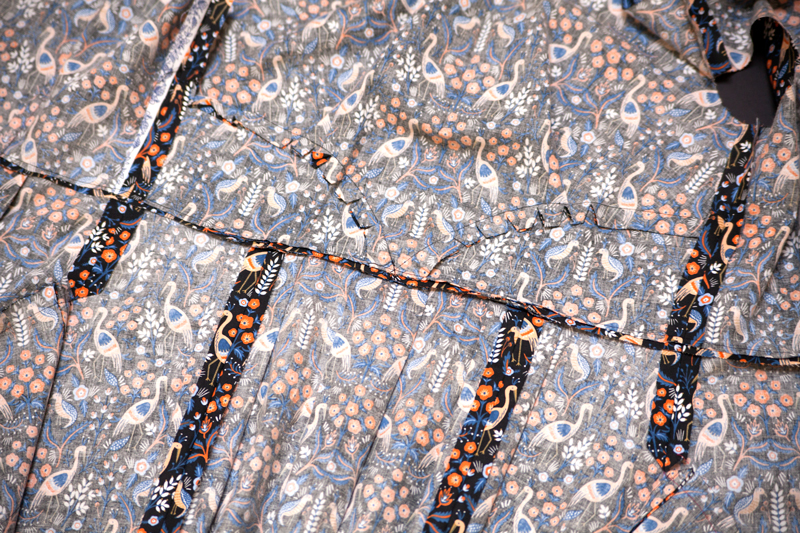
Stitch the waistline at a 5/8″ seam allowance. When approaching the basting stitches, move the tails to either side of where you are going to stitch to avoid making a big ol’ mess.
Remove basting stitches.
Trim and grade the seam allowance and press down toward the skirt.
Attach Skirt to Bodice – Version 1
With right sides together, notches and side seams aligned, match the skirt to the bodice at the waistline. Pin and stitch.
Trim and grade the seam allowance and press down towards the skirt.

Right on! We are starting to make some serious progress. Next, I will cover assembling the skirt linings, attaching the bodice lining to skirt lining, attaching the lining to the shell, and installing the zipper.
Comments
I find sew-alongs so motivating. I am making two of these, one in a recommends cotton blend and one in a fun, crepe backed satin that I found at a thrift shop. Both are shaping up really well. I think my next one will be a solid colour but this dress really suits prints.