

Our Rues are all put together, and now it’s time to assemble the lining, attach the lining to the shell, and insert the zipper!
If this is your first time installing a zipper, or you’re just a little worried, you can always practice first! Do a mini-install with smaller rectangles of fabric. You can even use the same zipper – you can always seam rip it out when you’re ready for the real deal.
Let’s get started!
Assembling version 1 lining
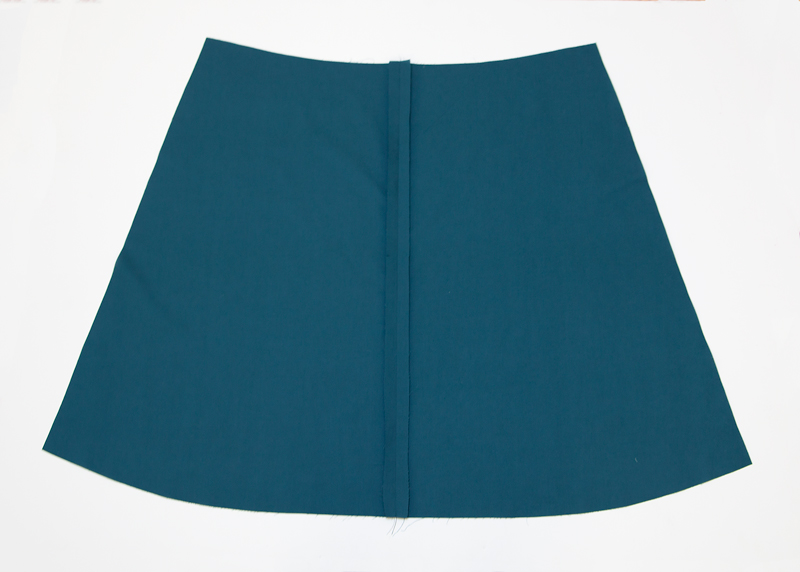
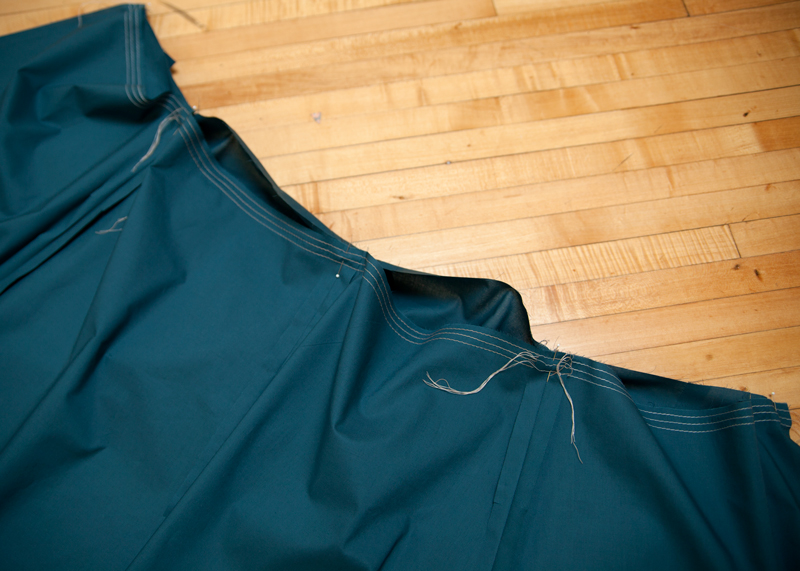
With right sides together and notches aligned, match two skirt lining pieces together at the center front seam. Pin and stitch at a 5/8″ seam allowance.
Press the center front seam allowance open. This is now your front skirt lining.
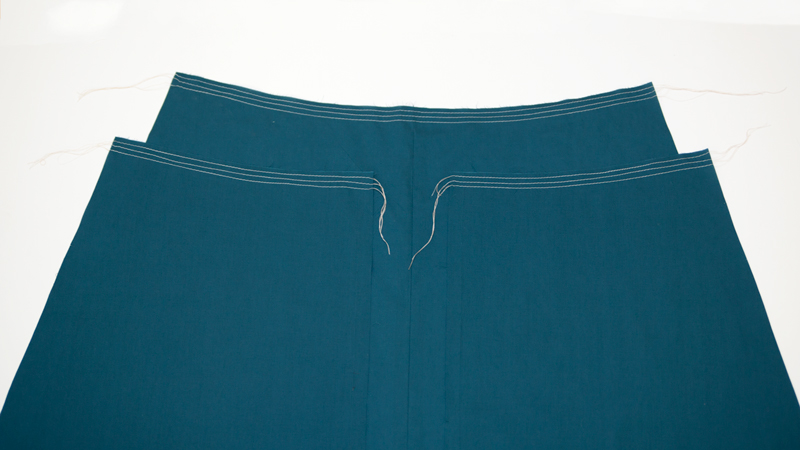
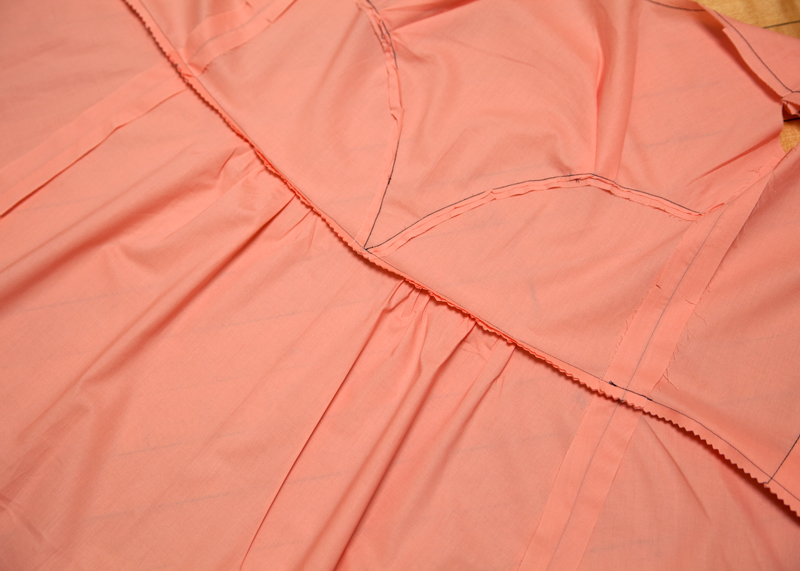
Baste 3 rows of gathering stitches into the seam allowance at the waistline of the front skirt lining and two back skirt lining pieces. One row of stitching should be 1/4″ down from the raw edge, another 1/2″ away, and the final rows 3/4″ down from the edge.
These multiple rows of stitches will help make consistent gathers. We will come back to these basting stitches when attaching the skirt to the bodice.
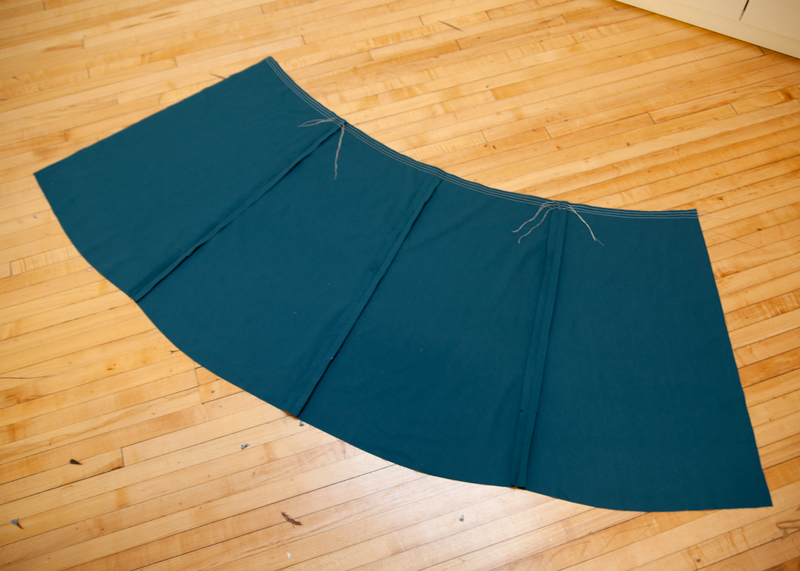
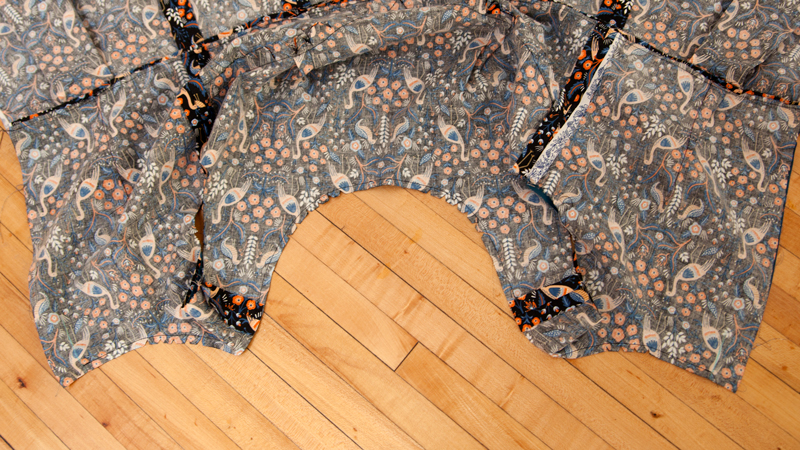
With right sides together and notches aligned, match the front skirt lining to one of the twoback skirt lining piece. Pin and stitch at a 5/8″ seam allowance. Press the seam allowance open.
Repeat this step for the second side seam.
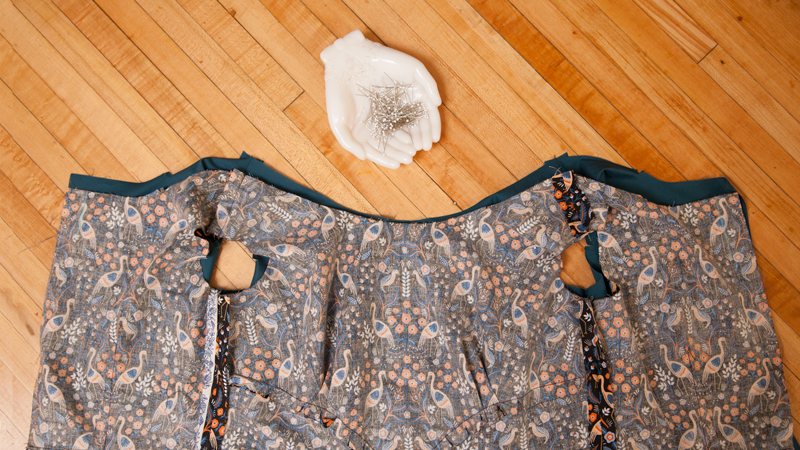
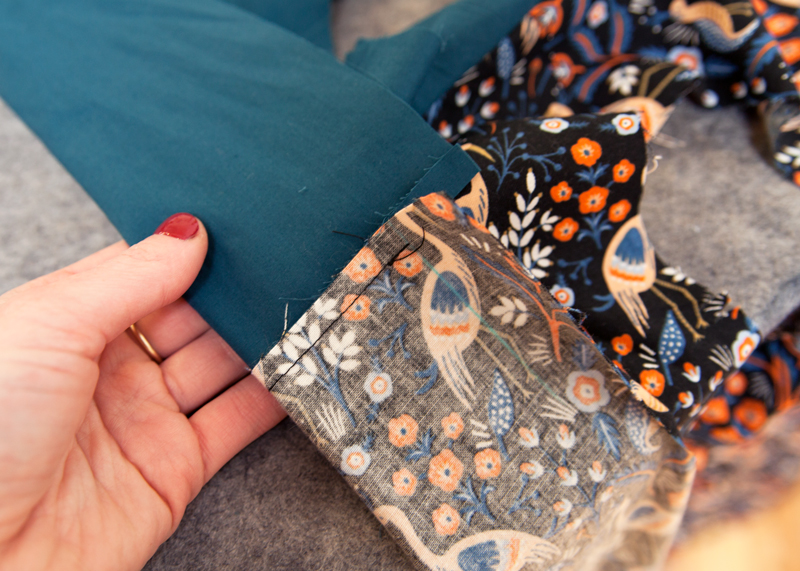
With right sides together, match the side seams, center back, and center front of the lining skirt to the lining bodice at the waistline. Pin.
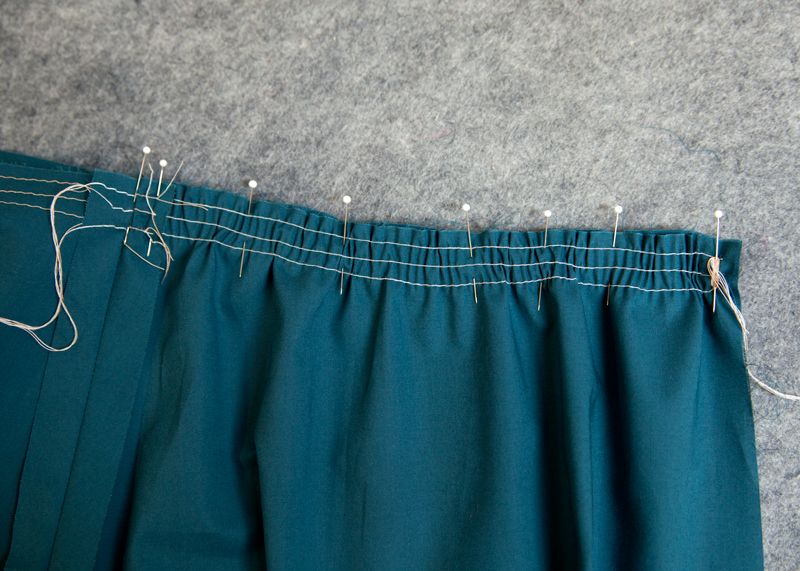
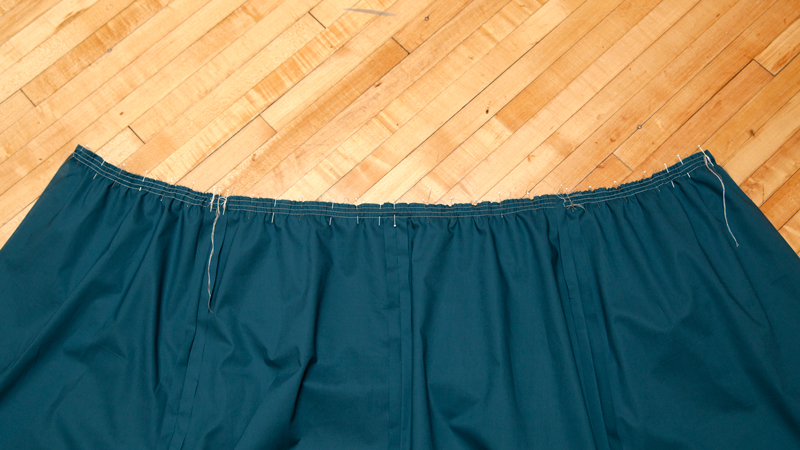
Pull the thread tails on the front and back skirt lining pieces to align the raw edges of the skirt waistline to the bodice lining.
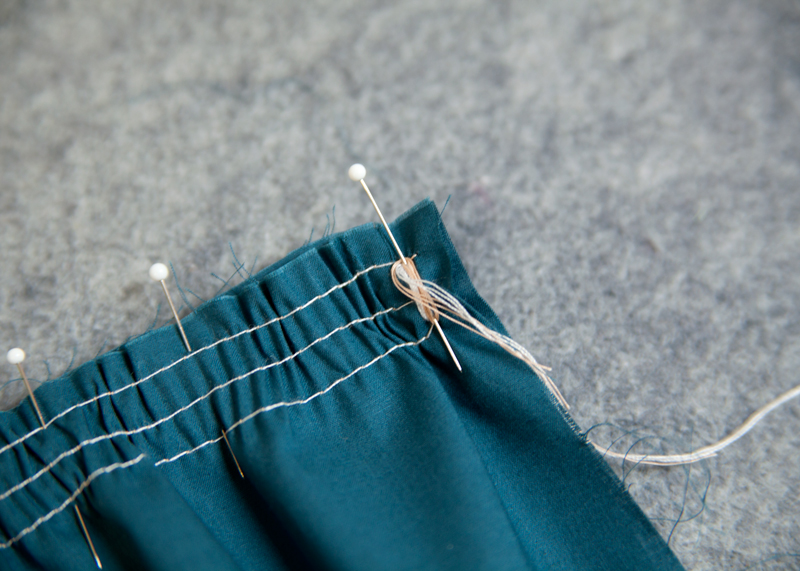
I opted to wrap the tails of one side of each basting stitch around a pin, rather than knotting them. If you choose to use this technique, “unwrap” the tails after pinning and before sewing. You don’t want to sew all that mess into your skirt.
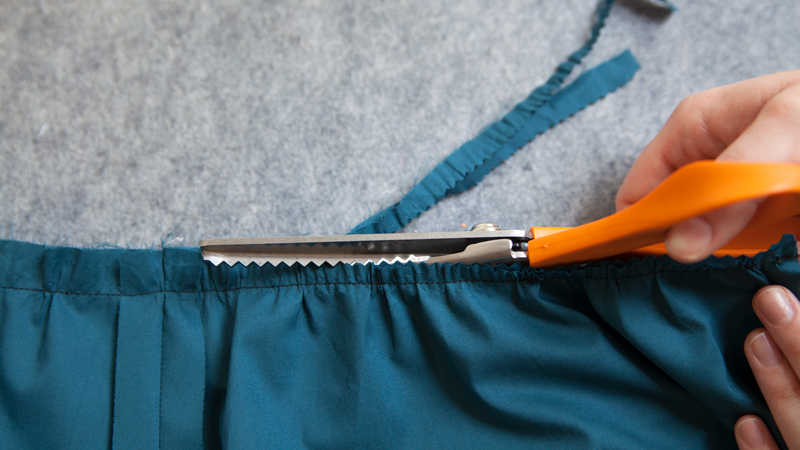
After pinning in place, stitch the lining skirt to the lining bodice at a 5/8″ seam allowance. Remove the gathering stitches on the skirt. Trim the seam allowance.
I like to do my trimming with pinking shears to effectively trim and finish the seam in one fell swoop.
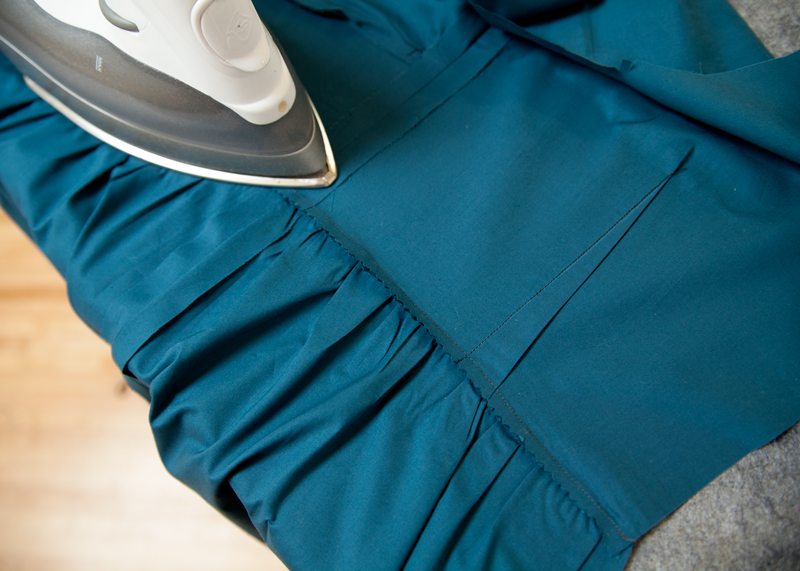
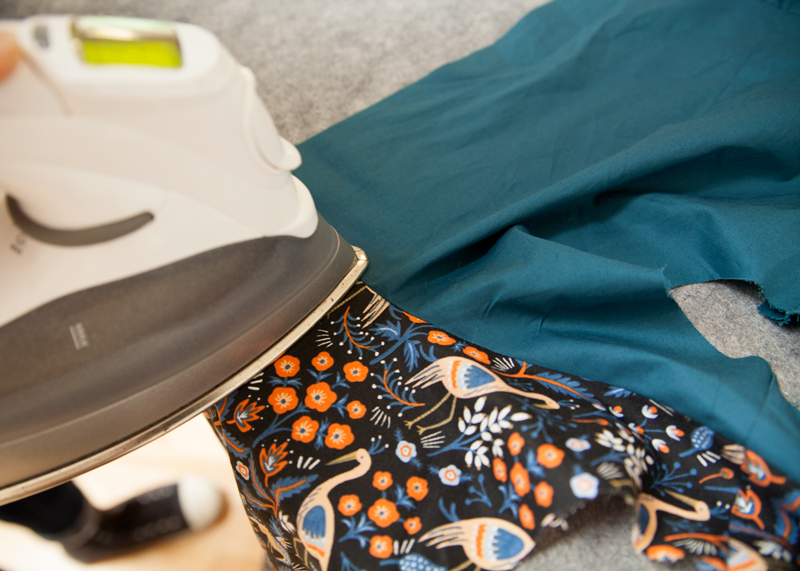
Press the seam allowance toward the skirt.
Assemble Version 2 lining
Repeat same technique for attaching the shell bodice and shell skirt—disregarding the instructions for the pocket pieces—to assemble the version 2 lining.
Attach lining to shell at neckline
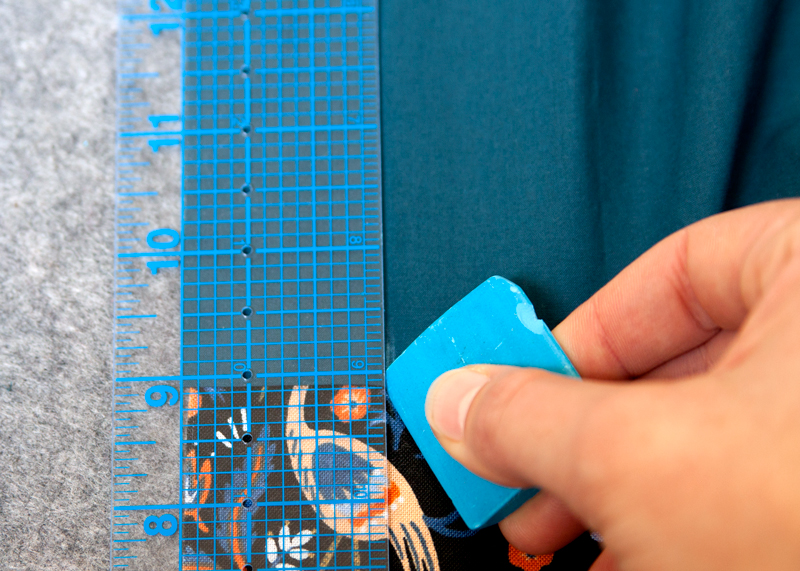
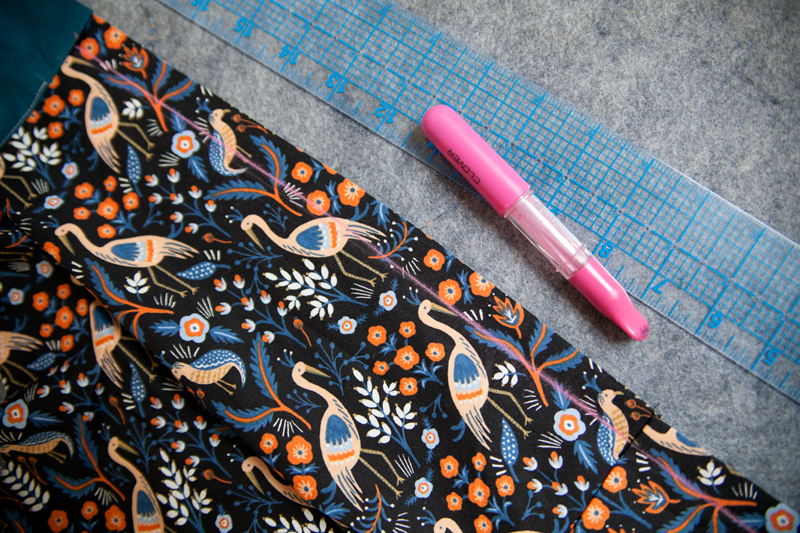
To begin, measure 1″ in from both center back edges of the shell back and mark. This will help you stop at the perfect place when sewing.
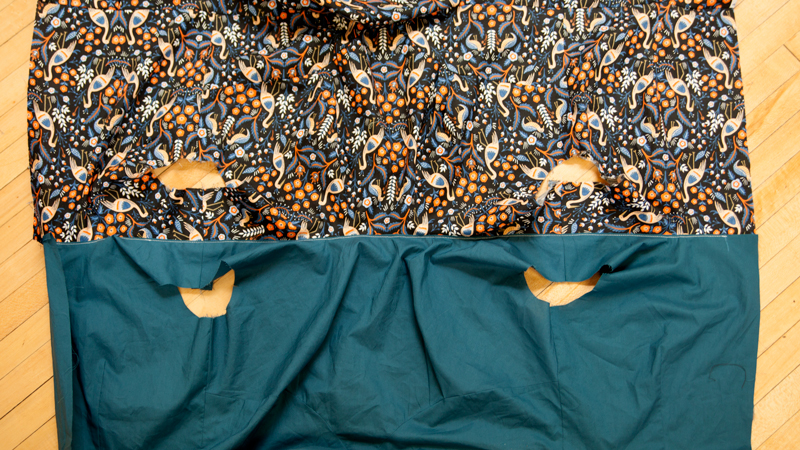
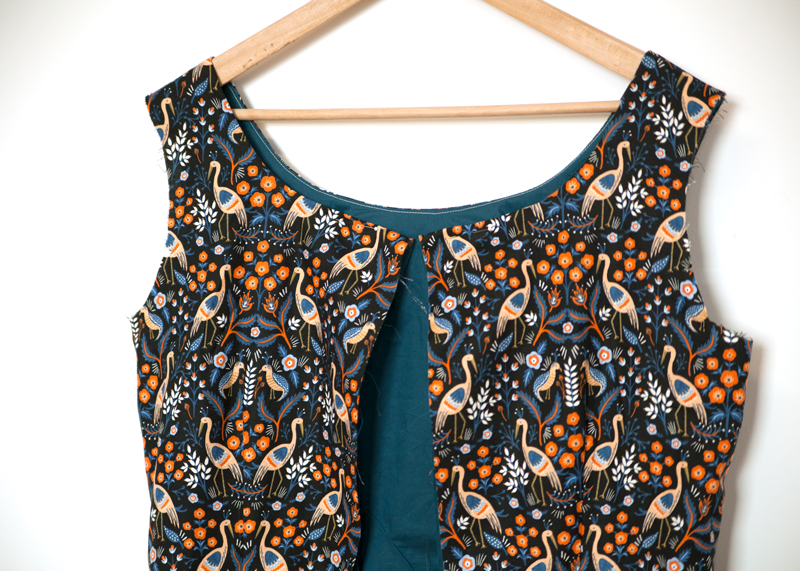
With right sides together, notches and shoulder seams aligned, match the shell to the lining at the neckline. Pin.
In one continuous stitch, sew around the neckline at 5/8″ seam allowance, starting at the 1″ mark on one center back and ending at the other 1″ mark on the opposite side.
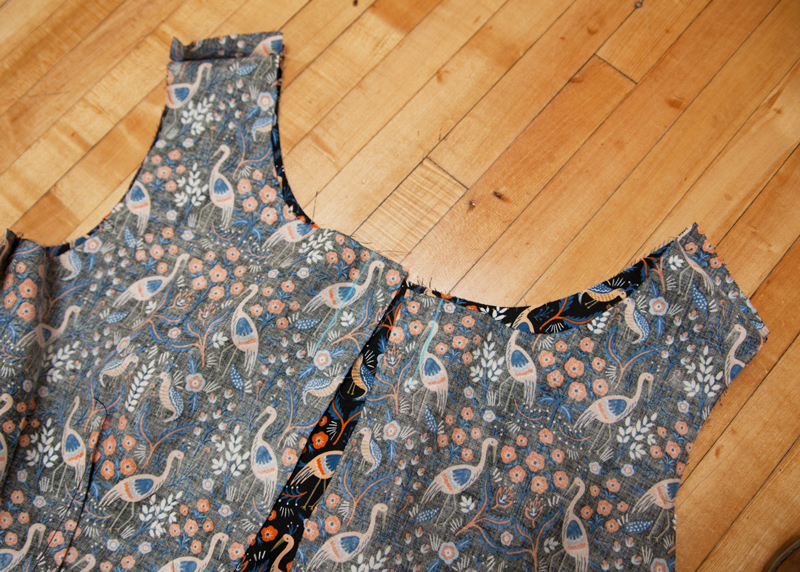
Trim the seam allowance and clip along the curved edges.
Press the seam allowance toward the lining.
Now it’s time to understitch the lining in place. Begin by marking 1 1/2″ in from both center back edges on the lining back.

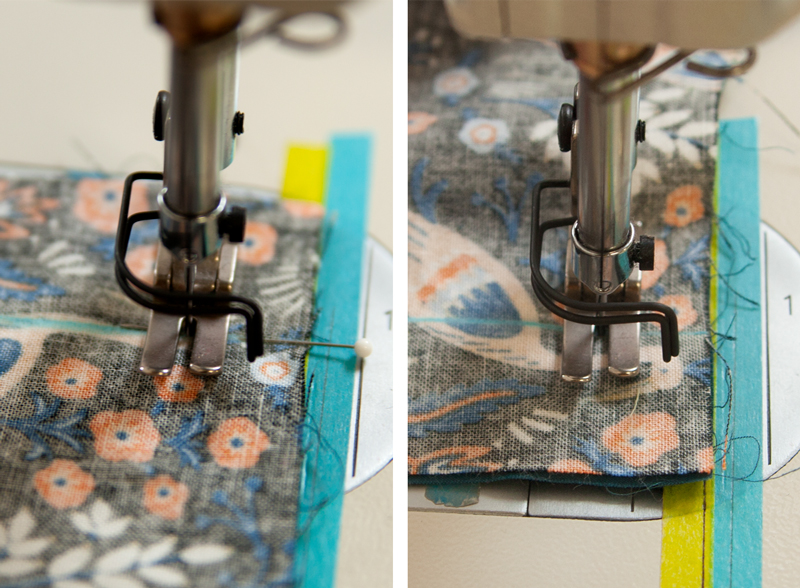
To understitch, separate the lining from the shell, making sure that the seam allowance is still pressed towards the lining. Starting at the 1 1/2″ mark, stitch the lining to the seam allowance, very close to the previous stitch line.
As you can see, I used my favorite edgestitch foot. These little feet have a “bumper” that glides against the seam line, or fabric edge, that creates straight and even lines of stitching.
Continue understitching along the neckline to the 1 1/2″ mark on the opposite side.
Install the invisible zipper
Mark the 5/8″ seam line on both center back edges of the shell.
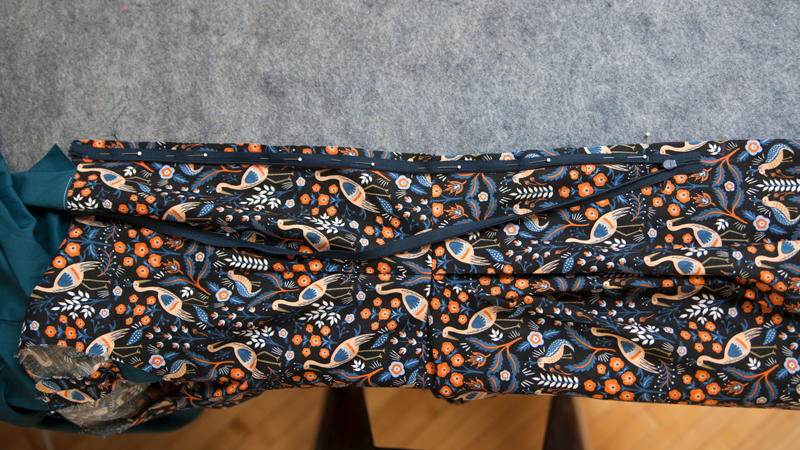
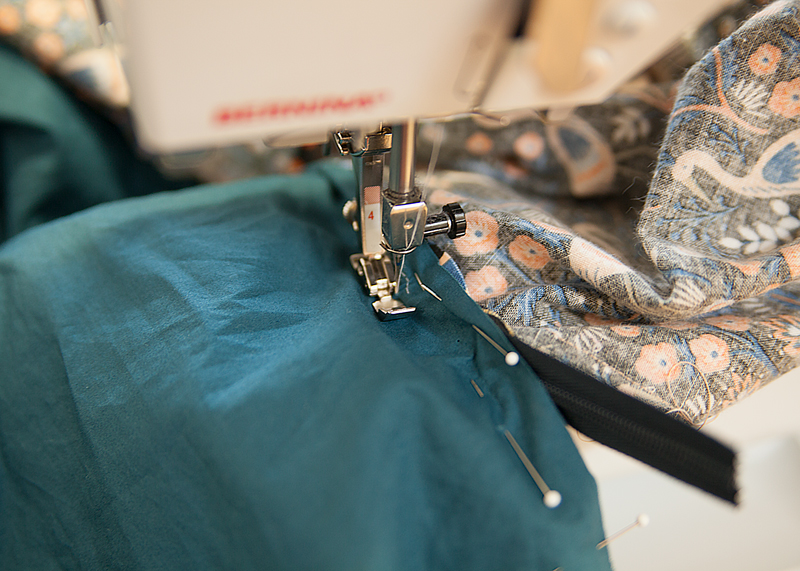
Open the zipper. With right sides together, match the zipper with the center back seam allowance of the shell. Align the zipper teeth to the previous 5/8″ stitch line. Pin.
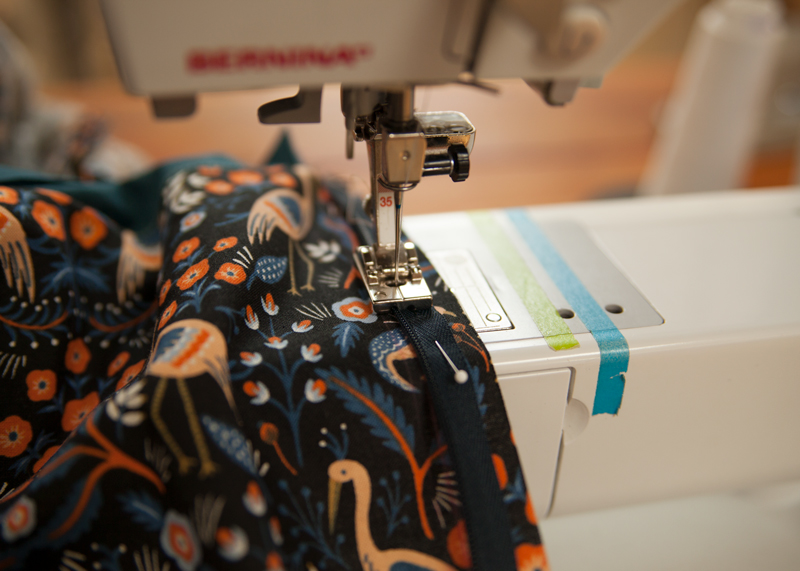
Using an invisible zipper foot, stitch the zipper to the shell, ending at the small circle.
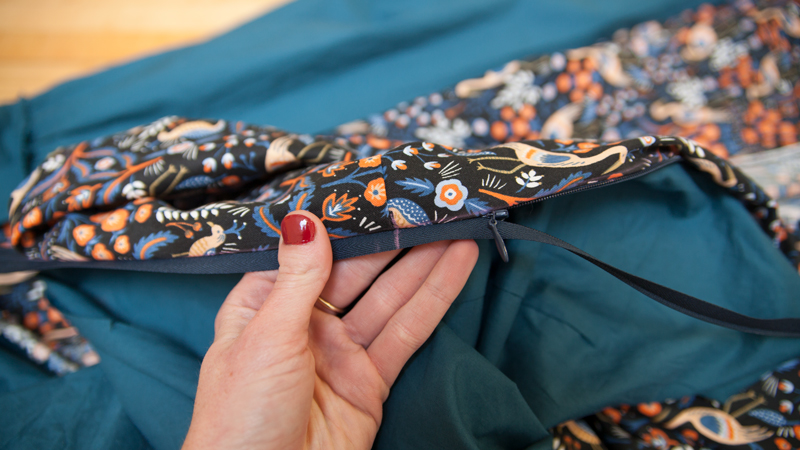
This is what your zipper will look like after stitching in place. Notice that around 1/4″ of fabric is peeking beyond the zipper tape. Don’t worry, this is correct.
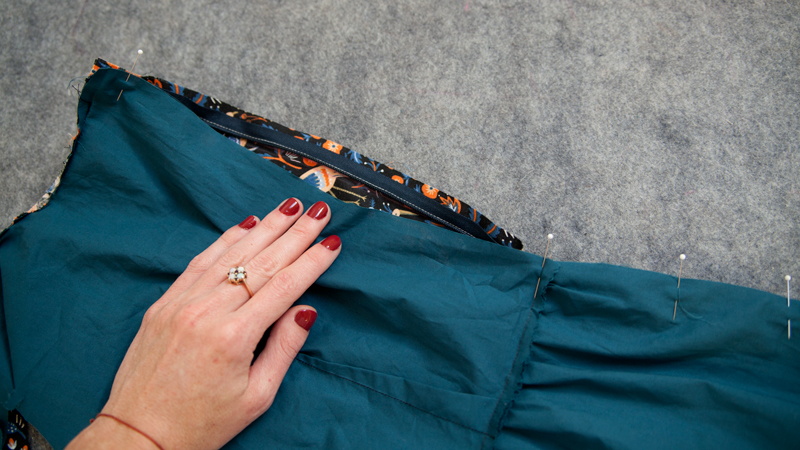
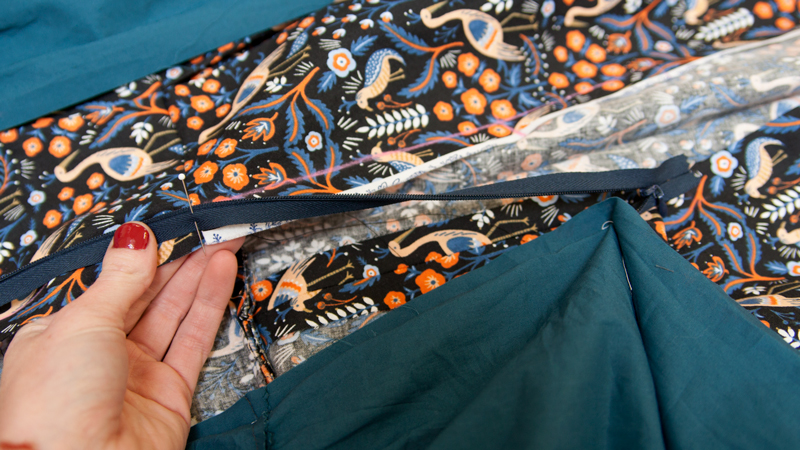
With right sides together and notches aligned, match the lining to shell along the center back seam, sandwiching the zipper. Pin.

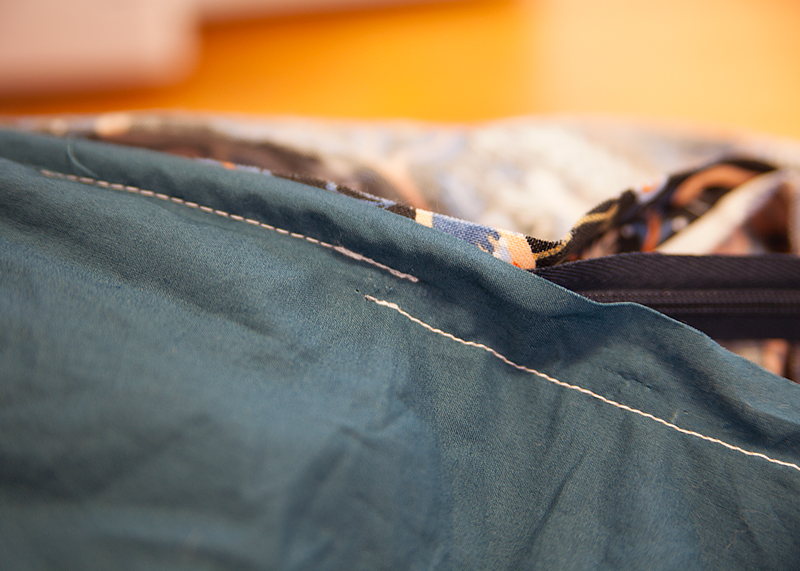
Using a regular zipper foot, stitch the lining to the shell along the center back seam. Try to get as close to the zipper teeth as possible and end your stitching about 1/4″ up from the small dot.
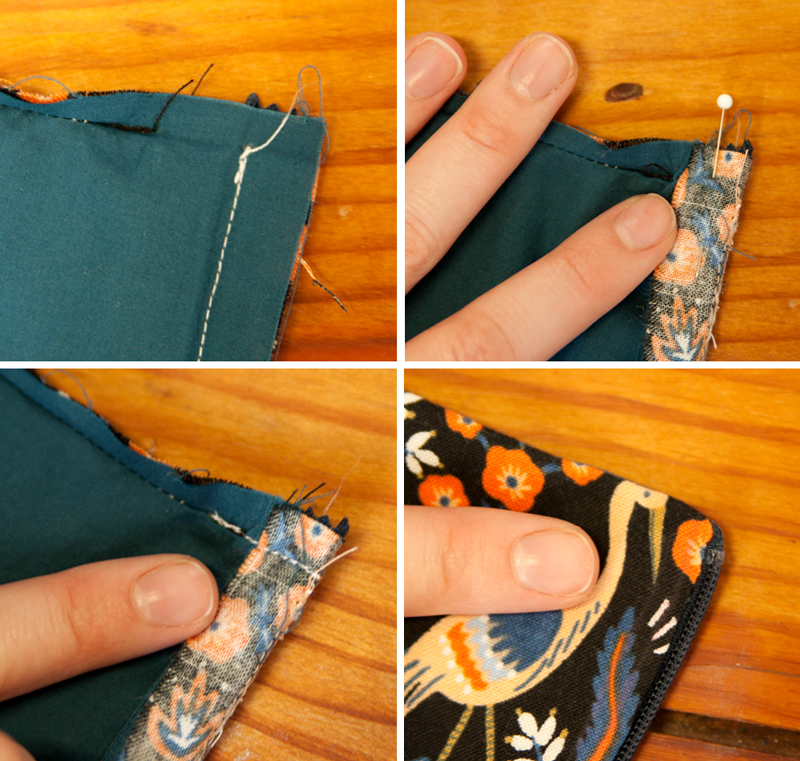
At the center back neckline, fold the center back seam allowance toward the lining along the zipper teeth. Stitch the neckline opening closed, stitching over the center back seam allowance and zipper tape. This will help the center back neckline create a nice crisp corner and close the hole in the neckline.
To install the zipper to the other side, repeat all of the previous steps.
Here’s a little tip for matching seams with invisible zippers: After installing the zipper to one side, close the zipper and mark the placement of the waistline seam on the zipper tape on the opposite side.
When pinning the zipper tape to the other side of the center back, align the waistline to the waistline mark on your zipper tape.
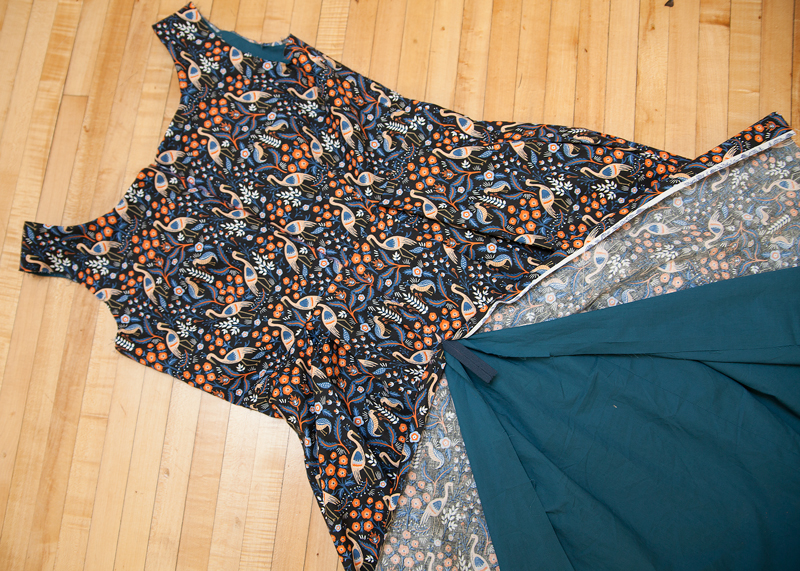
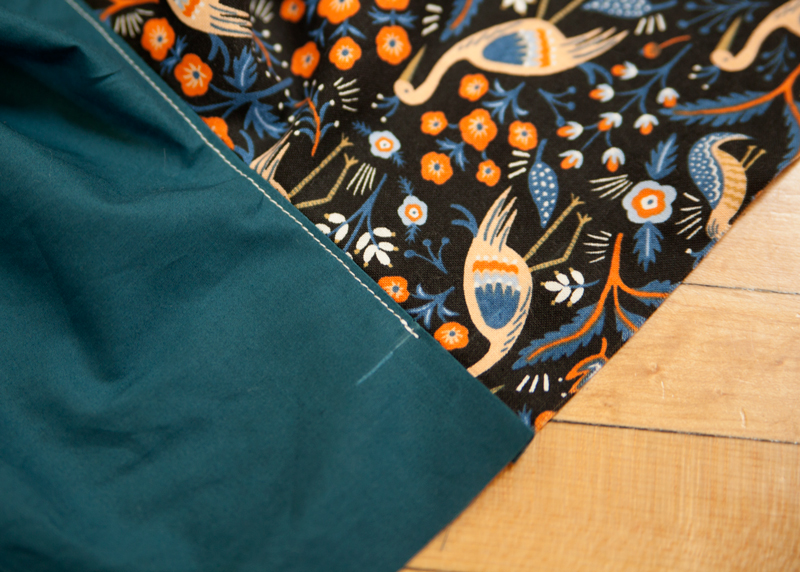
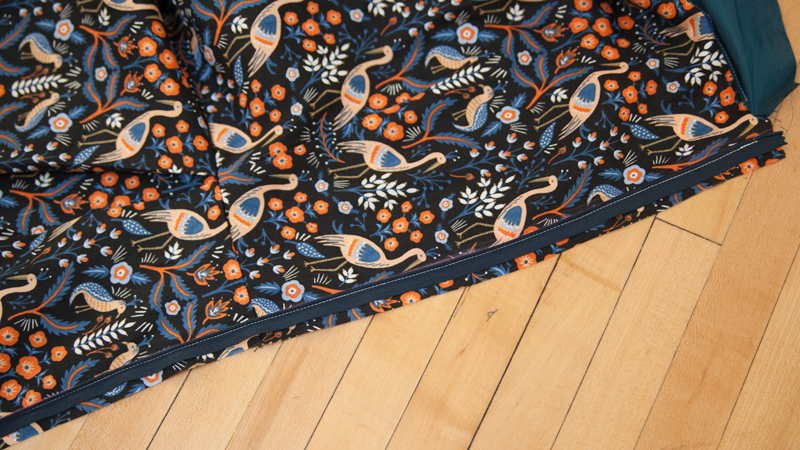
After installing the other side of the zipper, your Rue should look something like this.
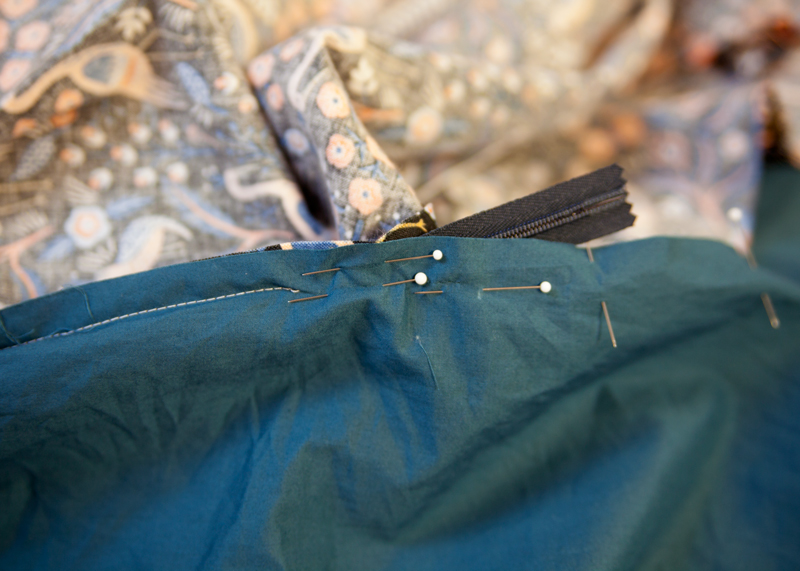
Now it’s time to stitch the bottom portion of the invisible zipper.
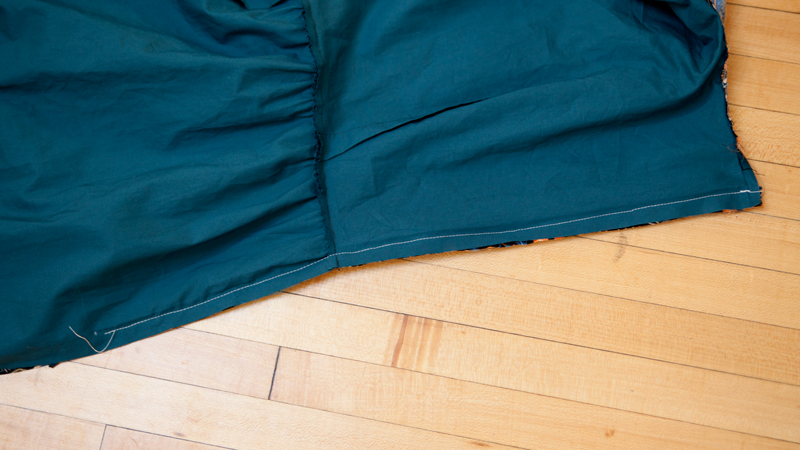
With right sides together, pin the remainder of the center back seam of the lining together. Sandwich the zipper in the seam allowance and pin carefully down the rest of the seam. The zipper tail should be out of the way, otherwise it’ll get caught in the stitches you’re about to make.
Remove the invisible zipper foot and replace with a standard zipper foot. Place the foot to the left of the zipper. Starting about 1/4″ or so above the end of the previous stitching, get as close to the zipper stitch lines as possible. Stitch the center back seam of the lining closed below the zipper, backstitching several times. Continue stitching to the hem.
When finished, you will see a slight gap between the zipper stitching and the bottom portion’s stitching.
Repeat this step for the center back of the shell.
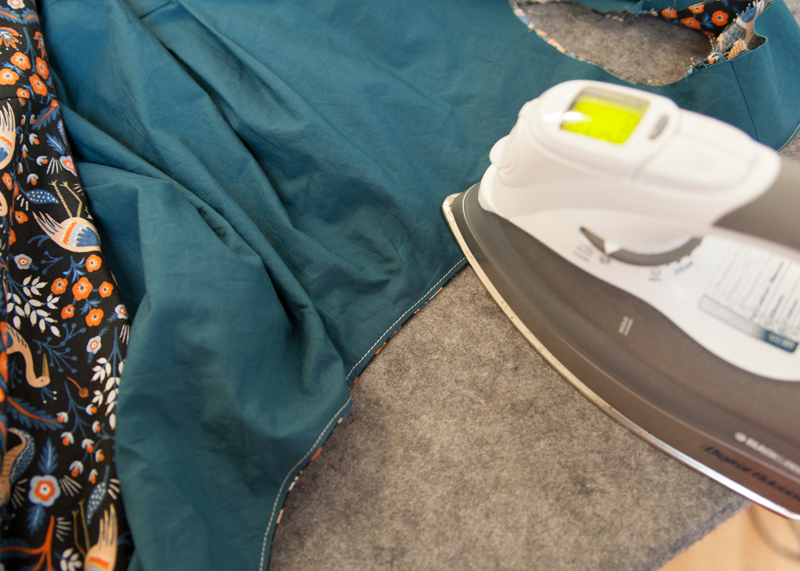
Press the seam allowance open. Turn the shell right side out and press the neckline in place.
Lastly, install a hook and eye at the center back neckline according to the manufacturer’s instructions.
Need a little bit more help with installing invisible zippers?
Check out our How to Sew an Invisible Zipper from Colette Patterns on Vimeo.
Comment below with any lining or zipper questions. I’ll be back Tuesday to tech y’all how to install the sleeves!
Comments
One question about the bodice lining – Can I use the bodice main piece? They seem to be identical and I’m being a bit lazy about transferring my SBA changes to the lining.
Thanks!! I’m loving this sew along. :)
Hey Toni! The bodice lining pieces are 1/8″ shorter in the neckline. I just used my altered bodice pieces to cut the lining fabric and reducing the neckline by 1/8″.