

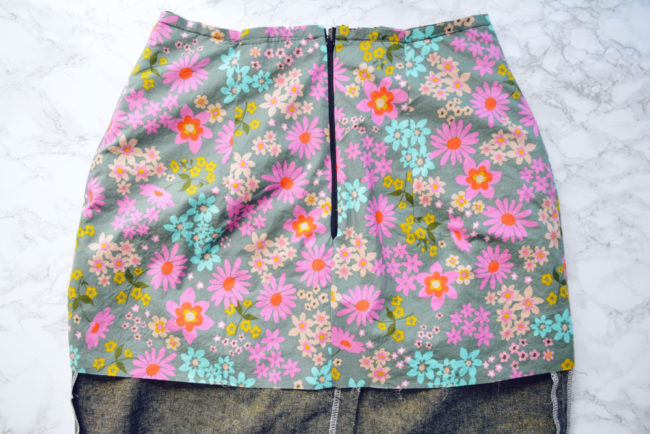
Today we’re going to cover the process of attaching the lining to the skirt shell. This will also serve to seal in all the edges of the zipper and give your Selene a nice clean finish on the inside.
Baste lining to shell
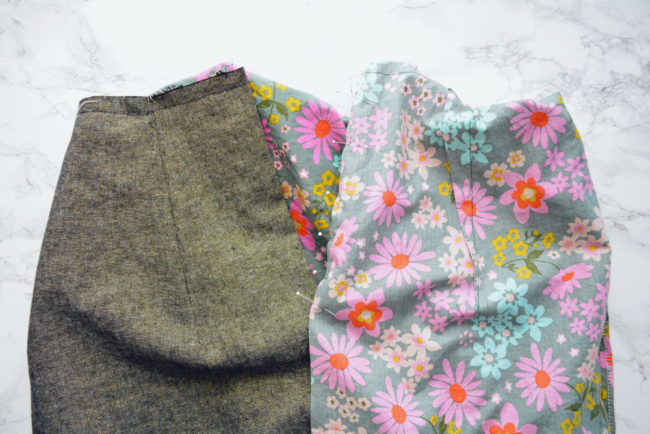
1. Pin lining. Turn shell wrong side out. Wrap lining around shell so that wrong sides are together. Line up all seams and darts around the top edge. Pin together, leaving the ends past the darts free and unpinned. Don’t worry if the center back raw edges aren’t lining up.
2. Baste lining. Set your machine for a straight stitch with the length turned all the way up. Using a 3/8″ seam allowance and starting at a back dart, baste all the way around the top edge of the skirt, ending at the other dart. The ends should still be free.
Sew lining to left zipper
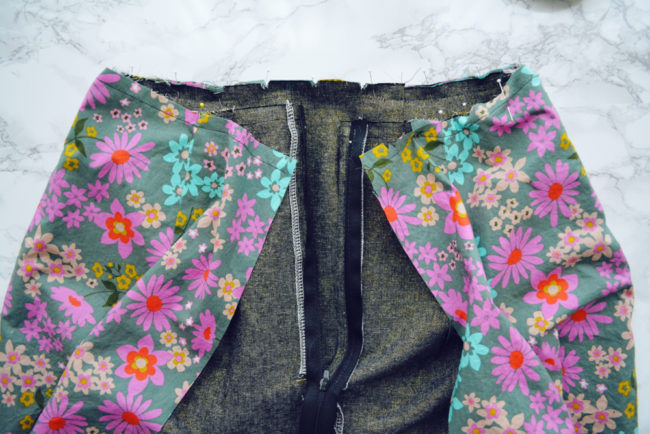
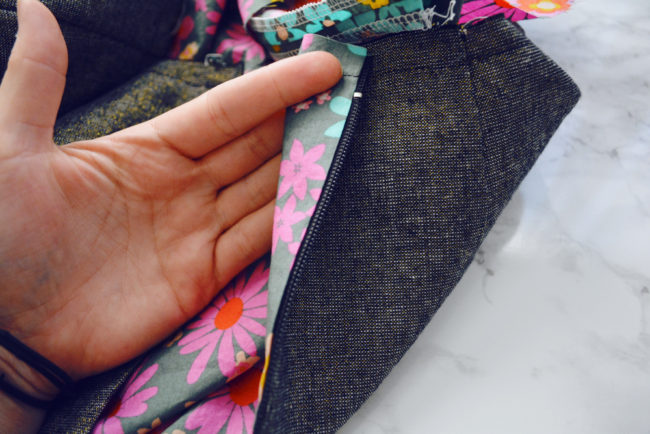
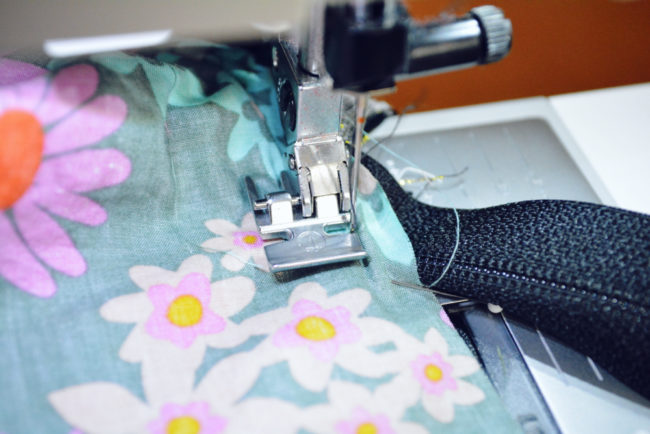
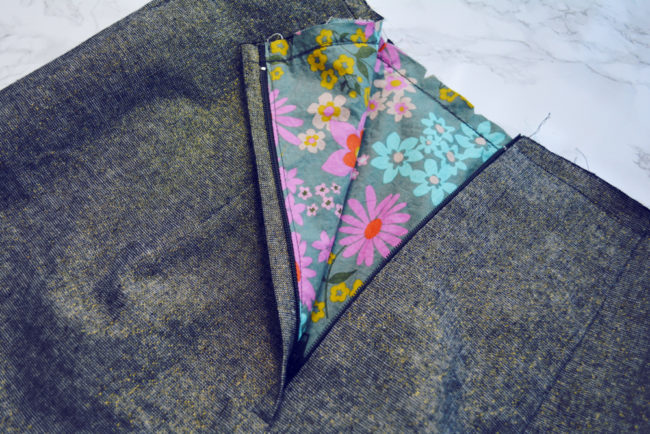
1. Pin left lining. Flip everything so that the shell is right side out. Open zipper. Now, reach inside, grab the lining on the left side and pull it out.
Flip it down and around shell so that shell and lining are now right sides together. Unfold the seam allowance of the left zipper.
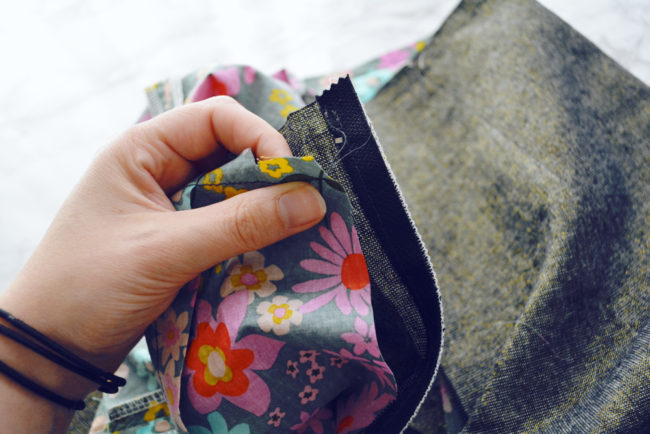
Pin lining and shell together along left zipper, aligning edges. The zipper will be sandwiched in between. The top edge of the lining is shorter than the shell, but don’t worry about that at this point, just get the vertical center back edges lined up.
2. Sew left lining. Put a zipper foot on your machine and reduce stitch length back to normal. Sew the lining to the shell along pinned edge, butting foot up to the ridge formed by the zipper teeth.
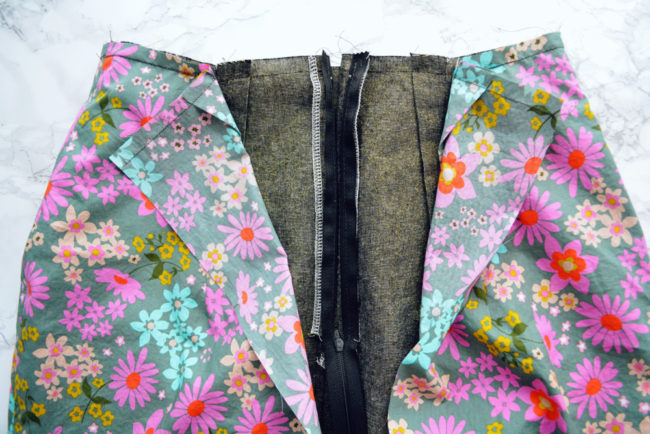
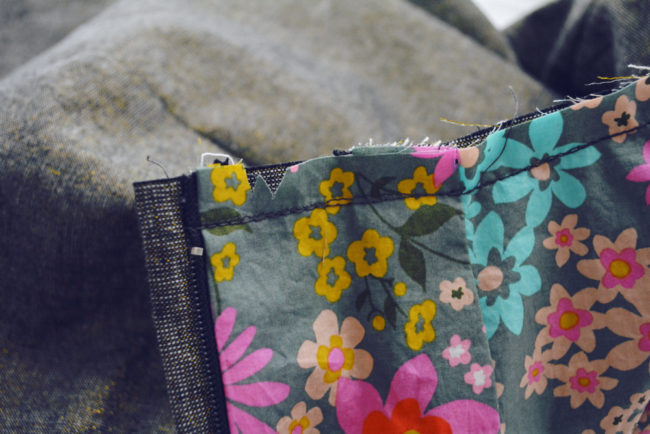
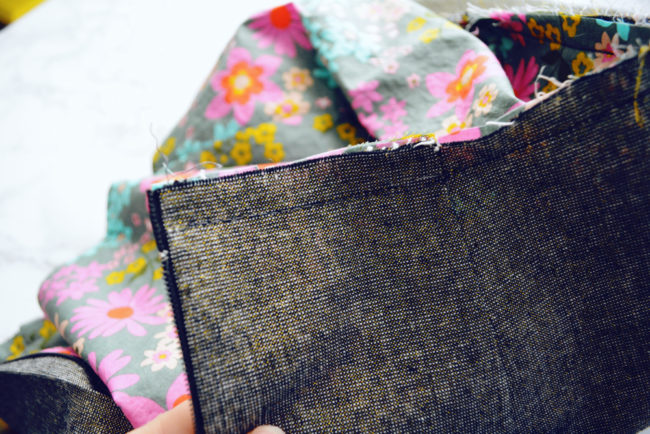
3. Baste left lining. Flip the left lining back to the inside of the skirt. Because it is shorter, the lining will now pull the zipper lap fold back into place.
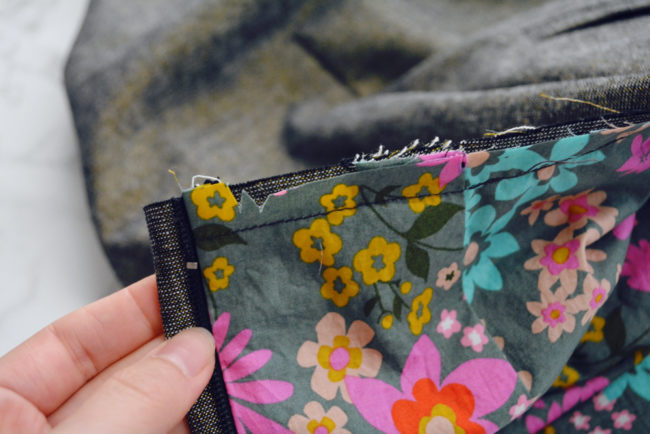
Baste along the left top edge from the folded edge to the dart to secure layers together.
Sew lining to right zipper
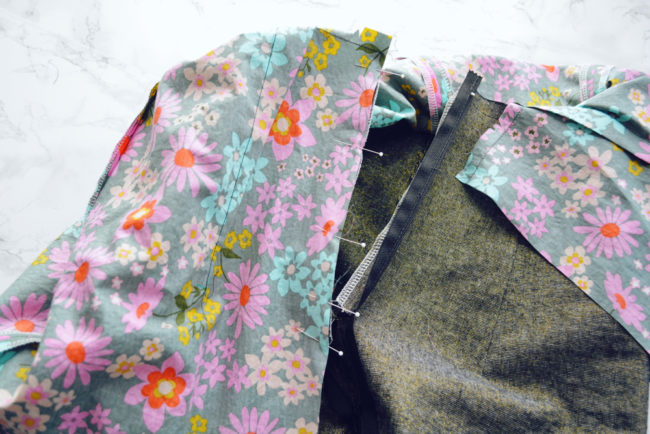
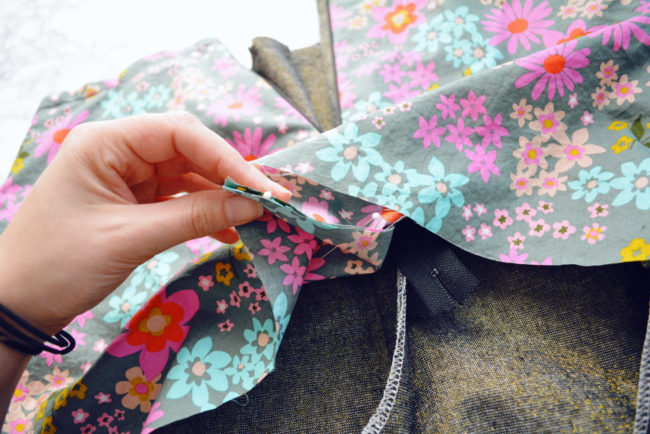
1. Pin right lining. Now we’re basically going to repeat the process with the right side. Reach inside the skirt, pull out the lining, and flip it down so that the shell and lining are right sides together. Unfold right zipper lap and align center back edge. Pin.
2. Sew right lining. Using zipper foot, stitch right lining to zipper.
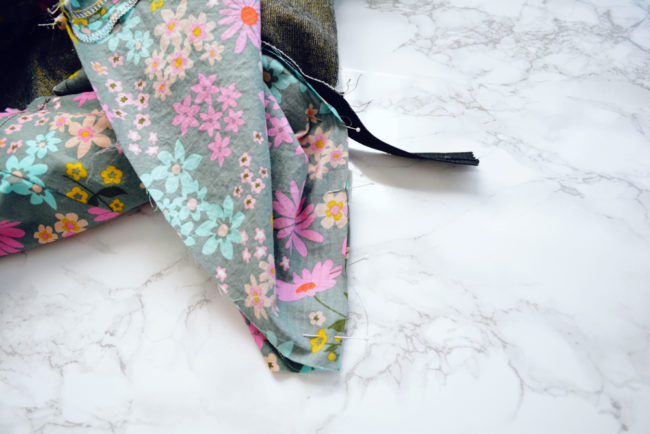
3. Baste right lining. Flip the lining so that it is back on the inside of the shell.
Using a regular foot, baste right top edge from zipper to dart.
Sew center back lining seam
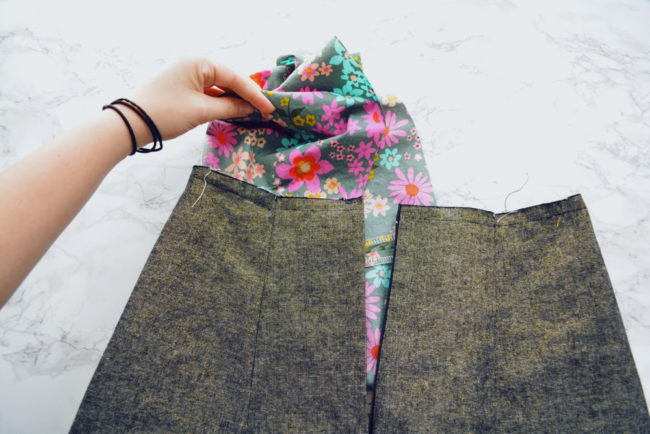
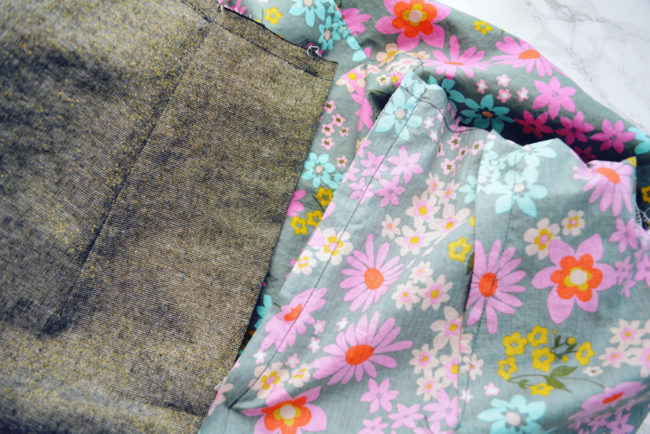
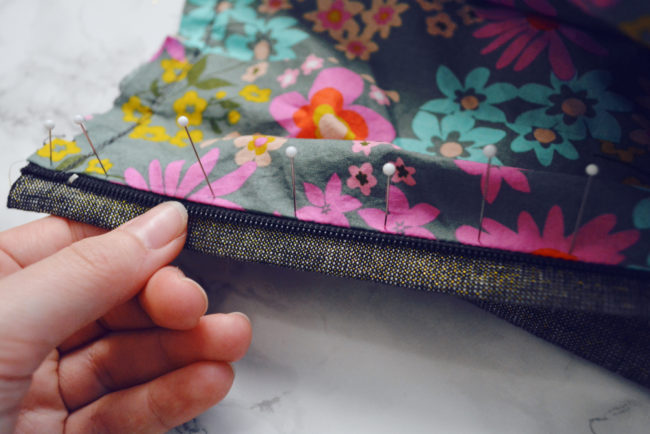
1. Pin back lining seam. Turn the skirt so that the lining side is right side out. Find the still-unsewn portion of the center back lining seam, below the zipper. Bring these free edges together, right sides together.
Isolate them as best as you can and pin together. This will feel a little awkward.
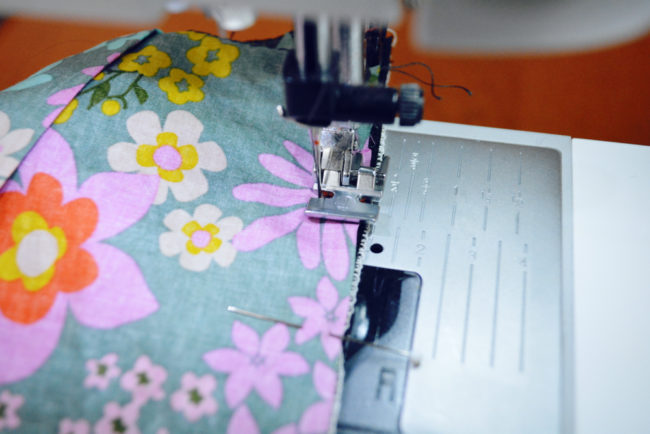
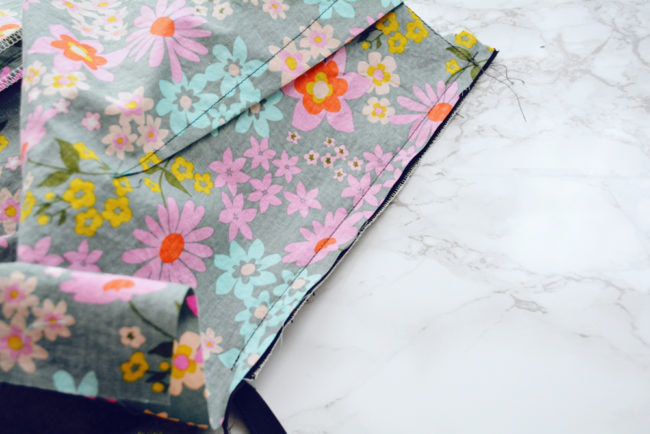
2. Sew back lining seam. Using a regular stitch length and a 3/8″ seam allowance, stitch from where the stitching ends below the zipper to the bottom edge. You will find that near the zipper, it’s helpful to use a zipper foot to get close to the bulk of the zipper.
Press seam open.
Topstitch lapped zipper
1. Mark topstitching line. The topstitching on the outside of your skirt should land at the edge of the left back lining, up to about 1/8″ in from the edge. I sewed my lining to the zipper very close to the zipper teeth, so I decided to have mine land 1/8″ in from the edge so that I didn’t accidentally sew over a tooth or two.
Stick pins through from the inside, and then mark their position from the outside.
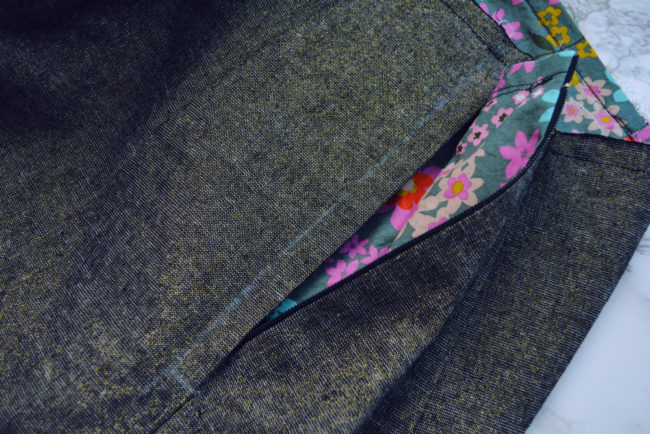
Also mark a horizontal line even with the bottom of your zipper opening (shown above).
2. Topstitch. Increase your stitch length to 3.0. On the right side of your skirt and using a zipper foot attached on the right side of the foot, stitch along your topstitching line from waist down to corner. Make sure that the lining on the inside is flat and smooth, and not creeping little folds into the path of your needle.
At corner, sink the needle, lift the foot and pivot. Sew along horizontal line, backstitching a few times at the end to secure.
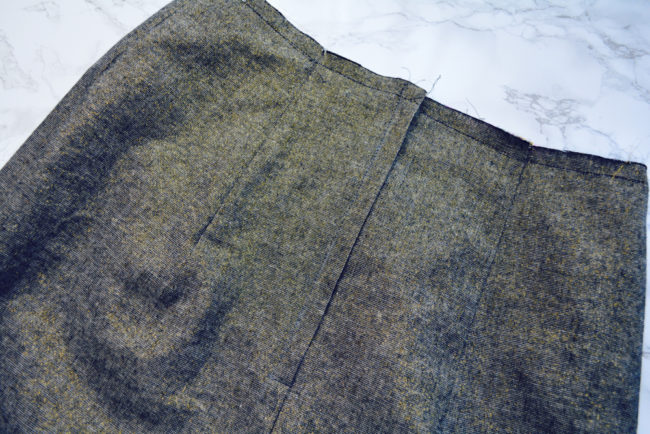
Here’s what it looks like on the inside.
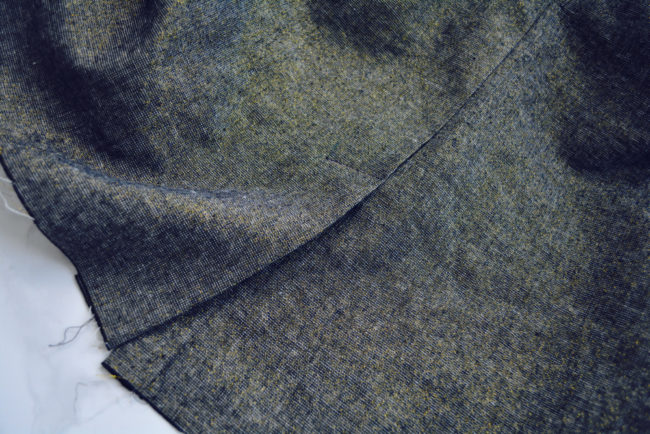
Topstitch vent
1. Prepare vent. At the skirt vent, make sure all seam allowances and layers are towards the left back skirt. Give everything a good press.
2. Topstitch vent. From outside of skirt, stitch from circle to circle through all layers, backstitching at beginning and end.
We’ll see you back on Thursday to attach the waistband.