

We’re getting so close! In this post we’ll be finishing up all of our machine sewing by taking care of the lining hem. Then we’ll be getting out our hand sewing needles to stitch the exterior hem.
hem lining
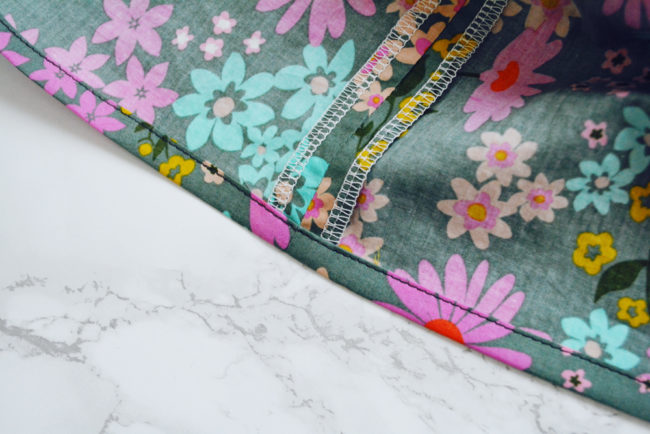
- Turn and press lining. Turn the bottom edge of the lining 1/4″ towards the wrong side and press. Turn again 3/8″ and press.
- Sew lining hem. Set your machine for a regular straight stitch. Sew all the way around the bottom edge of the lining to hem, stitching close to the upper fold.
Hem left skirt vent
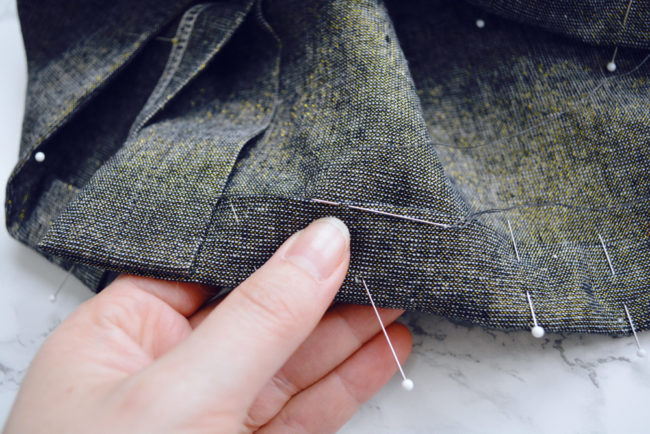
- Pin left vent. On the left side of the skirt vent, fold the lower edge right sides together along the fold line. Pin in place. We’ll be sewing pretty far in from the edge, so I used two rows of pins to make sure everything was held in place.
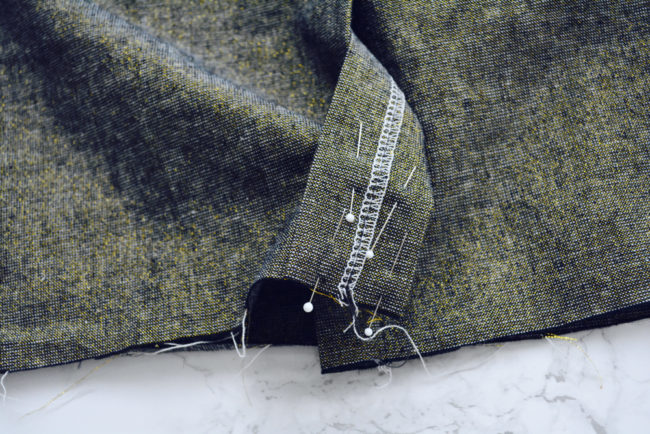
- Sew vent hem. Stitch along the bottom folded edge with a 1.25″ seam allowance. This is a pretty big seam allowance; if your machine doesn’t have it marked, use a ruler and a piece of washi tape to mark it like we did when we sewed the center back seam.
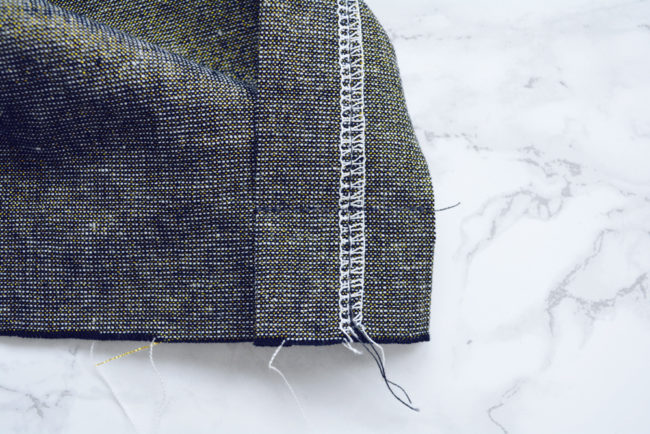
The reason the seam allowance is so big is so that it matches up with the rest of the hem, which is also a 1.25″ allowance.
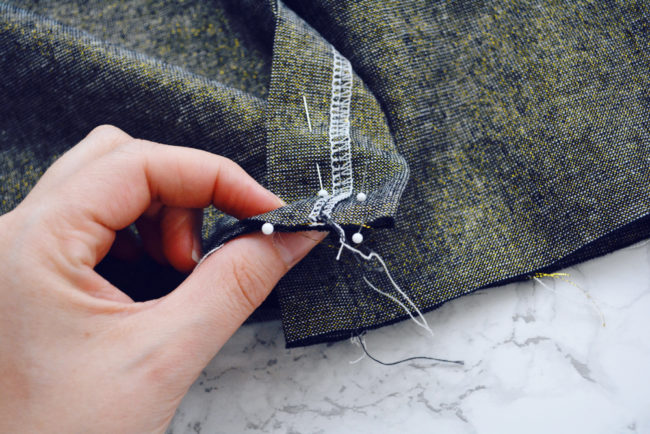
- Trim and turn vent hem. Trim the seam allowance of the vent hem down to about 1/4″, stopping 1/2″ before the pressed edge of the vent.
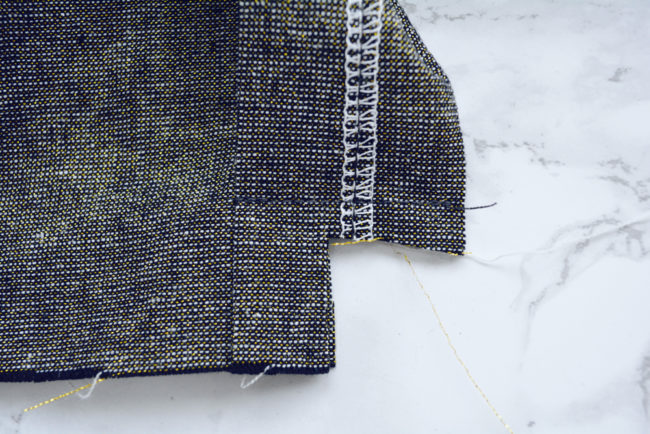
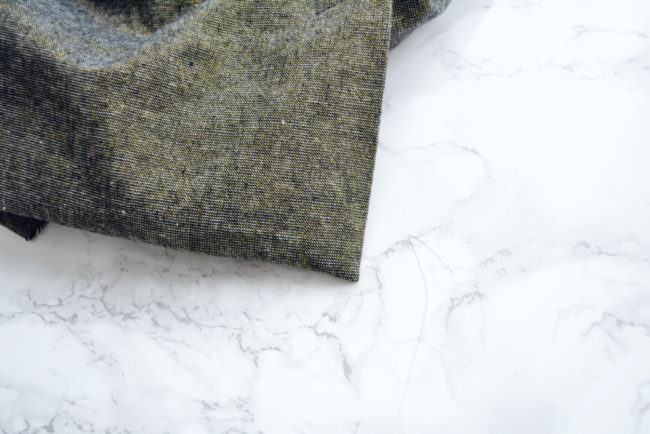
Turn the corner right side out, using a point turner to make it nice and pointy if necessary. Press.
The right hem vent will get hemmed like the rest of the skirt in the next section.
Hem exterior
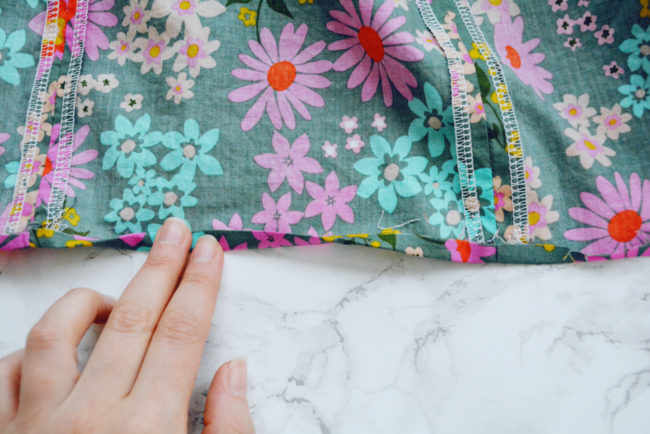
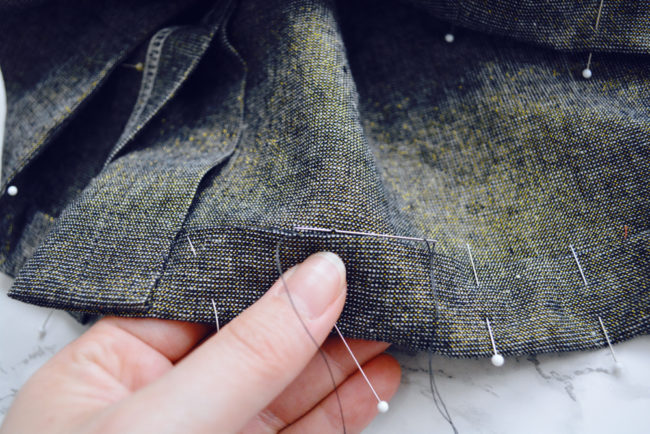
1. Turn and press hem. Turn bottom edge of exterior 1/4″ towards the wrong side and press. Fold again 1″ and press. Pin.

2. Hand stitch hem. Cut an arm length of thread. Anchor thread by stitching a few stitches in place on the right skirt vent, at the top folded edge of the hem. Then hand sew the hem in place with a blind stitch. This means, stitch a tiny bit in the skirt right above the hem fold:
Then, about 1/2″ over, stitch a tiny bit into the top folded edge of the hem:
Continue working around the skirt in this way. Don’t over tighten thread or your hem will look slightly gathered. When you run out of thread, anchor by stitching twice to make a small loop, pass needle through, and pull tight. Then start with a new thread length.
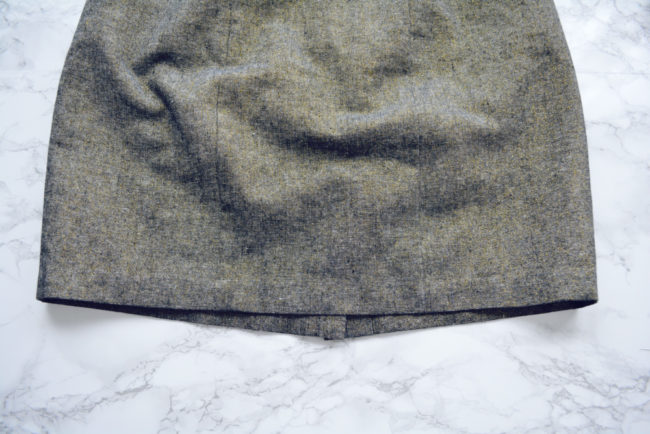
And that’s it! Your Selene is hemmed!
Our final sewing post will be on Thursday when we take care of a few finishing details. See you then!