

Drumroll please…it’s time to install a lapped zipper in your Selene! If you’ve never done one before and you’re a little nervous, don’t worry. Like anything, if you break it down into individual steps, it’s really not scary.
Let’s go!
Sew center back
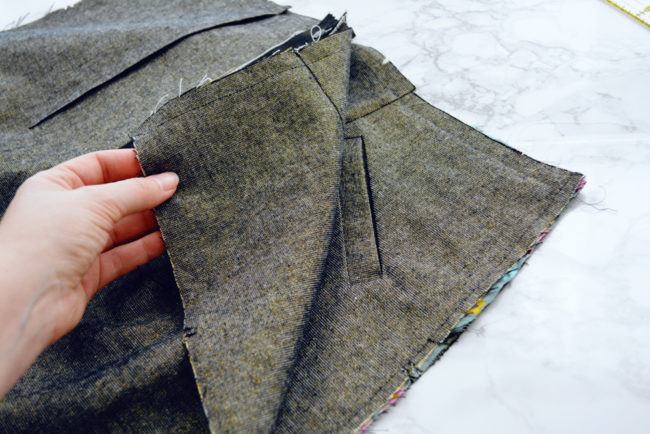
1. Pin center back. With right sides together, match both back pieces along center back and pin.
At this point, make sure you can see your zipper mark. If necessary, place the paper pattern piece over the fabric and mark it again.
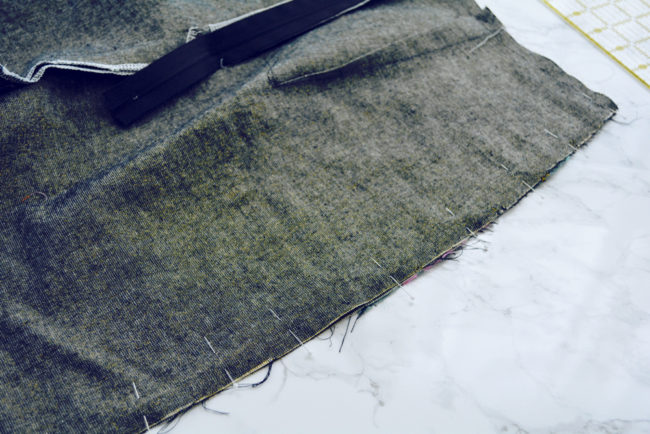
2. Sew center back. Set your machine for a basting stitch by lengthening the stitch length all the way. You’ll be sewing this edge with a 1″ seam allowance. If this is not marked on your machine, you can make your own guide by measuring over 1″ to the right of the needle and sticking a piece of washi or painter’s tape.
Starting at the top edge of the skirt, baste down to the zipper mark. Stop, decrease stitch length back to 2.5, and do a backstitch. Then continue sewing to the bottom, following the curve of the edge.
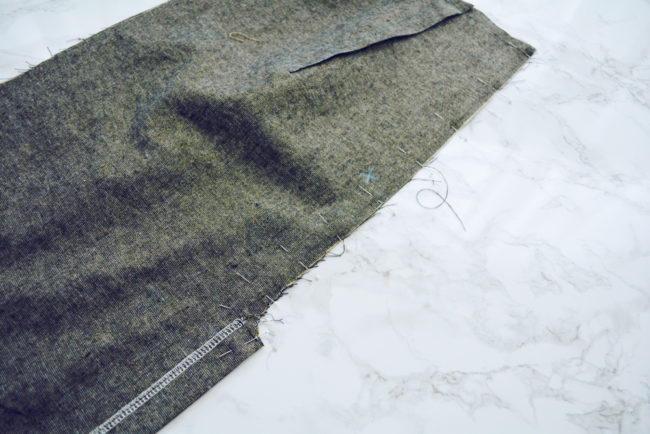
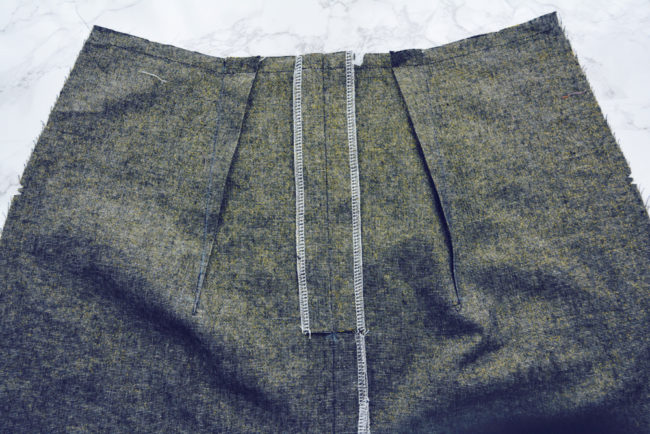
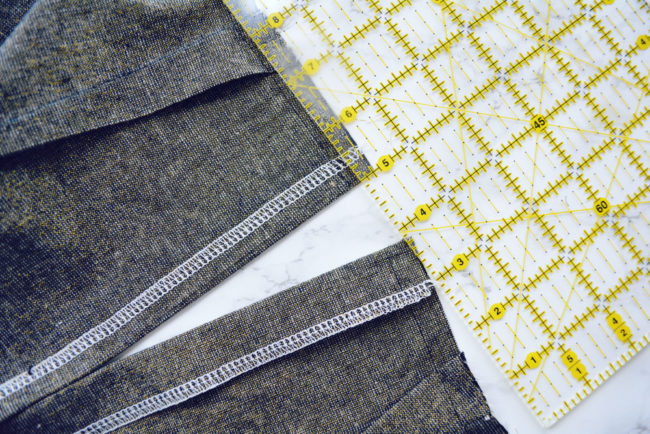
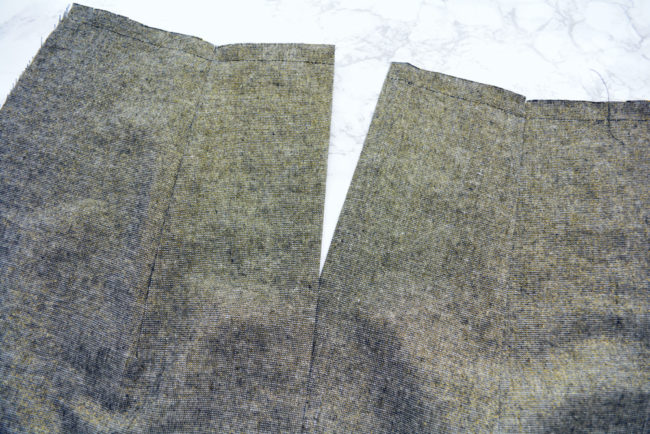
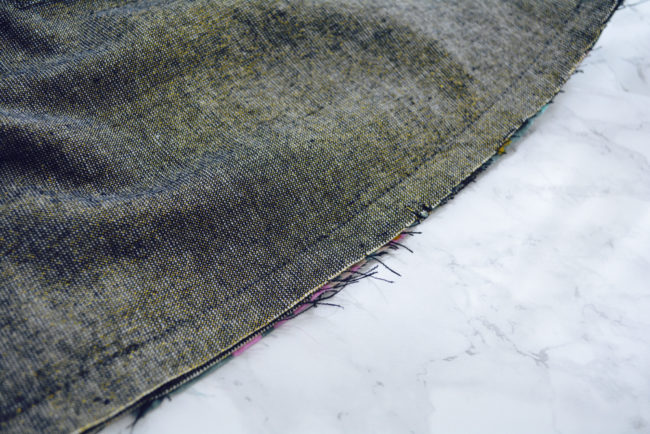
3. Clip and finish allowances.
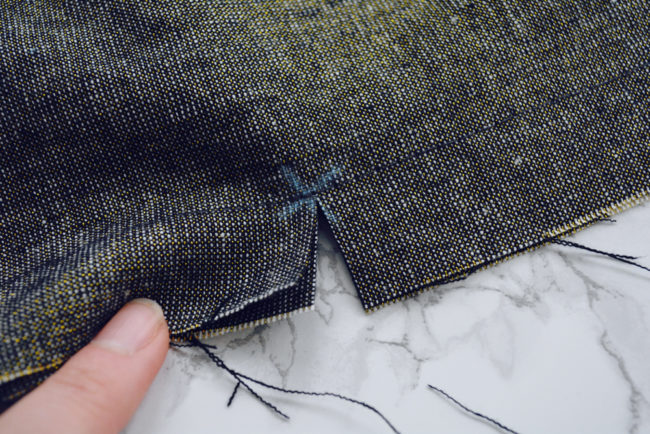
Snip through both seam allowances from edge close to but not through zipper mark. Be very careful not to cut through the stitching.
Finish each seam allowance separately. Don’t do any trimming.
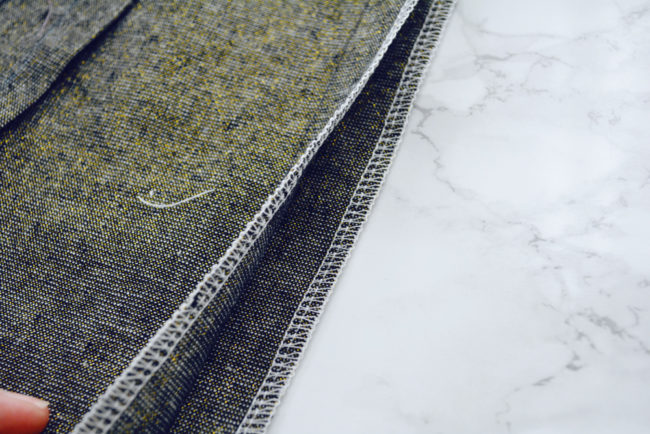
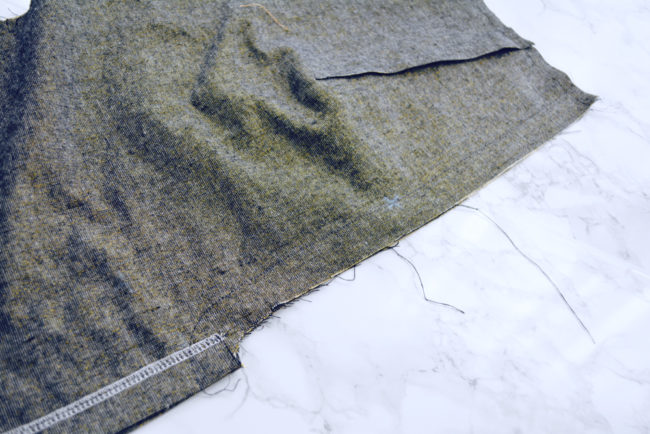
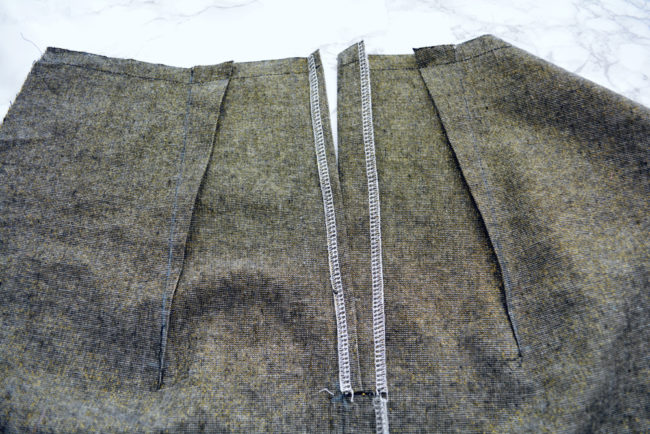
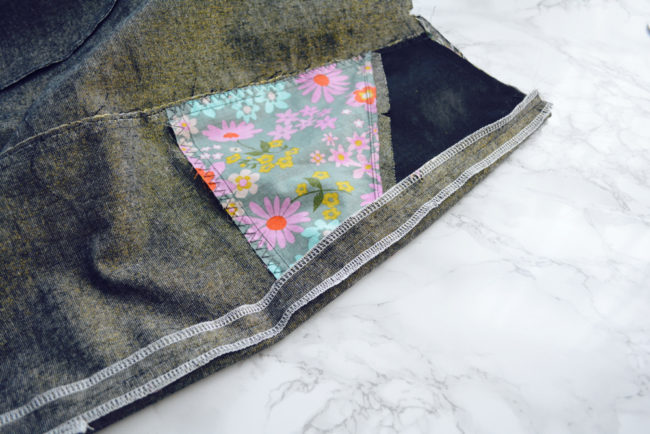
4. Press seam. Press the seam allowances open above snip. Below snip, press them towards the left skirt.
Remove the basting stitches with a seam ripper. Be careful not to seam rip through your backstitch at the zipper mark.
attach zipper to right skirt back
For the rest of the steps today, you may find it helpful to label the wrong sides of the backs R and L for right and left. Remember that the right skirt is the side that ends up on the right side of your body when wearing it (and obviously the same for left). When you are looking at the pieces with the wrong side up, the right skirt is actually on the left. This is why it can be useful to just label them to help yourself out and avoid extra confusion.
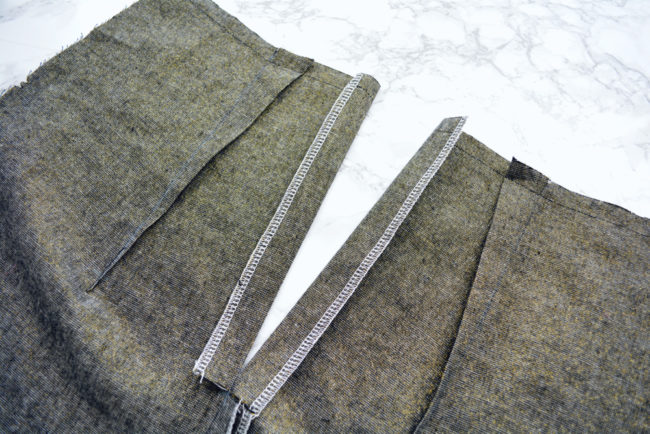
1. Re-press right seam allowance. On the right back, unfold the pressed seam allowance.
Refold it 1/2″ towards the wrong side and press.
Here’s what is looks like from the right side. You’ll see that now the right edge of the opened seam allowance tucks behind the left.
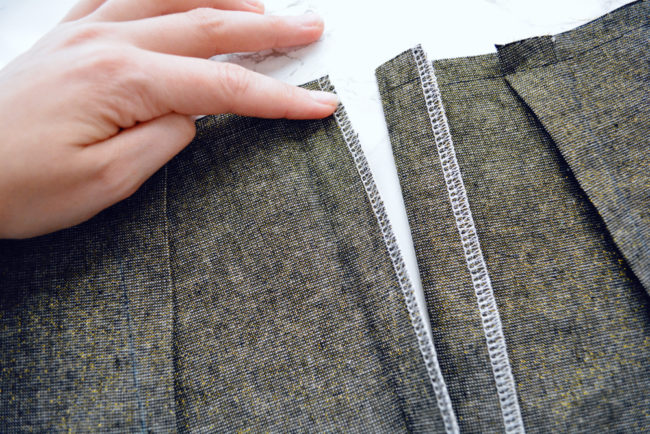
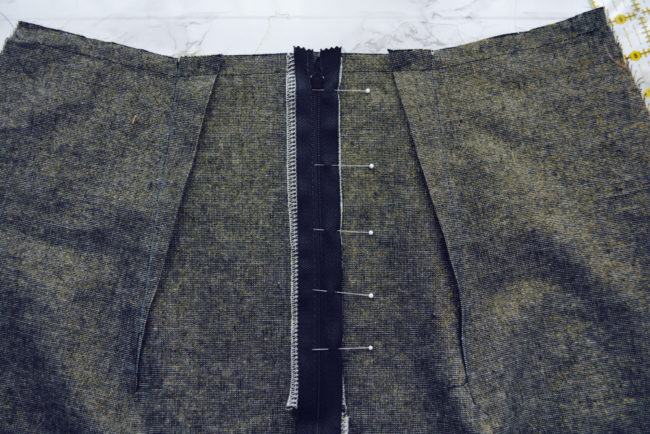
2. Pin zipper. Unfold the right back seam allowance that you just pressed. Unzip your zipper. Align the top of the zipper tape with the top edge of the right back, and lay the zipper along the edge right sides together, with the inner edge of the zipper teeth aligned with the fold. Pin.
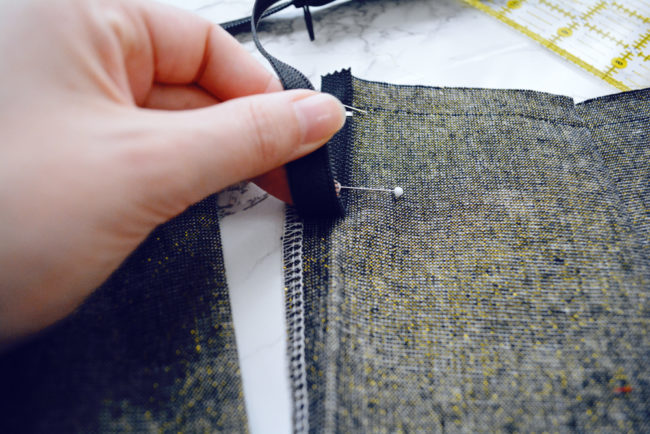
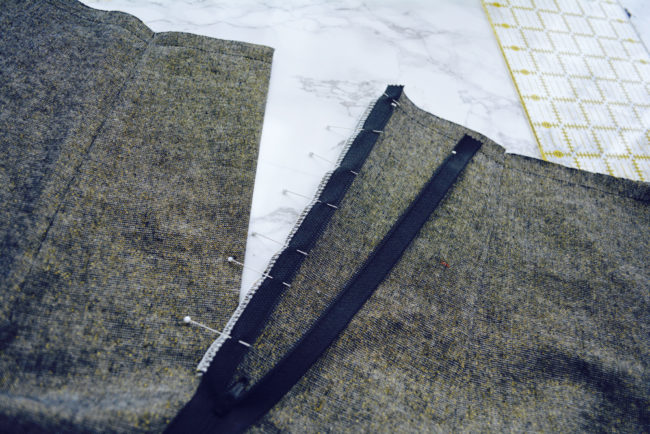
(If you don’t know which side of the zipper is the right side – it’s the side with the pull.)
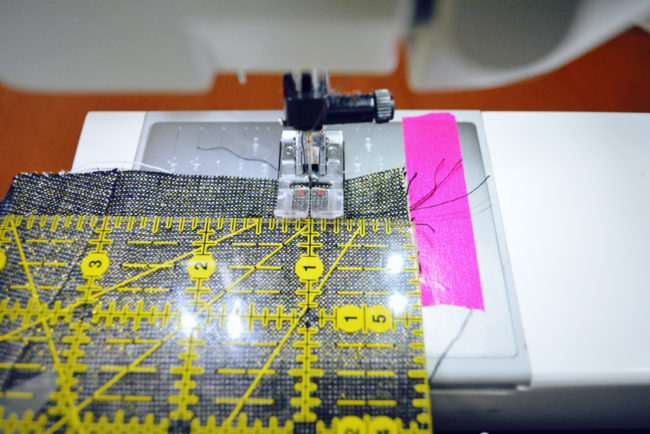
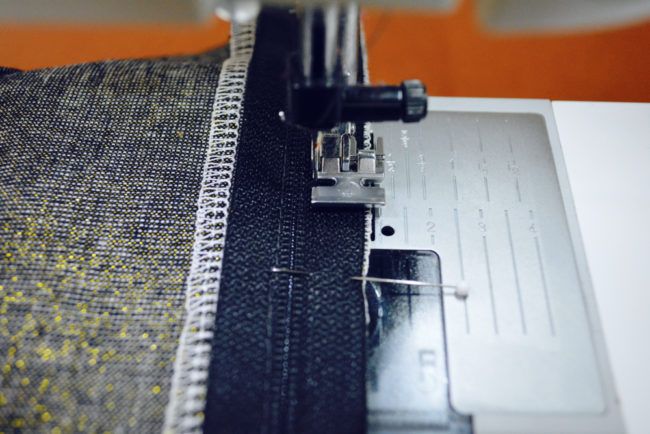
3. Sew zipper. Switch your machine to a zipper foot (snap onto the left side of the foot) and double check that you are on a straight stitch. Lengthen for a basting stitch. Baste along the zipper teeth to attach zipper to seam allowance. I positioned my zipper foot along the teeth, then moved my needle a few clicks over to the left so that I was sewing close to the teeth.
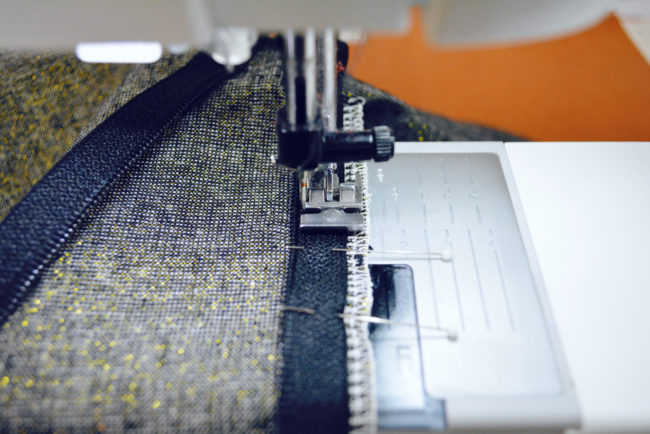
Note: It is very important with a zipper foot that you are careful when adjusting needle position. If you move the needle the wrong way it could hit the foot when you push the pedal, resulting in broken needles and metal projectiles. Always double (triple) check that the needle is not going to hit the foot by gently hand cranking before actually sewing.
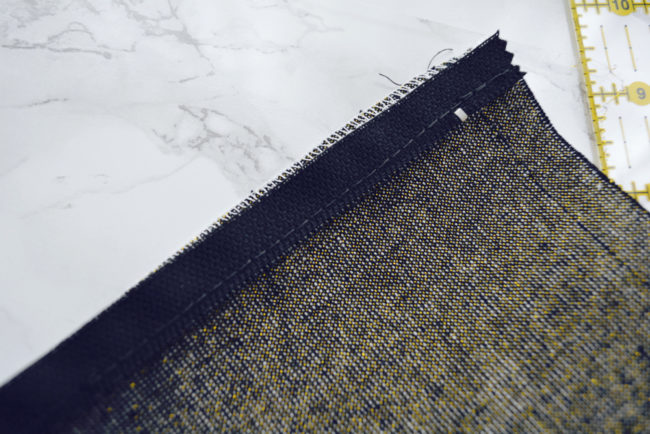
4. Press. Fold the seam allowance back along basting and press.
attach left side of zipper
1. Pin zipper. Zip up zipper. Align left edge of zipper tape with left back seam allowance edge. Pin, pinning only through zipper and seam allowance.
2. Sew zipper. Flip the seam allowance out so that the rest of the back skirt is out of the way of the left zipper.
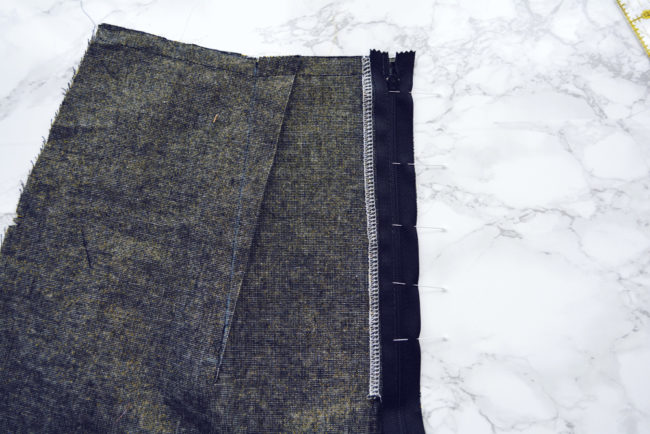
Baste along the left zipper through the seam allowance, again stitching close to teeth.
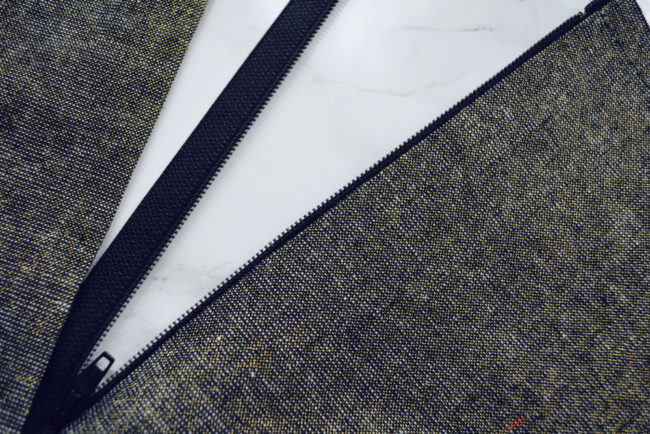
When you’re done, the zipper will be hiding behind the flap created by the left seam allowance.
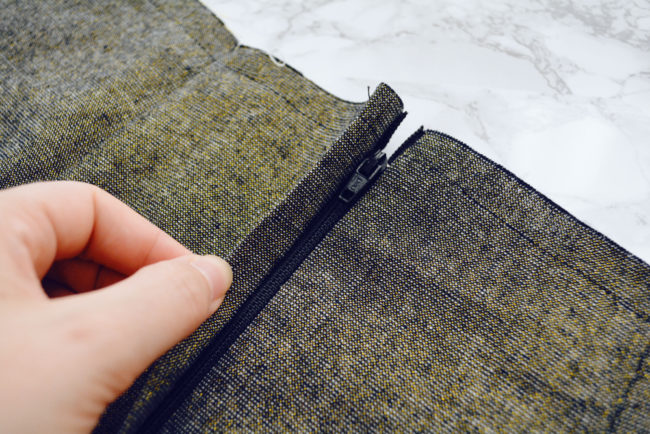
Don’t look now, but your zipper is in! (The basted seams will become final when we attach our lining in the next post.)
Sew side seams
1. Pin side seams. Place the assembled front skirt against the back skirt unit, right sides together and aligning a side seam. Pin.
2. Sew side seam. Stitch along pinned edge.
Note: If you want to check your fit, now is a great time. Use a basting stitch for this step, then try the skirt on. Adjust if needed then resew with a regular stitch length.
3. Finish and press. Finish seam allowances separately and press open.
4. Repeat. Repeat with the other side seam.
You survived a lapped zipper installation! Go pour a glass of wine and pat yourself on the back. In the next post we’ll be attaching our lining and getting ever closer to a finished Selene skirt.