

Hooray, we get to start sewing! In this post, all versions will be sewing the back darts. Version 1 will also assemble the front of the skirt.
The default seam allowance for Selene is 5/8″, so unless otherwise noted, use that seam allowance when sewing seams.
Sew Back darts
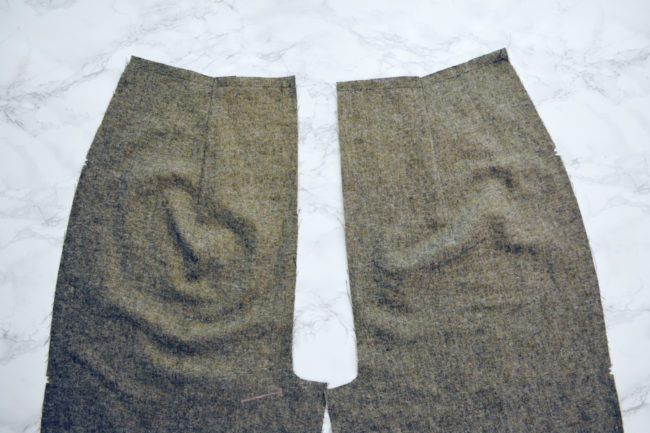
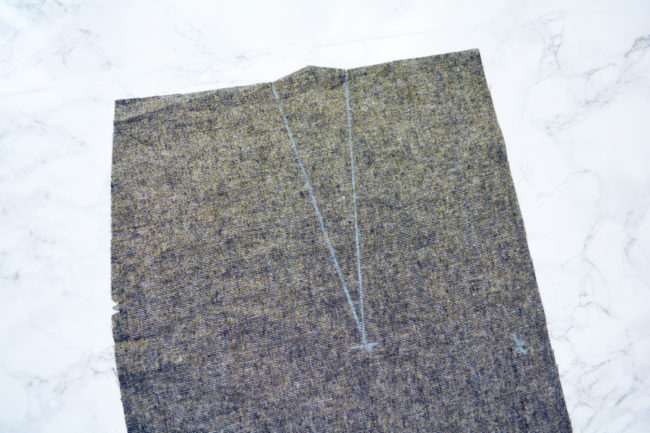
Your dart markings should look like this.
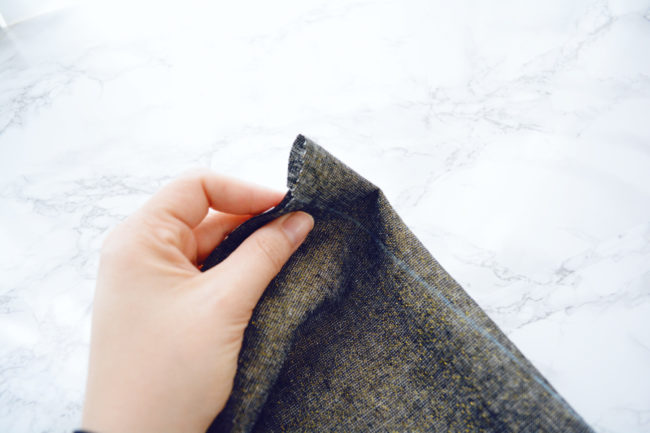
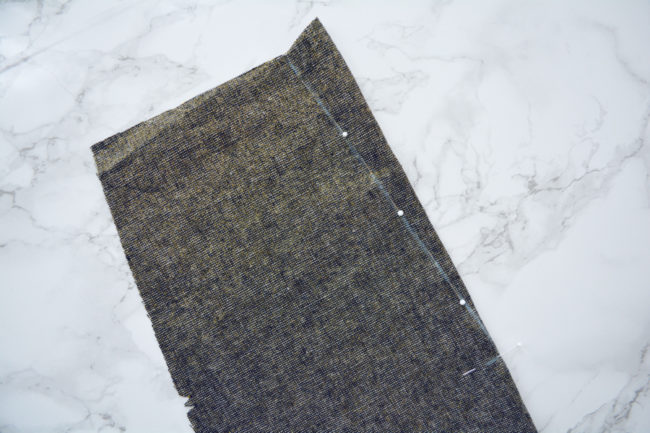
1. Pin darts. Pretend there is an imaginary line directly down the center of the dart. Fold the fabric along this line, right sides together, so that you lining up the dart legs with one another through the layers.
Pin in and out along the line through both layers. Pointing the pin head away from the edge of the fabric will make it easier to take out later.
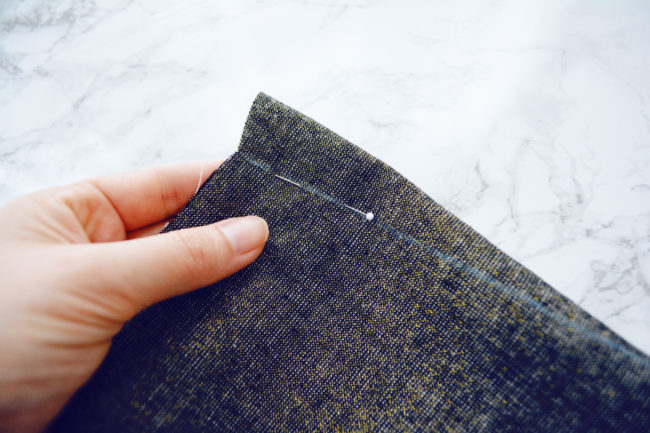
Check on the other side to make sure that the pin is going through the dart leg. If not, unpin, reposition the fabric, and repin.
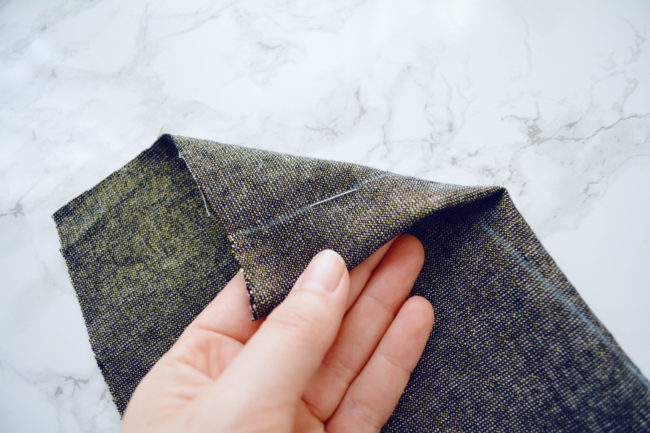
Pin along the length of the dart in this way. At the dart point, having the final pin stick out from the edge will help you see where the dart ends.
2. Sew dart. Set your machine up for a regular straight stitch. Starting at the edge of the fabric, align your needle with the dart leg. Start with a backstitch.

Continue sewing down the line, removing pins as you go.
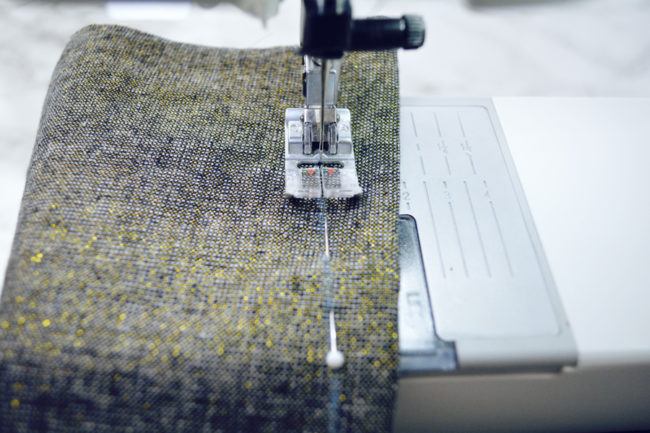
When you get to the end, the goal is to just barely ‘fall’ off the edge of the fabric. Leave long tails, and tie them into a knot.
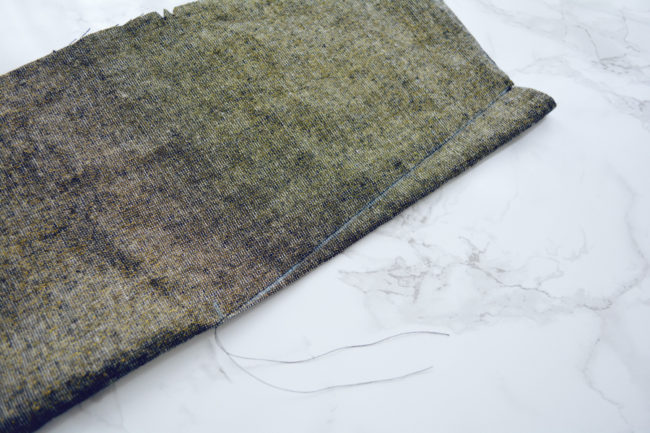
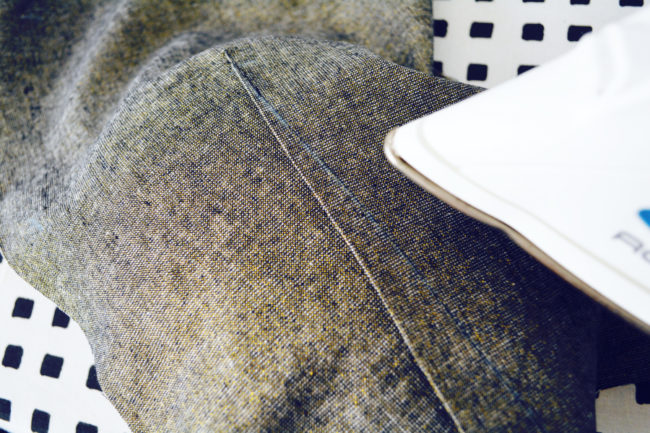
Press the dart towards center back (the straight edge of the pattern piece). Since a dart is creating a curve, it’s helpful to put it on a pressing ham when pressing.
Repeat with the other skirt back.
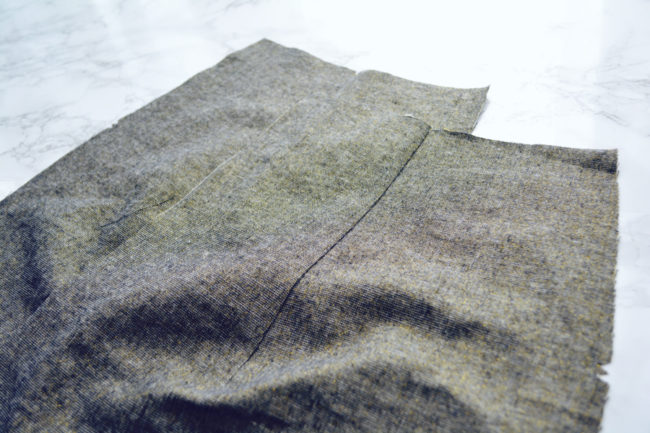
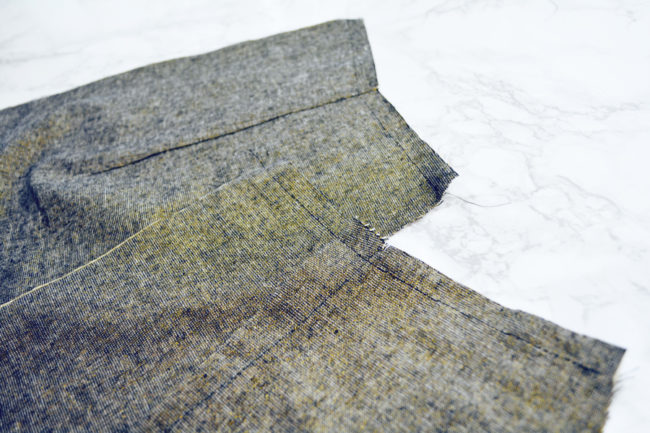
3. Staystitch. Staystitch along the top of both back pieces. Staystitching is sewing a straight stitch through a single pattern piece at a slightly smaller seam allowance than the final seam. It helps to stabilize edges and prevent them from stretching out.
Since the seam allowance for Selene is 5/8″, staystitch at 1/2″ seam allowance. Make sure that the dart uptakes stay pressed in the correct directions.
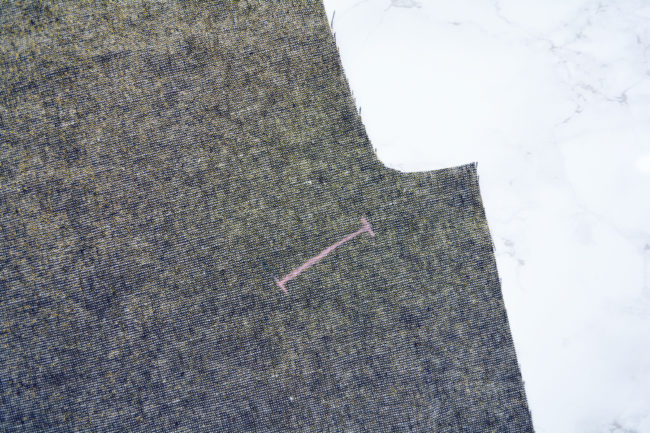
4. Transfer vent marks. At this point, also make sure that the topstitching line for the skirt vent is marked on the right side of the left back skirt. If you’re not sure which is which, hold it up to your body to see which one will land on your left.
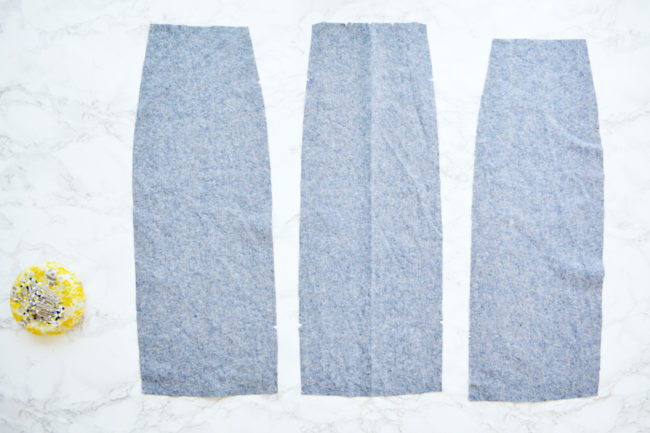
Assemble front (Version 1)
You should have two front skirt pieces and one center front skirt piece.
1. Pin skirt. Bring one side front over center front, right sides together, and align edges. Align notches and pin down entire edge.
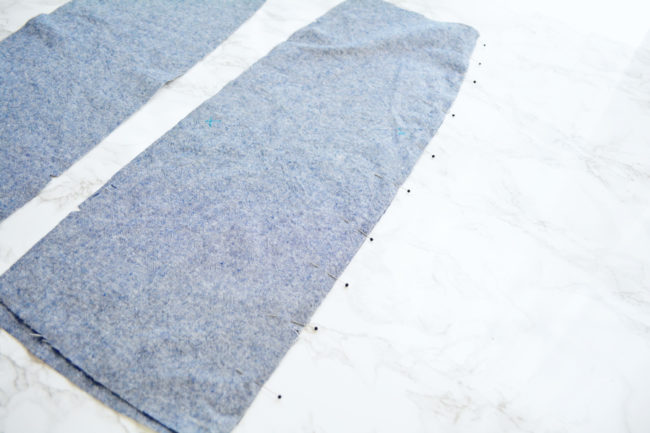
2. Sew skirt. Stitch entire edge.
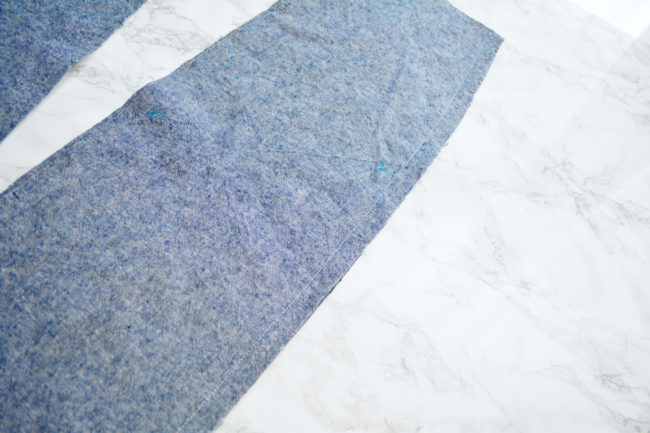
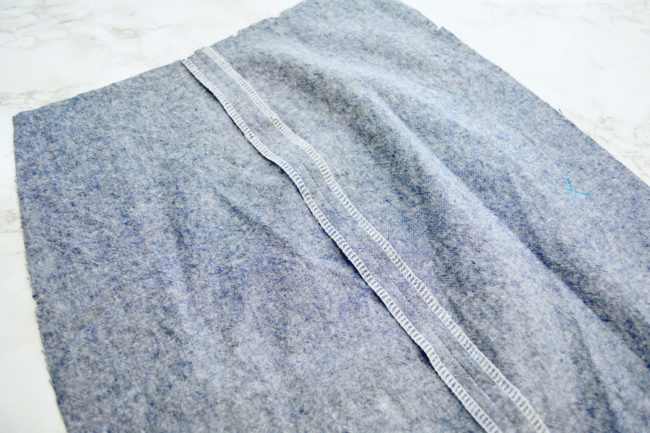
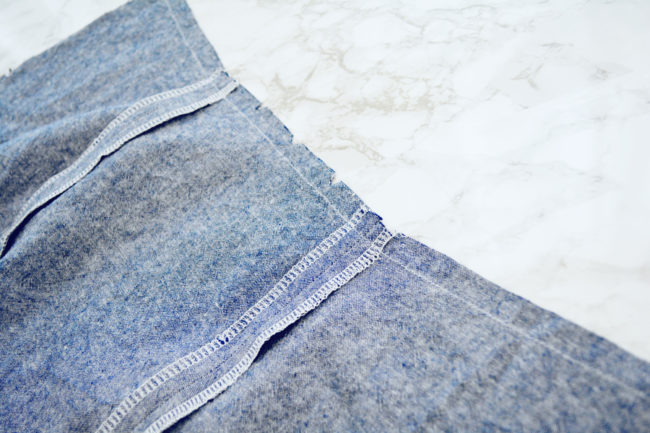
3. Finish edges. Finish the raw edges of the seam allowance separately. I used a serger. You can also use a zig zag stitch or pinking shears. Then press the seam allowances open.
4. Repeat. Repeat process with other side front piece.
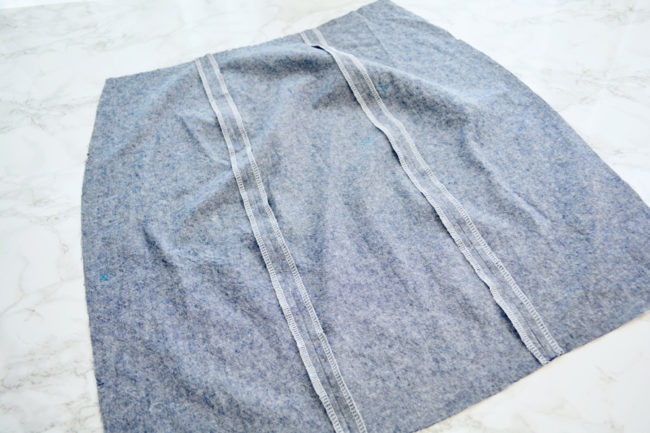
5. Staystitch. Just like you did along the skirt backs, staystitch along the top edge of the front skirt unit. Make sure the seams stay pressed open.
That does it for today! Comment below with any questions. In the next post we’ll be going over how to create the welt pockets for Version 2.
Comments
Hi,
How can one of the skirt back pieces be narrower that the other when they have been cut using the same pattern piece? From the Transfer vent marks section.
Thanks
Thanks Karen!! My brain had jumped forward to the lining. You are correct, they are both the same. Mistake has been corrected!