

We are getting close to the end! Just a few major sewing steps left.
In this post, we’ll be talking about how to sew the waistband.
Assemble waistband
If you haven’t already, apply fusible interfacing to the wrong sides of your waistband pieces following manufacturer’s instructions.
Now is also a good time to double check that you cut the right and left back waistbands correctly. When laying right sides up and when the two center back (unnotched edges) are together, the longer waistband should be on the right.
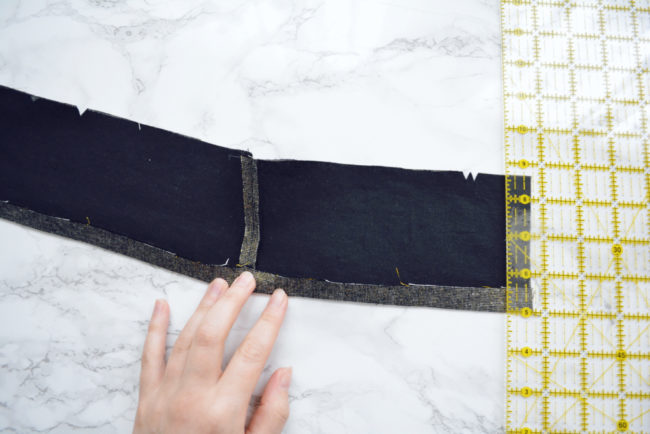
1. Pin waistband. Depending on what size you are making, the side seam edges of your waistband pieces may be straight, or may have a V shape. Either way, they are the short edges with the notches.
Pin each back waistband to one side of the front waistband, right sides together and matching notches.
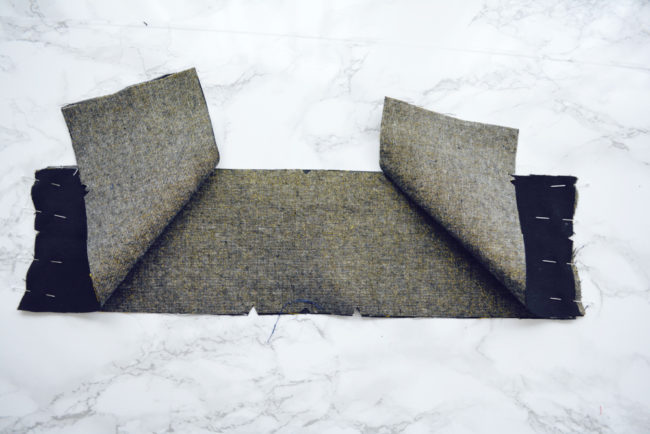
2. Sew waistband. Stitch each side seam, following V shaped edge if applicable. Trim seam allowance in half.
Press open.
3. Press waistband. Fold long unnotched edge of waistband 5/8″ towards the wrong side and press.
attach waistband to skirt
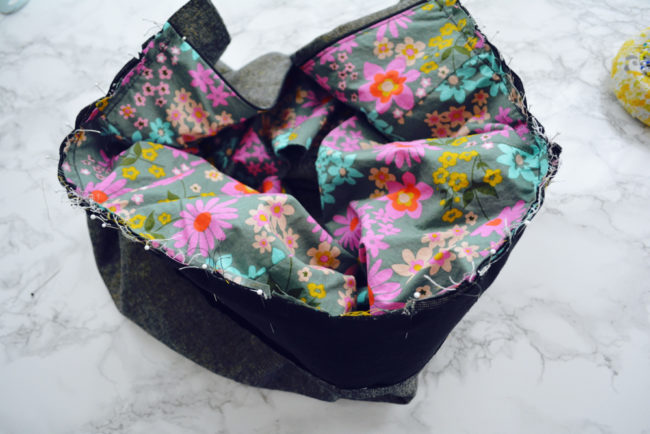
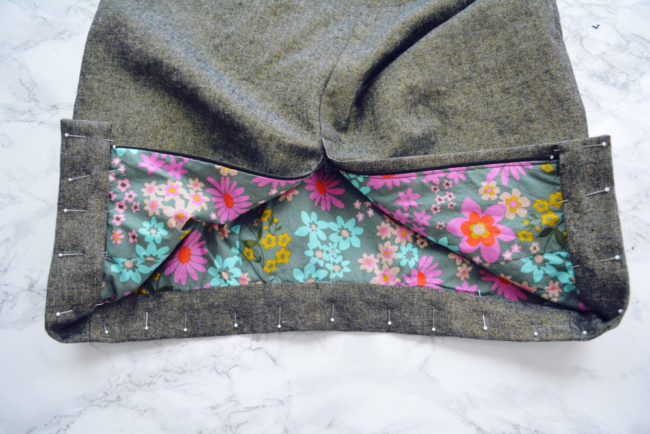
1. Pin waistband. With right sides together, pin notched edge of waistband to skirt, matching and pinning at notches and side seams.
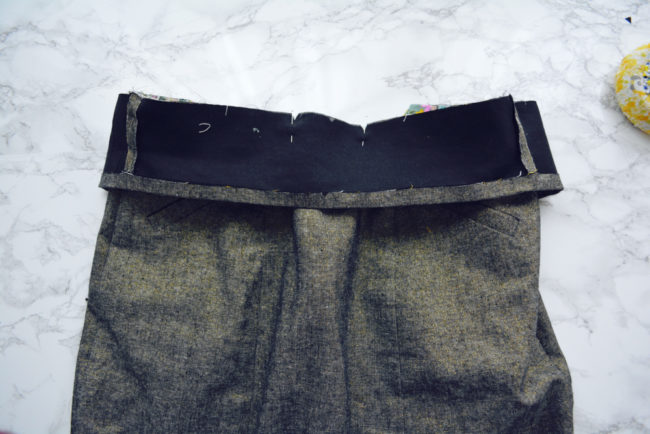
The small circle on the right back waistband should be lined up with the zipper teeth on that side of the zipper. The waistband should be sticking out 1.75″ beyond the zipper teeth.
The left back waistband should be extending beyond the edge of the skirt fabric by 5/8″.
Continue pinning in between all the landmark pins until the entire edge is pinned.
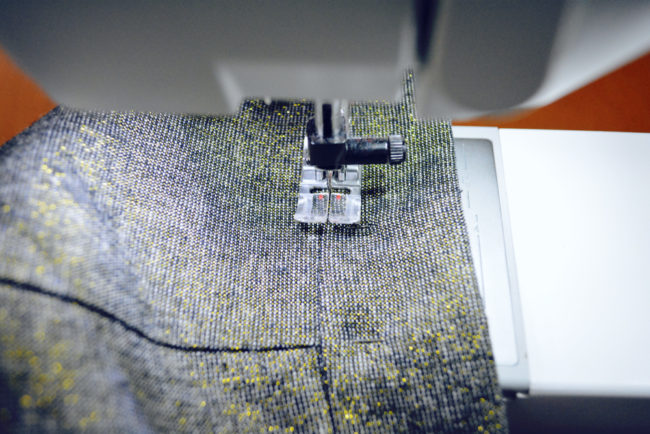
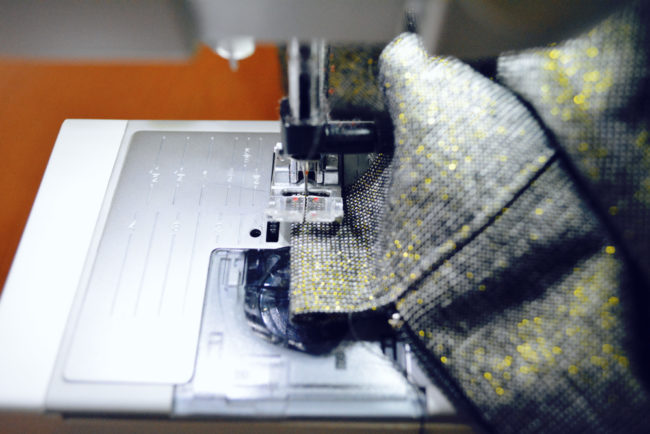
2. Sew waistband. Stitch all the way around the top edge to attach waistband to skirt. Be careful that all the layers stay smooth and flat.
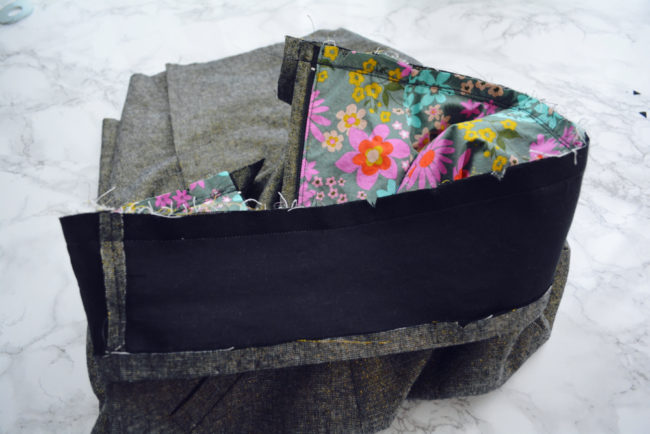
Grade seam by trimming off half of the skirt seam allowance.
Press seam up towards waistband.
finish waistband
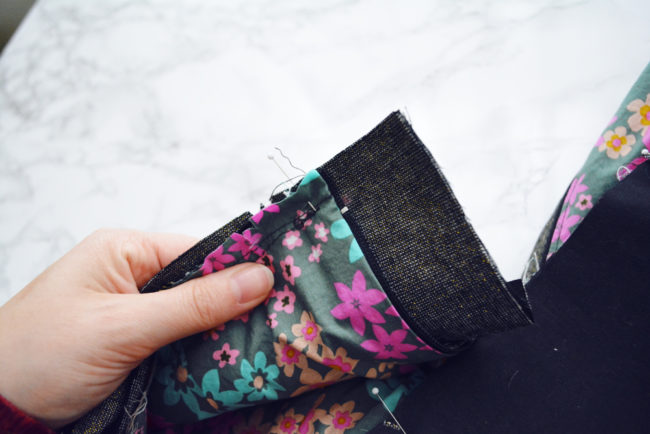
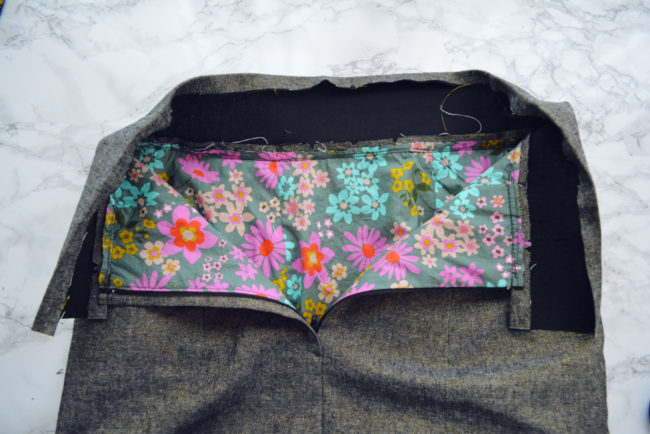
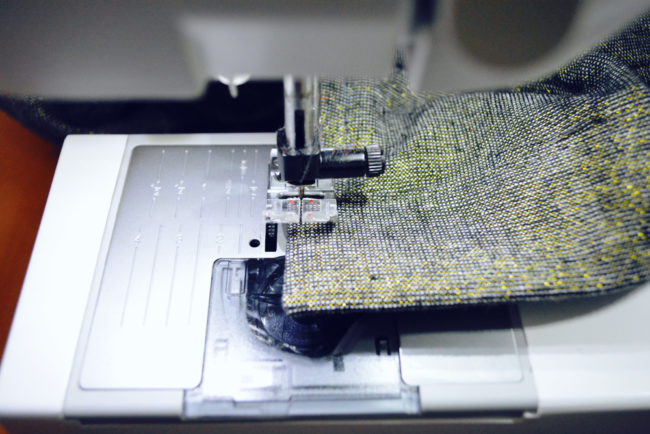
1. Fold and pin waistband. At the zipper, fold each side of the waistband in half, right sides together, so that the bottom pressed edge lines up with the waistband seam. Pin.
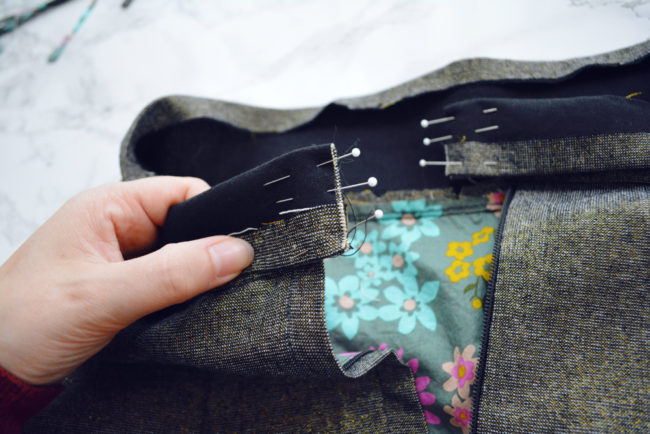
2. Sew waistband ends. Stitch each short edge, keeping pressed fold in place. On the right waistband, use a 5/8″ seam allowance. On the left, stitch at whatever seam allowance is even with the folded edge of the skirt below. In a perfect world, this is also 5/8″, but sometimes waistbands drift (like mine) and it might be slightly off. The most important thing is to create an even, smooth line with the folded edge of the zipper lap, so use that for your seam allowance reference.
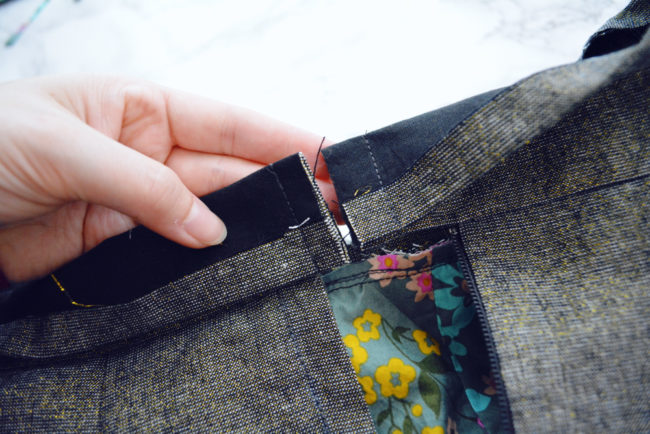
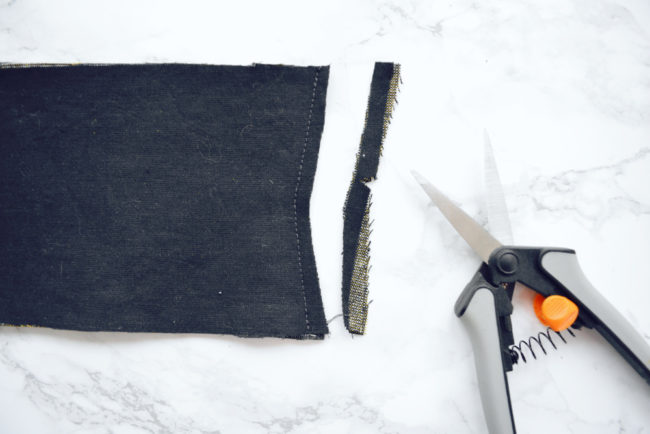
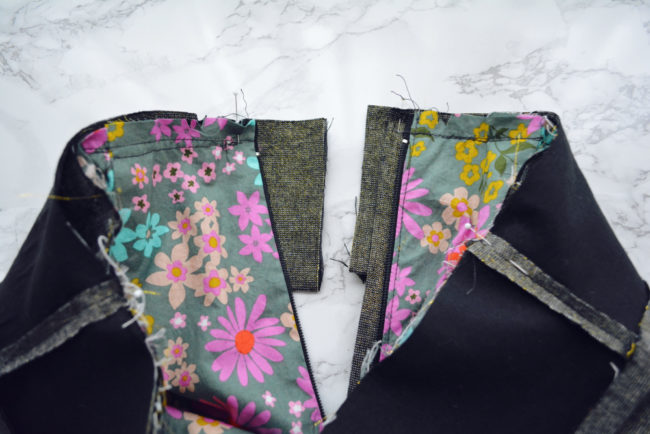
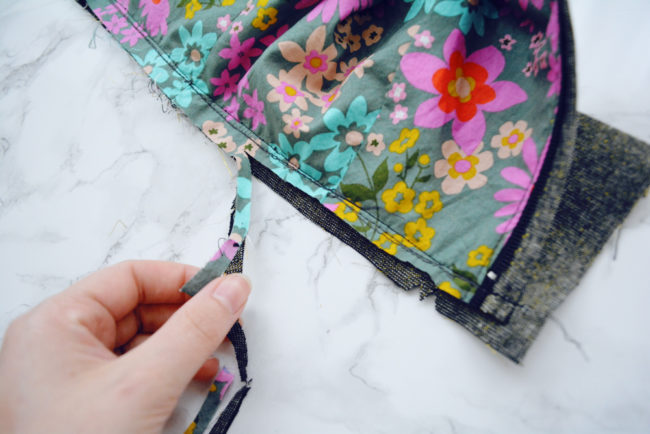
Trim seam allowances and corners.
Turn waistband to inside of skirt, pushing out corners. Press.
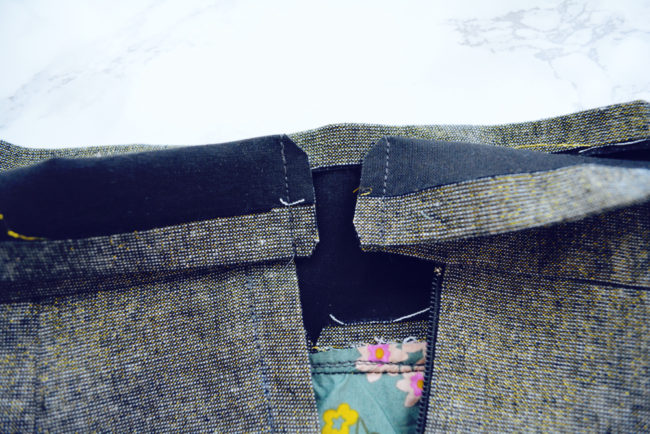
3. Fold and pin waistband. Fold pressed edge of waistband to inside of skirt all the way around, folding so that pressed edge just covers waistband seam.

Fold and pin all the way around the waistband. Use lots of pins.
4. Topstitch waistband. Turn stitch length up to 3.0. Starting at the lower edge of the right back waistband, topstitch waistband 1/8″ in from waistband seam. This should catch and secure the folded edge of the waistband on the inside. Take out pins from underneath as you go.
When you get to the end of the left back waistband, pivot at the lower corner by sinking your needle, raising the presser foot and turning the fabric.
Stitch up the short end and pivot again.
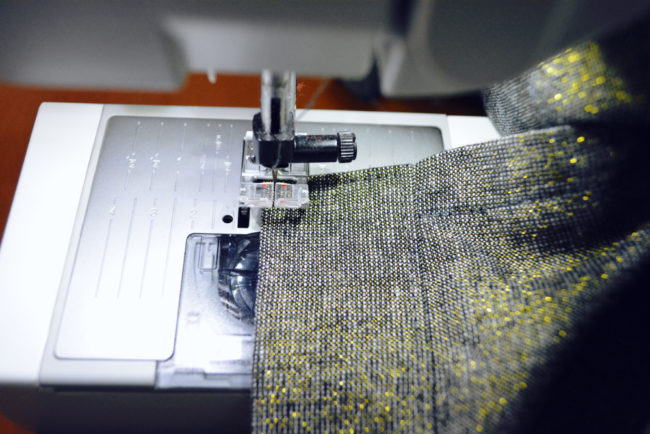
Topstitch back along the top edge of the waistband. This will feel awkward because all of the skirt is in the throat of the machine. But you can do it! When you get back to the other side, pivot around both corners and do a backstitch over where you started topstitching.
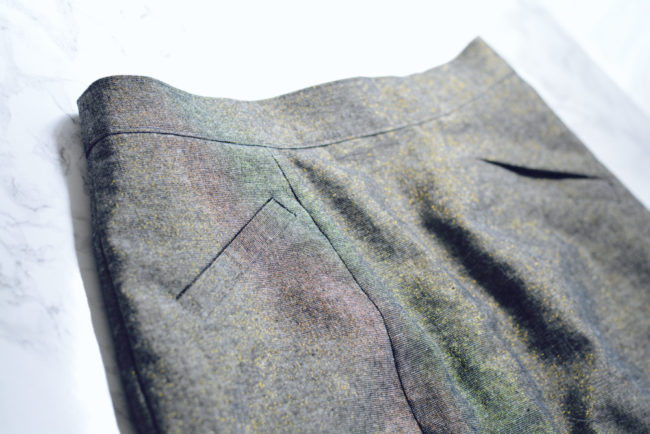
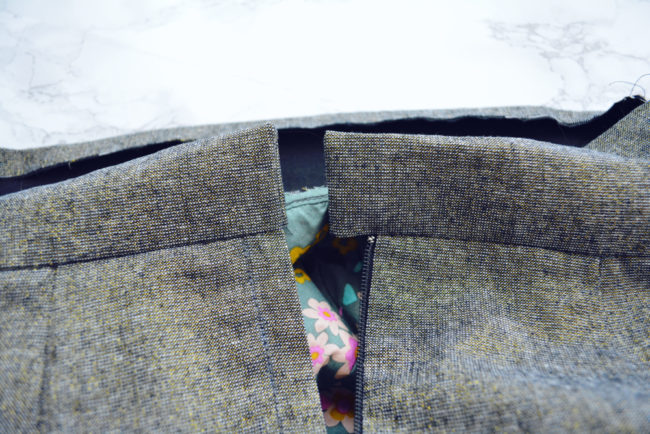
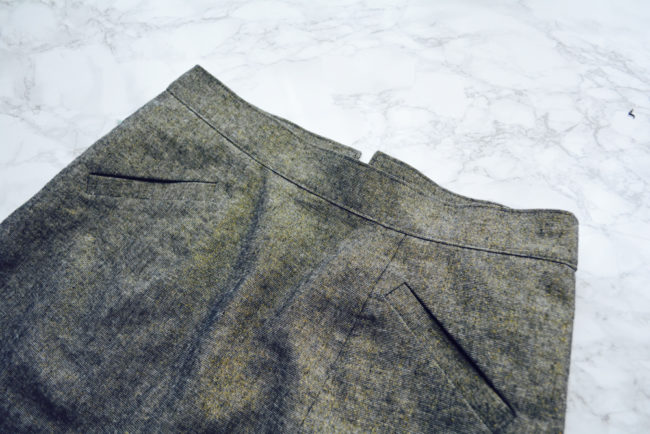
Voila! Waistband!
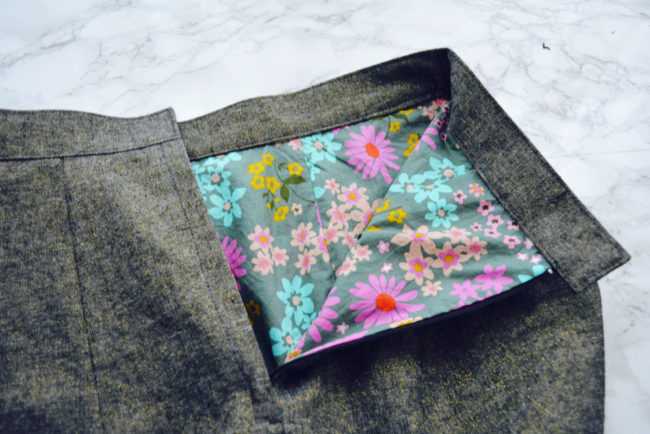
Here’s what the inside looks like. You can see the initial waistband topstitching along the bottom edge of the inside waistband.
Now all your fabric pieces are one piece. Hooray! Next week we’ll be hemming and finishing!