

If you’re making Version 2 of the Selene Skirt, follow along with this post to create the welt pockets and assemble the front of the skirt.
If this is your first time doing welt pockets, the whole process might look a little intimidating. But just take it step by step and be slow and precise, and you’ll have two beautiful welt pockets before you know it!
Welt Pocket Prep
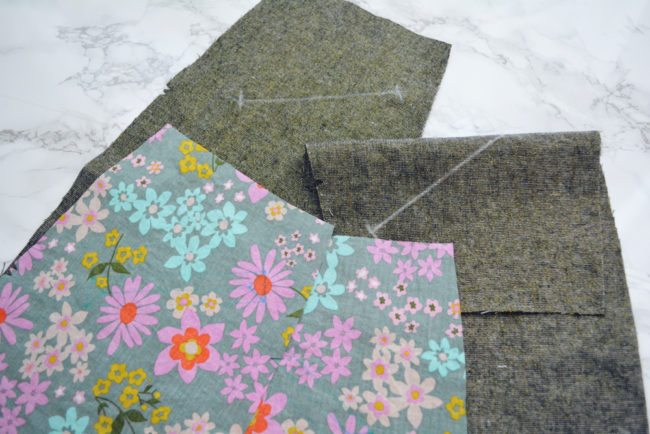
We covered it in the last post, but if you haven’t yet, be sure to cut the two welt pieces (2″x6″ for sizes 0-18, and 2″x7″ for sizes 20-16). Also apply interfacing to the welts and to the pockets facings.
Also, make sure that the welt pocket marks are on the right and wrong sides of both side skirt pieces, and on the wrong sids of both front pocket linings.
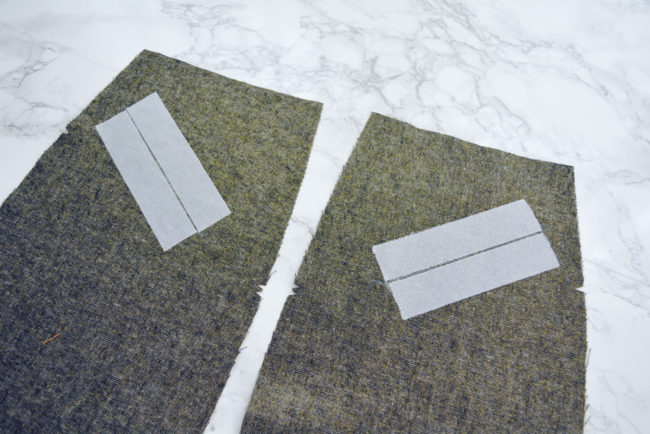
Cut four pieces of interfacing 1″ wide and the length of your welt cut marks. Fuse one to either side of the welt cut lines on the wrong sides of both side front skirt pieces.
Create welt pocket facing
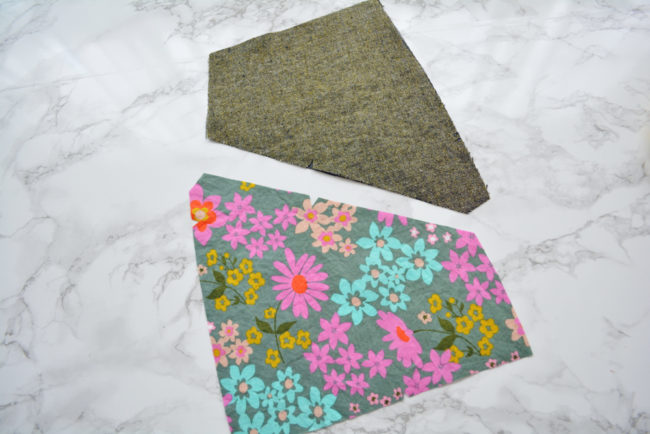
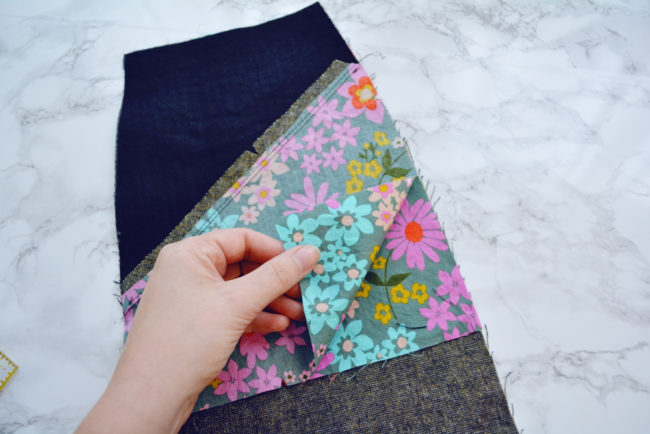
1. Pin facing and lining. Select a corresponding pocket facing and pocket lining pieces. You will know they are corresponding if the notched edges are going at the same angle when they are sitting right side up.
Flip the lining over the facing so that they are right sides together. Align the notched edges and pin.
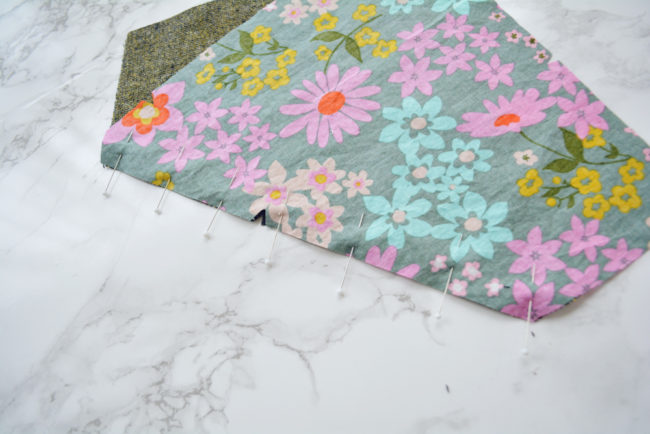
2. Sew facing. Stitch along pinned edge.
3. Grade and press seam. Grade the seam allowance. This means to trim the inner layer of fabric in half so as to reduce bulk in the seam. In this case, that is the lining.
Press the seam allowance up towards the facing. If you have used synthetic interfacing, avoid pressing it directly with the iron.
4. Topstitch seam. Lengthen your stitch length to 3.0. From the right side of the fabric, topstitch 1/8″ from the seam in the facing fabric.
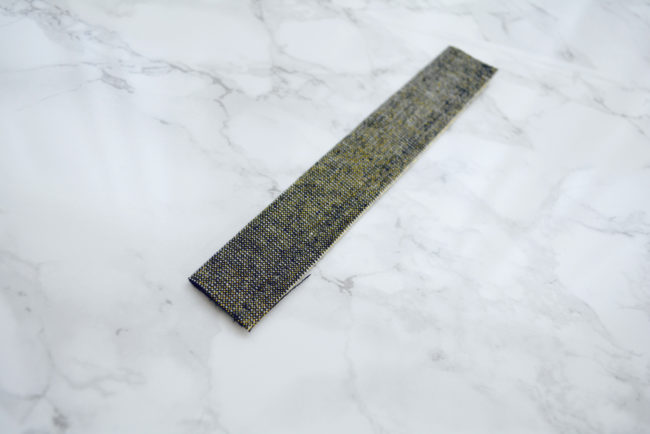
Make Welt
Fold each welt in half with wrong sides together. Pin and stitch along long edge with 1/4″ seam allowance.
Create welt pocket
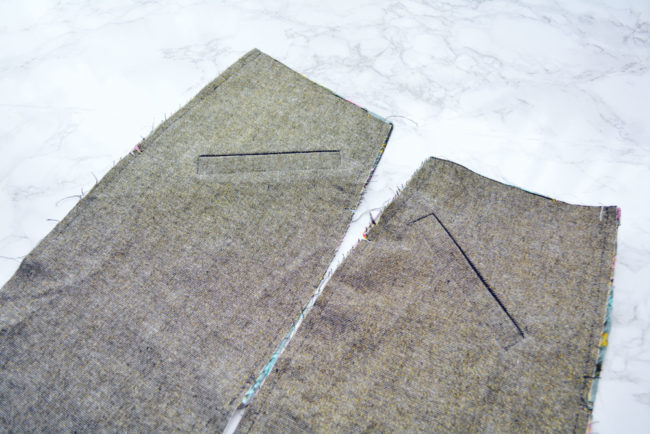
1. Pin welt. With right sides together and folded edge of welt facing downward, align raw edge of welt with cut line on right side of side front skirt. You will want to still see the line, as opposed to covering it. The welt is longer than the line, so center the welt over the line roughly (it doesn’t have to be exact).
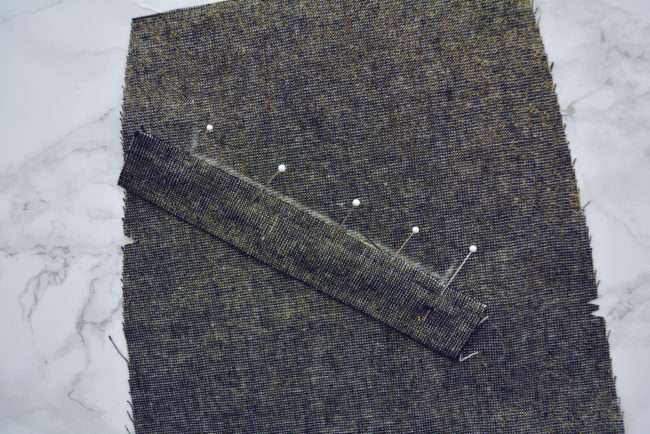
2. Sew welt. Stitch the welt to the skirt by sewing along the raw edges of the welt, 1/4″ in from the edge of the welt and between the welt placement markings. The seam allowance lines will be covered so you will need to find a landmark on your presser foot that is 1/4″ from the needle. Usually there is a groove or line. Measure with a ruler if necessary.
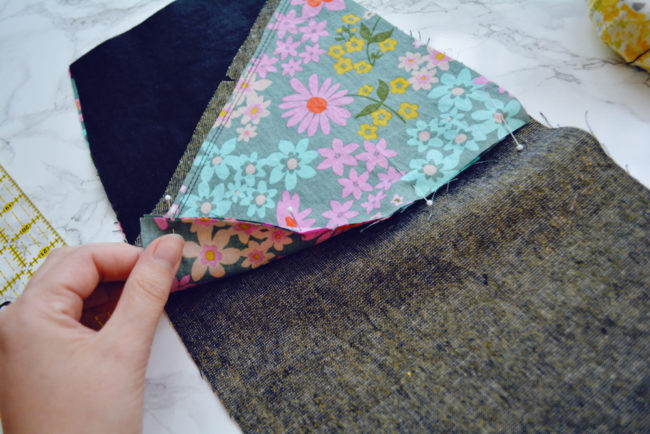
3. Pin lining. Place the corresponding front pocket lining over the welt with right sides together. You will know it is the corresponding lining if the notches all line up when the pieces are placed right sides together. Pin at welt placement lines.
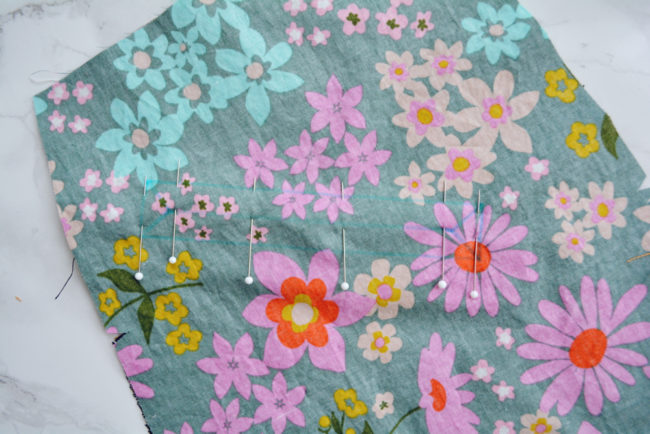
4. Stitch lining. Stitch along the top and bottom lines in the welt placement mark as shown. On the lower side you’ll be stitching through the welt, lining and front skirt; on the upper one you’ll only be stitching through the lining and the front skirt. Be sure to backstitch at the beginning and end.
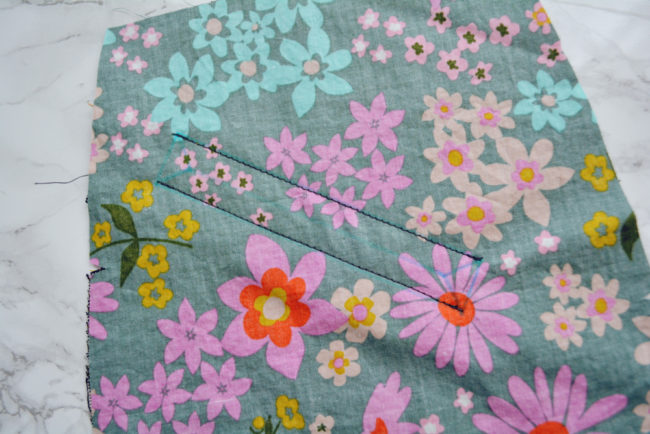
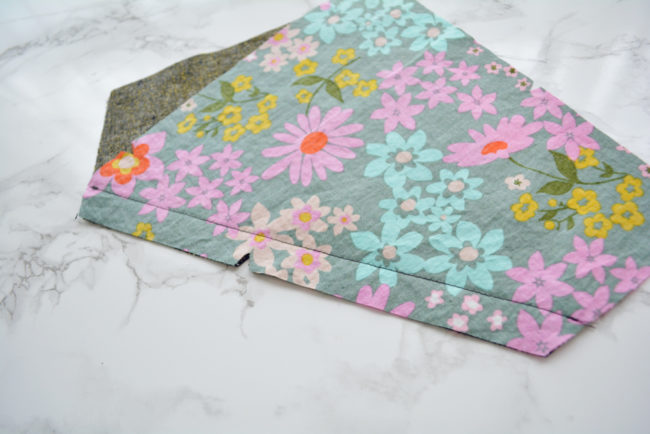
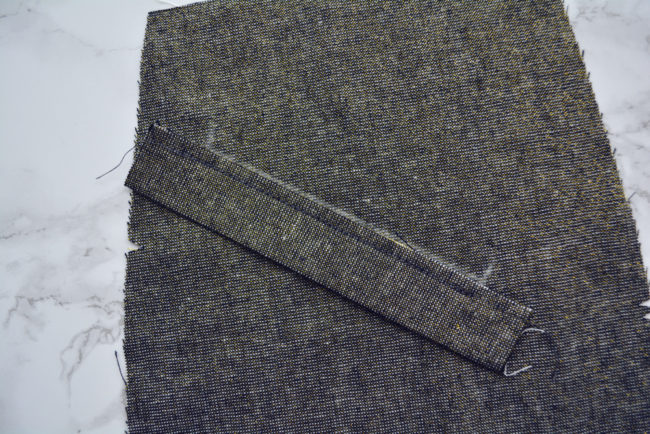
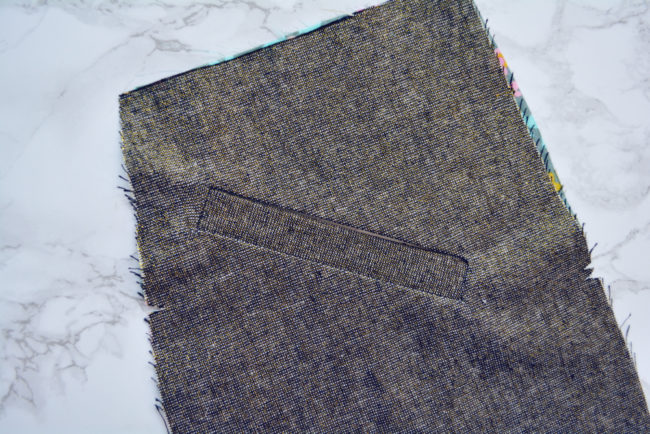
5. Cut welt. Very carefully, cut along the center welt line and the two angled lines at each end, close to but not through the stitching. You can put a pin across each end to prevent accidentally cutting through the stitching.
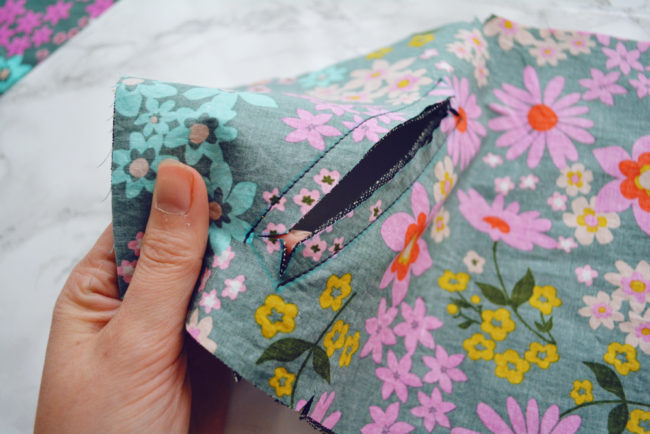
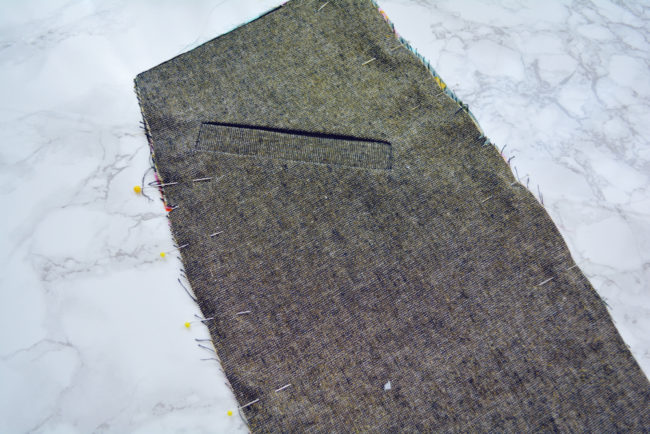
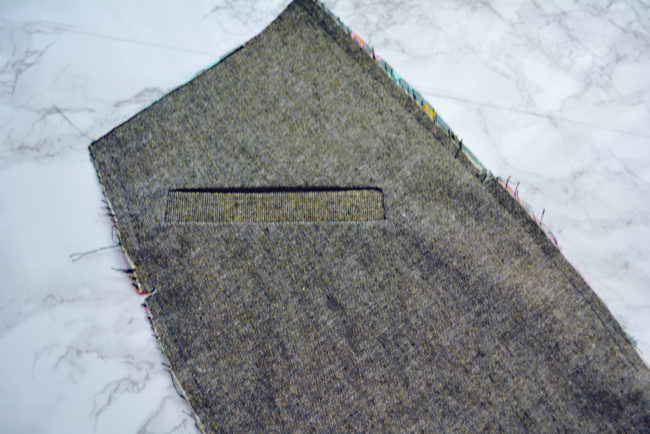
6. Turn welt. Pull the lining through the opening to the other side so that lining and skirt front are wrong sides together. Push each end of the welt in between the lining and shell, in the open space at each end of the welt opening. Press.
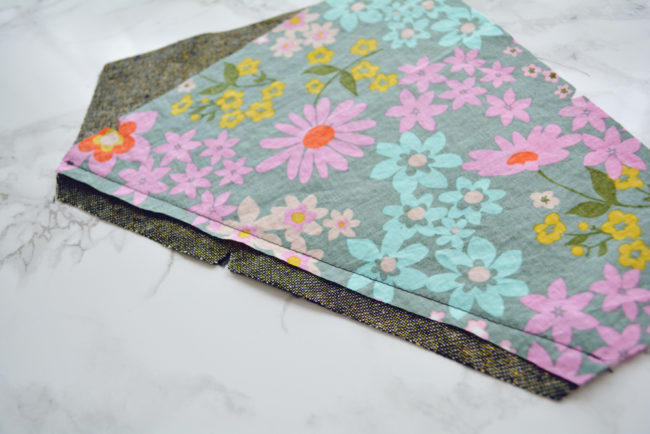
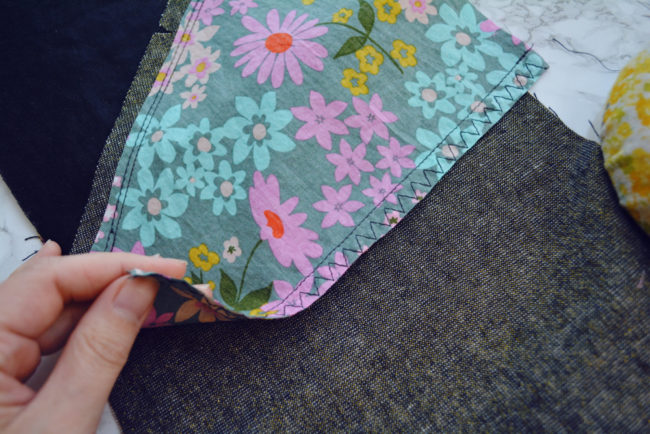
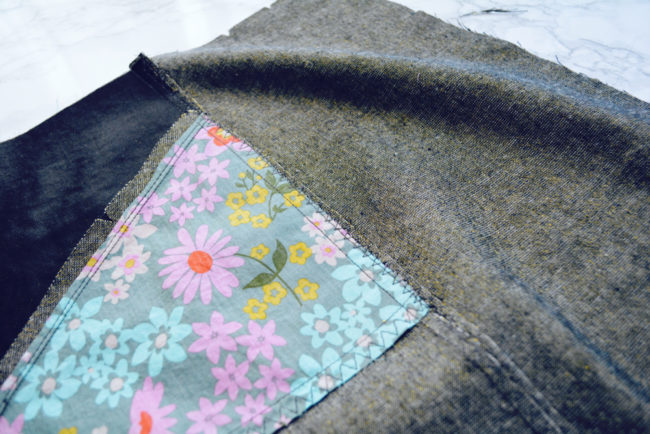
7. Sew pocket tabs. Fold back the skirt front and find the little triangle tab on one side of the pocket opening. It’s a byproduct of when you cut the welt opening.
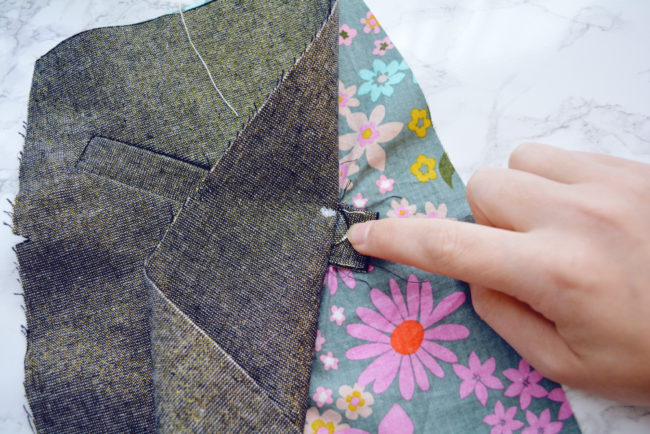
There should also be a corresponding triangle of lining fabric on the other side of the welt. Make sure that it is laying flat and neat.
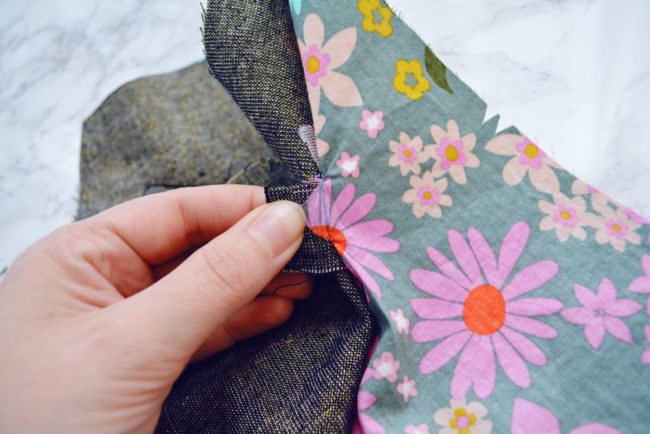
Holding everything else out of the way, stitch across the base of the triangle, through the shell triangle, welt, and lining triangle.
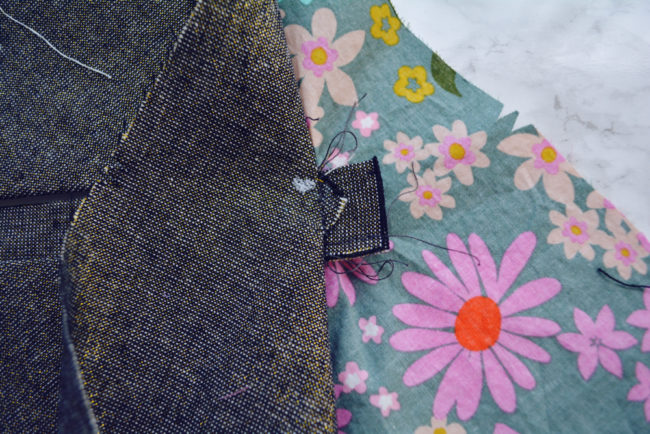
Repeat at the other end and press everything.
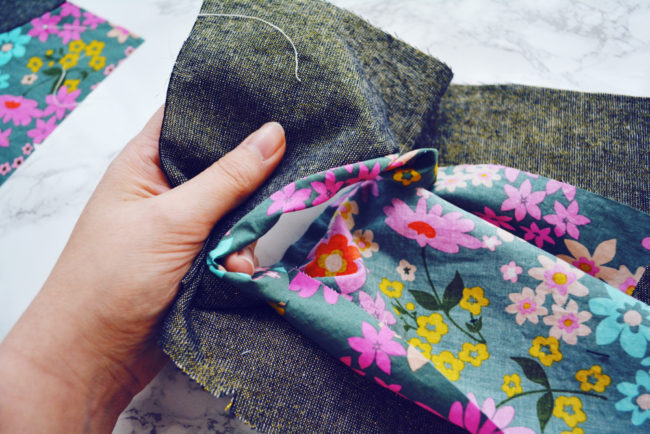
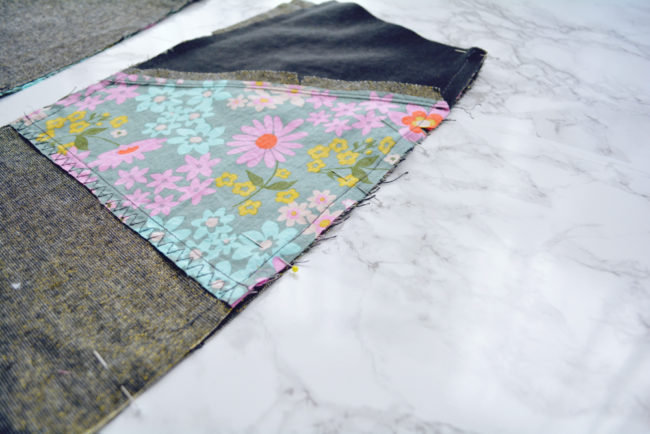
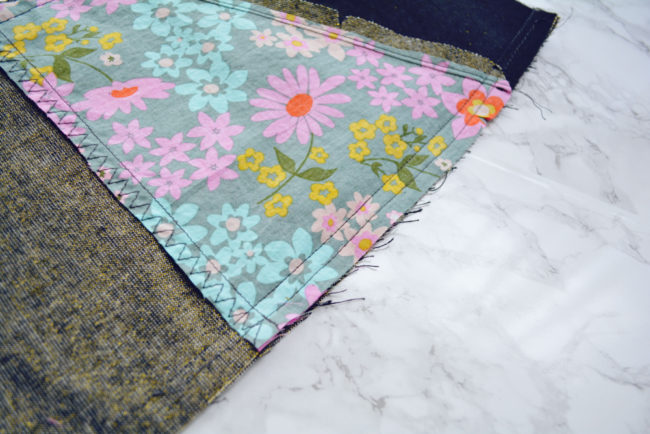
Attach Pocket Facing
1. Pin facing. With right sides together, lay pocket facing against front pocket lining. Align the bottom edges of the two lining pieces.
Leaving all other fabric free, pin the two lining edges together.
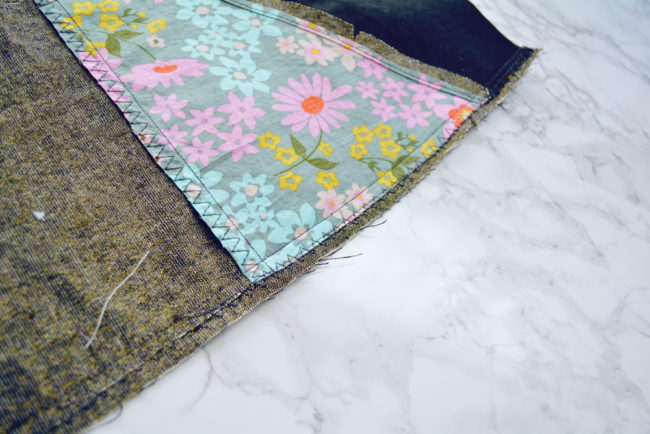
2. Sew lining. Stitch edges together. Finish them as desired. I chose to use a 3 step zigzag, which would add less bulk than a serged edge.
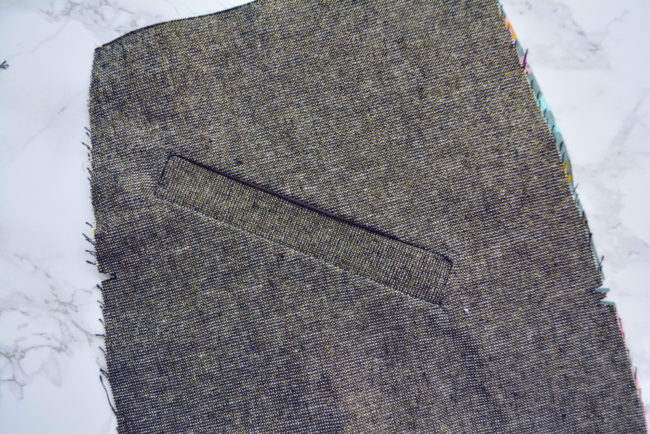
3. Baste layers. Lay everything out so that all pocket layers are flat. Align raw edges and pin.
Lengthen stitch length all the way. Baste along edges of front skirt and pocket linings at 3/8″.
Repeat all of the welt creation, facing and lining process with the second half of the skirt side front.
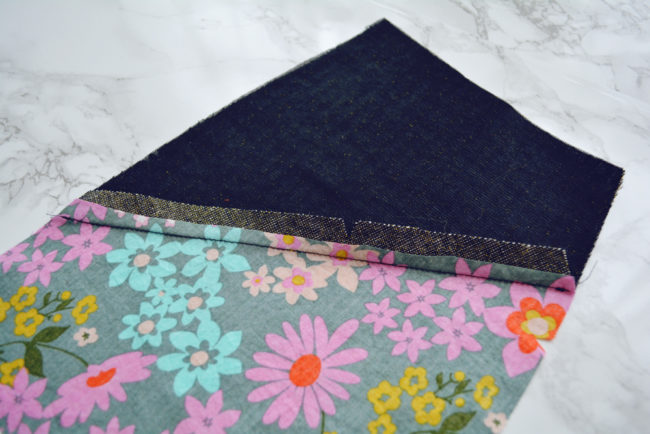
Assemble skirt front
1. Pin skirts. Place one skirt side front and skirt center front right sides together, aligning notches. Pin.
2. Sew skirts. Stitch along pinned edge. Be sure to bring your stitch length back down to 2.5.
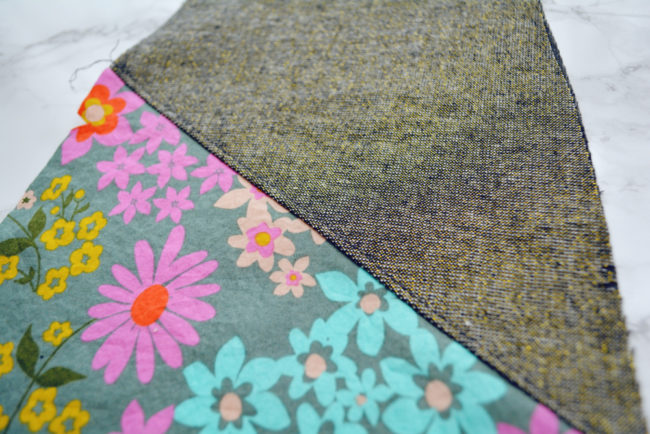
3. Grade and press seam. Grade the seam allowance by trimming the side skirt portion of the seam allowance in half. Then finish the seam allowance. Again, I chose a 3 step zig zag instead of serging to reduce bulk.
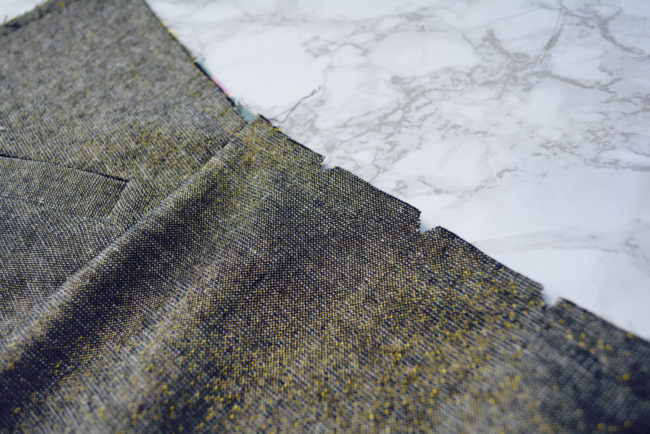
Press seam towards center skirt.
4. Repeat. Repeat process to attach the other skirt side front to the center front.
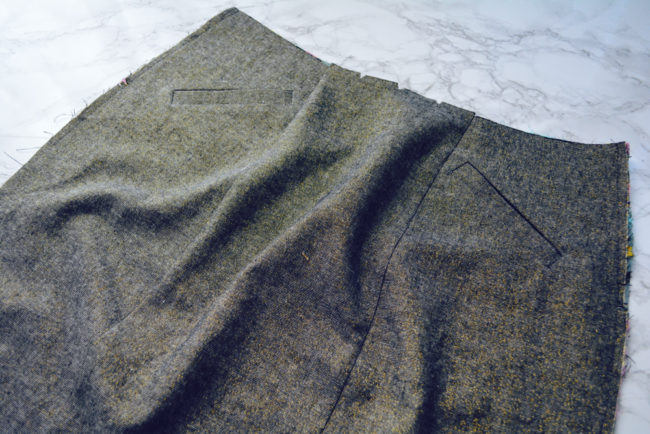
5. Staystitch. Staystitch along the entire waist edge, being sure that the seam allowances stay pressed in the correct direction.
That does it for this post! On Thursday we’ll be covering the inset pockets on Version 3, then next week we’ll all be together again to cover the lining and the vent!