

If you blended sizes on your Selene skirt and you’re making Version 2 or 3, you’ll also need to do some adjusting to the pockets. These aren’t as straightforward as adjusting the skirt pieces, because they may or may not include the full transition from waist to hip. But with a few simple steps you’ll be able to adjust them pretty easily to match all your other pieces.
version 2 – welt pockets
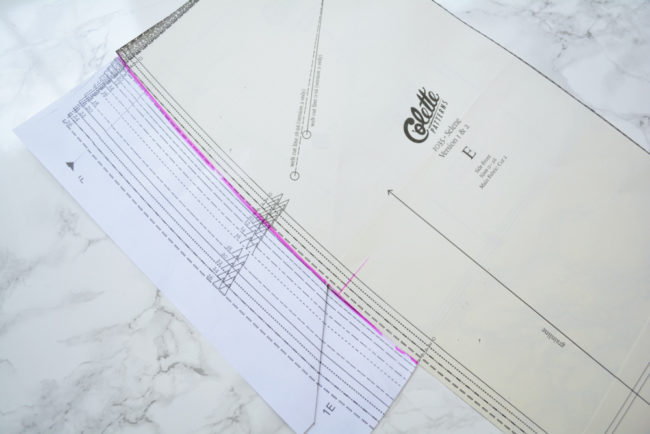
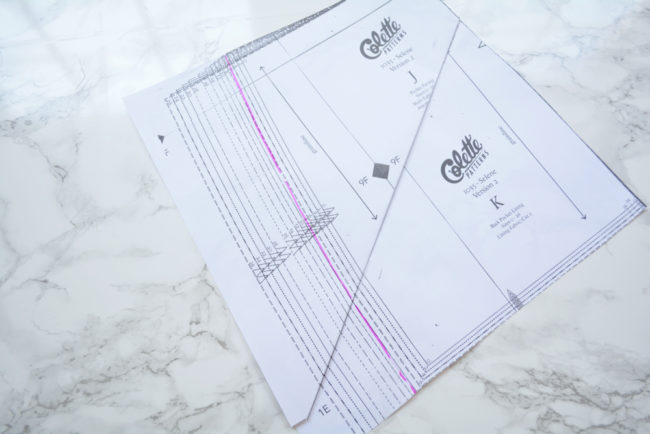
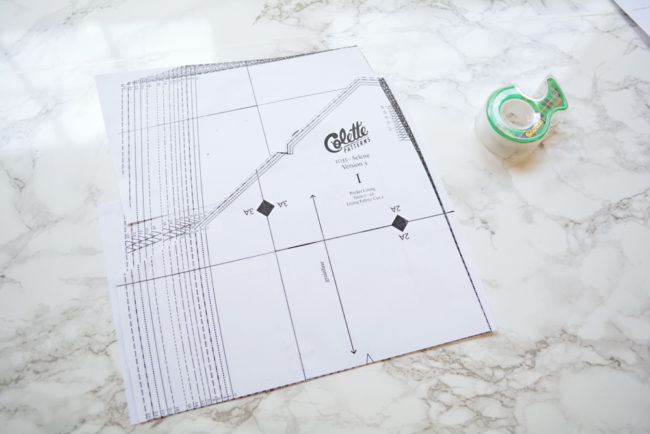
You should have pieces J, K and L roughly cut out from the last post. If you haven’t already, you should blend the nest side of the side skirt E from your waist size to your hip size and trim.
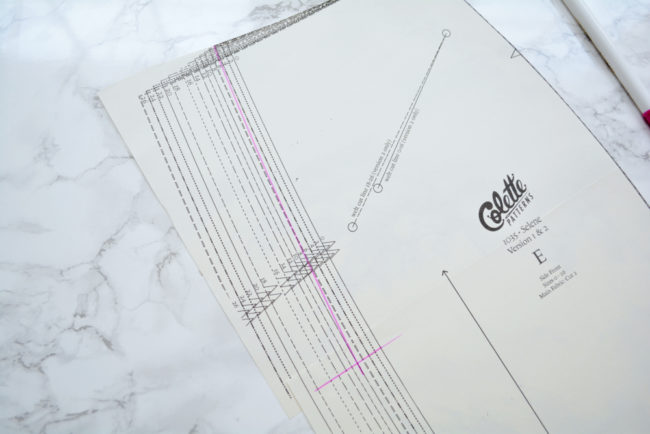
You can also trim any horizontal lines on your pattern pieces. Cut the waist edges of E, J and L to your waist size. Cut the bottoms of L and K to the same size. This will eventually be the bottom of the pocket bag. You can cut it to match your waist or hip size, or an average. I am cutting from a 4 to an 8, so I chose to cut the horizontal pocket lines at a size 6. Whatever size you choose won’t really affect the fit, just where the pocket hits on your skirt (and barely ¼” at that), just be sure that you are consistent.
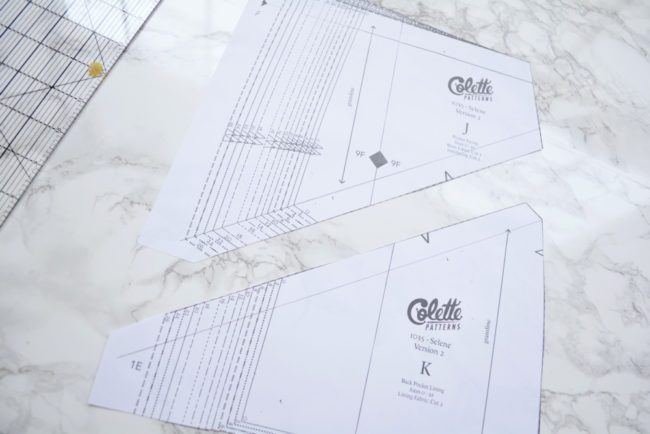
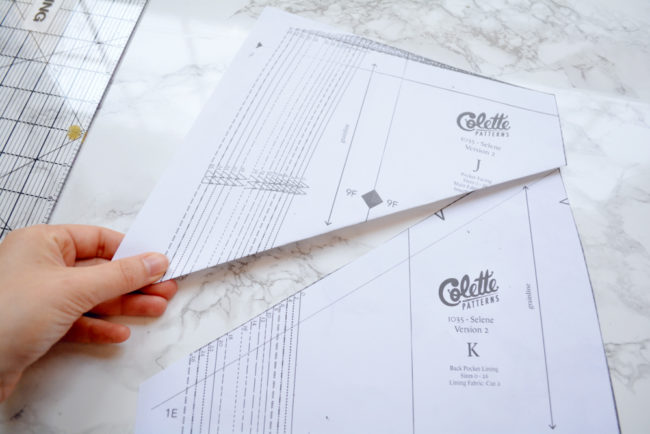
Pieces J and K will end up being sewn together into a unit, so we are going to mimic that with the paper pieces before we do the adjustment. First, draw a line 5/8” in from the lower edge of J and the upper edge of K (this is the stitching line).
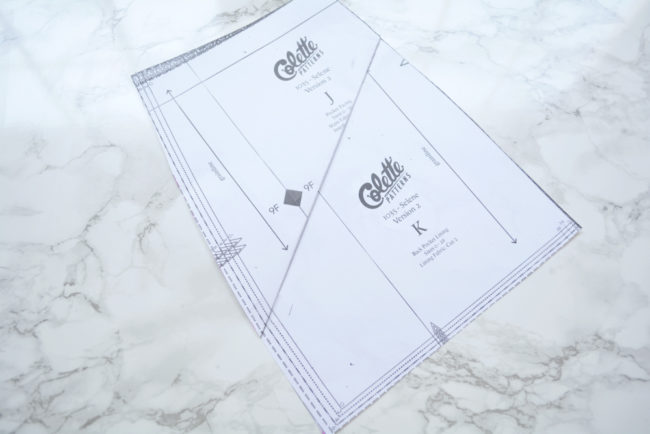
Fold J along the line towards the back. Place it over the top edge of K, lining the fold up with the line drawn on K, and aligning all edges and size lines. Tape.
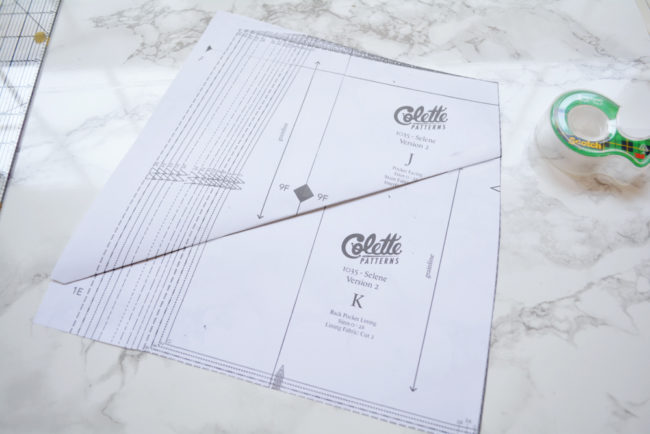
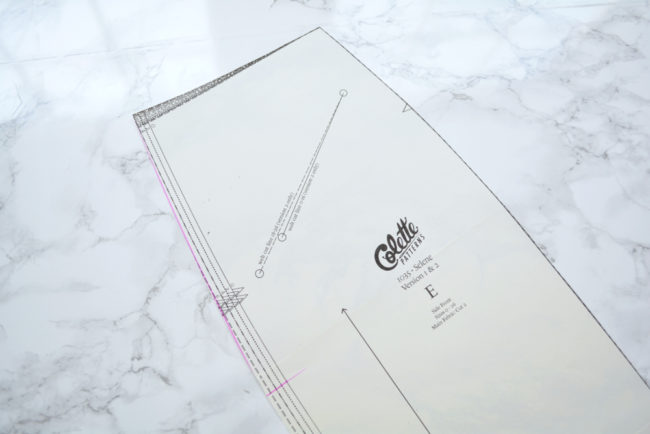
Now we’re going to use the trimmed piece E as a template. Place E over the top of the J/K unit, aligning the waist seam and the right side edges. Tape lightly.
Trace along the edge of E.
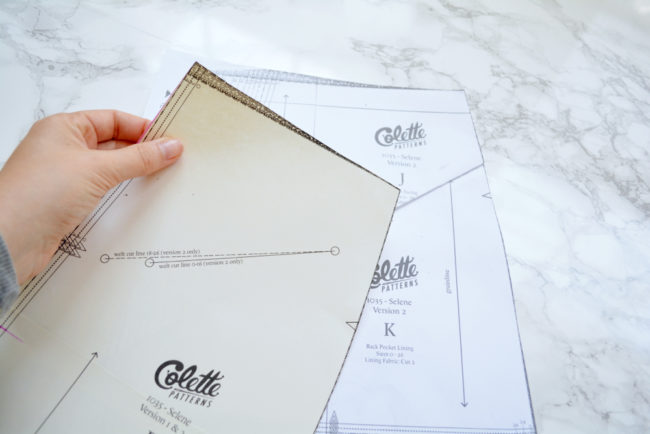
Trim J and K along traced line.
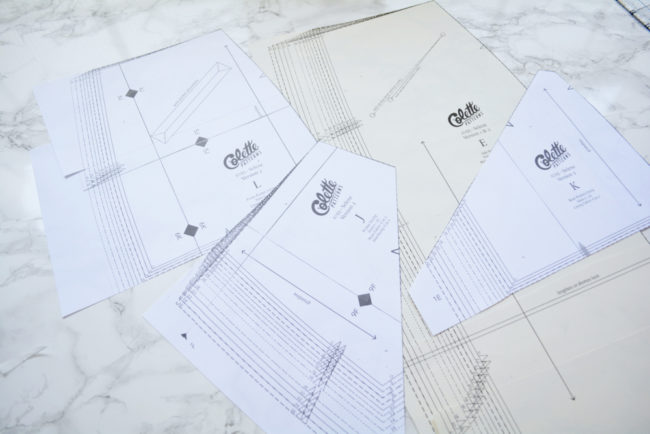
Repeat the template tracing process by laying E over L and aligning/tracing/trimming the same way. Take J and K apart and unfold edge. All adjusted!
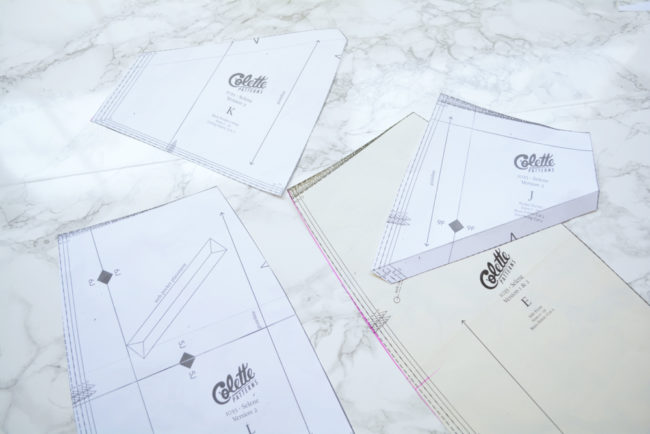
Be sure you adjust all the other pieces as detailed in the previous post.
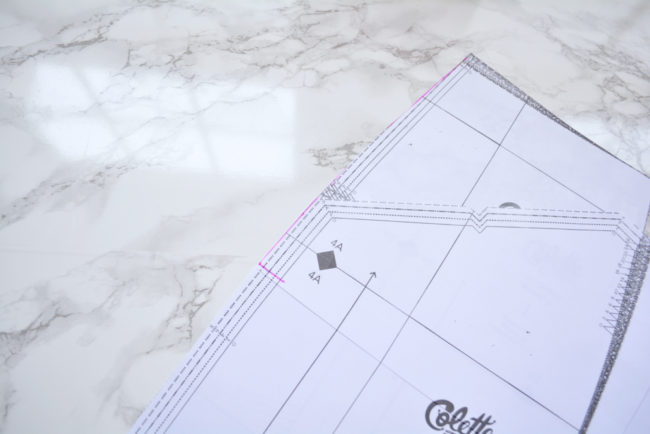
version 3 – inset pockets
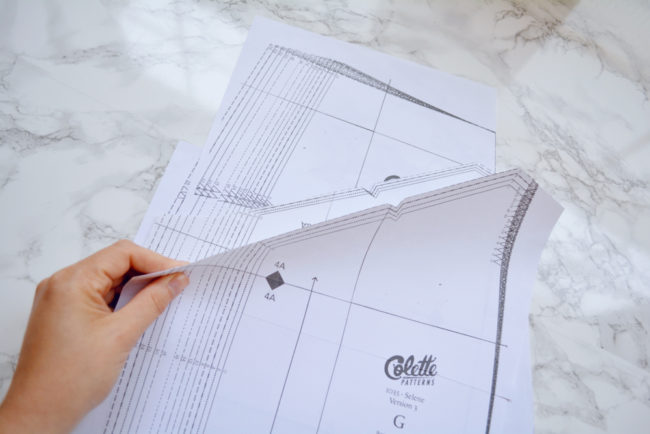
You should have pieces G, H and I roughly cut out from the prior post. You can now cut the waist edge of H to match your waist size. Then, choose a size for your pocket. These are all going to be horizontal lines, so they won’t really affect the fit, just where your pocket will hit on the skirt (and very minimally at that). You can either choose your waist or hip size, or an average – for instance, I am cutting from 4 to 8, so I chose to cut all the lengths at size 6. Whatever you choose, just make sure it’s consistent.
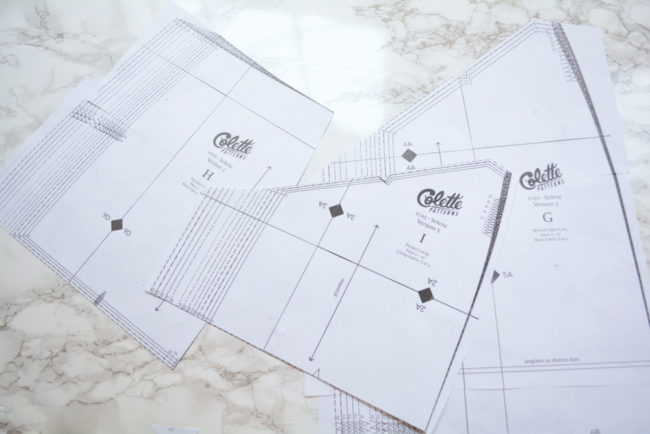
Now we are going to mimic how it’s all getting sewn together. Lay I over H with the bottom edges and the right lower corners aligned.
Lay G on top of I, lining up the upper edges where the little notch is cut out. Tape everything lightly.
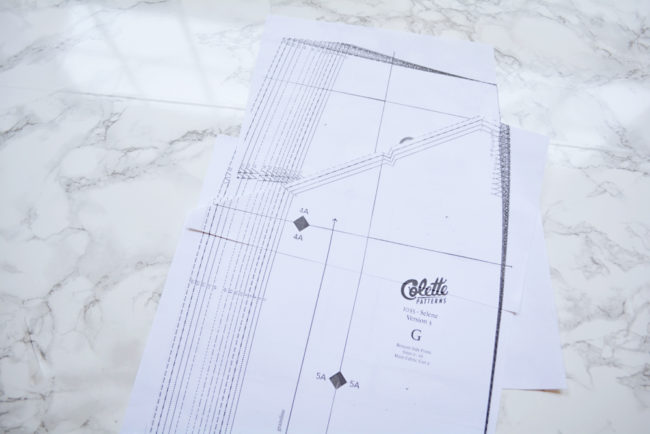
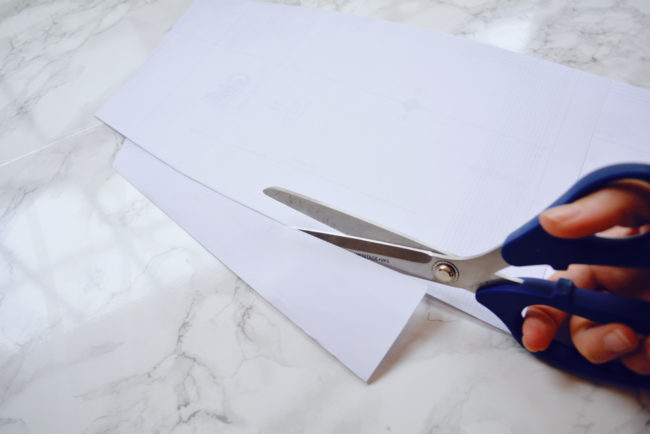
Treating the whole thing as one piece, draw a line blending the nested edge from the waist size to the hip size.
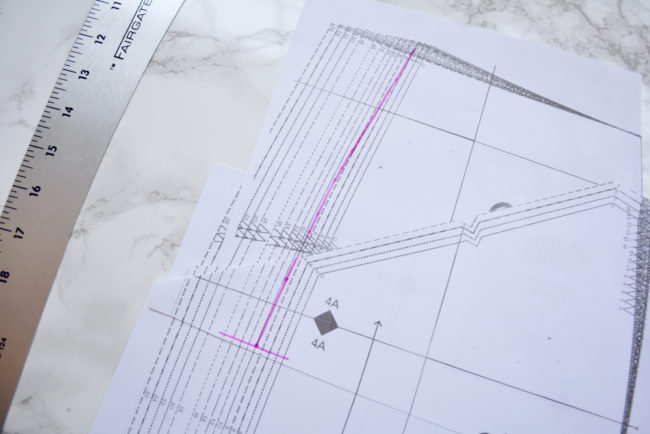
Trim along your blended line, and continue cutting along the hip size line all the way to the hem.
Turn everything over and use H as a template edge to trim the lower two pieces. Then, continue cutting down G all the way to the hem.
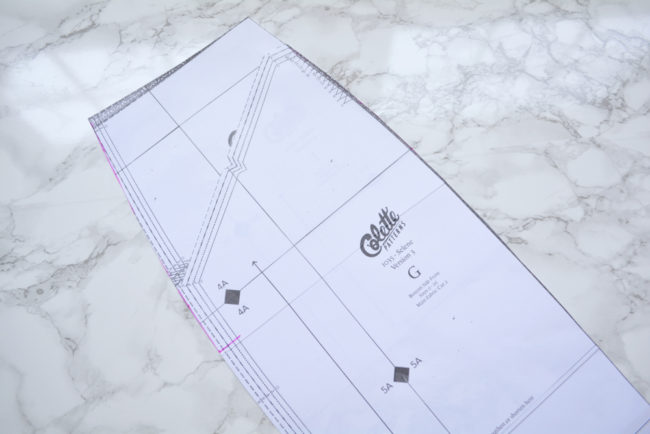
Untape everything and voila! Adjusted pieces.
Be sure to blend sizes on your other pattern pieces as described in the previous post.
Version 3 muslin
In the last post, I mentioned that you could skip doing the pockets if you were making a muslin for Version 3. To do that, do your muslin and fitting with piece E for the side front skirt. When you are all finished and that pattern piece is adjusted, stack H, G and I as described above. Lay piece E over top, aligning the top edges, and use it as a template to trace your blending line. Then trim through everything and untape.
Comment below with any questions! Next week we’ll get started cutting and prepping our pattern pieces.