

Versions 1, 2 and 3 have gone their separate ways to construct the front of Selene, but now we are all back together to sew the lining and prep the back skirt vent.
At this point, it’s a good idea to double check that you cut out the back skirt linings correctly, since there is a right and left and they are slightly different sizes. Based on the cutting layouts, you should have cut out the lining with the printed side of the pattern facing up in relation to the wrong side of the fabric. In other words, the wrong side of the paper pattern piece should be touching the wrong side of the fabric when cutting. You can double check you cut correctly by laying the paper piece over the fabric.
Sew Back lining darts
Following the same procedure as when you sewed the back skirt darts (detailed in this post), sew the back lining darts and press towards the center. Staystitch along the top edge of each, making sure the dart uptake stays pressed in the correct direction.
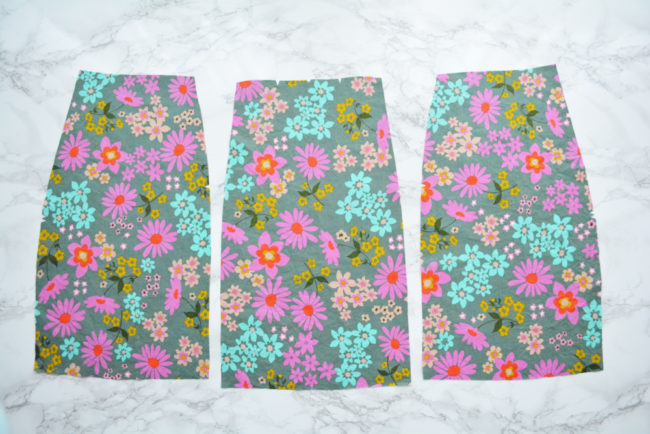
Assemble front skirt lining
You should have three pieces for the front lining – two side fronts and one center front.
1. Pin front lining. Flip one side front over center front so they are right sides together. Align notched edges and pin.
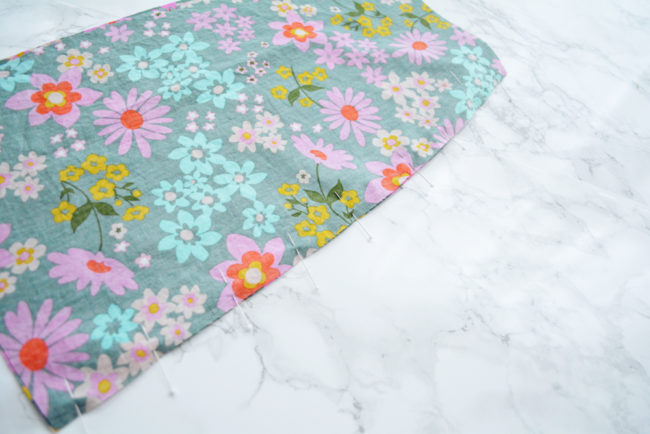
2. Sew front lining. Stitch along pinned edge.
3. Finish and press. Finish seam allowances separately as desired and press open. I chose to serge, but you could also use a zig zag stitch.
4. Repeat and staystitch. Repeat with other side front seam. Staystitch along top edge, making sure that seam allowances stay pressed open.
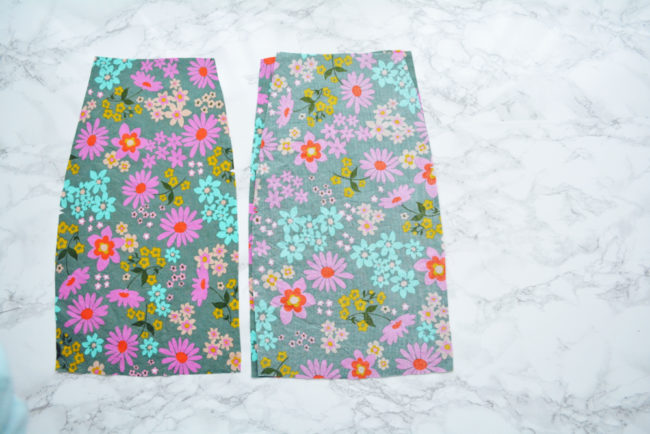
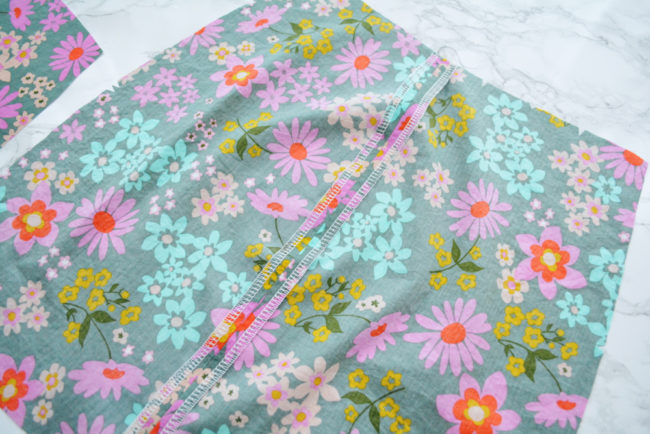
sew lining side seams
1. Pin side seam. With right sides together, align one back lining with corresponding side front lining, matching notches. Pin.
2. Sew side seam. Stitch along pinned edge.
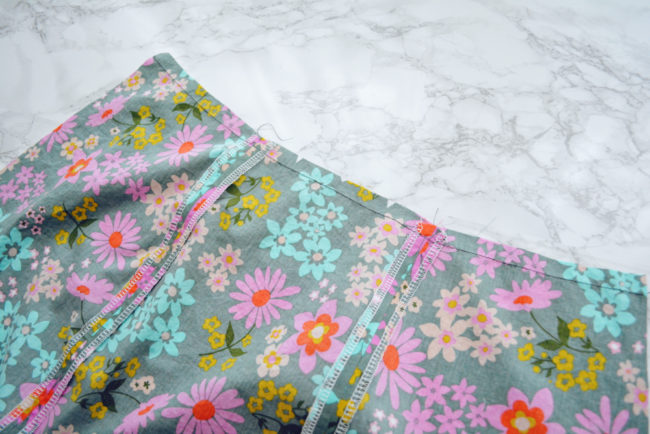
3. Finish and press. Finish seam allowances separately and press open.
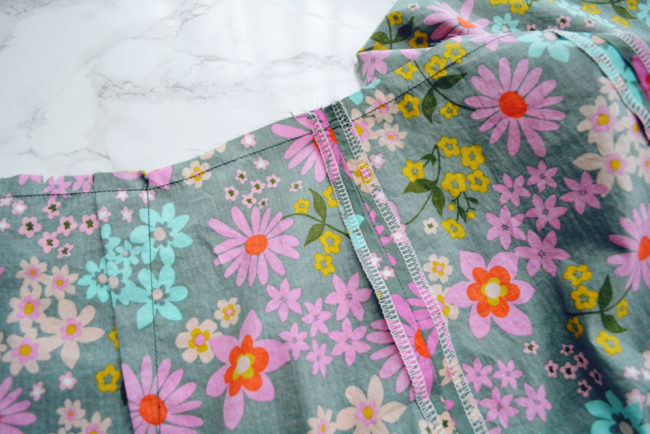
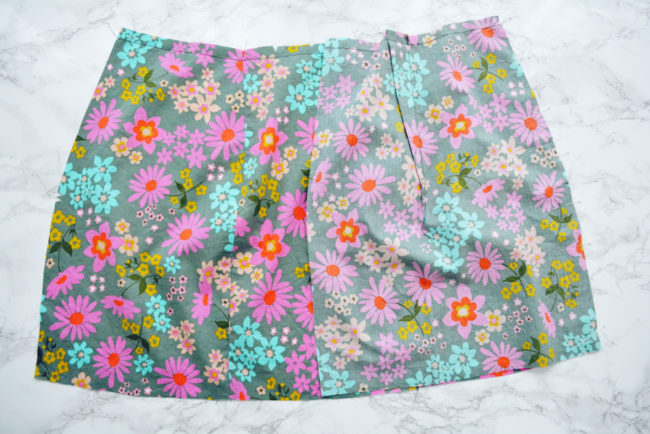
4. Repeat. Repeat process with other lining side seam. You should now have one lining unit that is open at center back.

Lining assembled!
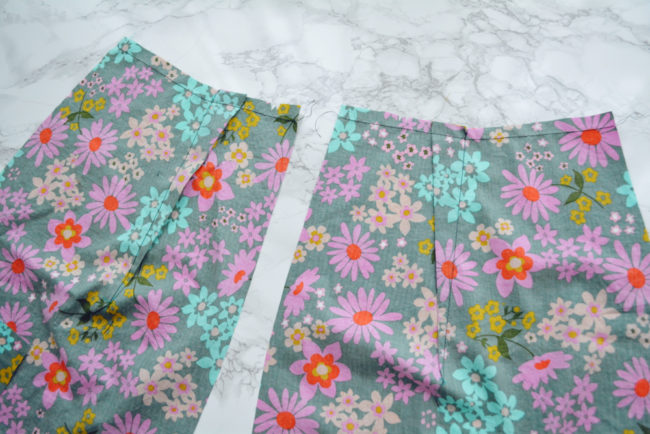
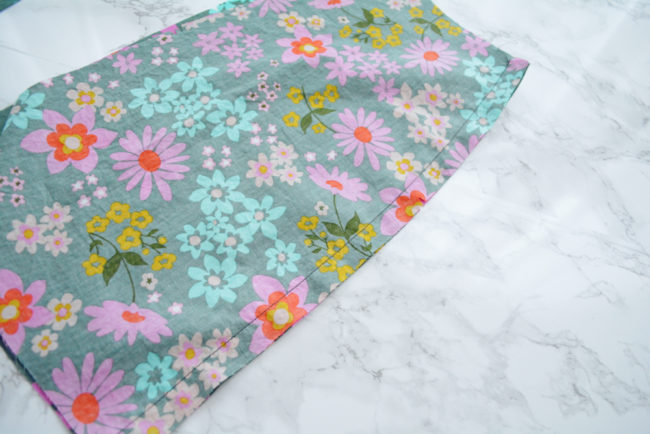
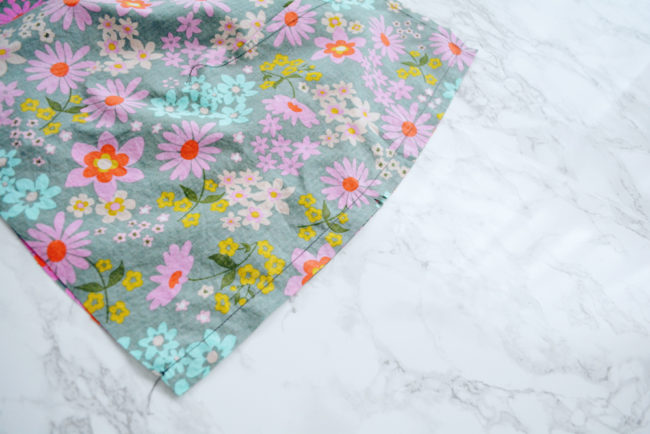
Finish and topstitch vent
1. Finish and press vent. On one skirt back, finish the raw edge of the skirt vent. Fold edge 1″ towards wrong side and press.
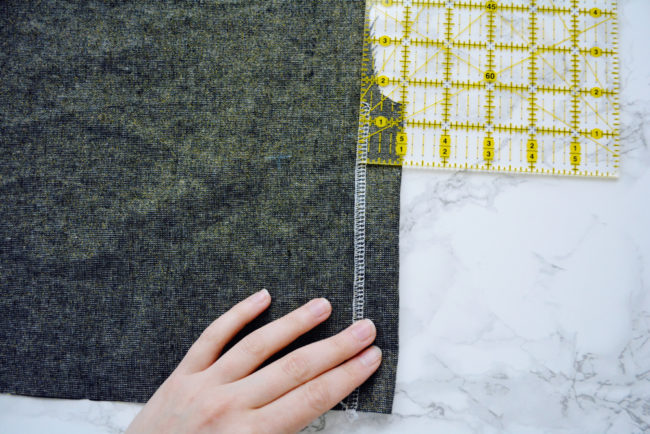
2. Topstitch vent. Lengthen your stitch length to 3.0. Stitch along the finished edge of the vent to secure. This will end up being 3/4″ – 7/8″ in from pressed edge.

3. Repeat. Repeat with the other back skirt.

That does it for today! On Thursday we’ll be diving into the lapped zipper.