

This is it! By the end of this post, you’ll have a finished Selene skirt.
Sew on trouser clasp
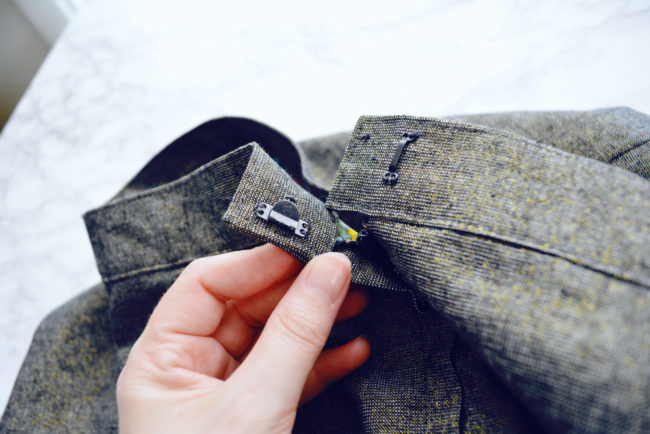
Following the manufacturer’s instructions, sew on the trouser clasp. The male end (the larger piece) will go on the left back waistband close to the end. The female portion will be sewn on the other side. Use a double threaded needle and sew a few stitches through each metal loop to attach.
It’s a good idea to sew on the male part, then try the skirt on for placement of the female part. You can still make the waistband a little tighter or looser at this point depending where you sew on the clasps.
Also, be aware that the illustration in the pattern instructions is drawn with the skirt turned lining side out, which is why the female/male placement might feel backwards.
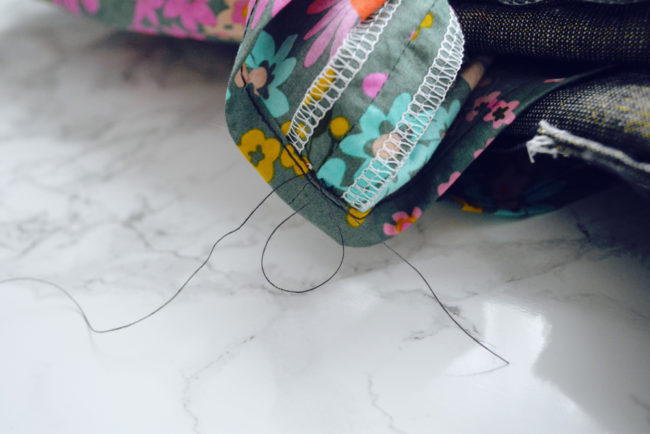
anchor lining with thread chains
We will be partially anchoring the lining in place on the inside of the skirt by using thread chains. These chains will keep the lining from twisting but will still allow it to move when you move.
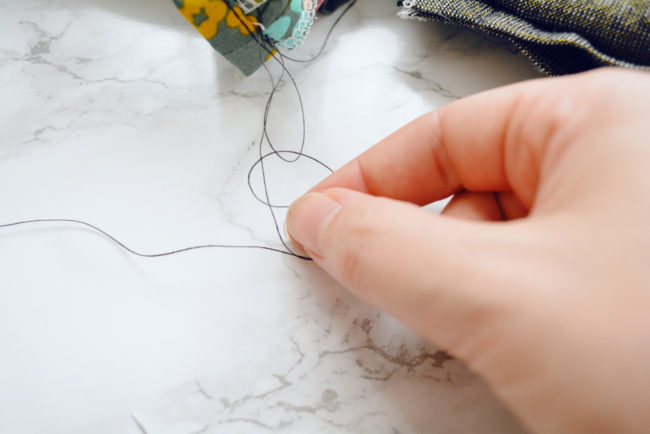
1. Make chain. Thread hand sewing needle with arm length of thread. In the seam allowance of one of the lining side seams, right above the hem, stitch a few times in place to secure thread. Stitch through the same place again, but don’t pull thread all the way through. You want to make a loop.
Reach through the loop to grab the working end of the thread (this is the thread attached to the needle.)
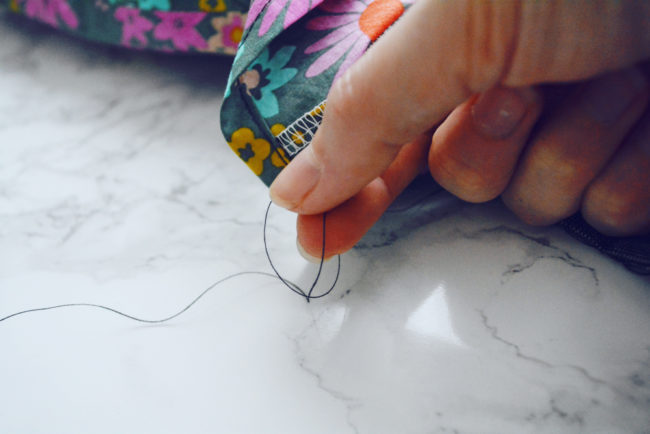
Pull it through, but not all the way to create a second loop.
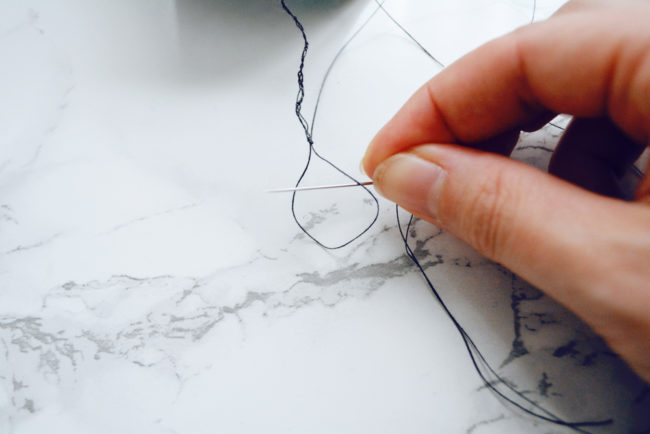
At this point you’d want to tighten your loop down to about 1/8″, but I left them big so you can see.
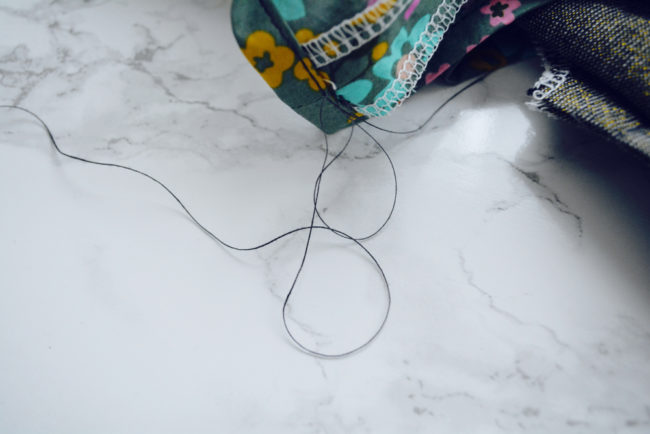
Continue reaching through the most recent loop, grabbing the thread and pulling through to create a new loop, and tightening.
Continue until your chain is about 2″ long. It should look kind of like a little friendship bracelet.
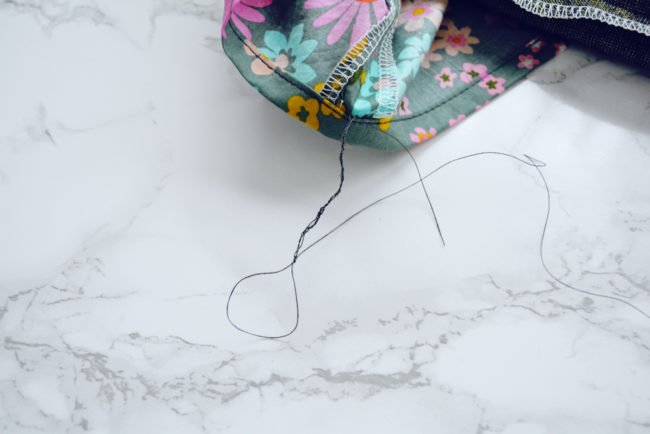
Pass the needle through the final loop and pull tight to secure.
3. Attach to shell. Stitch into the seam allowance of the shell side side, near the bottom of the lining. Stitch a few times to make a loop, pass the needle through and pull to tighten.
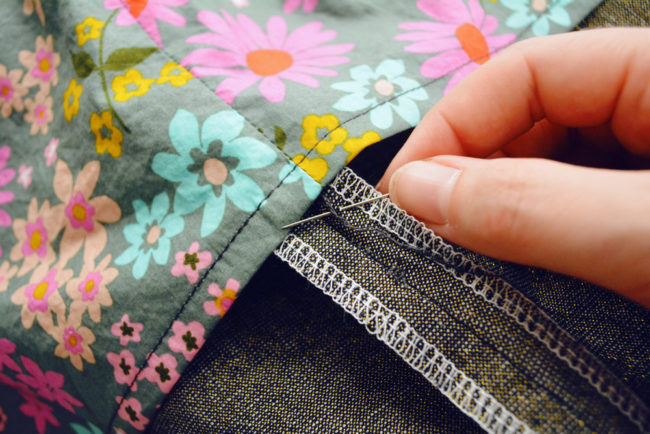
Repeat with the other side seam.
Drumroll…
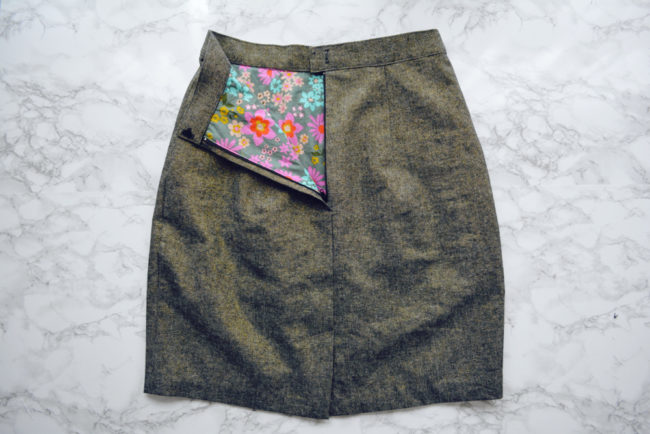
Your Selene is done!

Share your Selenes!
I hope you have enjoyed the Selene Sewalong! We would absolutely love to see what you’ve made!
Here are a few ways you can share:
- Upload your photos to Flickr, then add them to the Colette Patterns photo pool! Be sure to add the tag “selene,” and your photo will also show up on the gallery of the Selene page in our shop.
- Upload to Instagram. Mention @colettepatterns and use the hashtag #seleneskirt to show off to others.
- Upload to your blog or any other service and add a link in the comments!
We’ll round up our favorites here on the site and share some of them on social media too. We can’t wait to see what you’ve made!
Comments
Which are the ‘male’ and ‘female’ sides of the clasp?
Ignore, I just saw it. Thanks!
So well photographed and well written, even an inexperienced person like me can see exactly what you did!Thanks DEVON ON JUNE!