

Tip: If you want to install a waist drawstring reference those directions and start here.
Assemble Body Lining
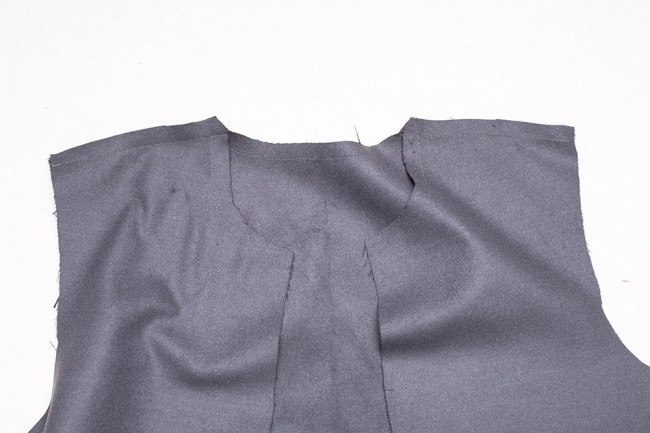
1. With right sides together, stitch the front lining (O) to the back lining (P) at the shoulders.

2. Press seams open.
3. Stitch the front lining (O) to the back lining (P) at the side seams.
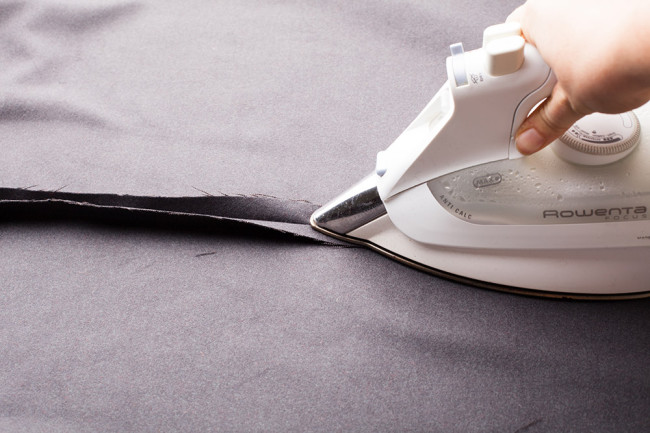
4. Press seams open.
Create Sleeve Lining
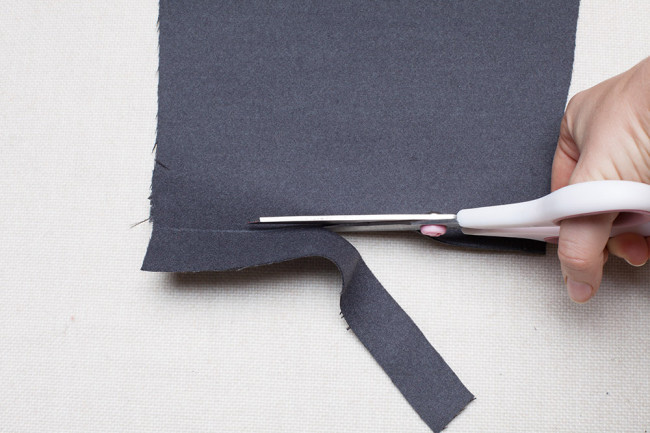
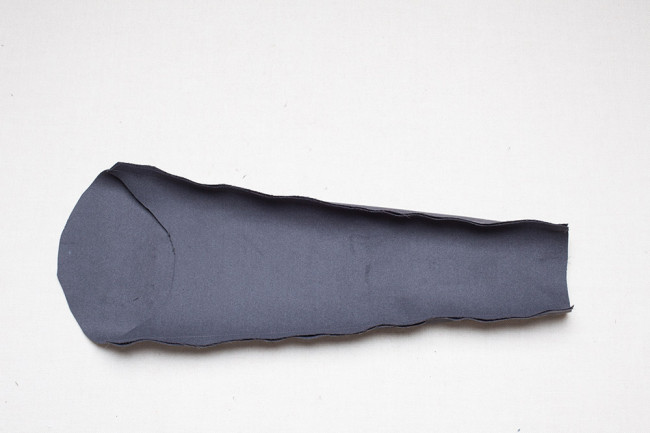
1. Trim 1″ from the bottom hem of each sleeve lining piece.
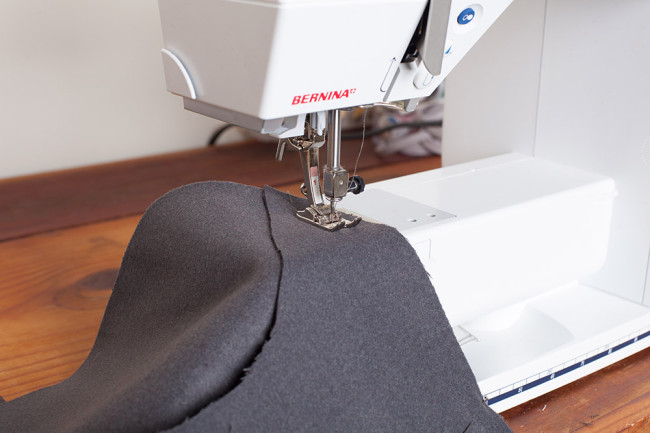
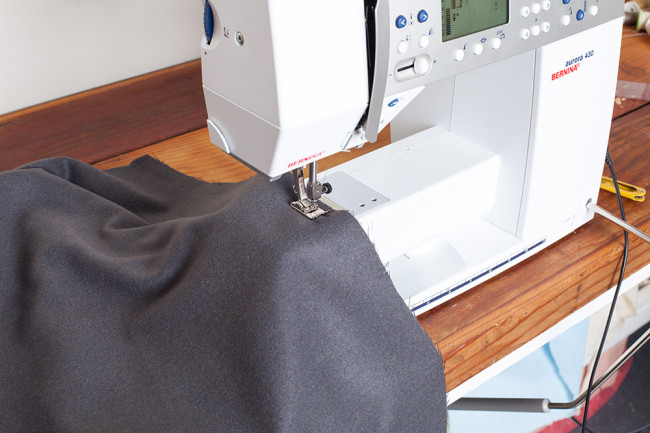
2. With right sides together, align the single notches of upper sleeve (N) to lower sleeve (M). Stitch along the front arm seam.
3. With right sides together, align the double notches of upper sleeve (N) and lower sleeve (M). Stitch along the back arm seam.
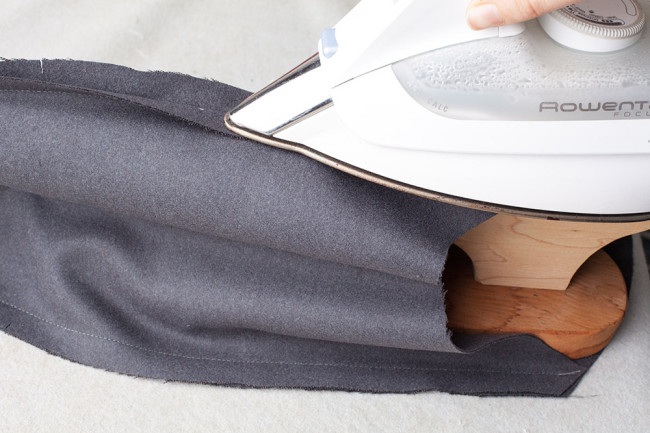
4. Press seams open.
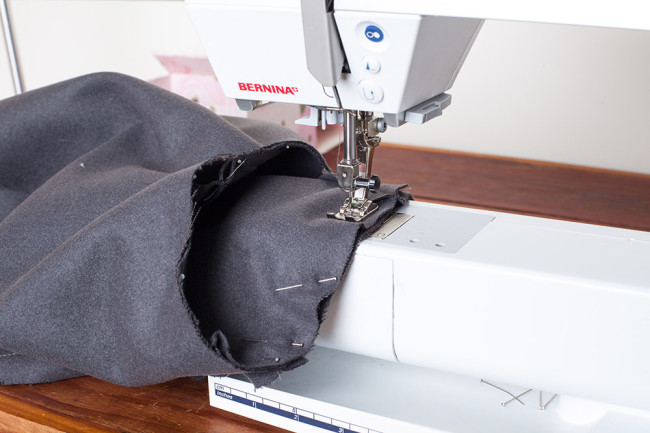
5. Turn sleeve shell right side out and pin to the right side of the armhole, aligning notches. The large circles on the sleeve shell will align with the shoulder and side seams. Baste sleeve into lining armhole, then stitch into place.

6. Press armhole seam allowance toward the sleeve shell. Repeat for the second sleeve shell.
Comments
Do we agree that the inch to be trimmed from the sleeve lining pieces are the ones mentionned on the pattern?
Thanks :-)
Yes, that’s correct. :)
Hello,
I can’t manage to fit the sleeve shell into the arm hole: I have too much fabric onto the sleeve shell. I’ve checked the pattern and all the distances, it seems that I did it right. I cannot pinpoint what I’ve done wrong. Would you have any idea or trick to help me through this step? Thanks a lot!
How much excess fabric do you have? The pieces should walk together, but small changes to the seam allowance can make a difference because of the curves you are sewing in this area. Is the excess fabric at the sleeve cap? If so, you can ease it into the armhole.