

Take just a few extra minutes to pay attention to some seemingly small details on your garment and you will have people asking where you bought your coat, not how long it took you to make it. These techniques mainly apply to the lined coat (version 1).
Cutting and Marking
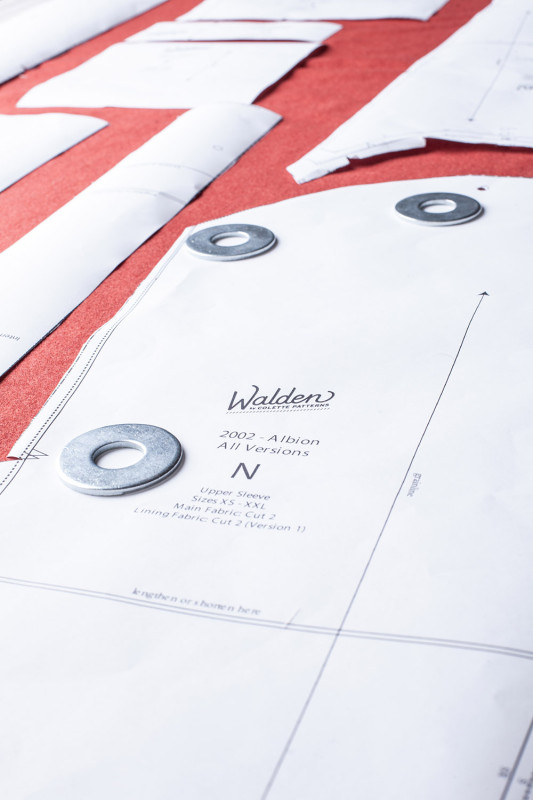
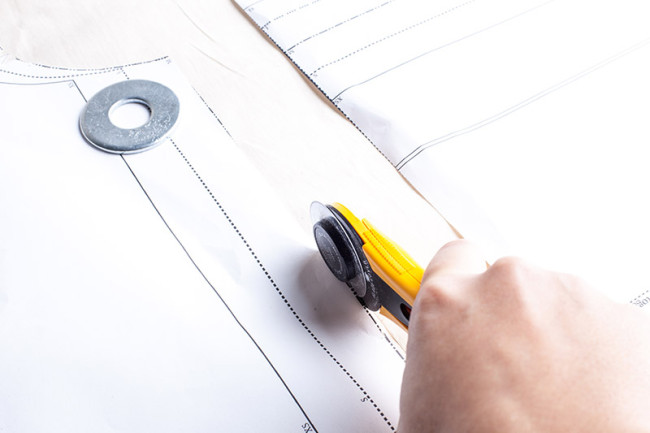
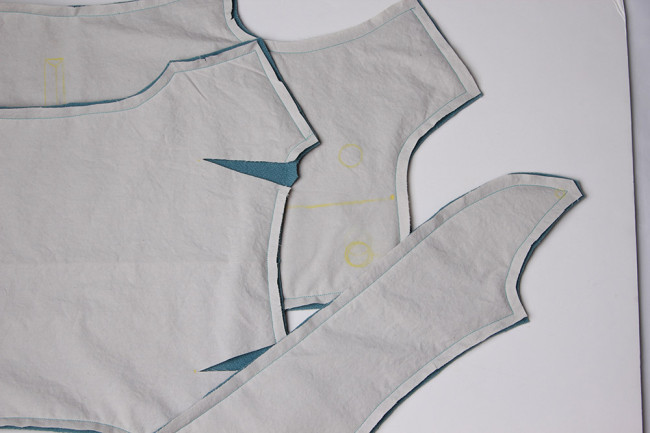
1. You should already have your pattern pieces cut from making your test garment. Now, follow the cutting layouts in your pattern instructions to cut the pieces for all of your fabrics: the main fabric, the lining (version 1), the interlining (optional), and the interfacing (version 2). The cutting layouts included in the pattern will show you exactly which pieces to cut from which fabric.
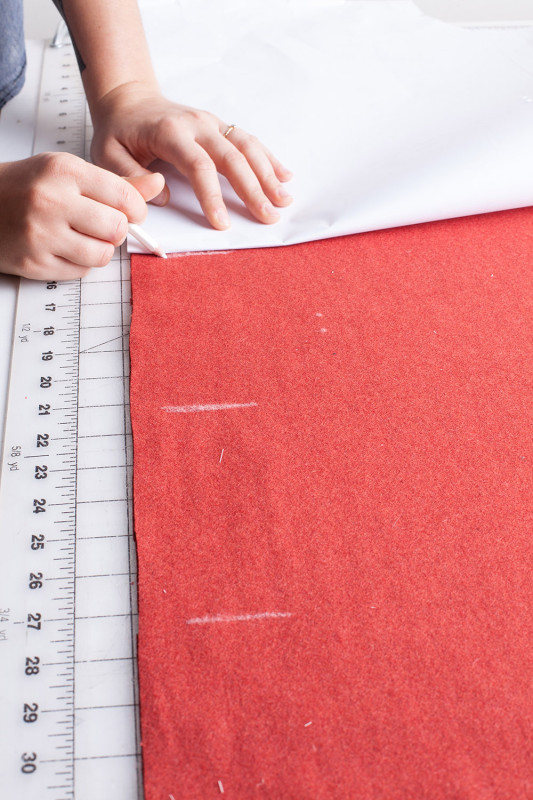
2. Use your chalk or water-soluble fabric pen to transfer the markings to the wrong side of your fabric.
- Be sure to transfer the marks on your interfacing and interlining pieces as well. These are the pieces that will be visible on the wrong side while you’re sewing, after all.
Trim the Lining
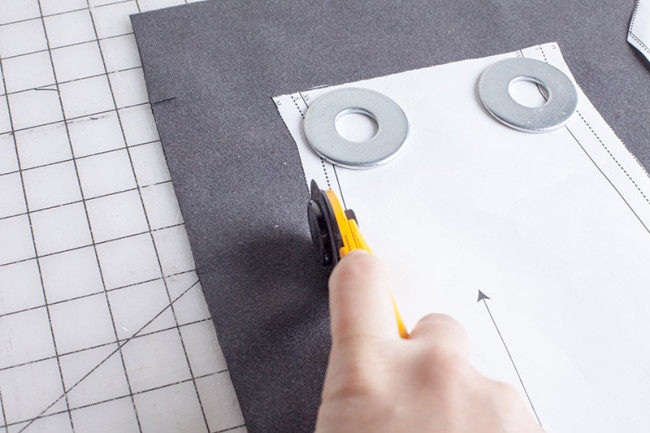
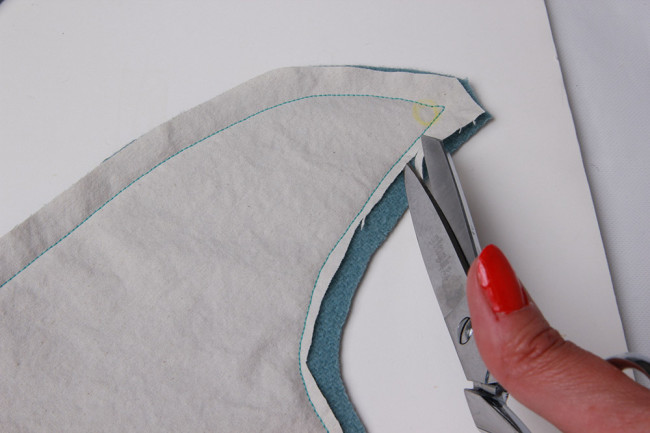
A typical home sewing pattern will have you cut the lining from the same pattern pieces as the shell fabric. While sewing the lining of the coat from those same pattern pieces as the shell is acceptable, trimming 1/8” from all edges of the pattern pieces that you will use for your lining will help the lining hang better and improve the fit of the garment.
Installing Interlining
If you live in a part of the world where temperatures frequently dip below freezing your shell and lining fabrics may not provide enough protection on their own. Interlining will help add an extra layer of warmth to your coat without contributing a lot of extra bulk.
It’s common to use muslin for interlining, but you can also utilize your leftover lining fabric. Also consider using a warm, lightweight fabric such as flannel or flannelette.
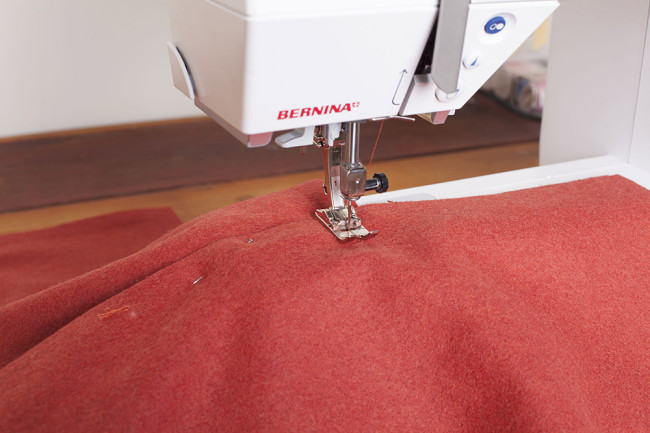
- To interline a garment cut the garment body pieces from your interlining fabric. You can interline the sleeves of a garment, but keep in mind it will add some stiffness, especially at the shoulders and elbows.
2. With wrong sides together, using a 1/2” seam allowance, stitch the interlining pieces to the corresponding body pieces.
3. Trim the seam allowance of the interlining to a scant 1/8” to avoid bulking up the seams of the garment.
Staystitch the Neckline
1. To minimize stretching, staystitch around the neckline on front yoke (A) and the back yoke (D) pieces, stitching a scant 3/8″ from the raw edge toward the center.
Apply Interfacing: Version 2
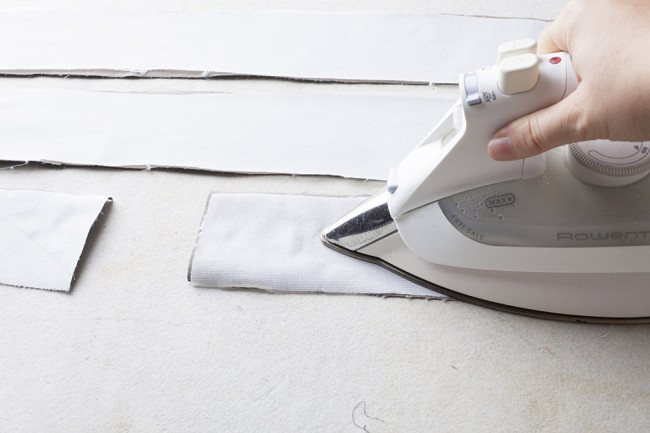
1. Apply fusible interfacing to the wrong sides of two tab (L) and center front facing (E) pieces.
Comments
Just a small question. Do you already know how long we will have after the last blog post to finish our coats/jackets? Cause all this is going a little fast for me. Am still trying to figure out which alterations to make from my test garment and then transfer them to my paper pattern pieces. I have never done alterations before so am a little overwhelmed and panicked…
You’ll have a couple weeks after the last post in the series to finish up, photograph, and submit. Overall, that gives you about six weeks from the first post this week.
Thanks, that should be OK then :-)
Would you interline the front and back yoke pieces or just the front body and back body pieces?
If I were interlining, I would interline the yokes as well.
I’m now somewaht finished with all my alterations (better late than never, right?) and just realised that I need to alter my lining pattern pieces accordingly. So I was wondering: the only difference between the lining and the main pieces is, that they are a little shorter (and narrower in the case of the front lining) + the yoke seam is eliminated, right? Or is there anything else I forgot? Thanks in advance, again. :)
Yep, that’s correct!