

Both Versions
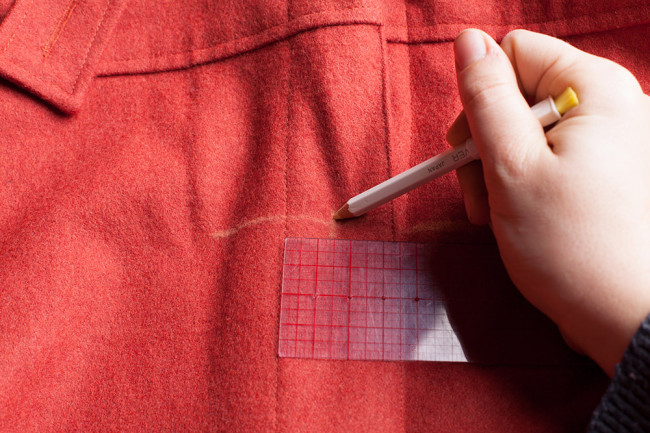
Toggle Placement
For many women, the toggle marking is going to hit right at the apex of the bust. This will help control bust gaping, but also may draw attention to that area of the body. If you prefer, you can change the placement of the toggles.
1. With your muslin on, decide where you’d like the chest toggle to be placed. Mark or pin the desired placement.
2. Measure and mark placement of the remaining toggles, so that the toggles are
6 1/4″ apart. Transfer new markings to your pattern.
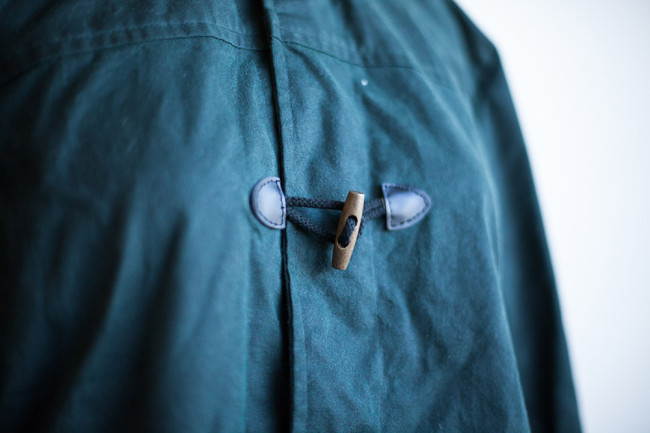
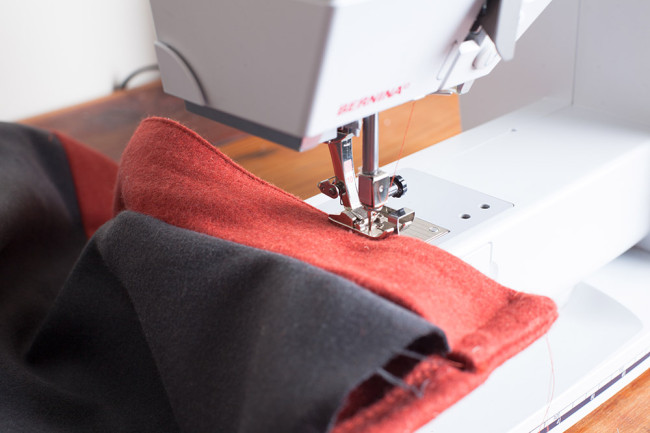
Installing Toggles
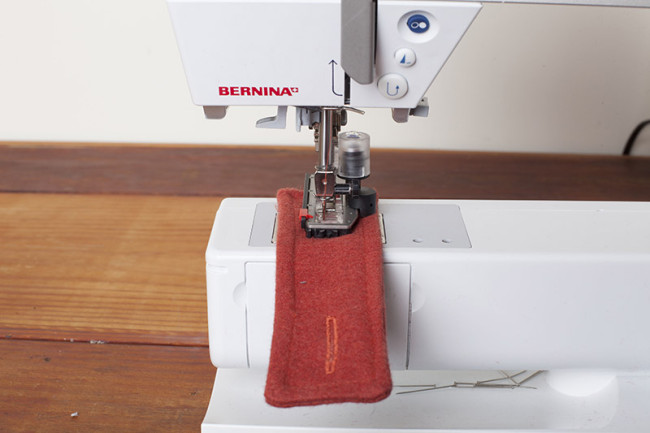
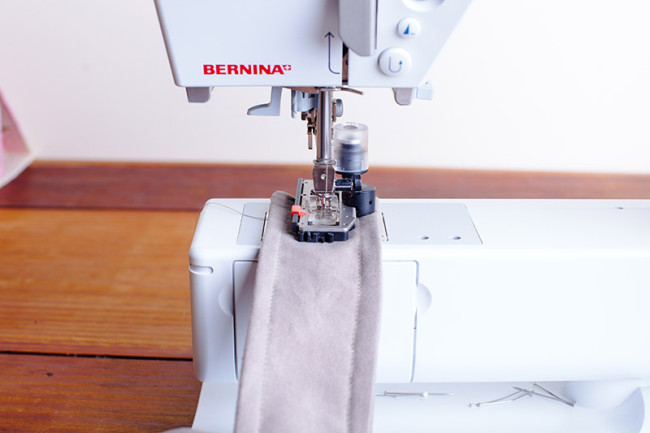
While installing toggles might seem self-explanatory, it can actually be quite nerve-racking to try and sew all those little leather half-circles without any pinning. The tips below will save you time and make the process much easier the first time around. We highly recommend using topstitching thread and an edgestitching foot for stitching the toggles in place.
1. Lay the coat flat in front of you. Locate the toggle placement lines on the front of the coat.
2. Locate the center of the front extension. This is the point directly in the center between the hood and edge of the extension.
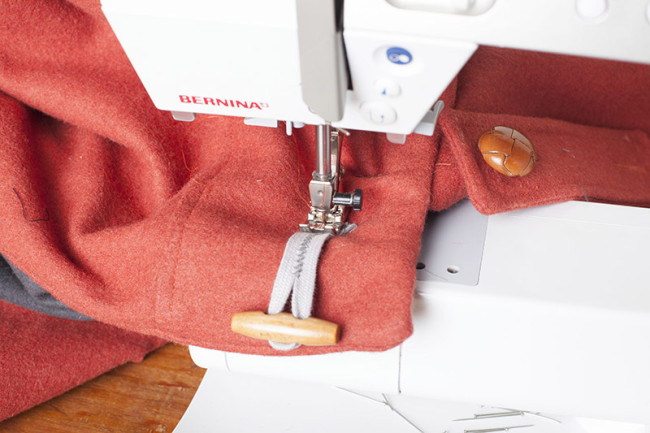
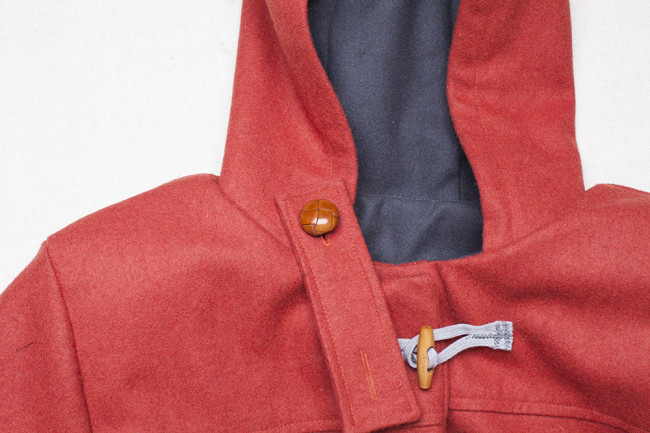
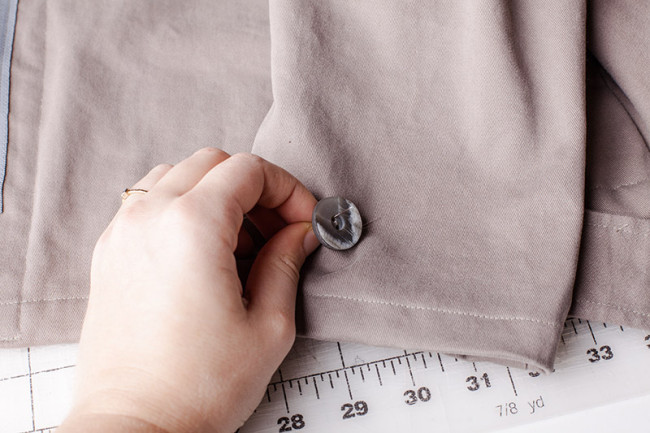
3. Mark the center of the extension at every toggle placement line. This is where your toggle will be aligned. Connect each pair of toggles by slipping the toggle through the loop. Center the toggle over the toggle placement line, making sure that the toggle is on top of the center extension line.
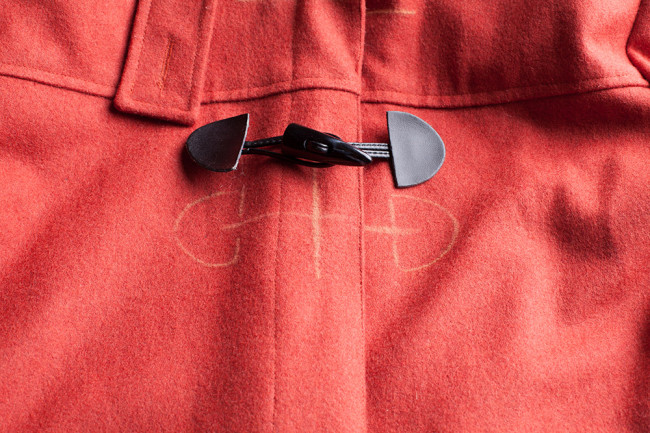
4. Using a marking pen or chalk, trace around each leather tab. Since you can’t pin through leather, you will now know where to hold your toggle.
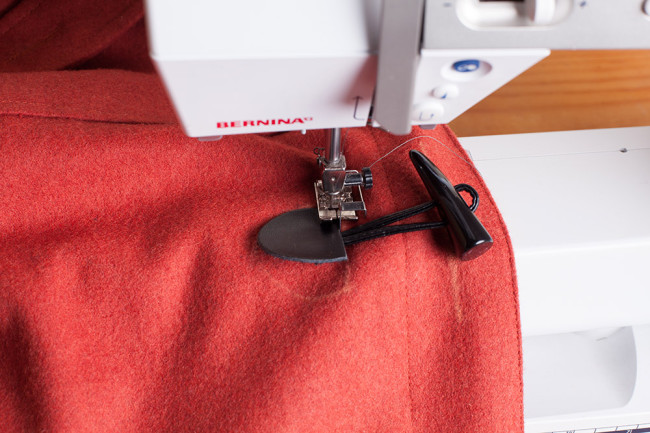
5. Use a leather needle and a long stitch length to stitch the toggle in place.
Version 1
Hem Coat
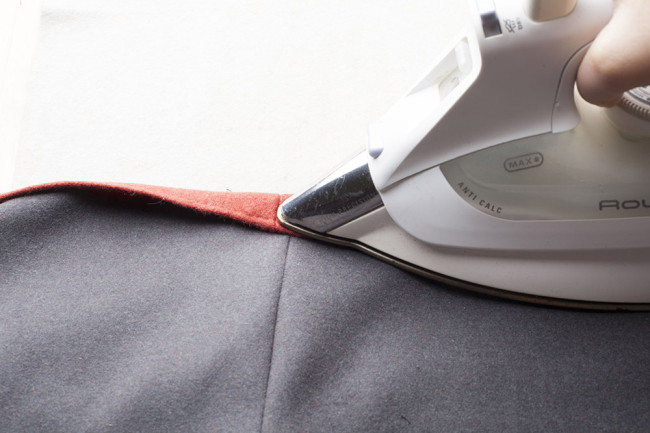
1. Turn the shell hem up 1″ and press, tucking the lining inside the coat hem.
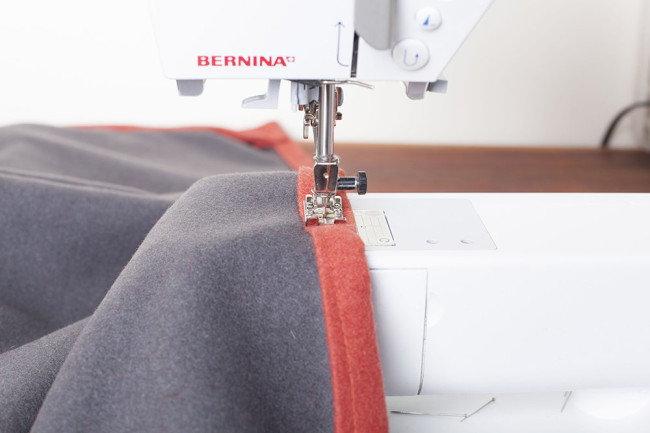
2. Machine stitch the hem in place.
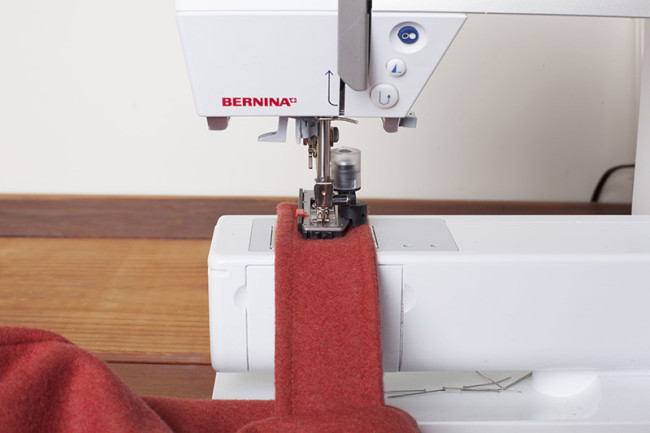
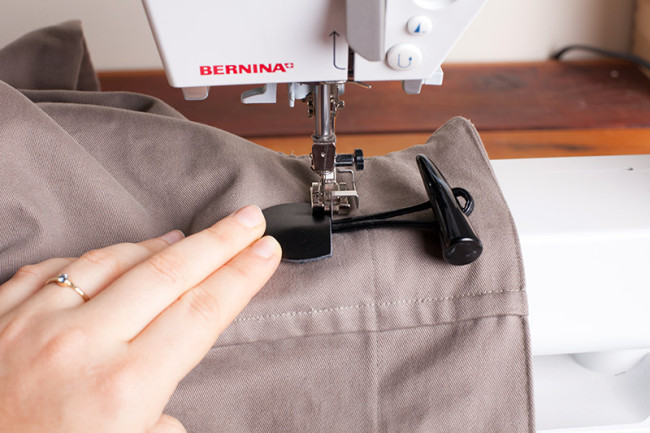
Top Stitch the Center Front
1. Press the center front. Topstitch around all edges of the center front facing (E), stitching 1/4″ from each edge. Be sure to catch the edge of in-seam pocket (I) to secure it in place.
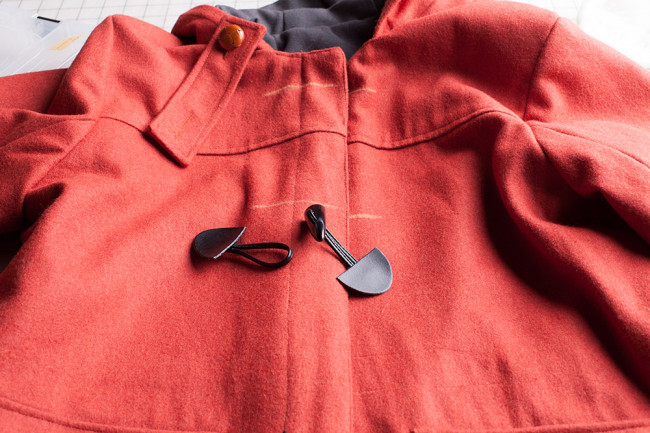
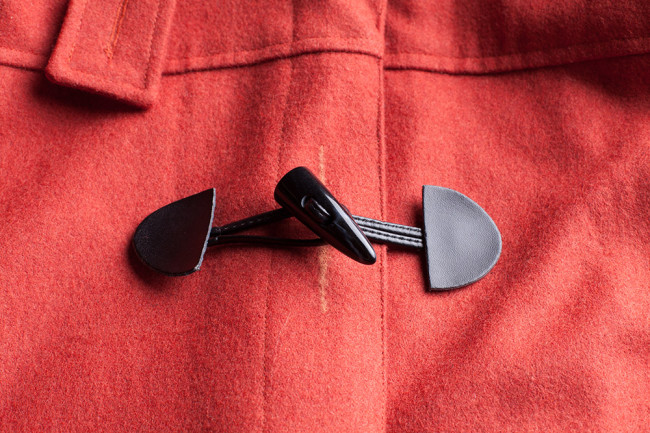
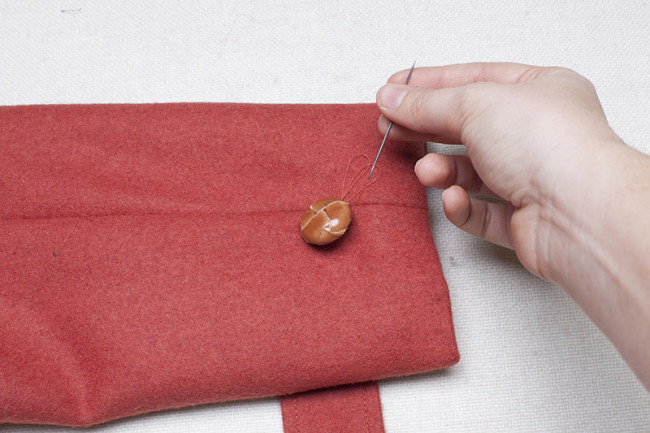
Attach Closures
1. Stitch toggles to the front of the coat, centering them over the placement marks on pieces A and B.
2. Create a buttonhole at the placement mark on each of the two sleeve tabs.
3. Attach buttons to sleeves beneath buttonholes.
4. Create two buttonholes at the placement marks on the hood tab.
5. Attach two buttons at the placement marks on the hood.
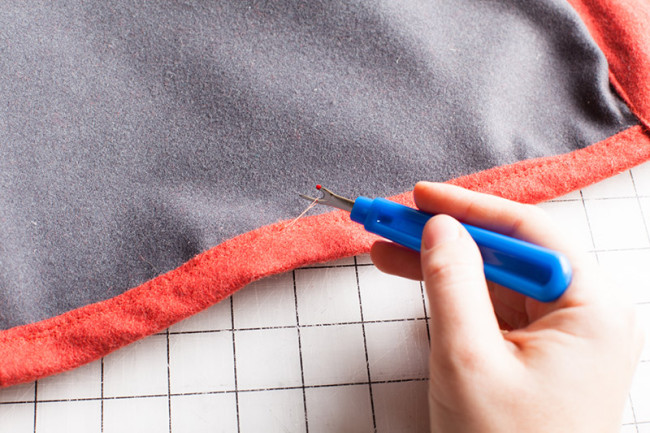
6. Remove any remaining basting stitches.
Version 2
Attach Closures
1. Stitch toggles to the front of the jacket, centering them over the placement marks on pieces A and B. Attach toggles by edgestitching around the toggle tabs.
2. Create a buttonhole at the placement mark on each of the two sleeve tabs (L).
3. Attach buttons to sleeves beneath buttonholes.
4. Remove any remaining basting stitches.
Comments
Even though the tutorial is super clear, when it comes to stitching the toggles down it just all goes wrong… The bulk of the coat makes it almost impossible to move it around well enough so I can stitch them on, causing the stitching to look shaky and uneven. I’ve tried starting at different spots but it just doesn’t look good enough (especially not compared to the rest of the coat) so I’m taking them off and starting over tomorrow. Any extra tips?
Other than the needle and stitch length mentioned, I find it helpful to use an edgestitching foot and sew very very slowly. You can actually even use your handwheel instead of the foot pedal so you can control where each stitch lands. It takes a while, but it works.
I also think topstitching thread works well here and looks nicer than all-purpose.
Hello,
I’m making a Albion version 2 with lining. My main fabric is a stretchy gabardine and the lining a patchwork cotton. I’m having trouble sewing the bottom hem and topstitching the center front facing: the gabardine stretches and/or the stitches don’t look nice on the back side. I know I’m doing something (or various things) wrong but what. Do I need a special needle or stitch? Thank you!
If your fabric is stretching out as you try to hem, have you thought about stabilizing it? As it happens, there’s a post about stabilizing hems on the main blog today!
https://www.coletterie.com/tutorials-tips-tricks/everything-you-need-to-know-about-stabilizing-hems
I did happen to find it, thank you!